


The Shami plant, also known as Banni Mara or Khejri tree, holds sacred significance. Its botanical name is Prosopis Cineraria. The Shami plant is revered for bringing wealth, happiness, and peace, and it is utilized in various medicinal treatments for ulcers and stomach problems.
Just like all living beings, plants exhibit unique characteristics and require specific care and maintenance for optimal growth. This detailed article aims to explain and address every fact and question related to the Shami plant.

❖ Life Span of Shami Plant
- This perennial plant, if nurtured properly, would sustain for years and years.
❖ Best Season for Shami Plant
-
- It is a typical summer plant and grows best during February – October.
- During winters, it should be kept in a shaded area to preserve it from cold waves and rainwater.
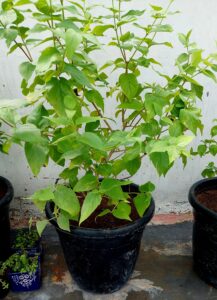
❖ Characteristics of the Shami Plant
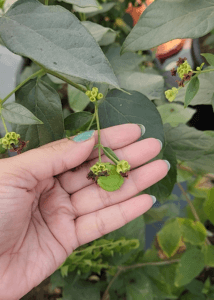
1. It has small leaves.
2. Stems and branches are accompanied by thorns.
3. During the evening, it droops its leaves.
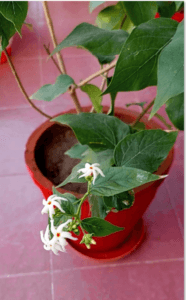
4. It is recommended to keep it in a sacred or holy place.
5. It is an outdoor plant, requiring direct sunlight for at least 3-4 hours.
6. During intense heat, it should be placed under shade or a green net for protection.
❖ Pot size for Shami Plant

-
- Big-sized clay pots are recommended for the Shami plant. In large pots, Shami plants will grow and spread more quickly.
❖ Soil Mixture for Shami Plant

1. Garden Soil – Use regular garden soil.
- Ensure it is clean and free from debris such as glass pieces, plastic, termites, or dry roots.
2. Compost – Use half the quantity of soil.
3. Cocopeat – Use half the quantity of compost.
4. Sand – Use the same quantity as cocopeat.
5. Neem Cake Powder (Optional) – Add a small amount to prevent fungus, insects, diseases, or root rot.
6. Cinnamon Powder (Optional) – Add a few pinches to prevent insects and fungus.
Mix all these ingredients together to create the perfect soil mixture for the Shami Plant.
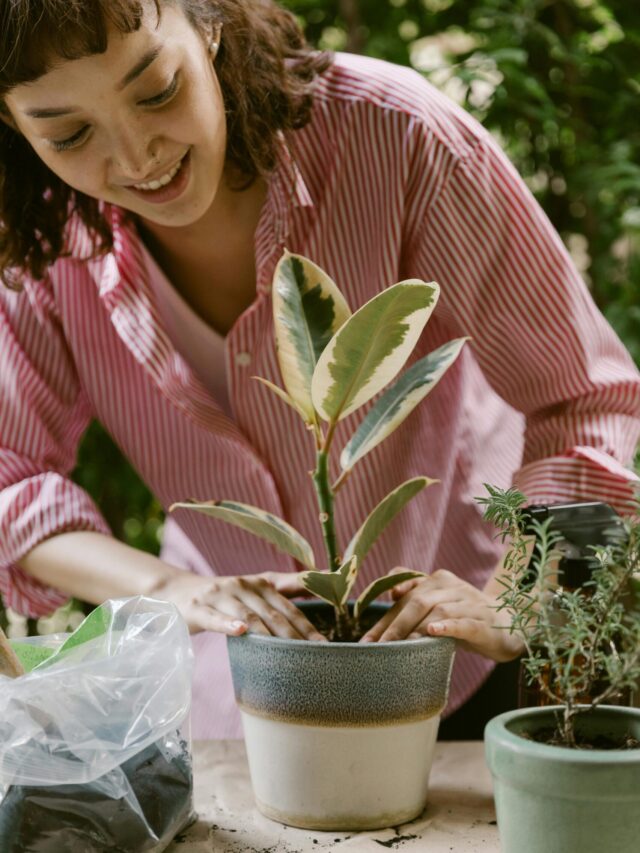
❖ Repotting the Shami Plant

1. After purchasing from the nursery, wait for 2-3 days before repotting.
2. Only shift it to a new pot once the plant has acclimated to its new environment and shows no signs of stress.
3. Give ample water after repotting and keep it in a shaded area for the next 2-3 days.
4. Gradually introduce sunlight to the plant thereafter.
❖ Watering for the Shami Plant

The soil mixture and clay pot combination will help maintain the perfect balance of water in the soil.
- Water the plant when the topsoil feels dry to the touch by gently loosening the soil. Continue watering until water begins to drain out from the bottom hole of the pot.
- This resilient plant is quite hardy and can withstand occasional instances of over-watering or under-watering. However, it’s best to avoid overwatering.
❖Hard Pruning of the Shami Plant:
If the plant experiences stress, particularly during winters, performing a hard pruning can help it recover.
- It is advisable to do hard pruning only in February, avoiding the monsoon season. This practice can revive the plant and promote healthy growth.
❖ Fertilizers for the Shami Plant

Avoid using chemical fertilizers such as NPK, Epsom salt, DAP, or urea on this plant. Additionally, refrain from using strong fertilizers like banana peel fertilizer or seaweed fertilizer.
- Instead, during March, provide the Shami Plant with mustard cake liquid fertilizer, but ensure it is diluted before application. This will help nourish the plant without causing any harm.
Suggested Fertilizers:
1) Cow Dung Liquid Fertilizer:
- Take 1 mug of cow dung liquid tonic and dilute it with 10 parts tap water.
- After mixing, apply it to the Shami Plant.
2) Vermicompost Tea:
- Take a small amount of vermicompost and soak it in water for 24 hours.
- Use the upper layer of this solution and mix it with 4 times more water. Apply it to your plant.
Note:
- Always ensure that the topsoil is dry before applying the fertilizer, as this will facilitate better absorption of nutrients.
- Loosen the soil before applying fertilizers.
- Apply any of these fertilizers once a month to promote the booming growth of the plant.
❖ Pruning of the Shami Plant

Proper growth of the plant is not achievable solely through fertilizers or exposure to sunlight; timely pruning is essential.
- From March to October, regularly perform soft pruning using pruners or scissors.
- Every 15 days, trim the tips of the plant to encourage the emergence of new branches, facilitating healthier growth.
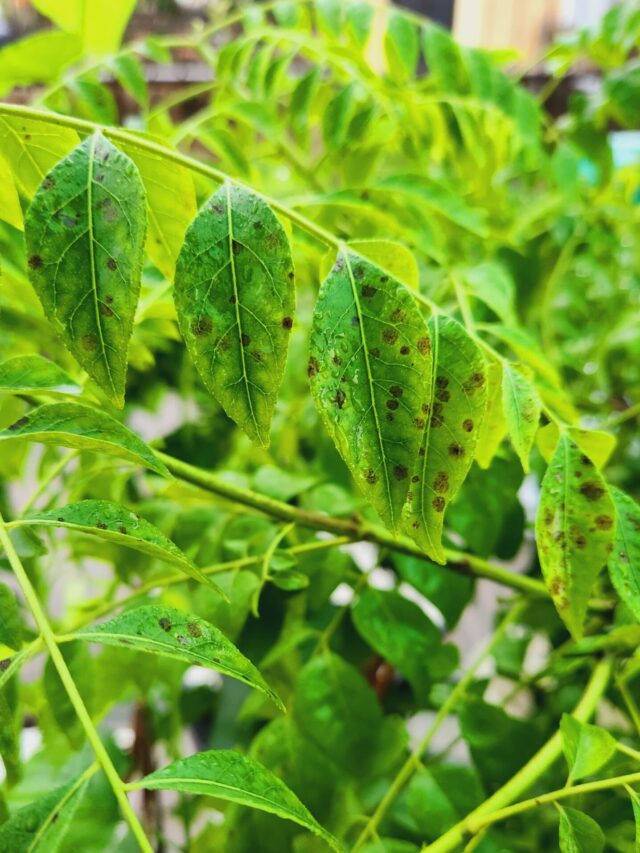
❖ Pest Protection for Shami Plant
While Shami plants are generally resistant to infections, they may occasionally be affected if surrounding plants are infested with mealybugs or aphids.
- To prevent pest attacks, spray a solution made from neem leaves onto the plant once a week. If the plant is already affected by pests, use neem oil to remove them.
This was the complete care of the Shami Plant from the small plant (nursery) to the big, bushy, or blooming plant (at your home).
Enjoy Gardening!!
Make Your Own Garden!