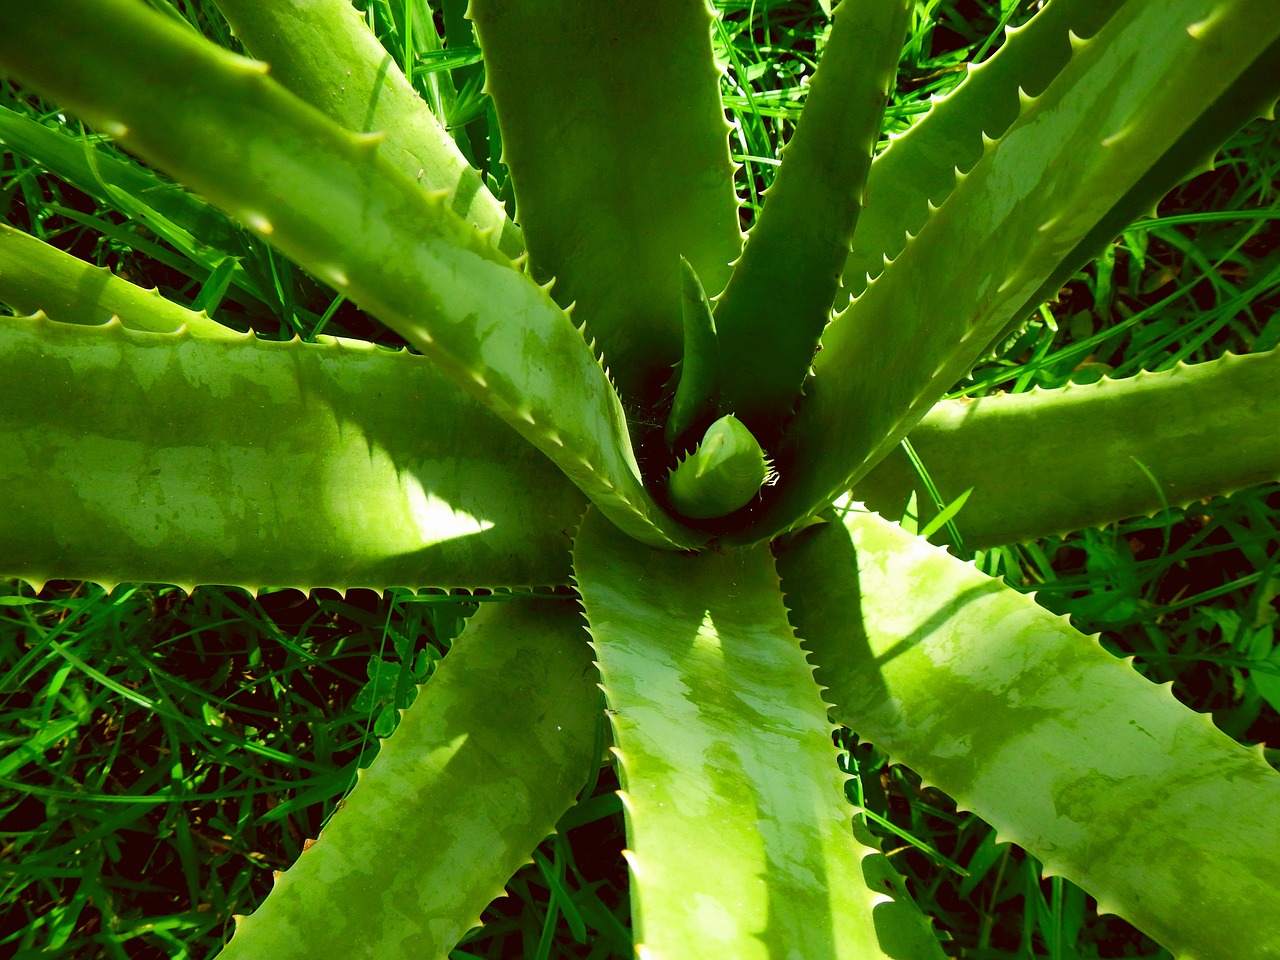


Aloe Vera is not just good for your skin; it is a plant that you can easily grow and share with others. Whether you are a pro at gardening or just starting out, growing Aloe Vera can be fun and satisfying. It has become a favorite in gardens and homes globally.
How to Propagate Aloe Vera: Tips
In this article, we will explore how to grow Aloe Vera, make it healthier. Let’s jump into the simple steps to propagate Aloe Vera.

Why Propagate Aloe Vera?
Although it is common to purchase mature Aloe Vera plants, there is a joy in watching new shoots emerge from the roots, forming clusters of vibrant, green offspring.
Propagation not only expands your Aloe Vera family but also allows you to share this resilient plant with friends and family. Additionally, propagating Aloe Vera is a great way to breathe life back into stressed or aging plants, ensuring a continuous cycle of growth and rejuvenation.
Setting the Stage: Planting Aloe Vera
The journey begins with a careful selection of pots and soil, creating an environment conducive to Aloe Vera’s preferences.
Follow below steps,
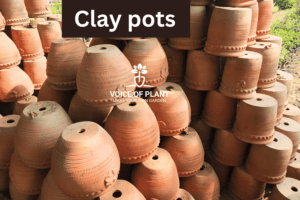
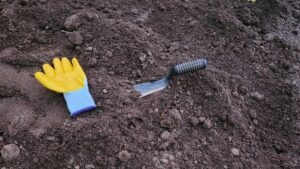
1. Selecting a Pot:
-
- Choose a broad-sized pot with drainage holes at the bottom.
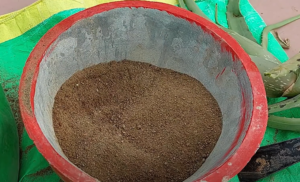
2. Preparing the Pot:
-
- Cover the bottom hole with newspaper to prevent soil from washing out.
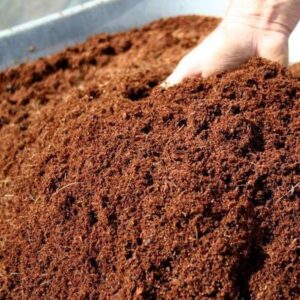
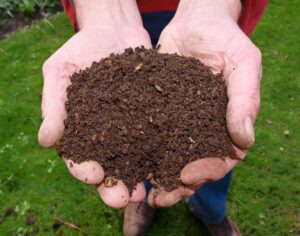
- Fill the pot with a well-draining soil mixture.
3. Planting the Main Aloe Vera:
- Plant the main Aloe Vera in a slightly tilted position at the corner of the pot.
- Fill the soil around the plant for support.
- Water the soil until water drains out from the bottom hole.
4. Adding Pups:
- Once the main plant is established, place pups in the soil at an appropriate distance.
- Ensure the soil is well-moisturized before adding pups.
- Do not water again after placing the pups.
Important note:
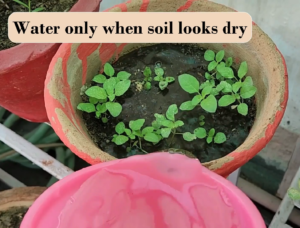
1. First, make sure the soil is wet enough by giving it a good amount of water.
- It is important to water until you see water coming out from the bottom of the pot.
2. After that, you can place the baby plants (pups).
- But here is the trick – don’t water again right away.
- Succulents like Aloe Vera or Snake plant have small roots, and giving them too much water can be harmful. They might not like it, and their roots can get messed up.
3. So, the rule is to wet the soil well first, put in the baby plants, and then hold off on more water.
- Let the soil dry out a bit before watering again.
This way, your aloe vera and similar plants can stay happy and healthy.
Propagation of the Pups & Repotting
1. Pup Propagation:
-
- Wait for the pups to grow into small plants.
2. Precautions for Repotting:
-
- Ensure the mother plant is healthy before repotting.
- Gently remove pups with some soil to avoid damaging roots.
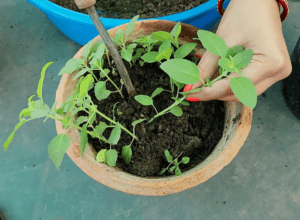
3. Repotting Process:
-
- Place pups in separate pots, ensuring leaves do not touch wet soil.
- Cover wet soil with dry soil and set the pups.
- Always do the repotting in the evening.
4. Acclimating to Sunlight:
-
- Initially, place repotted plants in indirect sunlight.
- After 2 days, expose them to sunlight for 2-3 hours.
- Monitor for signs of stress; if observed, wait a few more days before introducing direct sunlight.
5. Repeat Propagation:
-
- After 2 months, new pups will appear, and the repotting process can be repeated for further propagation.
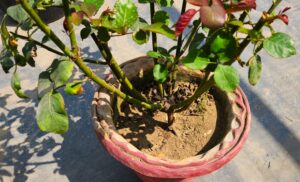
Reviving Stressed Aloe Vera:
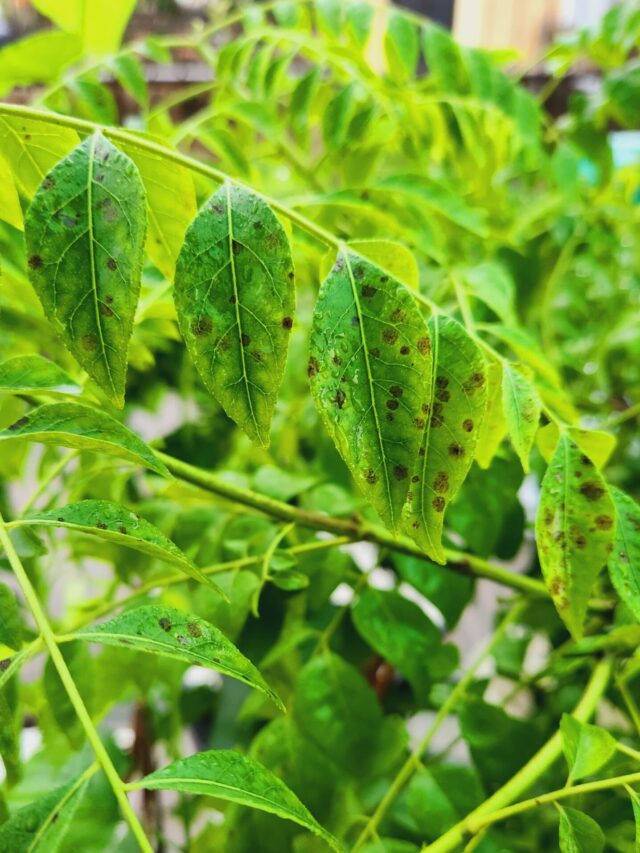
1. Identifying Stress Signs:
-
- Yellowing with black spots on dried leaves indicates stress.

2. Reviving Process:
-
- Remove all damaged leaves, roots, and branches.
- Repot the plant following the above-mentioned steps.
3. Survival Period Without Soil and Water:
-
- Uprooted Aloe Vera plants can survive for 6-7 days without soil and water.
- Repot within this timeframe to ensure survival.
By following these steps, you can successfully propagate, care for, and revive Aloe Vera plants.
Must read:
Aloe Vera Care: Pest Attack & Black Spot
Happy Gardening!!