Tag Archives: grow tulsi from seeds

Tulsi plant (holy basil)

How to grow Tulsi plant from seeds

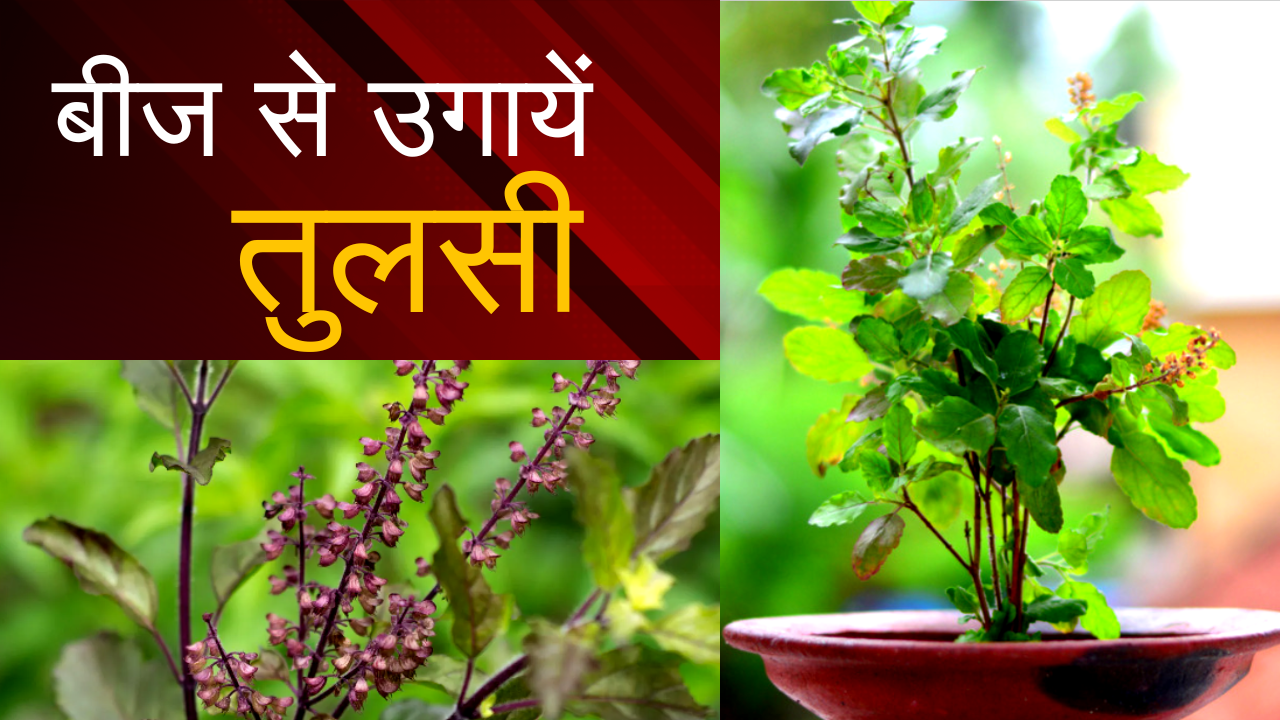
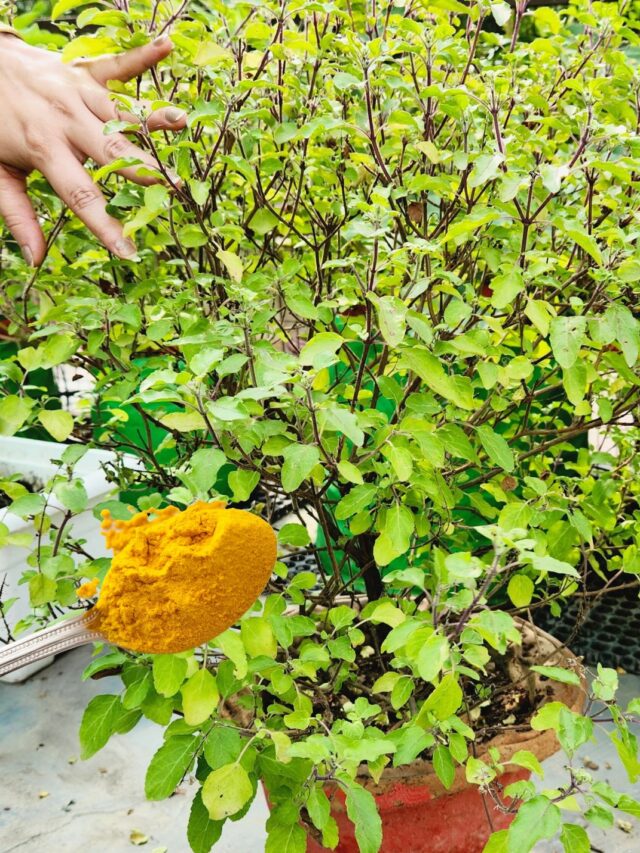
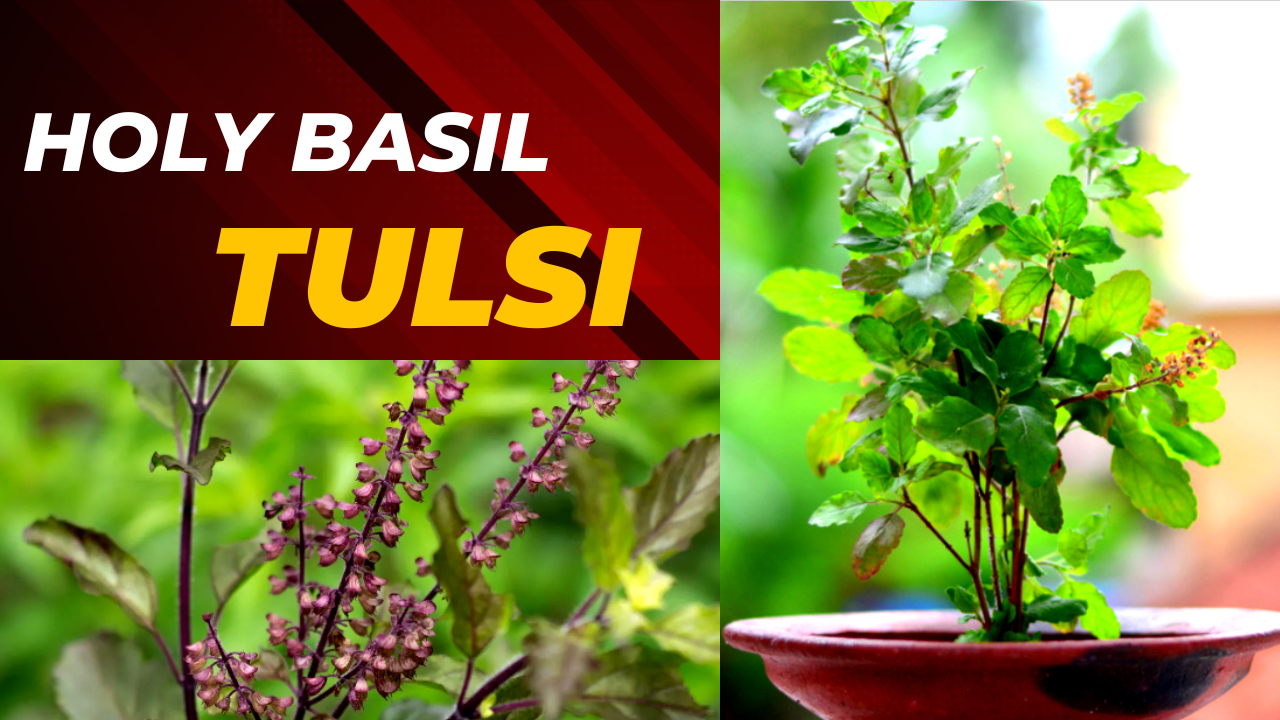
Planting is an art, and propagating plants from seed requires the touch of a skilled gardener. Holy basil, also known as Tulsi, is a beloved and commonly grown plant.

In this article, we will provide detailed guidance on every key aspect to empower every enthusiast to master the art of growing basil plant from seed.

Tips to grow Tulsi plant from seeds

Growing Tulsi (basil) from seeds can be a rewarding experience. By following the tips below, you can successfully grow basil from seed and enjoy the many benefits of this sacred herb.

1. Weather requirement for Tulsi (holy basil) plant

The ideal temperature to grow seeds is 15-25 ℃. It should not be either too hot or cold. Ideally, in India this temperature range falls thrice in a year –

1. Spring Season (February – March) – Particularly suitable for the North India region.

2. Monsoon Time Period ( June – September) – This period also falls within the ideal temperature range for seed germination.

3. During Autumn (October – November) – While this period can be suitable for seed germination in many parts of India, it’s important to note that in North India, it’s not recommended due to the impending cold winter. Saplings may struggle to survive in the harsh winter conditions.

2. Choose quality Tulsi (basil) seeds

Always use fresh high-quality basil seeds. Make sure they are within their viable shelf life, as older seeds may have lower germination rates.

From where you can get Tulsi plant seeds:

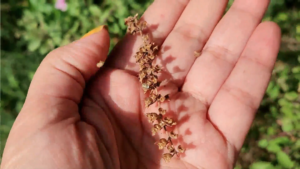
1. Harvesting Seeds from Tulsi Plants: Brown-colored dried flowers that grow on Tulsi plants can be collected to obtain seeds for growing new Tulsi plants.

2. Seed Maturity: Basil seeds become dark brown when they have fully matured. It’s important to use seeds that have naturally matured, as only then can they be reliably used for growing new plants.

3. Seed Quality and Maturation Factors: The maturity of seeds can be affected by factors such as excessive chemical fertilizers, inadequate sunlight, or insufficient watering. It’s essential to ensure that seeds are not only dried but also matured properly to ensure successful germination.

4. Choosing the Right Seeds: Carefully select seeds from healthy Tulsi plants, preferably from a known source or a reputable nursery.

5.From Nurseries or Online: You can obtain good quality Tulsi (holy basil)seeds from nurseries or online platforms, which offer a convenient way to access a variety of seed options.

  • Tulsi Seeds

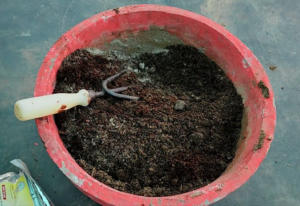
3. Growing medium for Tulsi plant

soil mixture
soil mixture

Seeds may not thrive in clayey soil. The ideal soil mixture for growing Tulsi plants includes:

1. Local SoilCollect soil from your local area, sieve it to remove debris, and ensure it’s clean.

2. Neem Cake Add a small portion of neem cake to the soil.
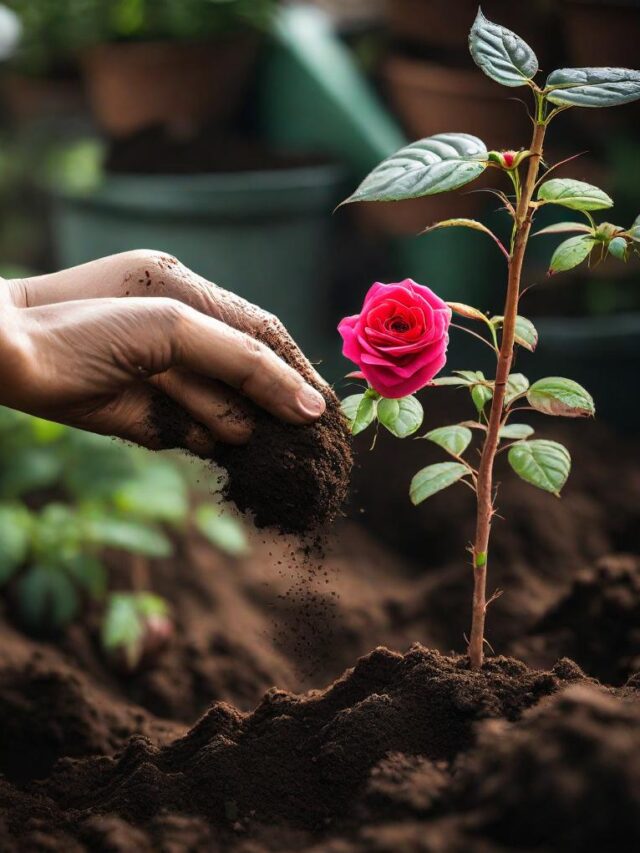
3. CompostUse compost, preferably from sources such as cow dung, kitchen waste, or vermicompost, in equal quantity to the soil.

4. Coco Peat Add an equal amount of coco peat to help maintain soil moisture.

5. SandAdd approximately one-fourth the quantity of sand in relation to the soil.

Thoroughly mix all these components to create a well-balanced growing medium.

 How to sow Tulsi seeds 

If you want to sow multiple seeds then opt for a seedling tray.

Seedling tray

If these trays are not available and the requirement is also less then pots can also be used to sow the seeds. The procedure of sowing, germinating, and transplanting seedlings is the same for both.

Follow below given steps to sow tulsi seeds in seedling tray:

1. Fill the tray: Fill the tray with the prepared growing medium and water it thoroughly to ensure the soil settles and remains moist.

2. Plant the seeds: Place the Tulsi seeds in the tray at the appropriate spacing.

3. Cover with coco peat or soil: Gently cover the seeds with either coco peat or the same soil mixture used earlier. Coco peat helps retain moisture, reducing the need for frequent watering.

4. Moisten the surface: Use a spray bottle to lightly moisten the surface of the seedling tray. Avoid pouring water directly, as it may displace the seeds.

Watering
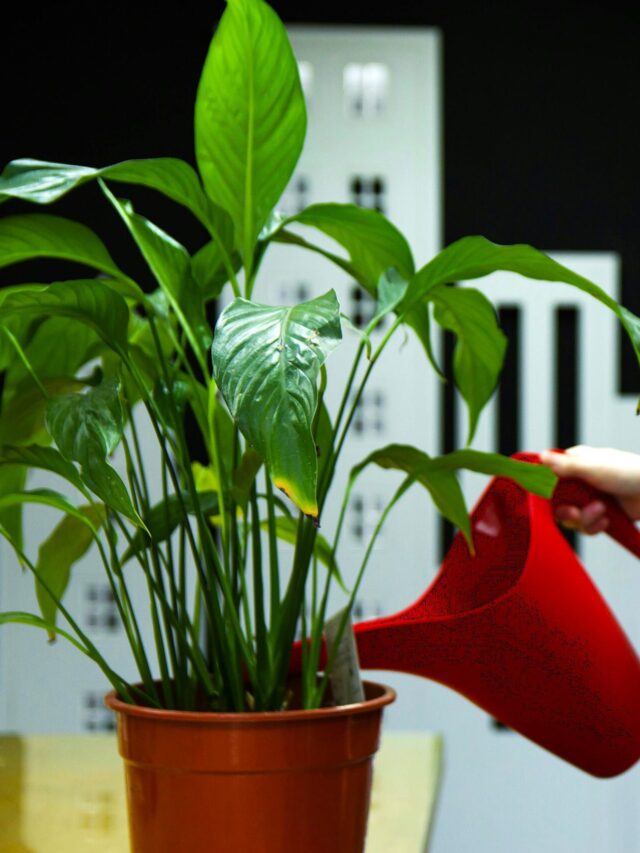
  • Watering Schedule: Water the seedlings every 2-3 days. Overwatering can promote the growth of fungus and bacteria, potentially harming the plant.
  • Light Conditions: Place the seedling tray in a brightly light area, but avoid direct sunlight as it can cause the top layer of soil to dry out too quickly, which may hinder seed germination.
  • Germination Time: Typically, it takes around 10-11 days for the seeds to germinate.
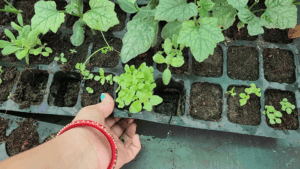
  • Transplanting: Once the seedlings have grown stronger, usually after about 1 month, you can transplant them into larger pots.

Process of separating the saplings

Seedlings

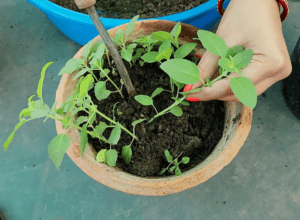
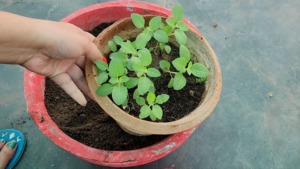
1. Transplanting: Gently press the bottom of the seedling tray to release the saplings along with the soil. Plant them in larger pots to allow the roots space to expand.

2. Soil Mixture: Use the same growing medium in the new pots, preferably a mix of the same soil mixture and coco peat. Handle the delicate saplings gently.

3. Sunlight: Avoid direct sunlight for the first 3-4 days after transplanting. Afterward, expose them to early morning sunlight while ensuring they receive bright light. Avoid placing them in the dark to prevent leggy growth.

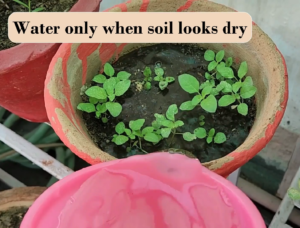
4. Watering: Water the saplings when the top layer of soil becomes dry; avoid overwatering. At this stage, you typically don’t need fertilizer or manure.

5. Fertilizer: If the plants show slow growth or nutrient deficiencies, you can use a well-diluted liquid fertilizer made from cow dung or mustard cake (dilute it at least 10 times with water).

Continue reading How to grow Tulsi plant from seeds

तुलसी के पौधे को बीज से उगायें

बीज से तुलसी का पौधा कैसे उगायें

पौधारोपण एक कला है और बीजों से पौधे की उत्पति केवल एक कुशल बागवान द्वारा ही किया जा सकता है। तुलसी सबसे प्रिय और सर्वत्र पाया जाने वाला पौधा है। इस लेख में, तुलसी के पौधे का शौक रखने प्रत्येक व्यक्ति को बीज से पौधे को उगाने में कुशल बनाने के लिए प्रत्येक प्रमुख बिन्दुओं का विवरण दिया गया है।

बीज से तुलसी उगाने के टिप्स

1. बीज से तुलसी के पौधे को उगाने के लिए सही मौसम

बीज से पौधा उगाने के लिए आदर्श तापमान 15-25 ℃ होना चाहिए। यह न तो बहुत गर्म होना चाहिए और न ही ठंडा। आदर्श रूप से, भारत में यह तापमान सीमा एक वर्ष में तीन बार आती है।

1. वसंत ऋतु (फरवरी-मार्च): विशेष रूप से उत्तर भारत क्षेत्र के लिए।

2. मानसून ऋतु ( जूनसितम्बर)

3. शरद ऋतु के दौरान (अक्टूबर नवम्बर): उत्तर भारत क्षेत्र के लिए अनुशंसित नहीं है क्योंकि इस समय यहां सर्दी जल्द ही शुरू हो जाएगी। कड़ाके की सर्दी में पौधा जीवित नहीं रह पाएगा।

2.तुलसी के पौधे को उगाने के लिए गुणवत्तापूर्ण बीज का चयन करना चाहिए 

  • तुलसी के पौधों में लगे भूरे रंग के सूखे फूलों को भी नए तुलसी के पौधे उगाने के लिए बीज के रूप में तोड़ा जा सकता है।

  • तुलसी के बीज पकने के बाद गहरे भूरे रंग के हो जाते हैं। ये बीज प्राकृतिक रूप से परिपक्व होने चाहिए तभी नए पौधे उगेंगे।
  • कभी-कभी, यदि पौधे को अतिरिक्त रसायन या उर्वरक खिलाए जाएं तो फूल परिपक्व हो जाते हैं। इसके अलावा, यदि पौधों को उचित धूप या पानी न मिले तो बीज भी सूख जाते हैं और परिपक्व हो जाते हैं, लेकिन फल नहीं देते।
  • बीज सावधानी से चुनें, तुलसी के किसी भी रैंडम पौधे से नहीं।
  • नर्सरी से या ऑनलाइन – अच्छी गुणवत्ता वाले बीज प्राप्त करने के लिए कई अलग-अलग ऑनलाइन प्लेटफ़ॉर्म उपलब्ध हैं।

3.तुलसी के बीज को उगाने का माध्यम

मिट्टी का मिश्रण

चिकनी मिट्टी में बीज नहीं पनपेंगे। तुलसी के पौधे को उगाने के लिए सर्वोत्तम मिट्टी का मिश्रण निम्न है-

1. स्थानीय मिट्टी: स्थानीय क्षेत्र की मिट्टी इकट्ठा करें, उसे छान लें, साफ करें और उसमें से सारा कूड़ा-कर्कट को हटा दें।

2. नीम की खली (नीम केक): नीम की खली का एक छोटा सा भाग मिट्टी में मिला दें।

3. कम्पोस्ट: मिट्टी की मात्रा की आधी मात्रा में कम्पोस्ट लें। यहां गाय के गोबर की कम्पोस्ट, रसोई की कम्पोस्ट या वर्मीकम्पोस्ट को प्राथमिकता दी जा सकती है।

4. नारियल का बुरादा: मिट्टी की मात्रा की आधी मात्रा में नारियल का बुरादा लें। यह मिट्टी में नमी के स्तर को लंबे समय तक बनाए रखने में मदद करता है।

5. रेत: मिट्टी का 1/4 भाग के बराबर रेत मिलाएं।

सभी सामग्रियों को अच्छी तरह मिला लें और इस प्रकार पौधे को उगाने का  माध्यम तैयार है।

4. तुलसी के बीज को बोने का तरीका

यदि आप कई बीज बोना चाहते हैं तो सीडलिंग ट्रे का चयन करें।

यदि ये ट्रे उपलब्ध नहीं हैं और आवश्यकता भी कम है तो बीज बोने के लिए गमलों का भी उपयोग किया जा सकता है। पौध बोने, अंकुरित करने और रोपने की प्रक्रिया दोनों के लिए समान है।

सीडलिंग ट्रे
  • सीडलिंग ट्रे को ऊपर तैयार की गई उगाने के माध्यम (ग्रोइंग मीडियम) से भरें और अच्छी तरह से पानी डालें। मिट्टी आसानी से बैठ जायेगी और सूखी नहीं होगी।
  • इसके बाद बीजों को ट्रे में उचित दूरी पर रखें।
  • बीजों को नारियल के बुरादे से या ऊपर तैयार मिट्टी के मिश्रण से ढक दें। नारियल का बुरादा लंबे समय तक नमी बनाए रखेगा, बार-बार पानी देने की जरूरत नहीं पड़ेगी।
  • अब, अंकुर ट्रे के शीर्ष पर थोड़ा पानी छिड़कें। हमेशा स्प्रे का प्रयोग करें, सीधे पानी न डालें अन्यथा बीज विस्थापित हो जायेंगे।
  • पानी देने में 2-3 दिन का अंतर रखें, ज्यादा पानी देने से पौधे में फंगस और बैक्टीरिया पैदा हो जाएंगे।
Watering
  • सीडलिंग ट्रे को कम तेज रोशनी वाली जगह पर रखें, सीधी धूप में नहीं, अन्यथा ऊपरी परत तेजी से सूख जाएगी और बीज अंकुरित नहीं होंगे।
  • सामान्यतः बीज को अंकुरित होने में 10-11 दिन का समय लगता है।
  • लगभग 1 महीने के बाद सभी पौधों को दूसरे गमलों में स्थानांतरित किया जा सकता है क्योंकि इस बीच वे मजबूत हो जाते हैं।

5. पौधों को अलग करने की प्रक्रिया

  • धीरे से, सीडलिंग ट्रे को नीचे से दबाएं और पौधा ट्रे से मिट्टी के साथ बाहर आ जाएगा।

  • पौधे को बड़े आकार के गमले में रखें ताकि जड़ों को फैलने के लिए उचित स्थान मिल सके।
  • नये गमले में भी उगाने का समान माध्यम माध्यम रखें। पौधे उगाने के लिए अधिमानतः उसी मिट्टी के मिश्रण और नारियल के बुरादे का उपयोग करें। उन्हें संभालते समय सावधानी बरतें क्योंकि वे बहुत नाजुक और छोटे होते हैं।

  • इन गमलों को कम से कम 3-4 दिनों तक सीधी धूप में न रखें। जब वे नए गमलों में ठीक से जम जाएं तभी उन्हें धूप दिखाएं।
  • 3-4 दिन बाद इन्हें सुबह की धूप में ही रखें। सुनिश्चित करें कि पौधे को तेज़ रोशनी में रखा जाए। यदि इसे अँधेरे में रखा जाए तो यह लंबा हो सकता है।
  • जब भी ऊपरी मिट्टी सूखी हो तब पानी दें अन्यथा नियमित रूप से पानी देने की आवश्यकता नहीं है।
  • इस समय कोई उर्वरक या खाद डालने की आवश्यकता नहीं है।
  • किसी भी स्थिति में, यदि पौधों में कोई विकास नहीं हो रहा है तो गाय के गोबर या सरसों के खली के तरल खाद में पानी से मिलाकर अच्छी तरह से पतला करके दें (तरल उर्वरक की तुलना में कम से कम 10 गुना अधिक पानी के साथ पतला करें)।

10 दिनों के बाद, पत्तियां आकार में बड़ी हो जाएंगी और सभी पौधों को दूसरे बड़े आकार के गमले में स्थानांतरित किया जा सकता है।

  • पौधों को अलग करें क्योंकि अब प्रत्येक पौधे की जड़ों को ठीक से बढ़ने के लिए स्थान की आवश्यकता होती है।
  • पौधे को अधिक घना और स्वस्थ बनाने के लिए शुरू से ही काट-छांट करनी पड़ती है।
  • जैसे ही आप पौधे पर फूल देखें, उन्हें फूलों के नीचे से तोड़ लें। यदि काट-छाँट नहीं की गई तो पौधा अधिक लम्बा हो जाएगा, घना नहीं।
Pruning

तुलसी का पौधा एक पवित्र पौधा है जिसके कई औषधीय उपयोग और अनगिनत लाभ हैं। अब आप सभी उपरोक्त निर्देशों एवं सावधानियों का पालन करते हुए अपने स्थानों पर इसकी बुआई कर सकते हैं।

तुलसी का पौधा प्रकृति का सच्चा आशीर्वाद है और हम सभी इसे आसानी से प्राप्त कर सकते हैं।

शुभ बागवानी!!

धन्यवाद !!