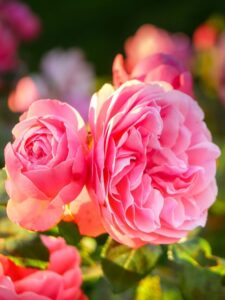


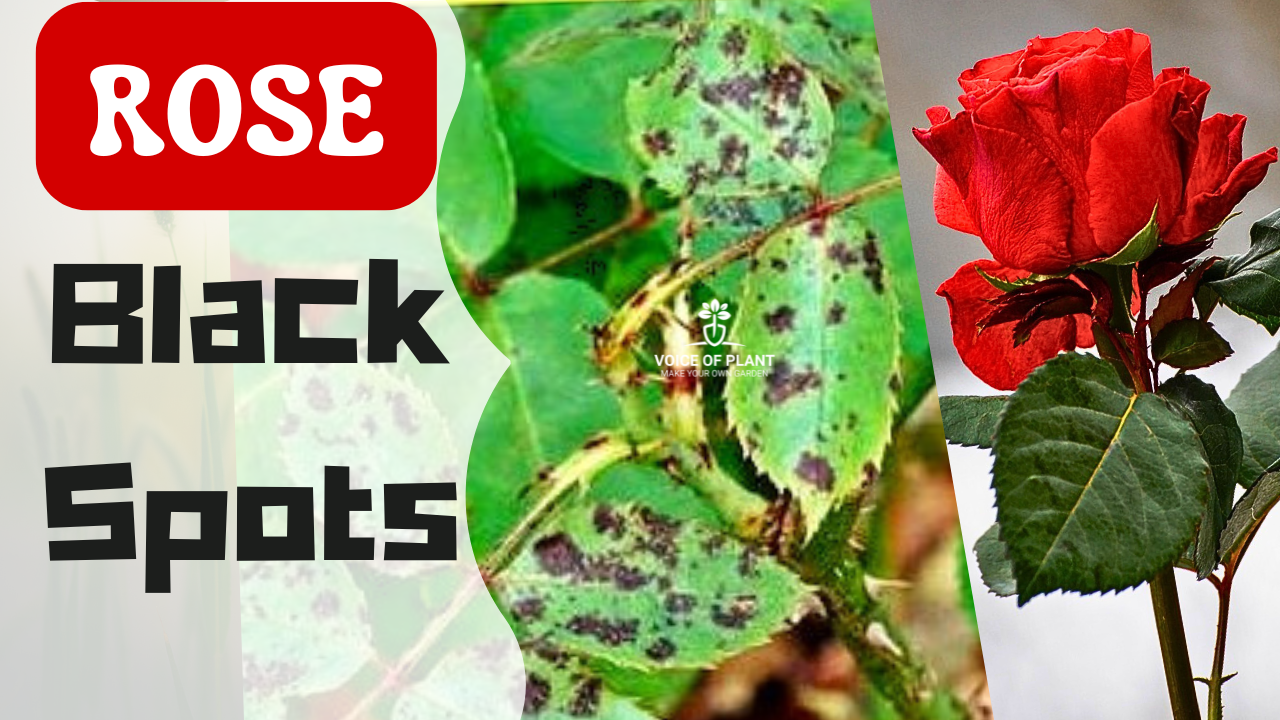
How to Treat Black Spot on Rose Leaves
Ever noticed unsightly black spots on your rose leaves? If so, you are not alone. Black spot disease is a common yet troublesome issue for rose gardeners worldwide. While roses are known for their beauty, they can be particularly vulnerable to diseases if not properly cared for.

One of the most common problems that rose enthusiasts face is black spot disease. In this guide, we will explore everything you need to know about black spot on rose leaves, from identifying it to curing and preventing it for the long-term health of your roses.
Click here to read: Rose Plant Complete Care Guide
What is Black Spot on Rose Leaves?
Black spot disease is a fungal infection caused by Diplocarpon rosae.
- It primarily affects the foliage of rose plants, leading to the development of dark, round spots on the leaves.
- These spots often grow, leading to leaf yellowing and premature leaf drop.
- If left untreated, this disease can severely weaken the plant, making it less likely to produce those beautiful blooms that roses are famous for.
Causes of Black Spot Disease on Rose plant
Several factors contribute to the occurrence of black spot on rose leaves:
1.Fungal infections in the roots of rose plants
Fungal infections in the roots of rose plants are a primary cause of black spots on the leaves.
- When the roots become infected, usually due to overwatering or poor drainage, the fungus spreads throughout the plant. This weakens the plant’s overall health, and one of the most noticeable symptoms is the development of black spots on the leaves.
- These spots indicate that the fungus has moved from the roots to the upper parts of the plant, affecting its vitality and appearance.
- To protect your roses, it’s essential to manage soil moisture and prevent fungal growth in the roots.
2. Poor air circulation: Roses planted too closely together or in an area with poor airflow are more prone to this disease.
3. Excessive moisture: Water sitting on the leaves for extended periods encourages the growth of the fungus.
4. Fungal pathogens: Specifically, Diplocarpon rosae is the culprit behind black spot disease.
Why is it Important to Treat Black Spot on Roses?
Treating black spot isn’t just about aesthetics—it’s crucial for the overall health of your roses. Here’s why:
Impact on plant health: The disease weakens the plant by inhibiting photosynthesis, the process by which plants convert sunlight into energy.
- If left unchecked, black spot can easily spread to nearby rose bushes, leading to widespread damage.
How to Identify & Treat Black Spot on Rose Leaves
Identifying black spot early is key to stopping it in its tracks. Here’s what to look for:
- Dark, circular spots with fringed edges on the upper side of the leaves.
- Yellowing of the surrounding leaf area as the infection spreads.
- Premature leaf drop, especially during the early stages of the growing season.
It’s important to distinguish black spot from other rose diseases like powdery mildew or downy mildew, which have different symptoms and require different treatments.
Preventing Black Spot on Rose Leaves
Prevention is always better than cure. Here are some steps to prevent black spot:
(i) Plant roses in a well-ventilated area. This helps to reduce humidity around the plant, cutting down the chances of fungal growth.
(ii) Water the base of the plant, not the leaves. This avoids creating a moist environment where the fungus can thrive.
Click here to read: How to control pest attack in Rose plant
Best Practices for Watering Roses
Watering roses correctly can significantly reduce the risk of black spot:
(i) Water in the morning, so the leaves dry quickly in the sun.
(ii) Avoid overhead watering. Instead, water the base of the plant to prevent moisture from sitting on the leaves.
(iii) Drip irrigation systems are excellent for providing a steady flow of water to the roots without wetting the foliage.
Organic Solutions to Treat Black Spot on Rose leaves
If you prefer a natural approach, several organic solutions can help treat black spot:
(i) Neem oil: This natural fungicide can be sprayed on affected plants to kill the fungus.
(ii) Baking soda solution: A mix of baking soda, water, and a little dish soap can be sprayed on leaves to prevent fungal growth.
(iii) Garlic spray: Garlic contains sulfur, which is a natural fungicide. Make a solution of garlic and water to spray on your roses.
Chemical Treatments for Black Spot
Sometimes, organic solutions aren’t enough. When the infection is severe, chemical treatments might be necessary:
- Fungicides: Both contact fungicides (which stay on the surface of the plant) and systemic fungicides (which are absorbed into the plant) can be used to treat black spot.
- Application timing: Fungicides should be applied every 7-14 days during the growing season to protect new growth.
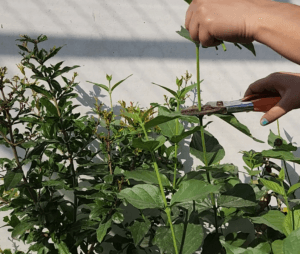
Pruning Techniques to Prevent Black Spot
Pruning is essential for preventing the spread of black spot:
- Remove infected leaves immediately to prevent the disease from spreading.
- Use sharp, clean pruning tools to make clean cuts that heal quickly.
- Dispose of infected material away from your garden—never compost it, as the fungal spores can survive and reinfect your plants.
Click here to read: How to prepare Best Soil mix for Rose plant
=======================
Follow our Social media channel:
2. Voice of Plant Facebook Page
3. Instagram Voice of Plant Channel
Happy Gardening!