
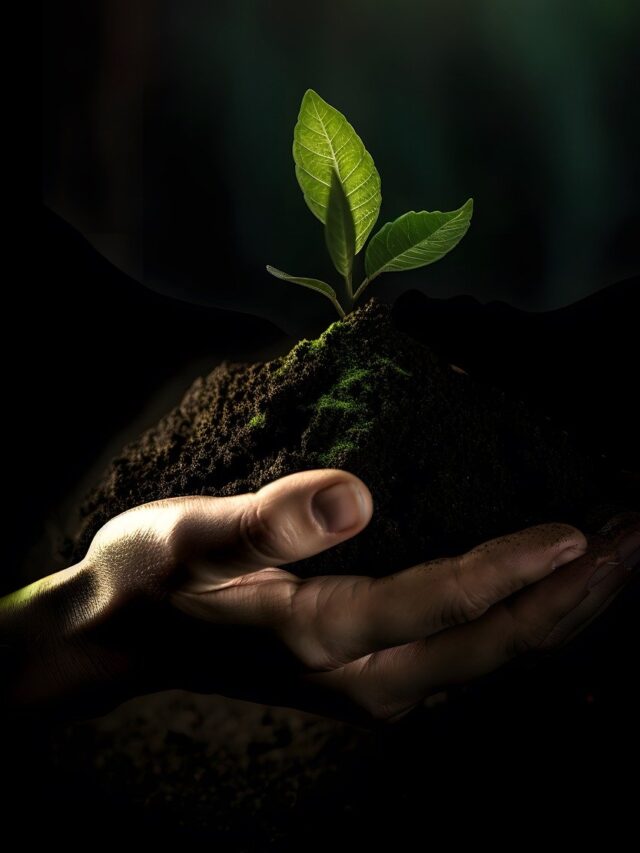


Are you wondering to grow flowering plants in your garden? The monsoon season is the perfect time to start growing beautiful flowering plants in your home garden.
Here are thirteen flowering plants that thrive during the rainy season:
13 Best Flowers To Grow During Rainy Season

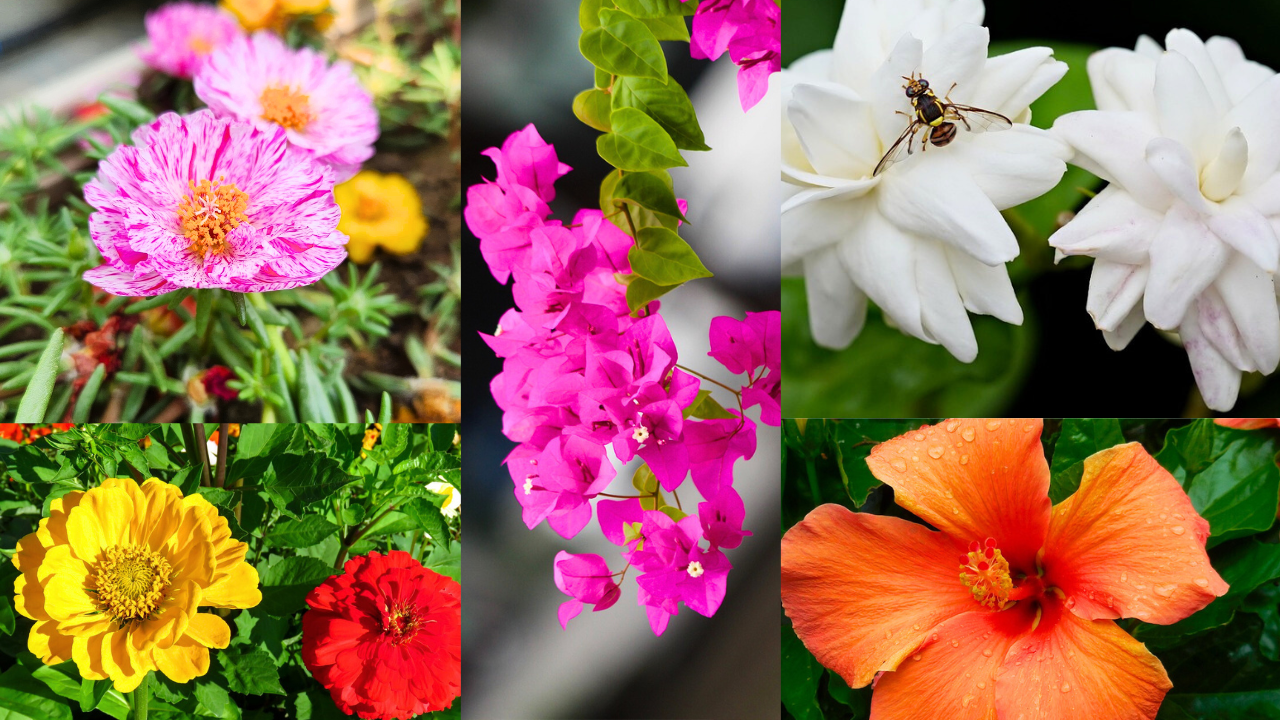
1. Hibiscus

(i) Growing Conditions:
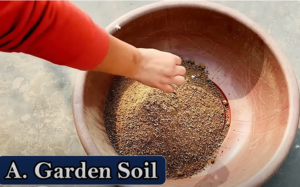
- Prefers full sun and well-drained soil. Hibiscus plants enjoy the humid conditions of the rainy season.
(ii) Tips:
- Regularly prune to encourage new blooms and manage size.


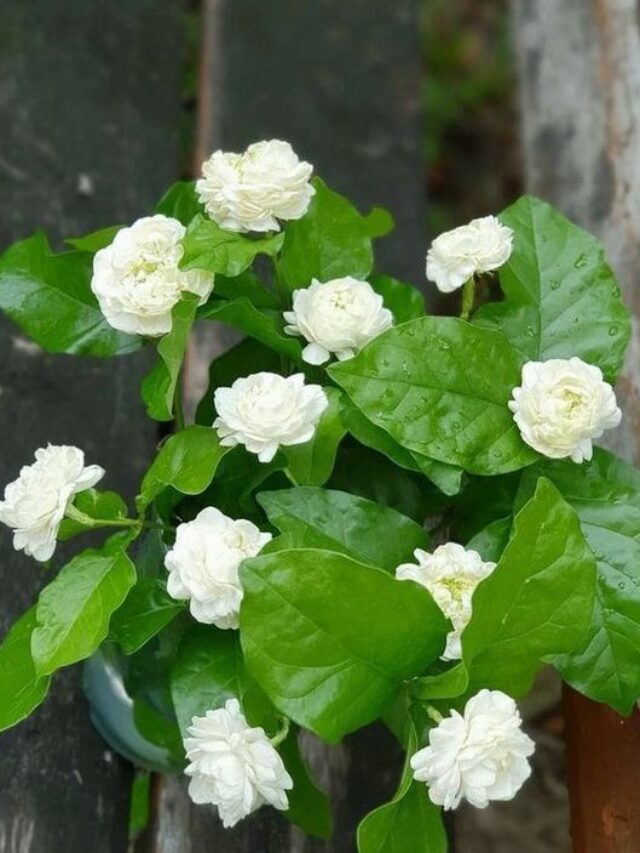
2. Jasmine (Mogra)

(i) Growing Conditions:
- Thrives in well-drained, moderately fertile soil with full to partial sunlight.
(ii) Tips:
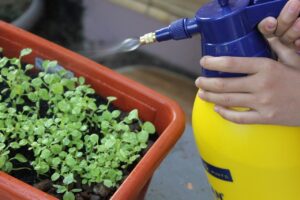
- Provide a trellis or support for climbing varieties, and water regularly to keep the soil moist but not waterlogged.
3. Marigold

(i) Growing Conditions:
- Marigolds prefer full sun and well-drained soil. They are hardy and can handle the rain well.
(ii) Tips:
- Deadhead spent flowers to encourage continuous blooming.
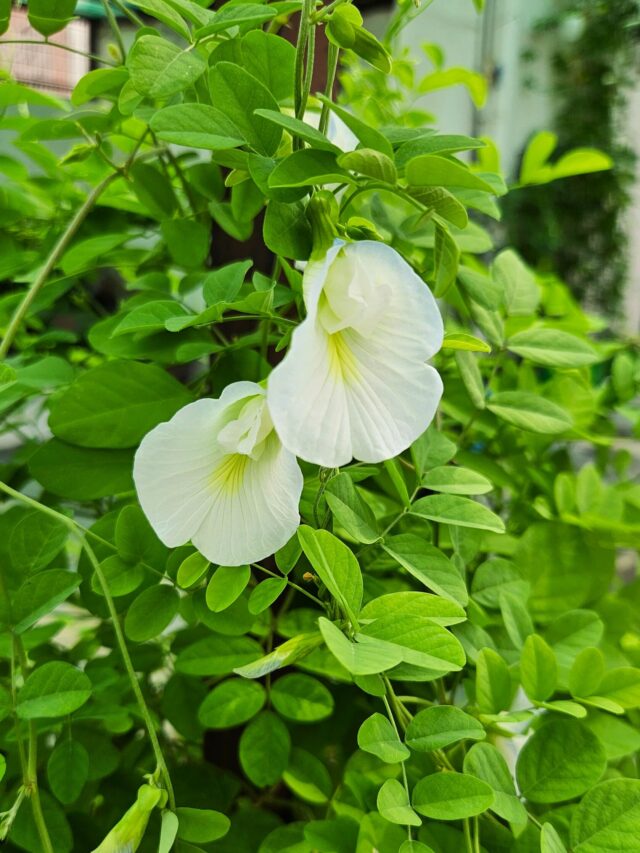
4. Clitoria (Aprajita)

(i) Growing Conditions:
- Grows well in full sun to partial shade and requires moist, well-drained soil.
(ii) Tips:
- Regularly prune to maintain shape and promote flowering.
5. Night Blooming Jasmine

(i) Growing Conditions:
- Prefers full to partial sunlight and well-drained soil. Thrives in humid, rainy conditions.
(ii) Tips:
- Plant near windows or patios to enjoy the fragrance at night.
6. Vinca

(i) Growing Conditions:
- Thrives in full sun to partial shade and can tolerate a wide range of soil conditions.
(ii) Tips:
- Water moderately and avoid waterlogging. Prune regularly to maintain a bushy appearance.
7. Zinnia

(i) Growing Conditions:
- Prefers full sun and well-drained soil. Zinnias are drought-tolerant but also do well in the rain.
(ii) Tips:
- Deadhead to encourage more blooms and prevent disease.
8. Sunflower

(i) Growing Conditions:
- Sunflowers need full sun and well-drained soil. They thrive in the heat and humidity of the rainy season.
(ii) Tips:
- Provide support for taller varieties to prevent them from toppling over in the wind.
9. Portulaca

(i) Growing Conditions:
- Prefers full sun and well-drained, sandy soil. Portulaca is very drought-tolerant but can handle rain.
(ii) Tips:
- Water sparingly and avoid overwatering, as the plant is prone to root rot.
10. Plumeria
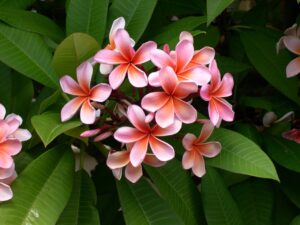
(i) Growing Conditions:
- Thrives in full sun and well-drained soil. Plumeria enjoys the humidity and warmth of the rainy season.
(ii) Tips:
- Protect from heavy winds and provide support if necessary.
11. Salvia

(i) Growing Conditions:
- Prefers full sun and well-drained soil. Salvias are quite hardy and can handle the rainy season well.
(ii) Tips:
- Prune spent flowers to encourage more blooms and promote bushier growth.
12. Bougainvillea

(i) Growing Conditions:
- Needs full sun and well-drained soil. Bougainvillea thrives in the heat and humidity of the rainy season.
(ii) Tips:
- Regularly prune to control size and shape, and provide support for climbing varieties.
13. Cosmos

(i) Growing Conditions:
- Prefers full sun and well-drained soil. Cosmos are resilient and can handle rainy conditions well.
(ii) Tips:
- Deadhead regularly to encourage new blooms and prevent the plant from becoming leggy.
These flowering plants not only add beauty to your garden during the rainy season but also attract pollinators and bring vibrant colors to your home.
Also, check – 9 Plants You Should Grow At Home
Happy gardening!