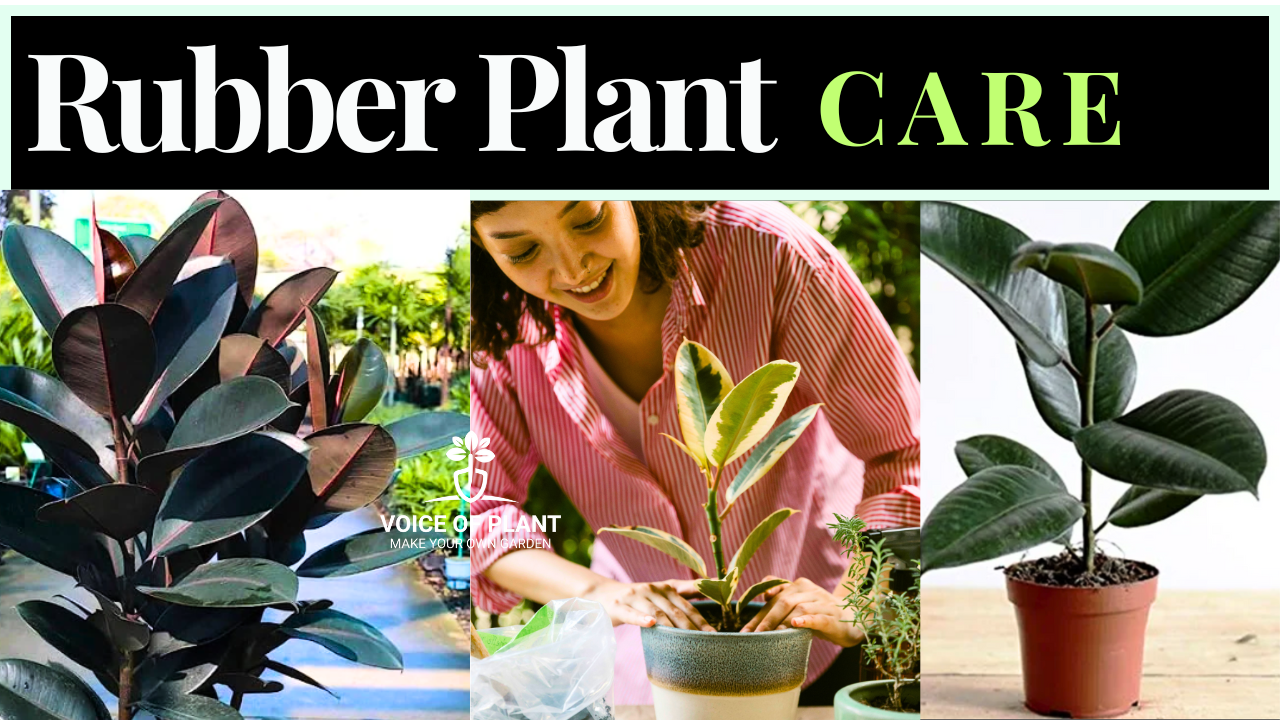


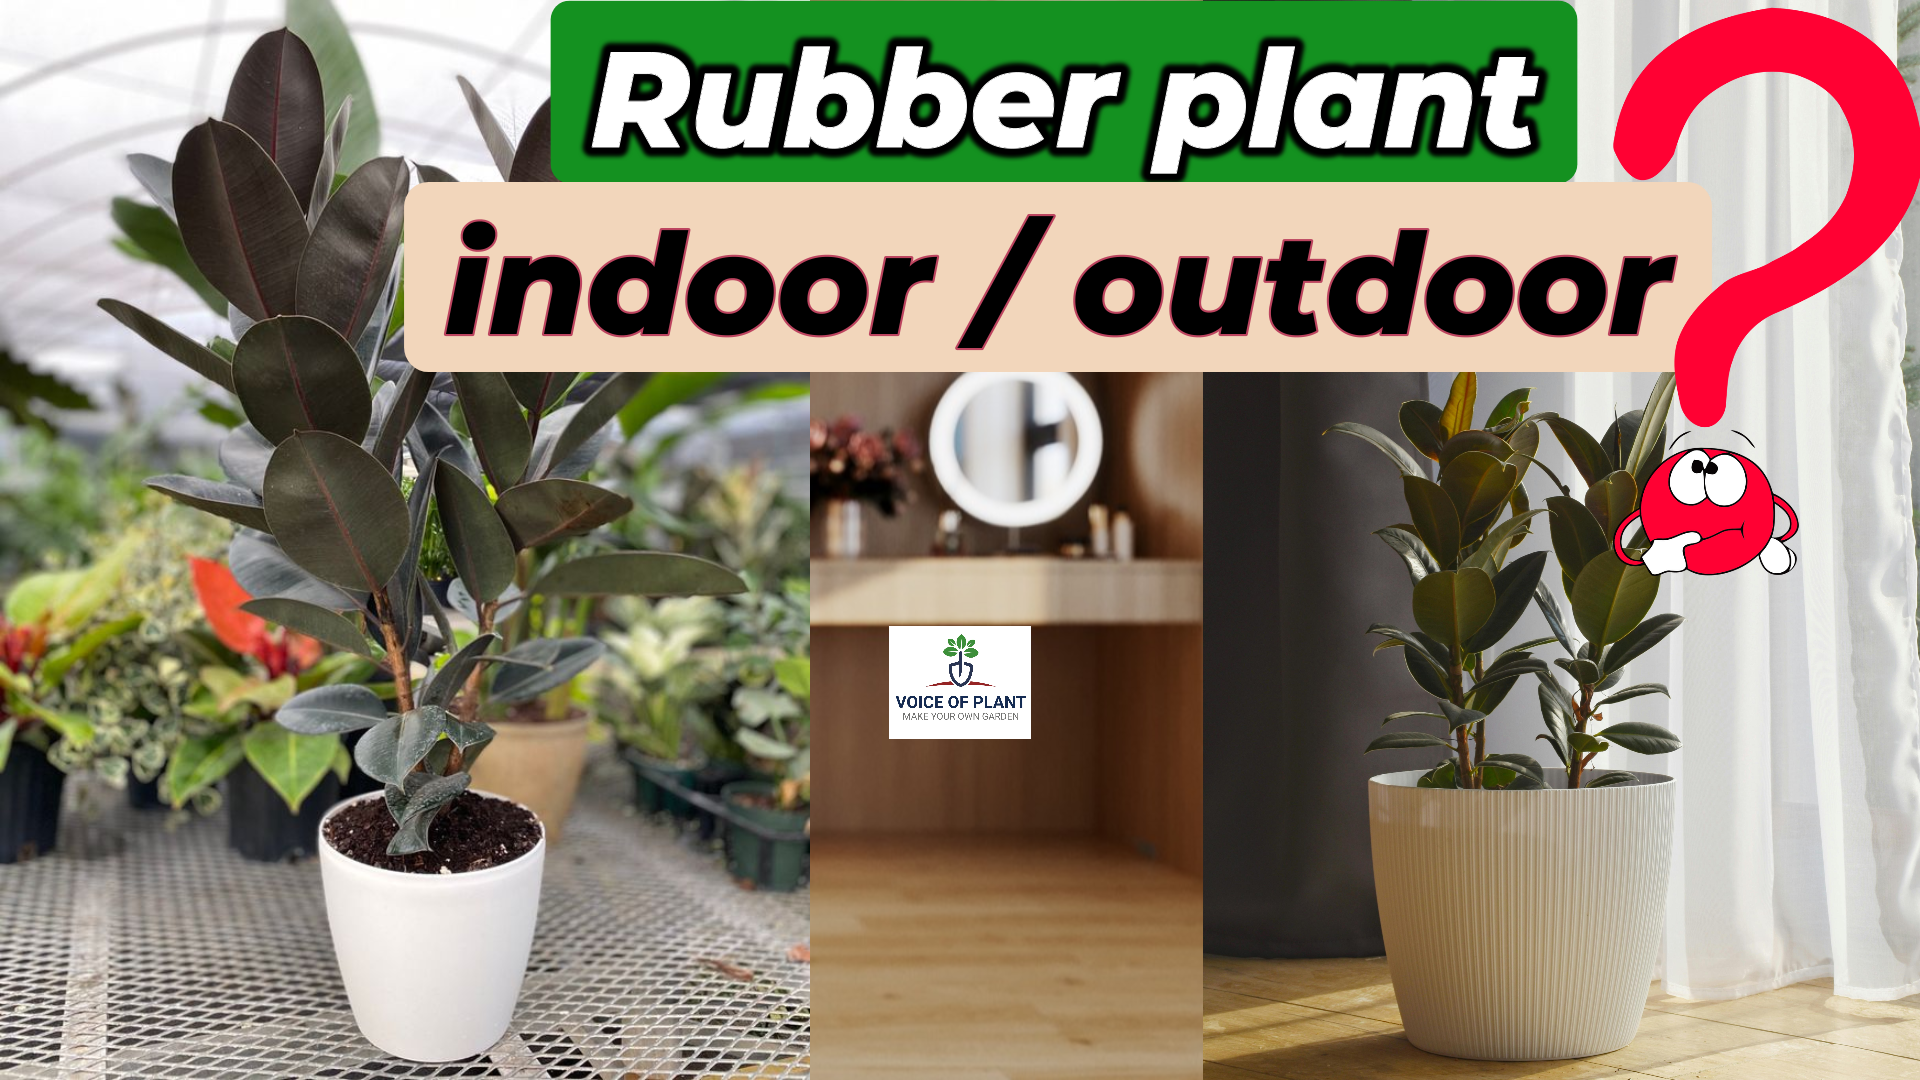
Is Rubber Plant an Indoor or Outdoor Plant?
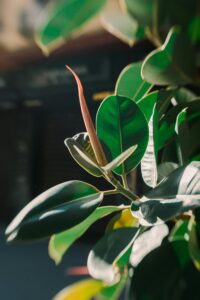
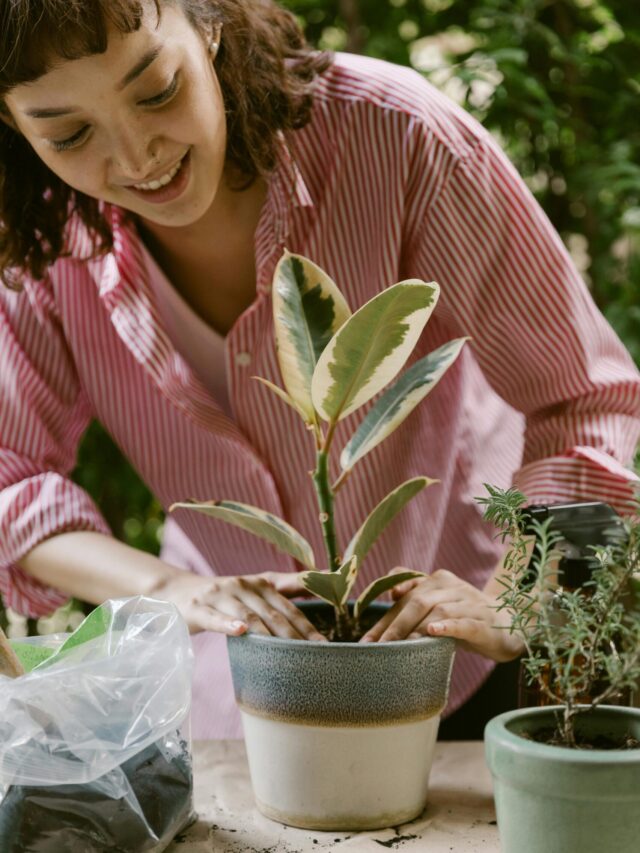
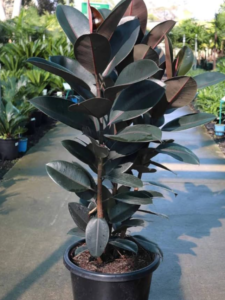
Rubber plants (Ficus elastica) are among the most popular houseplants due to their stunning, glossy leaves and easy-to-manage nature.
Often people get confused about whether it is more appropriate to keep it indoors or outdoors for better growth.

This article explores whether rubber plants should be grown indoors or outdoors, how to care for them in different settings, and the benefits and challenges of both approaches.


Ideal Conditions for Rubber plant
1. Temperature:
The Rubber Plant is a typical summer plant that thrives in temperatures ranging from 20-30℃.
Note:
- While it can handle high temperatures if kept in the shade, it experiences stress when temperatures drop in winter.
- Protect your rubber plant from cold.
2. Placement & Sunlight requirement of the Rubber plant

The Rubber plant can be grown both indoors and outdoors.
Indoor placement:

Rubber plants are ideally suited for indoor growth. They prefer bright, indirect sunlight but can tolerate lower light levels.
- If you prefer to keep Rubber plant indoor, ensure it receives ample bright light.
- Placing it near a window where it can receive about half an hour of direct sunlight is ideal.
- However, if the plant is kept in low or medium light conditions, it may struggle to thrive.
Best Indoor care tips for Rubber plant

- Place them near windows or doors with bright, indirect light.
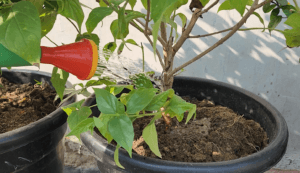
- Water them when the top inch of soil feels dry.
- Wipe the leaves occasionally to remove dust and maintain their shine.
Can Rubber Plants Grow Outdoors?
Ideal outdoor growing conditions:
When kept outdoors, avoid exposing it to the direct, scorching heat of the sun for extended periods.
- Instead, provide 2-3 hours of mild sunlight in the morning and evening.
- During the afternoon, keep the plant in the shade.
Best outdoor care tips for Rubber plant
- Place them in a shade.
- Avoid placing them in a direct sunlight.
- Water them when the top inch of soil feels dry.
- Wipe the leaves occasionally to remove dust and maintain their shine.
Comparing Indoor & Outdoor Rubber plant care
Differences in Light Requirements
Indoors, rubber plant need bright but indirect light. Outdoors, they can tolerate some direct sunlight, especially in the morning, but too much can scorch their leaves.
Watering Needs: Indoors vs. Outdoors
Indoor rubber plants need to be watered moderately, while outdoor plants might require more frequent watering, especially in hot or dry climates.
Click here to read:
9 Tips to care Rubber plant
Best places to keep a Rubber plant indoors

Rubber plants thrive in well-lit indoor spaces. They are perfect for:
1. Living Rooms: Bright and spacious areas.
2. Office Spaces: Their air-purifying qualities can improve air quality and create a calm atmosphere.
3. Bedrooms: These rooms offer high humidity levels, which rubber plants love.
Are Rubber Plants Safe for Pets Indoors?
Rubber plants can be toxic to pets if ingested, causing irritation to the mouth and stomach.
- It is best to keep the plant out of reach of curious cats or dogs.
Ideal Soil – Mix for Rubber Plants

Rubber plants do best in loose, well-drained soil.
- Enrich the soil with organic compost to promote healthy root development.
Check this article:
How to make Soil – mixture for plants
Conclusion
In summary, rubber plants can thrive both indoors and outdoors, depending on your climate and care. Understanding their needs in each environment will help ensure they stay healthy and vibrant.
Follow our Social media channel:
1. Voice of Plant – YouTube Channel
2. Voice of Plant Facebook Page
3. Instagram Voice of Plant Channel
Happy Gardening!