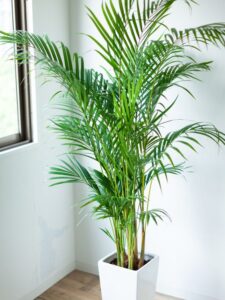
Areca Palms are fantastic at cleaning the air and giving off oxygen, making them a wonderful addition to your indoor spaces for a breath of fresh air.
Many gardeners often worry about white patches on their Areca Palm and, without fully understanding the issue, apply treatments that can harm the plant.
There is no need to worry; we have identified the cause and will provide the correct treatment to resolve the problem. Follow our guidance to ensure your Areca Palm stays healthy and vibrant.
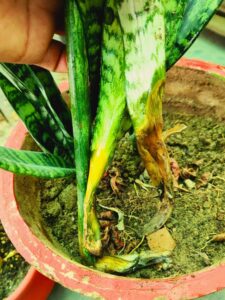
White patches on Areca palm
White patches on Areca Palm leaves can be caused by several factors, including fungal infections, pest infestations, or mineral deposits. Here’s how you can treat them:
5 Expert Tips to treat White Patches on Areca Palm Leaves
1. Identify the Cause
(1) Fungal Infection:
If the white patches are powdery and spread across the leaves, it might be a fungal issue like powdery mildew.
(2) Pests:
White patches could also be due to pests like spider mites or mealybugs.
(3) Mineral Deposits:
Sometimes, hard water can leave mineral deposits on the leaves, creating white patches.
2. Treatment for Fungal Infection
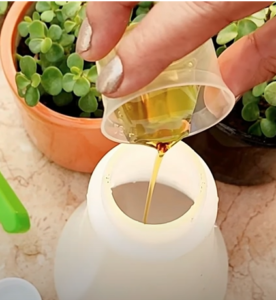
(1) Neem Oil:
Mix neem oil with water and spray it on the affected leaves. Neem oil has antifungal properties.
(2) Fungicide:
To treat fungal infection on areca palm plant, you can use neem oil solution, neem soap solution and cinnamon liquid solution.
You can boil small amount of cinnamon powder in water, let the solution cool down, add 1 litre of water and then spray it on the leaves.
You can add small amount of fungicide in 1 litre of water and then spray it on the leaves.
Note:
Spray your plants with a neem solution weekly to protect them from fungus and pest attacks.
(3) Improve Air Circulation:
Ensure the plant has good air circulation to prevent the spread of the fungus.
3. Treatment for Pests
(i) Soap Spray:
Mix a few drops of mild liquid soap in water and spray it on the leaves. This can help eliminate pests like mealybugs and spider mites.
(2) Rubbing Alcohol:
Dab a cotton swab in rubbing alcohol and apply it directly to the pests. This is particularly effective against mealybugs.
(3) Neem Oil:
Mix neem oil with water and spray it on the affected leaves.
Does Your Jade Plant Need a Large Pot for Healthy Growth?
Jade plants are popular succulents that are easy to care for and make beautiful additions to your garden area.
One of the key factors in maintaining a healthy jade plant is selecting the right pot size. But does your jade plant really need a large pot for optimal growth? Let’s dive into the specifics.
Best Pot Size for Jade Plant
Understanding Jade Plant Growth
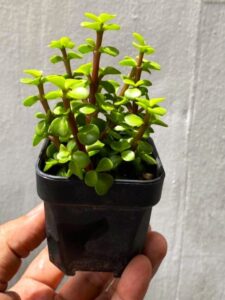
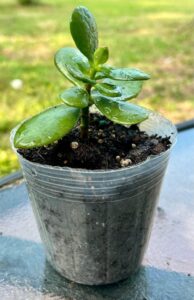
Jade plant in small pot
Before we discuss pot size, it is important to understand how jade plant grow.
Slow growth
These succulents have a slow to moderate growth rate and prefer well-draining soil.
They do not require deep pots to thrive
Their root systems are relatively shallow, which means they do not require deep pots to thrive.
Why Pot Size Matters
The size of the pot you choose can significantly impact the health and growth of your jade plant. Here’s how:
1. Drainage:
Jade plant is susceptible to root rot if left in waterlogged soil.
A pot that is too large may hold excess moisture, increasing the risk of rot.
It is essential to choose a pot with good drainage holes to prevent this issue.
2. Root Development:
While it might seem like giving your jade plant more space to grow is beneficial, a pot that’s too large can actually hinder root development.
In a large pot, the soil may stay moist for too long, which can lead to root rot before the plant has a chance to establish itself.
3. Stability:
Jade plants are known for their thick, woody stems and heavy leaves.
A pot that is too small might not provide enough stability, causing the plant to topple over as it grows.
On the other hand, a pot that is too large might make it difficult for the plant to anchor itself securely.
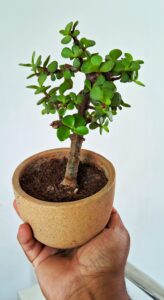
Choosing the Right Pot Size for Jade Plant
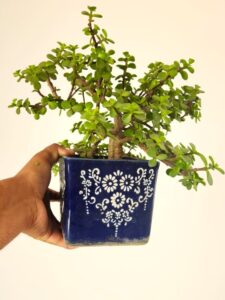
Healthy Jade plant in ceramic pot
So, what is the best pot size for a jade plant?
1. Small to Medium Pots:
Generally, jade plant do well in small to medium-sized pots, depending on their size.
For a young jade plant, a pot that is 2-4 inches larger in diameter than the plant’s root ball is ideal.
Young Jade plant in small pot
As the plant grows, you can gradually move it to a slightly larger pot, but avoid jumping to a pot that is too large too quickly.
Every 2-3 years is usually sufficient, and when you do repot, only increase the pot size by a couple of inches.
This allows the plant to grow steadily without overwhelming its root system.
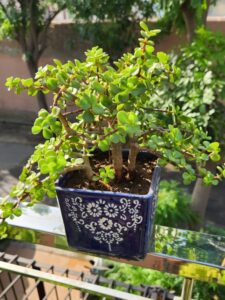
Pot Material Considerations
The material of the pot can also affect the health of your jade plant:
1. Terracotta Pots:
These are excellent for jade plants because they are porous and allow the soil to dry out between waterings, reducing the risk of root rot.
2. Plastic Pots:
While lightweight and affordable, plastic pots retain moisture longer, which may not be ideal for jade plants.
If using a plastic pot, ensure it has adequate drainage holes and monitor soil moisture closely.
3. Ceramic Pots:
Healthy Jade plant in ceramic pot
Glazed ceramic pots can also be a good choice, but like plastic, they hold moisture longer.
Just make sure they have good drainage.
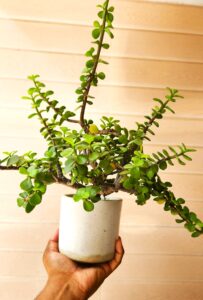
Signs Your Jade Plant Needs a New Pot
healthy jade plant
How do you know when it’s time to repot your jade plant? Here are some signs to look out for:
Roots Growing Out of the Drainage Holes: If you notice roots coming out of the bottom of the pot, it’s time to move your jade plant to a slightly larger pot.
Stunted Growth: If your jade plant has stopped growing and looks cramped, it may need more space.
Frequent Wilting: If your plant wilts frequently even though you’re watering it properly, the roots may be overcrowded.
Conclusion
In conclusion, jade plant do not need a large pot for healthy growth. In fact, smaller pots are often better suited to their shallow root systems and preference for well-drained soil.
Choosing the right pot size and material can help ensure your jade plant thrives, offering you beautiful greenery for years to come. When in doubt, opt for a pot that’s just slightly larger than the plant’s root ball and ensure it has good drainage to prevent waterlogging.
By following these guidelines, you can enjoy a healthy and vibrant jade plant in your home or garden.
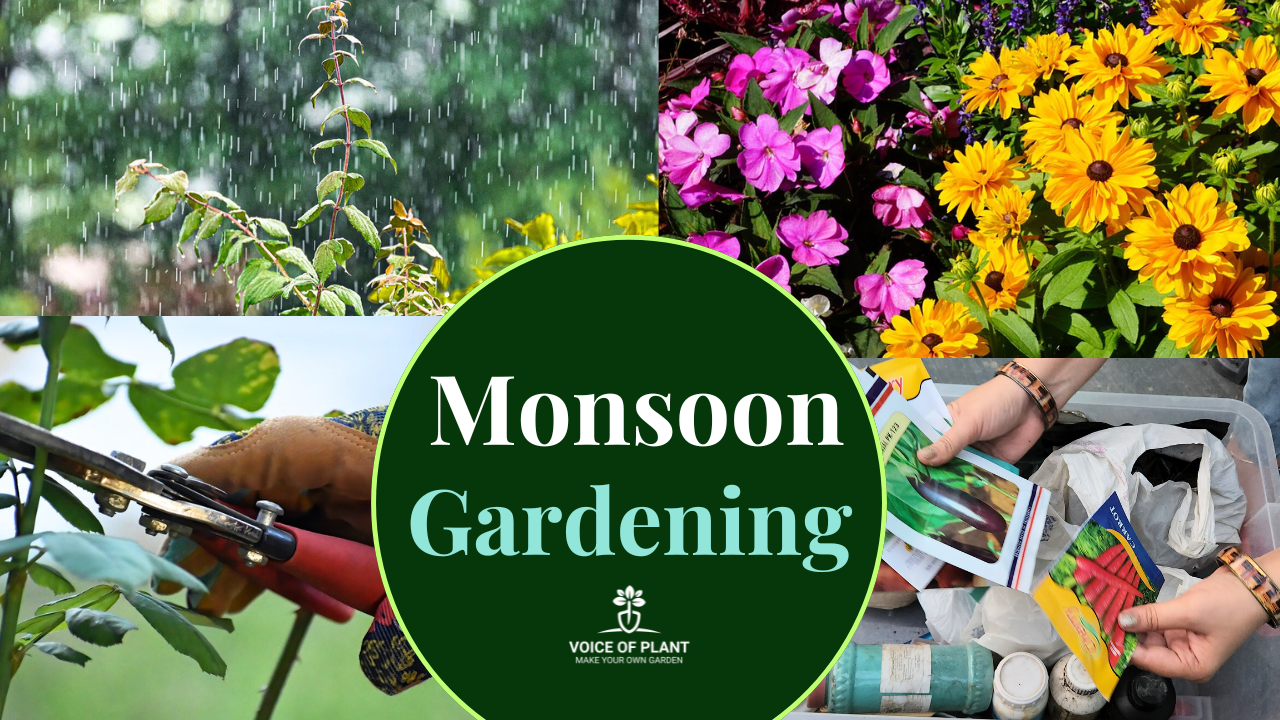
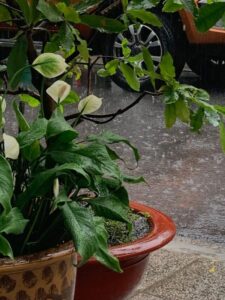
The monsoon season brings much-needed relief to plants after the intense summer heat, but it also presents unique challenges. Prolonged wet conditions can last for 2 to 2.5 months, increasing the risk of root rot, especially in indoor plants.
Monsoon season
Garden plants with many flowers are also prone to damage, and pests thrive during this period. It is crucial to take special precautions and understand which plants, vegetables, cuttings, or fruits are best suited for this time. This guide will cover all aspects of monsoon gardening, starting with the necessary precautions.
16 Tips for Monsoon Gardening
1. Remove all damaged and spoiled plants
After a harsh summer, many plants may wither or become damaged. While it is normal for seasonal plants to decline, even hardy plants can succumb to extreme temperatures.
After the rains begin, give your plants a week to recover. If they don’t bounce back, it’s time to remove them from your garden. Collect any empty pots to assess how many new plants you can add.
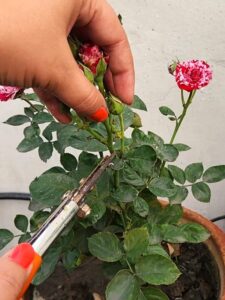
2. Pruning of plants
Pruning is essential to make plants denser and healthier.
As the monsoon season starts, remove yellow leaves and dead stems of indoor, outdoor, winter, or summer plants.
Avoid hard pruning during this time; focus on light pinching instead. This helps control stem elongation and ensures plants stay bushy, with healthy leaves and flowers.
3. Soil care during monsoon season
During summer, mulching with cocopeat is common, but loosening the soil is difficult. Now is the time to care for your soil.
Remove unwanted weeds, loosen the soil to improve its texture, and add necessary fertilizers.
Pruning the grass reduces the chances of fungal attacks and prevents the formation of green algae on the soil’s surface.
Loosen the soil weekly to promote healthy plant growth.
4. Maintaining garden cleanliness
The monsoon season demands extra attention to garden cleanliness:
1. Keep all dry items, like leaves, fertilizer packets, and soil bags, covered to prevent them from getting wet and attracting insects.
2. Prevent water stagnation around your garden area, which can attract mosquitoes and cause drainage issues. Regularly check and clear any debris that may clog the drainage system.
3. Dispose of any garbage promptly to avoid creating a problematic situation.
5. Selecting seeds for monsoon gardening
Choosing the right seeds is crucial during the monsoon:
1. Vegetables: Pumpkin, bottle gourd, bitter gourd, ridge gourd, lady finger, tomatoes, eggplants, chilli, coriander, and mint are ideal for planting.
2. Flowers: Petunia, hybrid vinca, and sunflowers can be planted now, regardless of their typical season. Most flowers thrive during the rainy season.
3. Avoid: Winter vegetables and capsicum during this season.
6. Protect delicate plants
Some plants do not thrive in excessive water and need protection from direct rain. Here’s how to manage them:
1. Succulents and Hardy Plants: Keep them away from direct rain.
Examples include Echeveria, Crassula ovata, Aloe vera, Coleus, Hybrid vinca, Kalanchoe pinnata, and Dumb cane, etc.
2. Limited Rain Exposure: Croton, Rose, Chrysanthemum, Aglaonema, Areca palm, and Adenium can handle rain occasionally but should be moved to the shade afterward.
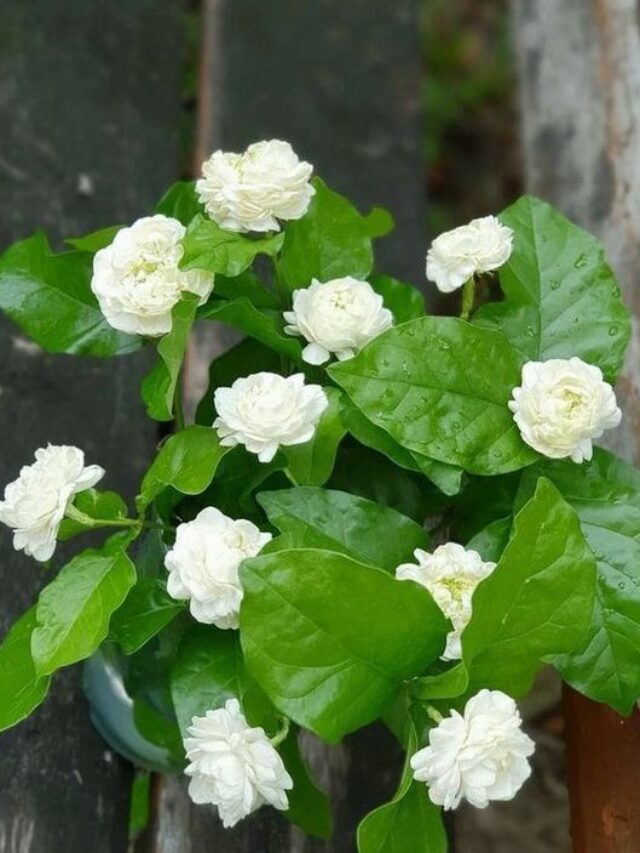
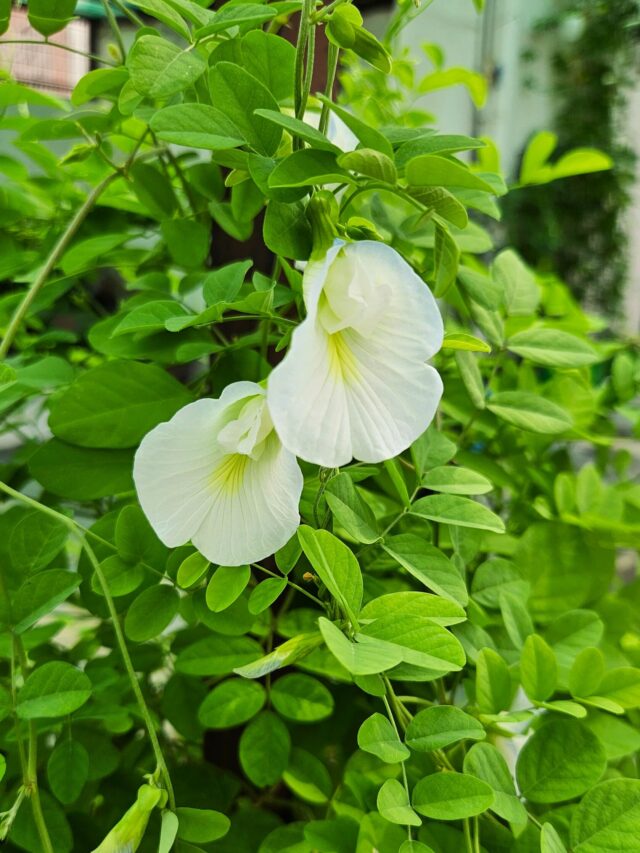
3. Outdoor Plants Tolerant of Rain: Tulsi, Curry leaf plant, Hibiscus, Gandhraj (Cape jasmine), Madhukamini (Orange Jasmine), and Madhumalti (Rangoon creeper) can generally withstand rain and thrive with proper care.
7. Rainwater Harvesting
Pic credit: Pinterest
Rainwater is excellent for plants, so collect it in containers.
Use this water for plants that typically don’t like direct rain exposure.
Indoor plants that are not kept directly in the rain can also benefit from this natural water.
Monsoon season is prime time for pests. Protect your plants with neem oil spray, or if needed, switch to a plant protector:
Plant Protector: Mix 2 ml with 1 litre of water and apply every 3 days.
This organic solution prevents and treats various pest infestations, including snails, aphids, spider mites, and mealybugs, without any harmful side effects.
10. Plant propagation
Monsoon is ideal for propagating plants from cuttings:
1. Soft Cuttings: Plants like Money plant, Portulaca, Mint, Syngonium, Monstera, and ZZ plant can be propagated in water.
Ensure the container is clean, change the water regularly, and avoid direct sunlight.
2. Hard Cuttings: Rose, Bougainvillea, Hibiscus, Mogra, and Aprajita plant cuttings can be propagated in moist sand.
Keep them in a shaded area, maintain moisture, and avoid disturbing them.
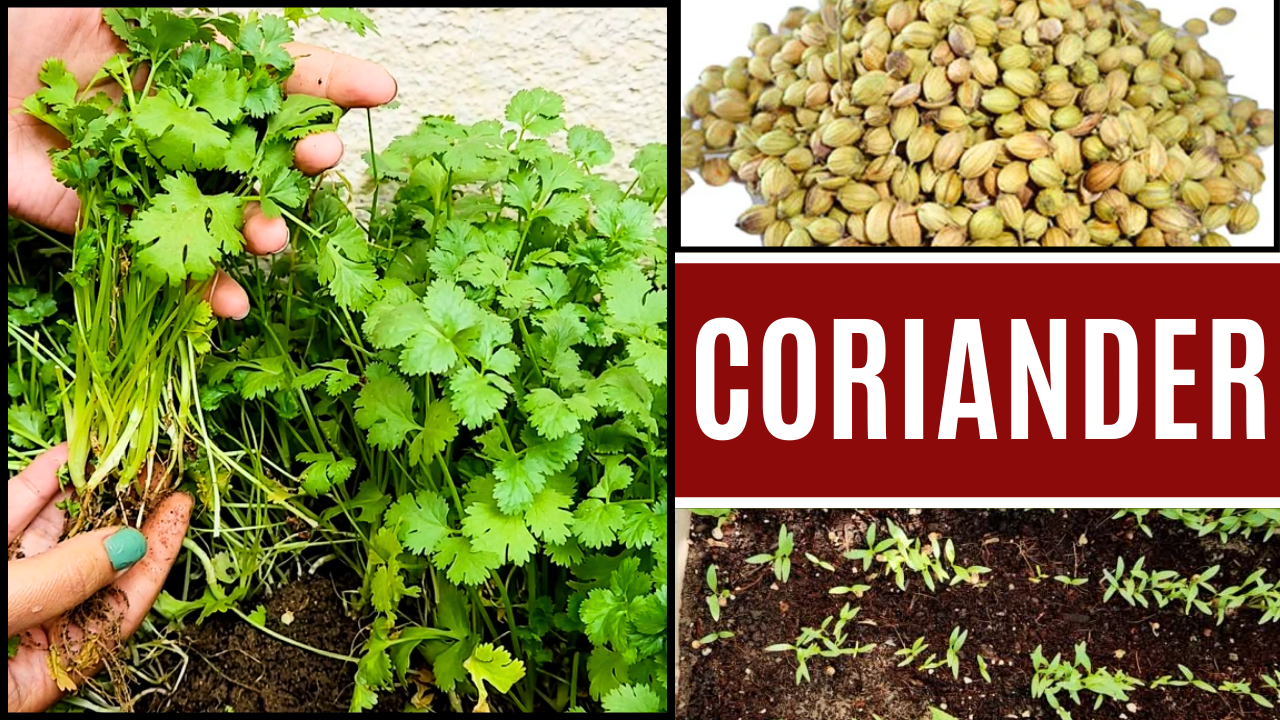
Coriander is always in demand to garnish food or to satisfy the taste buds with its aromatic healthy taste. Consuming coriander is also beneficial for health.
It can be effective in increasing digestive power, maintaining cholesterol levels, diabetes, kidney, and many other diseases. It contains proteins, fats, fibers, carbohydrates, and minerals which make it a powerful food.
Apart from this, calcium, phosphorus, iron, carotene, thiamin, potassium, and vitamin C are also found in green coriander.
Coriander from seeds in pot
The method of growing coriander in the ground or pot is quite easy. With a little care, you can consistently have fresh coriander to eat. It is easily available in the market or can be grown at home also by following some simple but proper techniques. All the easy-to-do modes are explained here which are followed by experts to grow healthy coriander. So, let’s start.
Coriander
Coriander is a small plant of 6-10 inches, it is very easy to grow and take care of. It takes a total of 25-30 days from sowing the seeds to making the coriander plant ready for consumption.
Tips to grow Coriander from seeds
1. Soil for Coriander
Soil should be soft and porous to grow coriander. In compacted soil, coriander seeds may sprout initially, but they will eventually become buried within the soil.
It’s crucial for the soil to have effective drainage.
Coriander plants don’t like waterlogged soil, so a mix that allows excess water to drain away is crucial.
Coriander does not grow well in hard soil.
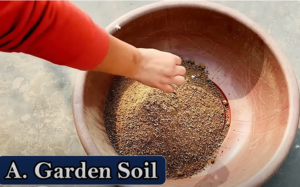
Tips to prepare soil mixture for coriander:
1. Take garden area soil
Garden area soil
You can take soil from your garden or any other nearby location and ensure it is free from debris such as plastic, glass, or any other unwanted material by cleaning and sieving it.
However, it’s essential to note that the quality of your garden soil matters.
If it’s too heavy or clayey, it might be better to use a mix of potting soil or garden soil with added compost to improve drainage.
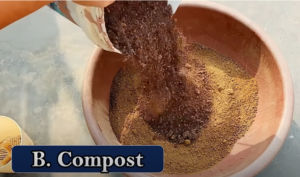
2. Take compost
Compost
Using compost is excellent for adding nutrients to the soil.
The quantity of compost should be half the amount of soil taken.
You can take any compost like – vermicompost, cow compost, kitchen compost, leaf compost, or any other.
3. River sand
River sand
River sand is an excellent choice for improving drainage in soil.
If the soil is not sandy, you should take comparatively in little less quantity of compost.
However, if the soil is already sandy, then there is no need to add sand.
4. Coco peat
Coco peat
Cocopeat helps retain moisture in the soil and is a good addition.
To prepare the soil, you should add coco peat in an amount equivalent to half of the quantity of sand you have taken.
5. Neem cake powder
adding neem cake powder
Adding neem cake powder in soil is beneficial for pest control.
Additionally, you can add a small amount of neem cake powder to the mixture, if available with you.
Mix all the ingredients properly and this is the perfect soil mixture for “coriander”.
Pot shape & size for coriander
For growing coriander, it is recommended to use rectangular pots with a depth of 6 inches and holes at the bottom for drainage.
You can cover the holes with either clay pieces or newspaper.
Fill the pot with the prepared soil mixture and water it sufficiently to make it moist.
Note:
You have to give water to the soil before adding the seeds into the soil, otherwise, the seeds might get displaced from their place.
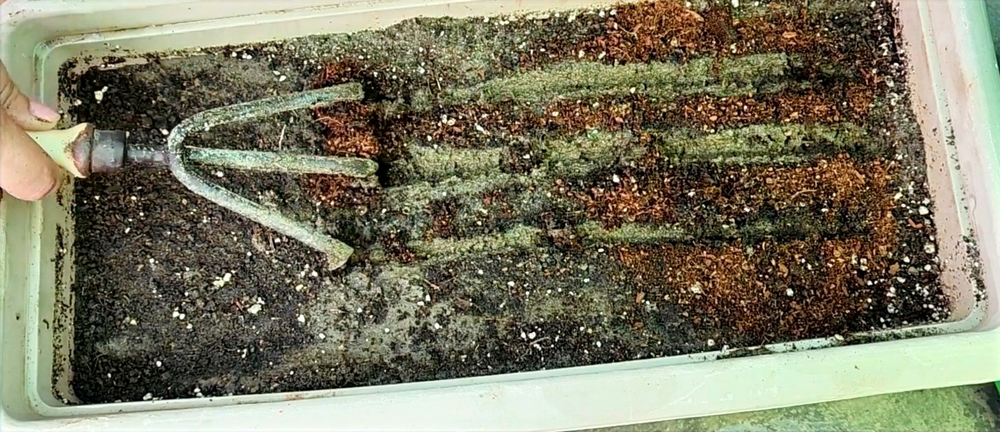
Make lines on the surface
You can use a trowel or any other tool to create lines on the surface of the soil mixture.
Then, fill these lines with coco peat, as this material can help seeds germinate more quickly.
Use high-quality coriander seeds
coriander seeds
To grow coriander, it is recommended to purchase fresh Coriander (Dhani) seeds from near seed store or nursery or a reputable online seller.
Avoid using seeds from your kitchen, as they may be old and less likely to germinate successfully.
“Dhani” seeds are inexpensive and easily available.
Temperature required for growing coriander seeds
The ideal temperature for growing coriander is during the period from October to March, which corresponds to the mild and cool seasons.
While coriander can be cultivated year-round by experts, it may suffer from scorching during extreme summer heat.
The growth rate of coriander is low in extreme winter conditions.
How to sow coriander seeds in pot
After creating the coco peat lines, place the coriander seeds on the surface and cover them again with the cocopeat.
sowing coriander seeds in pot
To maintain the moisture level in the soil, spray some water from the top.
Avoid using a mug, glass, or pipe to water the seeds, as this may displace them.
watering tips to coriander seeds
Note:
Always maintain moisture otherwise seeds will not germinate.
Always use a spray bottle to moisten the top layer.
Sunlight requirement for coriander seeds
Seeds can germinate in the absence of direct sunlight, but for optimal growth, especially after germination, it is essential to place coriander pot (in which we have sow the seeds) in an area where they can receive 3-4 hours of sunlight.
Sunlight is crucial for the overall growth of the plant.
Coriander seeds germination till harvesting
On the 6th day after planting the seeds, small leaves will begin to emerge as the seeds germinate.
coriander seeds growing
By the 10th or 11th day, there is a possibility that all the seeds will have germinated.
coriander seeds germinated
To maintain the moisture level of the coco peat, spray some water on it whenever it seems dry.
By the 16th or 17th day, the coriander plant should be bushy but not too dense.
coriander plant bushy
Approximately on the 25th to 28th day, the coriander plant should be fully grown and dense enough for harvesting.
When you need to use coriander, simply cut the plant from the top.
Watering tips for coriander
It is important to avoid pouring water from the top, as it may cause the coriander leaves to become enfolded.
watering coriander
Instead, water the plant from one corner of the pot, which will help to spread the water evenly throughout the soil.
Fertilizer for coriander
First harvesting: To start, the first harvesting, cut only the top half of the coriander plant.
Next, provide essential nutrients by using Mustard cake liquid fertilizer.
Second harvesting: After giving the fertilizer, the coriander will start growing again in about a week, and it will be time for the second harvesting.
fertilizer for coriander
During the third harvesting, you can harvest the entire coriander plant.
harvesting coriander
After harvesting, add some compost to the same soil and sow new seeds to grow coriander again.
use this soil again
It is a very easy process to grow organic and aromatic coriander at home.
If you also want to taste the real taste of coriander, then definitely try planting coriander in your home. If you like this article on how to grow coriander and the benefits of coriander, then do share and forward it to your friends.