


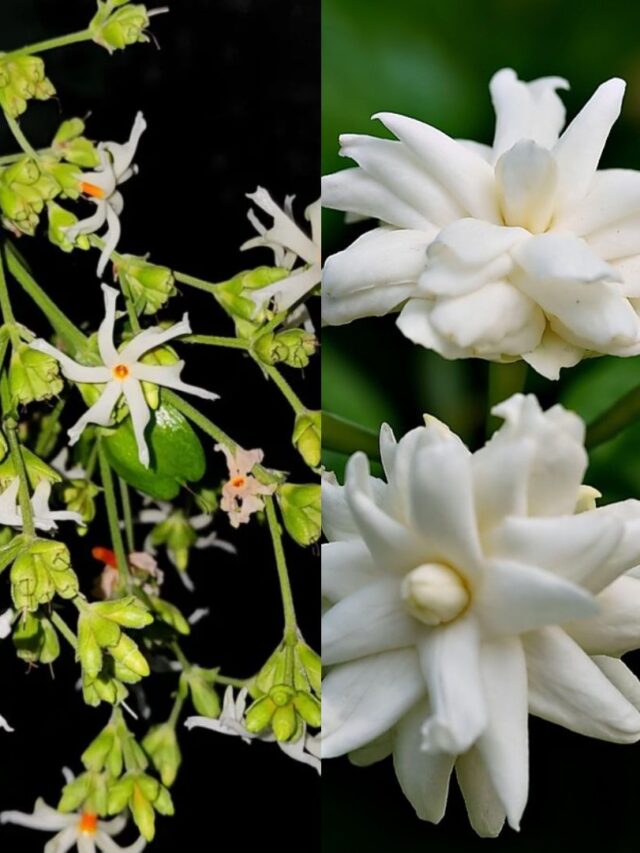


Night Blooming Jasmine (Harshringar) Plant Complete Care
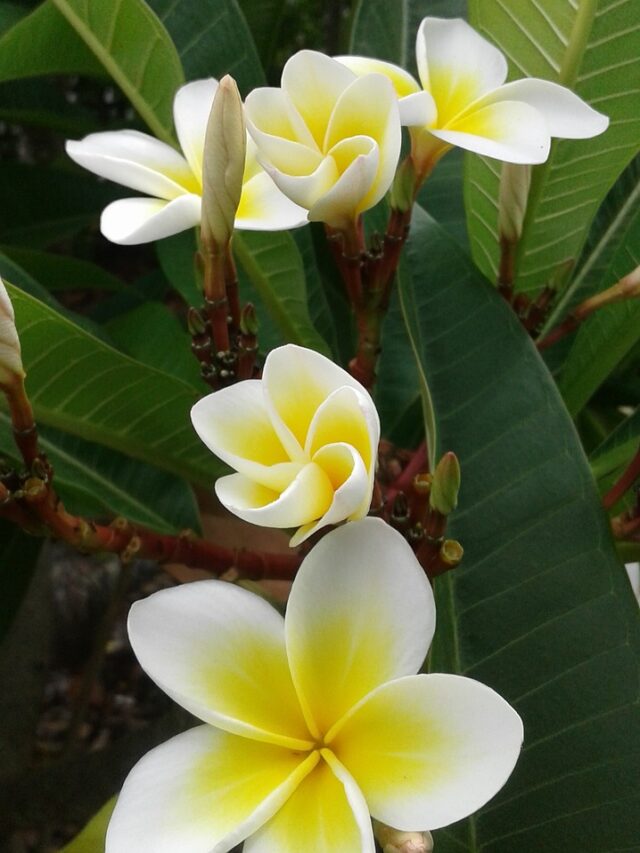
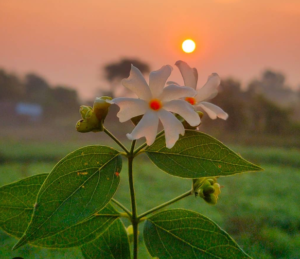
Harshringar, known by various names such as Parijata, Night-flowering Jasmine, Shiuli, or Shefali, is a tree that produces appealing flowers in orange and white colors. It can be grown in medium-sized pots to yield beautiful and aromatic blooms.

Harshringar is considered a holy plant with numerous benefits. People worship this plant and offer it to gods. Additionally, it possesses various medicinal and health benefits. The leaves of this plant have the potential to cure fever, sciatica, and knee pain, and different medicines are processed from these leaves. The flowers can be used to add natural food color to various dishes, and dried flowers can be used as a substitute for saffron.
This perennial plant is very hardy and easy to care for. Once established, it can thrive for up to 100 years. This write-up will detail all aspects of the Night Jasmine (Harshringar) plant’s complete care to foster a better understanding for everyone interested in cultivating it.
Best Season for Night Blooming Jasmine (Harshringar) Plant
The Night Jasmine (Harshringar) plant has distinct phases throughout the year:
1. Growing Season: Harshringar thrives as a typical summer plant, exhibiting vigorous growth for 8 months, from February to September. During this period, new branches and leaves emerge at a remarkable pace.
2. Blooming Season: The plant produces flowers during the autumn season, specifically from October to December.
3. Relaxing Period: Winter serves as the dormancy period for this plant. Particularly in North India, from the end of December until January, the plant undergoes a period of stress.
To maintain its health and encourage a continuous cycle of growth, blooming, and dormancy, it is advisable to perform pruning in February.
Propagation of Night Blooming Jasmine (Harshringar) Plant
1. Propagation from Cuttings:
-
- Night Jasmine can be easily propagated from cuttings.
- The optimal time for this method is in February.
2. Propagation from Seeds:
-
- Growing the plant from seeds is another viable option.
- February is considered the best time for seed germination.
3. Nursery Purchase:
-
- Alternatively, Night Jasmine plants are available for purchase at nurseries.
- The ideal time to acquire them from nurseries is from the end of March to April.
How to Identify Night Blooming Jasmine (Parijat) if buying from nurseries?
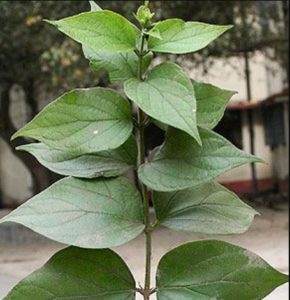
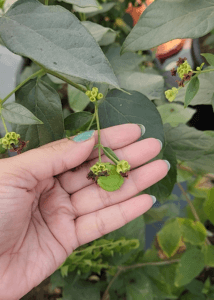
Since the plant might not have flowers initially, focus on the leaves for identification:
Leaf Characteristics:
-
- Leaves are slightly pointed with a rough texture, discernible by rubbing them with your hand.
- The leaves have a matte finish on the outer surface, not shiny in appearance.
- When touched, the leaves feel dry, exhibiting a slight dryness when folded with your hand.
Pot size for Night Blooming Jasmine (Parijat) plant
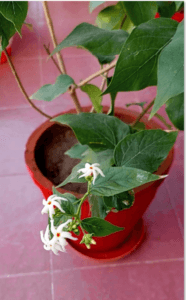
1. Preferred Pot Type: Large-sized clay or plastic pots are generally recommended.
2. Available Sizes: Opt for pots of various sizes, such as 12 inches, 16 inches, 18 inches, or 21 inches.
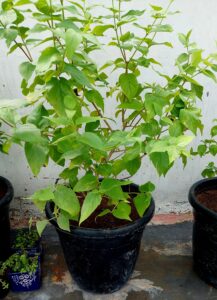
3. Transplanting: Shift the plant to a new, larger pot when it becomes sizable or when roots become bound.
Best Soil Mixture for Night Blooming Jasmine plant
Desired Soil Characteristics: The soil should be soft and friable. Avoid clayey and hard soil as these conditions are unfavorable for plant survival.

- Soil Preparation:
- Take local soil and clean it thoroughly.
- Mix sand in half the quantity of soil.
- Add compost (preferably Cow dung compost) in half the quantity of sand.
- Ensure a thorough and even mixture of all components.
Important Note:
- Hard or clayey soil, an inappropriate pot (it is recommended to use a clay pot for at least the first season), and over-watering can negatively impact the plant’s growth.
- After transplanting the plant, follow additional measures to encourage bushier growth until it begins flowering.
Sunlight Requirement for Harshringar plant
Once the plant has settled after shifting, place it in an area with maximum sunlight.
- Ensure a minimum of 4 hours of sunlight daily.
Pruning of Night Jasmine (Harshringar) plant
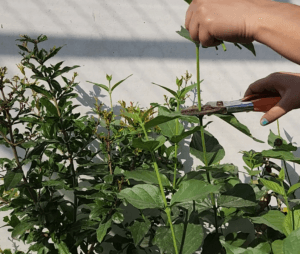
To encourage new growth, prune the plant by cutting the tips of all branches just above the nodes.
- Approximately 25 days later, new branches will emerge from the points where tips were removed.
Watering tips to Night Blooming Jasmine plant
Unlike many plants, Harshringar does not thrive in consistently moist soil. Follow these guidelines:
1. Initially, water the plant thoroughly in intervals until water drains from the bottom hole.
2. Subsequently, check the soil’s moisture level. If dry from the inside, water again.
3. Avoid watering if the soil is still wet. Harshringar is more prone to issues from overwatering than underwatering.
How to give Fertilizers to Night Blooning Jasmine plant
February to September:
- Use Cow Dung Liquid Fertilizer once a month at a fixed date.
- Alternatively, vermicompost tea can also be used during this period.
October to January:
- Use liquid fertilizer made from mustard cake for these four months.
Additional Micronutrient Tonic:
- During this period, provide a liquid tonic containing micronutrients such as Onion peel, Epsom salt, or Banana peel every 15 days.
Flowering Period:
- Autumn is the flowering season for Night Jasmine. To support abundant blooming, provide appropriate fertilizers.
Unique Flowering Routine:
- Night Jasmine follows a distinctive flowering routine. Flowers bloom during autumn nights and naturally fall the next morning. The blooming period lasts for around 1.5 months, followed by the dormancy period in winter.
=============================
Ensure the health of your Night Jasmine plant by following these fertilizer guidelines and enjoy a bountiful harvest of its beautiful flowers.
Also, read:
Night Jasmine Plant: Problems & Solutions
Follow our Social media channel:
1. Voice of Plant – YouTube Channel
2. Voice of Plant Facebook Page
3. Instagram Voice of Plant Channel
Happy Gardening!