


Top 10 Summer Flowering Plants to Brighten Your Home
Are you a budding gardener, eager to bring life to your balcony or garden this summer but unsure where to start? Fear not! We are here to guide you with a list of vibrant summer flowers that will thrive beautifully in your outdoor spaces, even if you are new to gardening.
Let’s explore the vibrant world of summer blooms you can bring into your home, transforming your garden, balcony into a floral paradise.
Flowers That Bloom in Summer Season
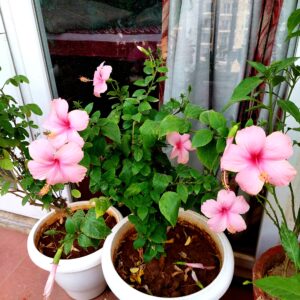
1. Hibiscus
-
- Hibiscus comes in a wide range of colors, including red, pink, yellow, orange, white, and purple. These plants thrive in warm, humid climates and prefer full sun and well-draining soil.
- Hibiscus flowers are also used in various cultures for culinary, medicinal, and ceremonial purposes.
Also read – Tips to care Hibiscus Plant
2. Sunflower

-
- Sunflowers are heliotropic, meaning that they track the movement of the sun across the sky, facing east in the morning and west in the afternoon.
- Sunflowers are also cultivated for their seeds, which are rich in nutrients and oil.
- Sunflowers are relatively easy to grow and thrive in full sun and well-draining soil.
- They are tolerant of drought and poor soil conditions, making them suitable for a wide range of climates and environments.
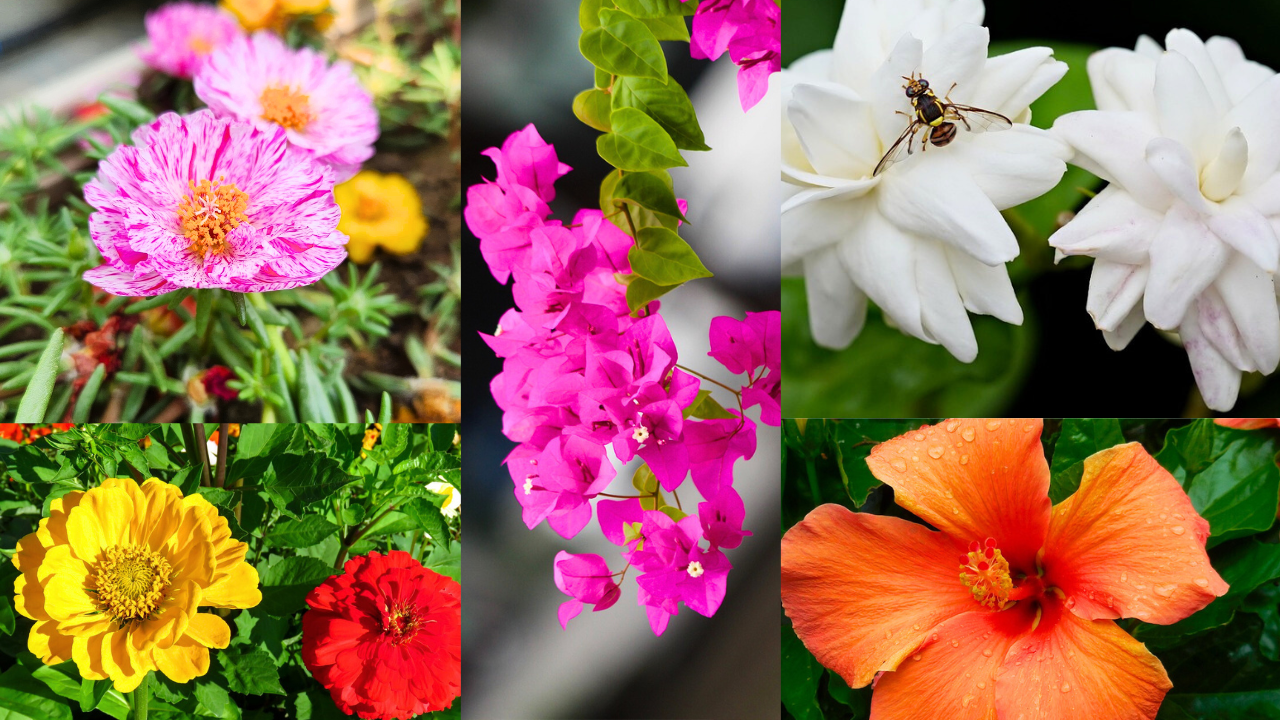
3. Zinnia

-
- Zinnias come in a variety of colors, including shades of pink, red, orange, yellow, white, and purple. Known for their long blooming period, which typically lasts from late spring to early fall, zinnias thrive in full sun and well-draining soil.
- They can tolerate a range of growing conditions and are relatively low-maintenance, making them suitable for beginner gardeners.
4. Bougainvillea

-
- Bougainvillea comes in a variety of colors, including pink, red, purple, orange, white, and yellow.
- Bougainvillea plants typically have thorny stems and can grow as sprawling shrubs or climbing vines.
- Bougainvillea is prized for its ability to thrive in hot and dry climates. It blooms profusely throughout the warmer months, adding a burst of color to the landscape.
5. Cosmos

-
- Cosmos is known for its ability to thrive in a wide range of growing conditions, making it suitable for various climates and soil types.
- These plants prefer full sun and well-draining soil.
- Cosmos plants are relatively low-maintenance and easy to grow, making them ideal for beginner gardeners.
6. Aprajita (Clitoria)

-
- Aprajita, also known as Clitoria ternatea or butterfly pea. It is often grown as a climbing vine.
- Aprajita is known for its striking blue flowers and is cultivated worldwide for its ornamental, culinary, and medicinal purposes.
- Aprajita is relatively easy to grow and can thrive in a variety of soil types, although it prefers well-draining soil and full sunlight.
7. Portulaca

-
- Portulaca, commonly known as moss rose or purslane.
- Portulaca is prized for its vibrant and colorful flowers, which come in shades of red, pink, orange, yellow, white, and purple.
- Portulaca is valued for its ability to thrive in hot and sunny conditions, making it an excellent choice for rock gardens, containers, and other dry, well-drained areas.
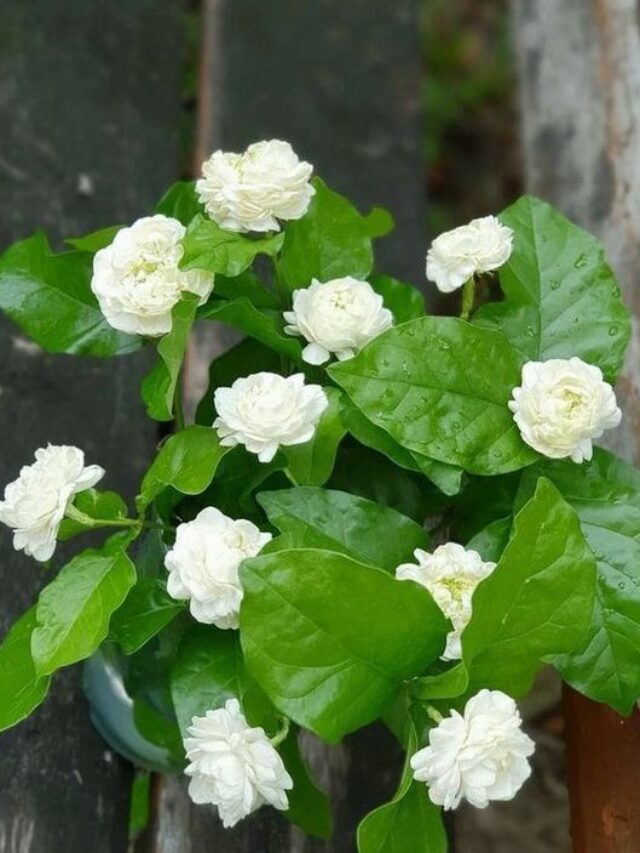
8. Jasmine (Mogra)

-
- Jasmine is an alluring and aromatic flowering plant that comes in different varieties, including single petal, double petal, and plants with round or thin leaves.
- Jasmine, a hardy and perennial summer plant, blooms continuously in regions where the warmth of the sun prevails.
Also read: Tips to care Jasmine (Mogra)
9. Plumeria
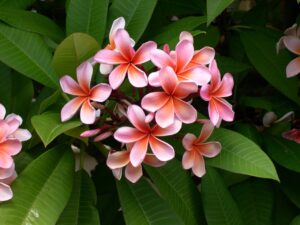
- Plumeria is renowned for its stunning and fragrant flowers, which come in a variety of colors, including white, yellow, pink, red, and orange.
- Plumeria plants are relatively easy to grow and care for, requiring well-draining soil, plenty of sunlight, and regular watering during the growing season.
10. Sadabahar (Periwinkle)

- Sadabahar, also known as periwinkle, thrives in both summer and winter seasons.
- This evergreen plant is characterized by its glossy, dark green leaves and vibrant flowers that come in shades of pink, purple, and white.
Also read: Tips to care Vinca Plant
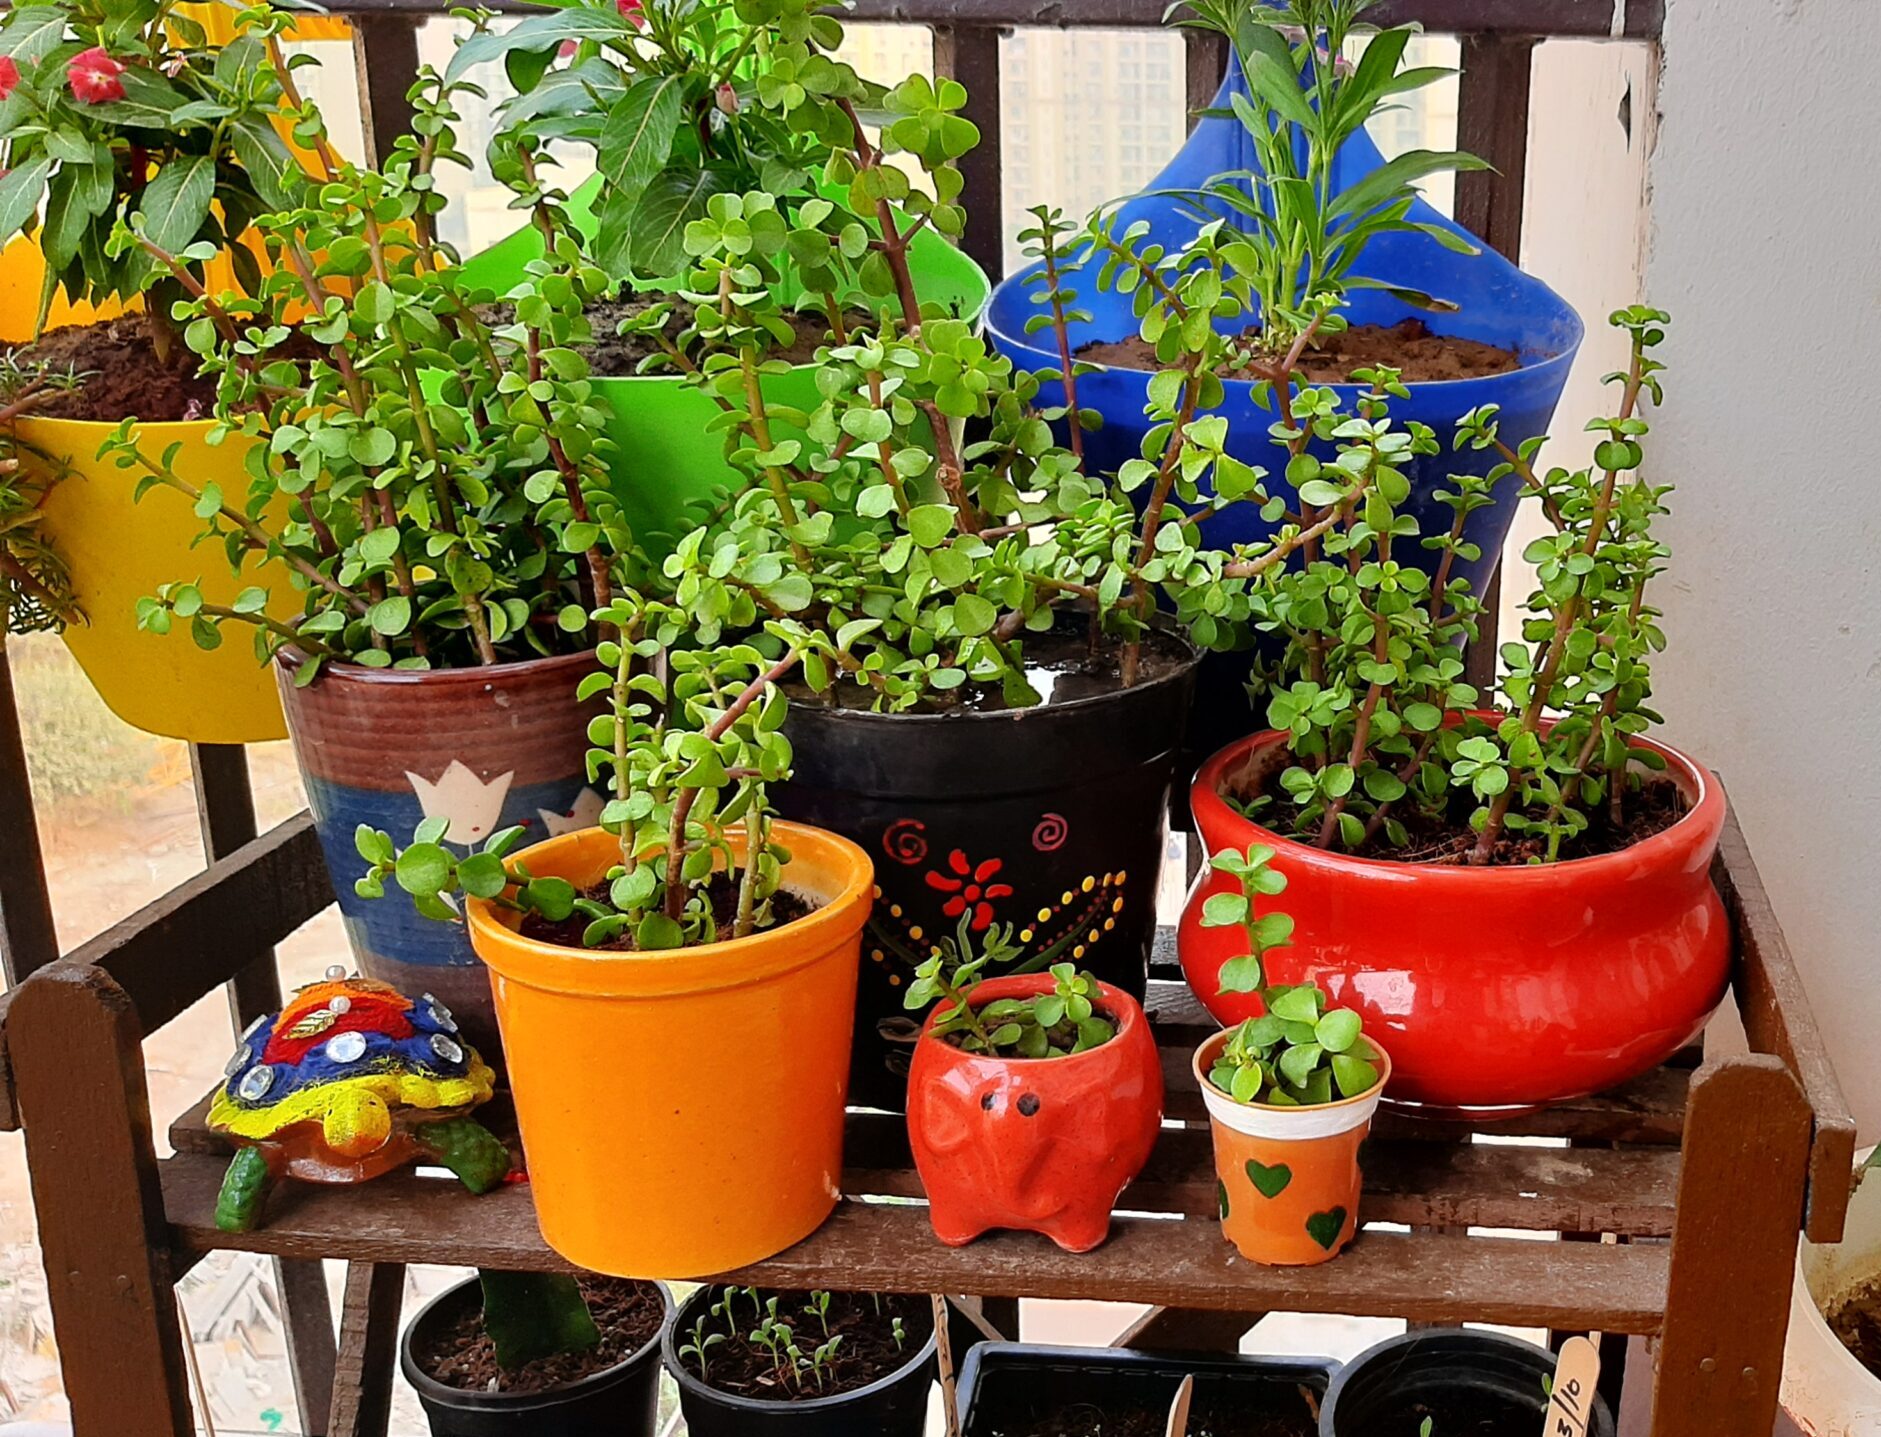
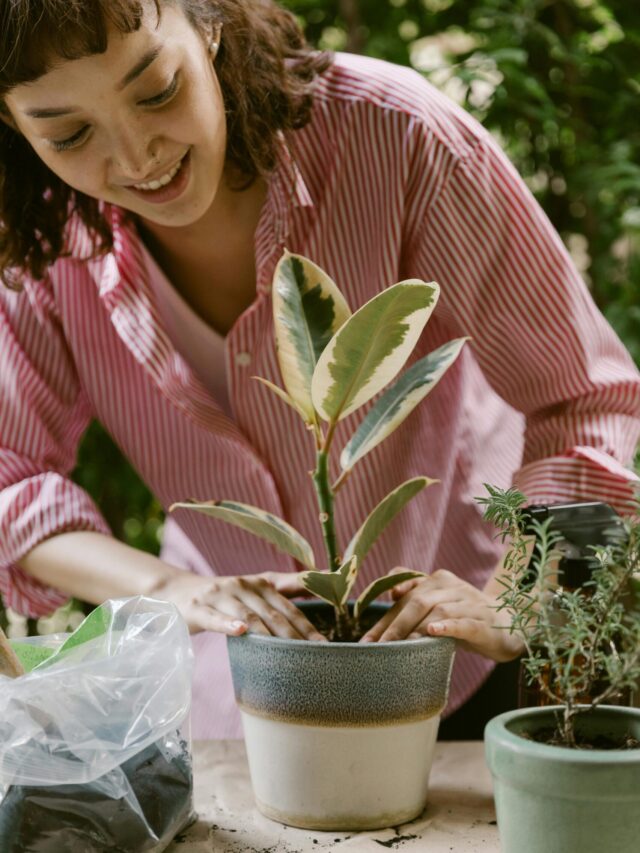
Can You Grow These Plants at Home?
Absolutely! With some planning, many of these summer plants can thrive indoors, allowing you to enjoy their beauty year-round.
Tips for Growing Summer Plants at Home
1. Choose the Right Plants:
- Pick plants that suit your local climate and whether you’re growing them indoors or outdoors.
2. Provide Adequate Sunlight:
- Place your plants where they can get enough sunlight, or choose shade-tolerant varieties for shaded spots.
3. Water Wisely:
- Avoid overwatering or underwatering; find the right balance for your plants.
4. Choose the Right Containers:
- Ensure your pots have drainage holes and are spacious enough for the plant’s roots.
5. Soil and Fertilization:
- Use nutrient-rich, well-draining soil and fertilize regularly during the growing season.
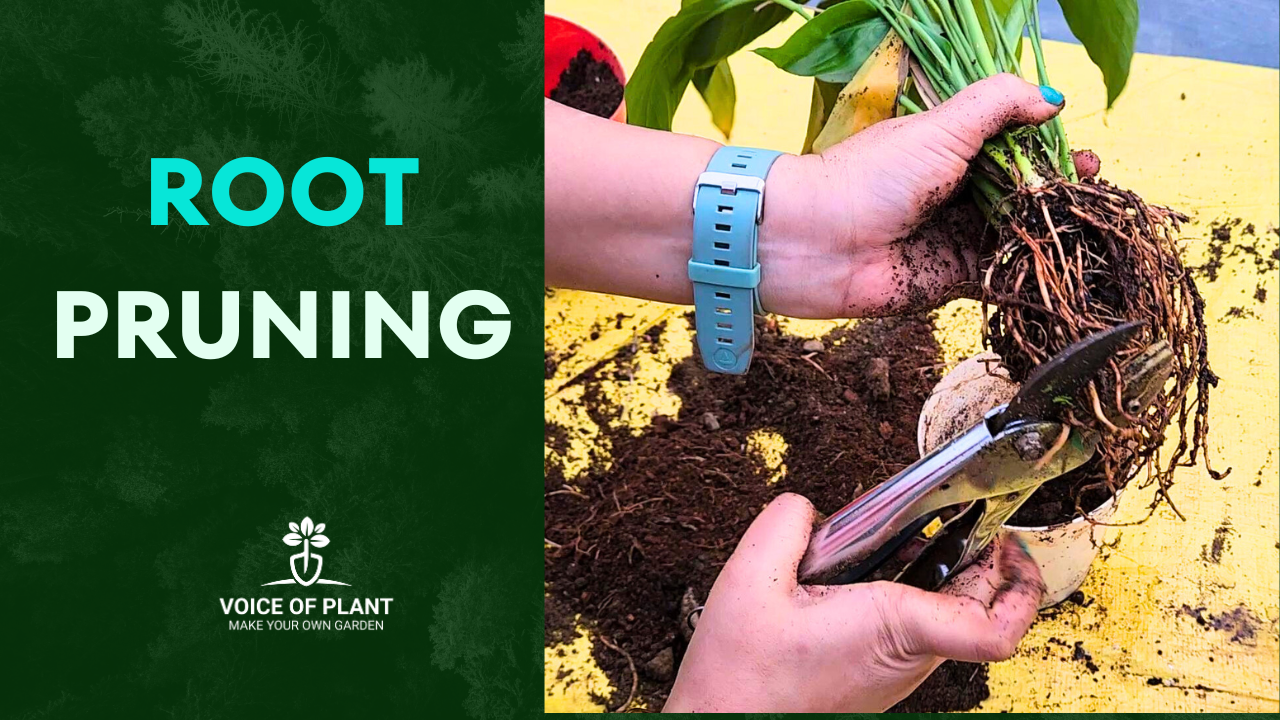
6. Pruning:
- Trim your plants to encourage new growth and maintain their shape.
7. Pest and Disease Management:
- Keep an eye out for pests and diseases, and take action promptly.
8. Consistent Care:
- Maintain a regular care routine, adjusting as needed based on your plants’ needs.
Where to Get These Plants
1. Local Nurseries:
- Visit local nurseries for a hands-on shopping experience and expert advice.
2. Online Plant Delivery:
- Browse and buy plants online for convenience and a wide selection.
Bring the beauty of summer blooms into your home and enjoy a colorful and fragrant oasis all year long!