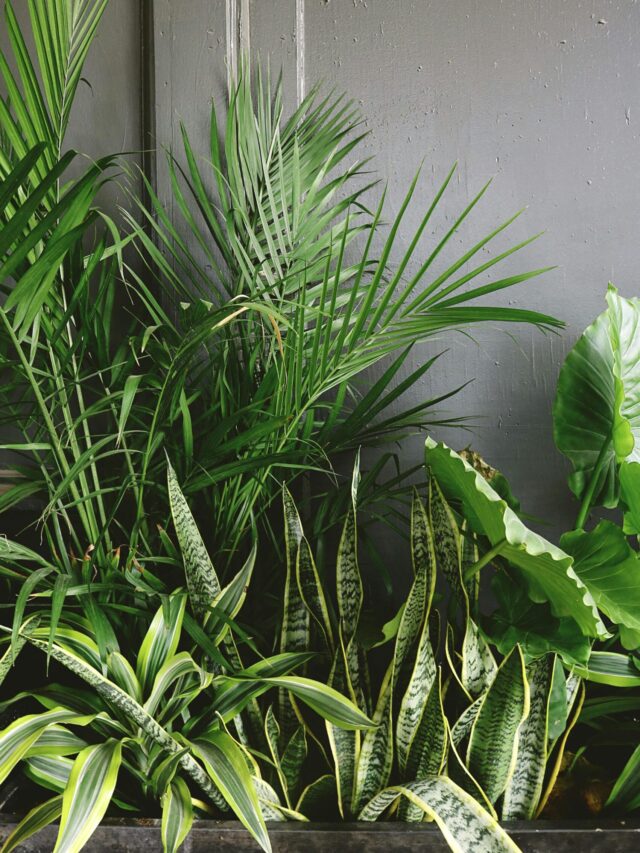
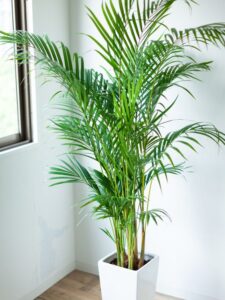
Areca Palms are fantastic at cleaning the air and giving off oxygen, making them a wonderful addition to your indoor spaces for a breath of fresh air.
Many gardeners often worry about white patches on their Areca Palm and, without fully understanding the issue, apply treatments that can harm the plant.
There is no need to worry; we have identified the cause and will provide the correct treatment to resolve the problem. Follow our guidance to ensure your Areca Palm stays healthy and vibrant.
White patches on Areca palm
White patches on Areca Palm leaves can be caused by several factors, including fungal infections, pest infestations, or mineral deposits. Here’s how you can treat them:
5 Expert Tips to treat White Patches on Areca Palm Leaves
1. Identify the Cause
(1) Fungal Infection:
If the white patches are powdery and spread across the leaves, it might be a fungal issue like powdery mildew.
(2) Pests:
White patches could also be due to pests like spider mites or mealybugs.
(3) Mineral Deposits:
Sometimes, hard water can leave mineral deposits on the leaves, creating white patches.
2. Treatment for Fungal Infection
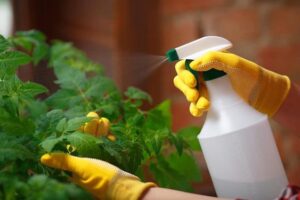
(1) Neem Oil:
Mix neem oil with water and spray it on the affected leaves. Neem oil has antifungal properties.
(2) Fungicide:
To treat fungal infection on areca palm plant, you can use neem oil solution, neem soap solution and cinnamon liquid solution.
You can boil small amount of cinnamon powder in water, let the solution cool down, add 1 litre of water and then spray it on the leaves.
You can add small amount of fungicide in 1 litre of water and then spray it on the leaves.
Note:
Spray your plants with a neem solution weekly to protect them from fungus and pest attacks.
(3) Improve Air Circulation:
Ensure the plant has good air circulation to prevent the spread of the fungus.
3. Treatment for Pests
(i) Soap Spray:
Mix a few drops of mild liquid soap in water and spray it on the leaves. This can help eliminate pests like mealybugs and spider mites.
(2) Rubbing Alcohol:
Dab a cotton swab in rubbing alcohol and apply it directly to the pests. This is particularly effective against mealybugs.
(3) Neem Oil:
Mix neem oil with water and spray it on the affected leaves.
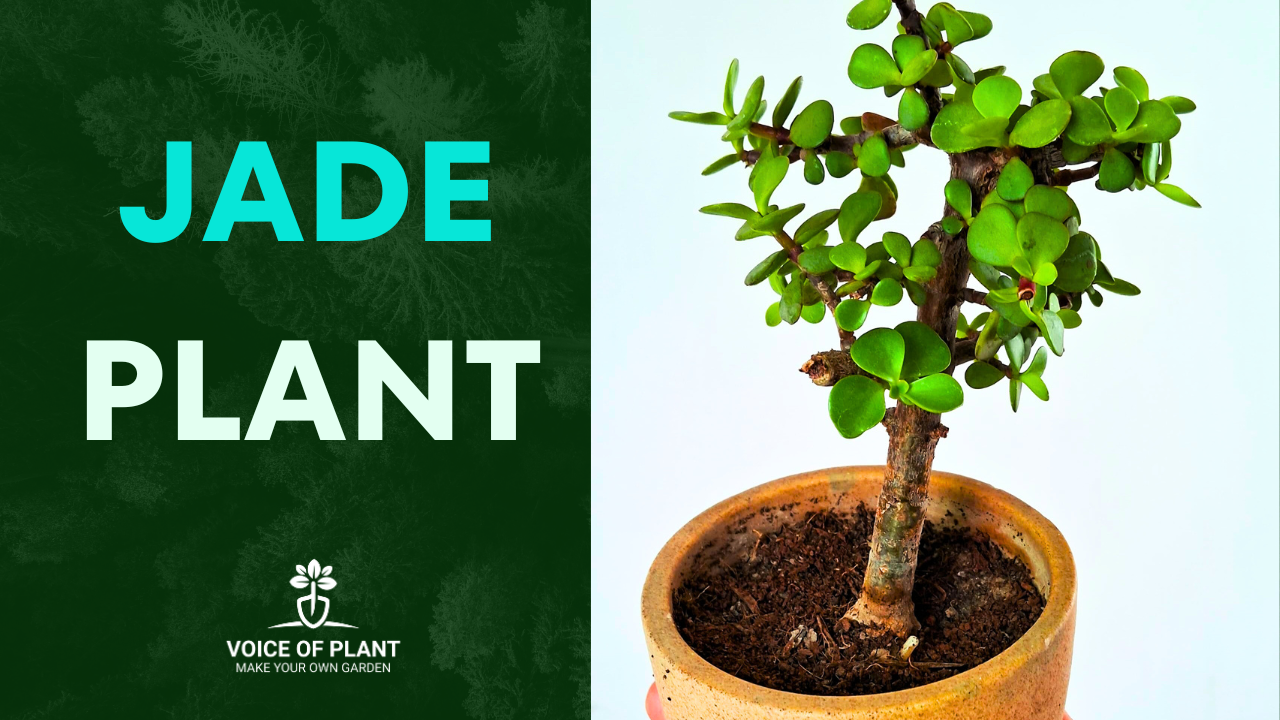
Does Your Jade Plant Need a Large Pot for Healthy Growth?
Jade plants are popular succulents that are easy to care for and make beautiful additions to your garden area.
One of the key factors in maintaining a healthy jade plant is selecting the right pot size. But does your jade plant really need a large pot for optimal growth? Let’s dive into the specifics.
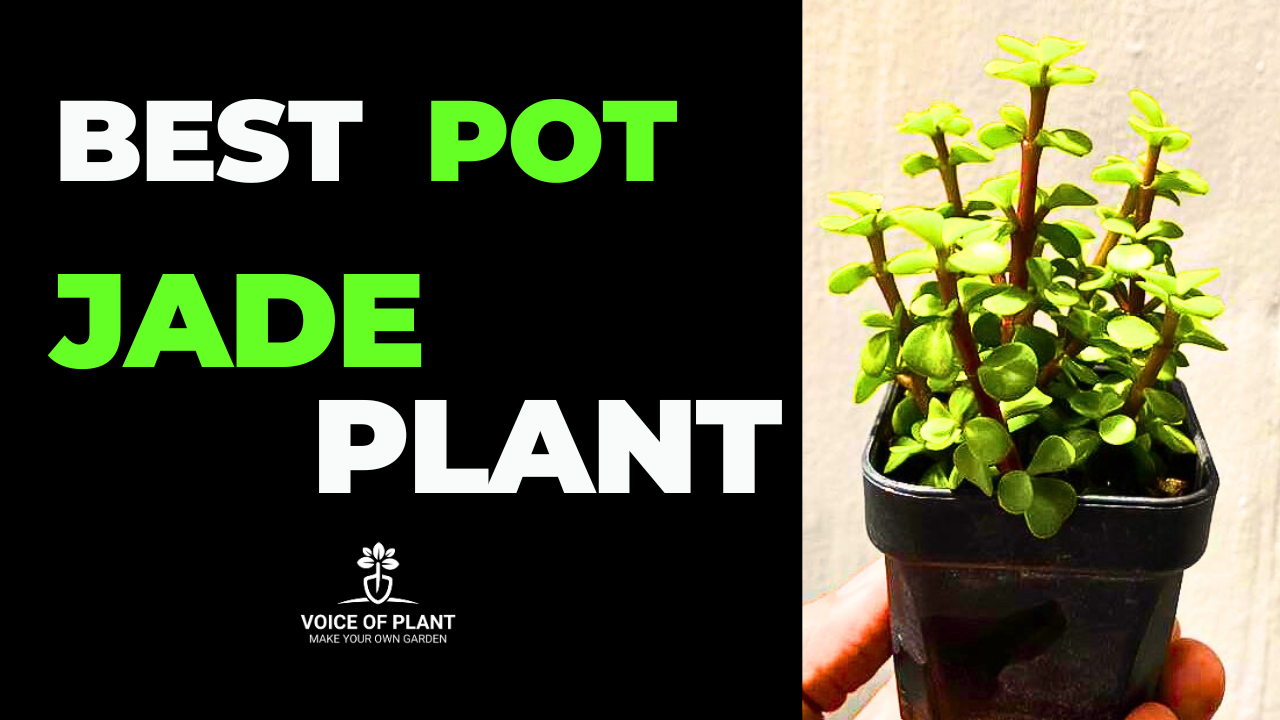
Best Pot Size for Jade Plant
Understanding Jade Plant Growth
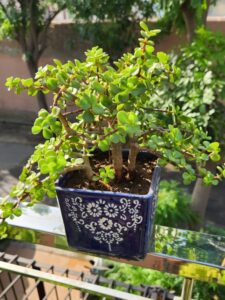
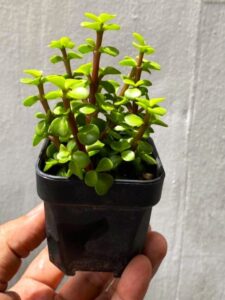
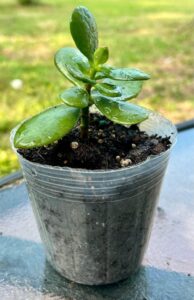
Jade plant in small pot
Before we discuss pot size, it is important to understand how jade plant grow.
Slow growth
These succulents have a slow to moderate growth rate and prefer well-draining soil.
They do not require deep pots to thrive
Their root systems are relatively shallow, which means they do not require deep pots to thrive.
Why Pot Size Matters
The size of the pot you choose can significantly impact the health and growth of your jade plant. Here’s how:
1. Drainage:
Jade plant is susceptible to root rot if left in waterlogged soil.
A pot that is too large may hold excess moisture, increasing the risk of rot.
It is essential to choose a pot with good drainage holes to prevent this issue.
2. Root Development:
While it might seem like giving your jade plant more space to grow is beneficial, a pot that’s too large can actually hinder root development.
In a large pot, the soil may stay moist for too long, which can lead to root rot before the plant has a chance to establish itself.
3. Stability:
Jade plants are known for their thick, woody stems and heavy leaves.
A pot that is too small might not provide enough stability, causing the plant to topple over as it grows.
On the other hand, a pot that is too large might make it difficult for the plant to anchor itself securely.
Choosing the Right Pot Size for Jade Plant
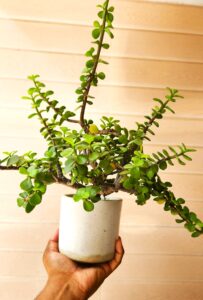
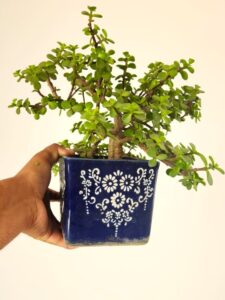
Healthy Jade plant in ceramic pot
So, what is the best pot size for a jade plant?
1. Small to Medium Pots:
Generally, jade plant do well in small to medium-sized pots, depending on their size.
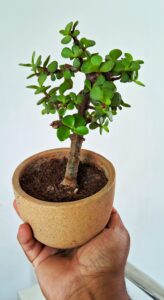
For a young jade plant, a pot that is 2-4 inches larger in diameter than the plant’s root ball is ideal.
Young Jade plant in small pot
As the plant grows, you can gradually move it to a slightly larger pot, but avoid jumping to a pot that is too large too quickly.
Every 2-3 years is usually sufficient, and when you do repot, only increase the pot size by a couple of inches.
This allows the plant to grow steadily without overwhelming its root system.
Pot Material Considerations
The material of the pot can also affect the health of your jade plant:
1. Terracotta Pots:
These are excellent for jade plants because they are porous and allow the soil to dry out between waterings, reducing the risk of root rot.
2. Plastic Pots:
While lightweight and affordable, plastic pots retain moisture longer, which may not be ideal for jade plants.
If using a plastic pot, ensure it has adequate drainage holes and monitor soil moisture closely.
3. Ceramic Pots:
Healthy Jade plant in ceramic pot
Glazed ceramic pots can also be a good choice, but like plastic, they hold moisture longer.
Just make sure they have good drainage.
Signs Your Jade Plant Needs a New Pot
healthy jade plant
How do you know when it’s time to repot your jade plant? Here are some signs to look out for:
Roots Growing Out of the Drainage Holes: If you notice roots coming out of the bottom of the pot, it’s time to move your jade plant to a slightly larger pot.
Stunted Growth: If your jade plant has stopped growing and looks cramped, it may need more space.
Frequent Wilting: If your plant wilts frequently even though you’re watering it properly, the roots may be overcrowded.
Conclusion
In conclusion, jade plant do not need a large pot for healthy growth. In fact, smaller pots are often better suited to their shallow root systems and preference for well-drained soil.
Choosing the right pot size and material can help ensure your jade plant thrives, offering you beautiful greenery for years to come. When in doubt, opt for a pot that’s just slightly larger than the plant’s root ball and ensure it has good drainage to prevent waterlogging.
By following these guidelines, you can enjoy a healthy and vibrant jade plant in your home or garden.
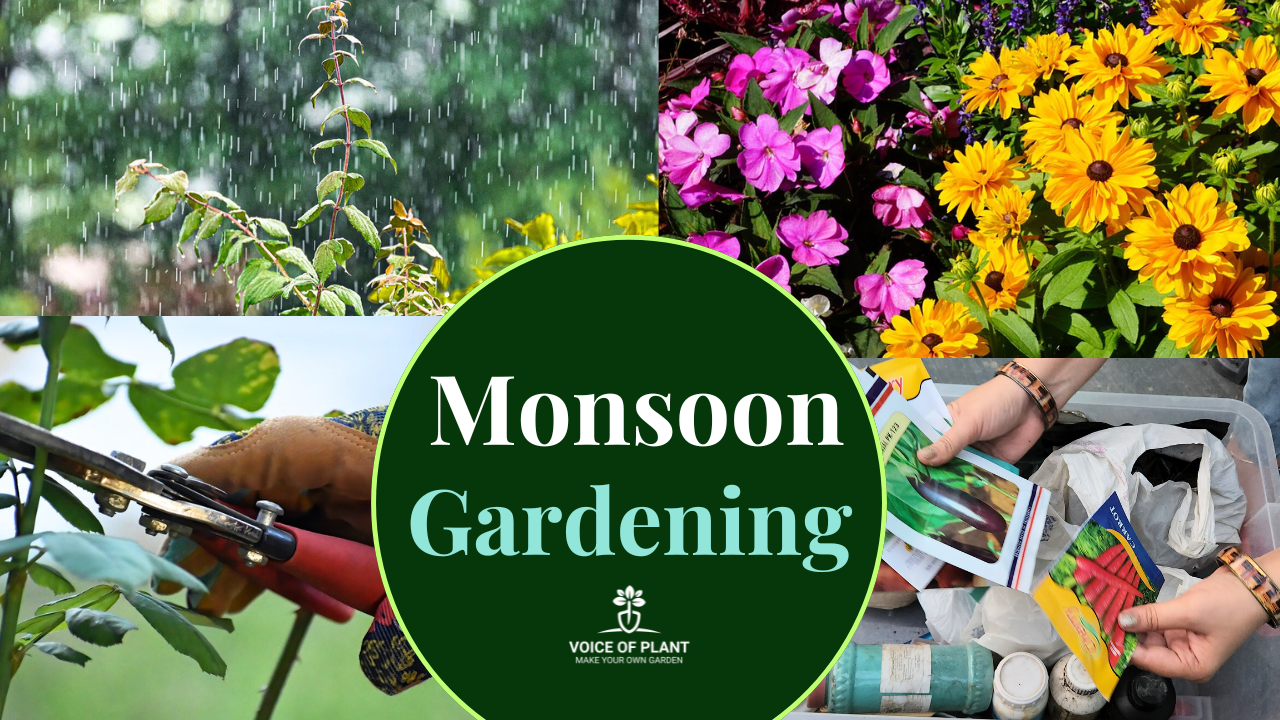
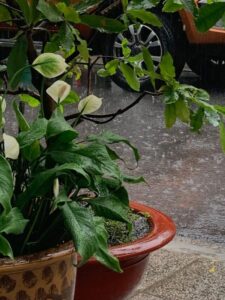
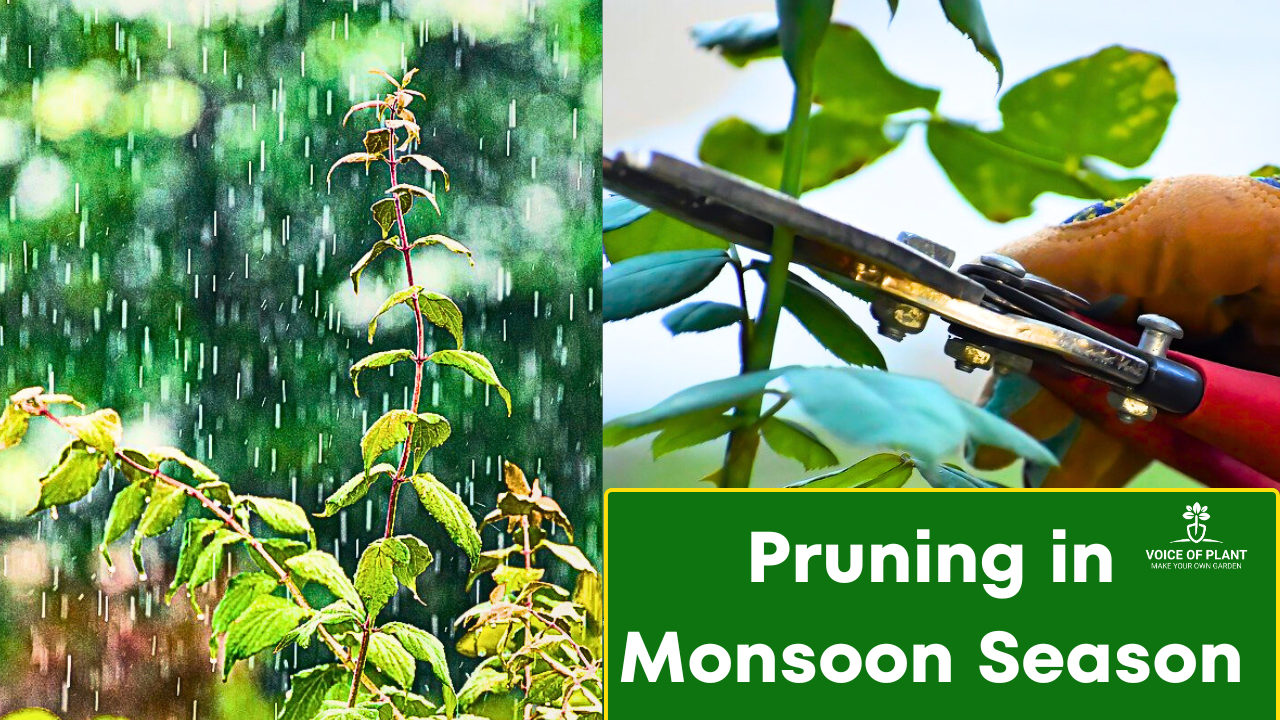
The monsoon season brings much-needed relief to plants after the intense summer heat, but it also presents unique challenges. Prolonged wet conditions can last for 2 to 2.5 months, increasing the risk of root rot, especially in indoor plants.
Monsoon season
Garden plants with many flowers are also prone to damage, and pests thrive during this period. It is crucial to take special precautions and understand which plants, vegetables, cuttings, or fruits are best suited for this time. This guide will cover all aspects of monsoon gardening, starting with the necessary precautions.
16 Tips for Monsoon Gardening
1. Remove all damaged and spoiled plants
After a harsh summer, many plants may wither or become damaged. While it is normal for seasonal plants to decline, even hardy plants can succumb to extreme temperatures.
After the rains begin, give your plants a week to recover. If they don’t bounce back, it’s time to remove them from your garden. Collect any empty pots to assess how many new plants you can add.
2. Pruning of plants
Pruning is essential to make plants denser and healthier.
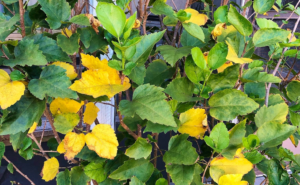
As the monsoon season starts, remove yellow leaves and dead stems of indoor, outdoor, winter, or summer plants.
Avoid hard pruning during this time; focus on light pinching instead. This helps control stem elongation and ensures plants stay bushy, with healthy leaves and flowers.
3. Soil care during monsoon season
During summer, mulching with cocopeat is common, but loosening the soil is difficult. Now is the time to care for your soil.
Remove unwanted weeds, loosen the soil to improve its texture, and add necessary fertilizers.
Pruning the grass reduces the chances of fungal attacks and prevents the formation of green algae on the soil’s surface.
Loosen the soil weekly to promote healthy plant growth.
4. Maintaining garden cleanliness
The monsoon season demands extra attention to garden cleanliness:
1. Keep all dry items, like leaves, fertilizer packets, and soil bags, covered to prevent them from getting wet and attracting insects.
2. Prevent water stagnation around your garden area, which can attract mosquitoes and cause drainage issues. Regularly check and clear any debris that may clog the drainage system.
3. Dispose of any garbage promptly to avoid creating a problematic situation.
5. Selecting seeds for monsoon gardening
Choosing the right seeds is crucial during the monsoon:
1. Vegetables: Pumpkin, bottle gourd, bitter gourd, ridge gourd, lady finger, tomatoes, eggplants, chilli, coriander, and mint are ideal for planting.
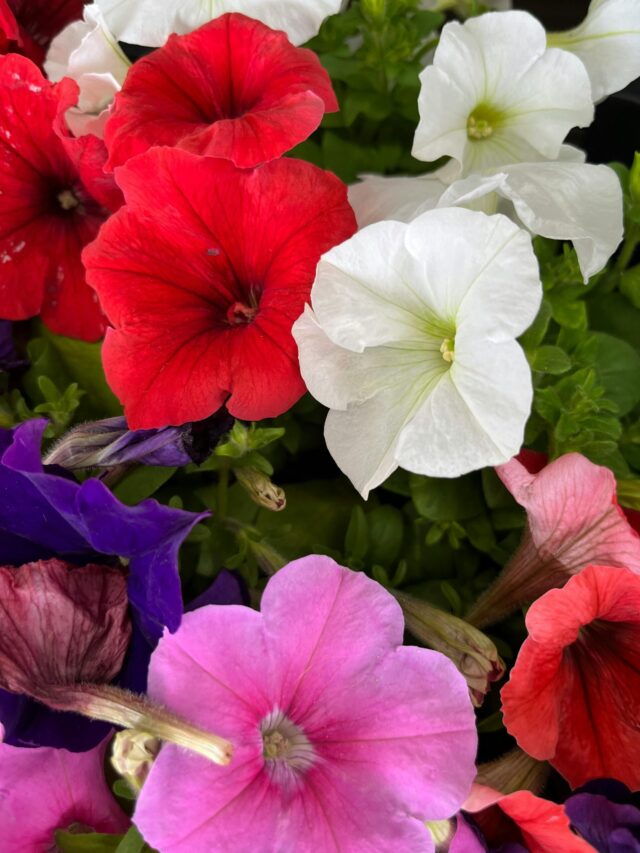
2. Flowers: Petunia, hybrid vinca, and sunflowers can be planted now, regardless of their typical season. Most flowers thrive during the rainy season.
3. Avoid: Winter vegetables and capsicum during this season.
6. Protect delicate plants
Some plants do not thrive in excessive water and need protection from direct rain. Here’s how to manage them:
1. Succulents and Hardy Plants: Keep them away from direct rain.
Examples include Echeveria, Crassula ovata, Aloe vera, Coleus, Hybrid vinca, Kalanchoe pinnata, and Dumb cane, etc.
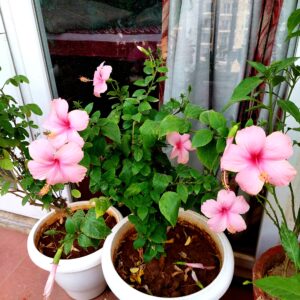
2. Limited Rain Exposure: Croton, Rose, Chrysanthemum, Aglaonema, Areca palm, and Adenium can handle rain occasionally but should be moved to the shade afterward.
3. Outdoor Plants Tolerant of Rain: Tulsi, Curry leaf plant, Hibiscus, Gandhraj (Cape jasmine), Madhukamini (Orange Jasmine), and Madhumalti (Rangoon creeper) can generally withstand rain and thrive with proper care.
7. Rainwater Harvesting
Pic credit: Pinterest
Rainwater is excellent for plants, so collect it in containers.
Use this water for plants that typically don’t like direct rain exposure.
Indoor plants that are not kept directly in the rain can also benefit from this natural water.
Monsoon season is prime time for pests. Protect your plants with neem oil spray, or if needed, switch to a plant protector:
Plant Protector: Mix 2 ml with 1 litre of water and apply every 3 days.
This organic solution prevents and treats various pest infestations, including snails, aphids, spider mites, and mealybugs, without any harmful side effects.
10. Plant propagation
Monsoon is ideal for propagating plants from cuttings:
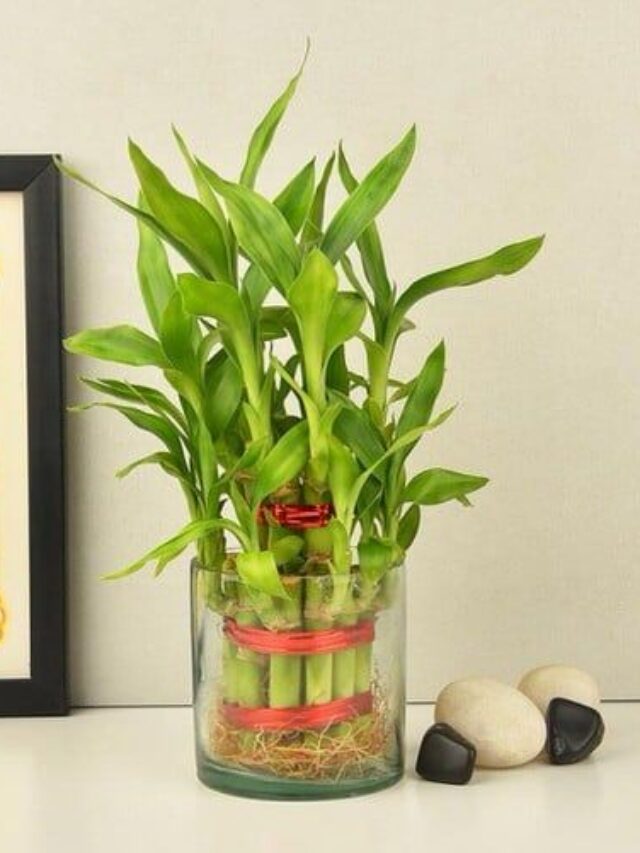
1. Soft Cuttings: Plants like Money plant, Portulaca, Mint, Syngonium, Monstera, and ZZ plant can be propagated in water.
Ensure the container is clean, change the water regularly, and avoid direct sunlight.
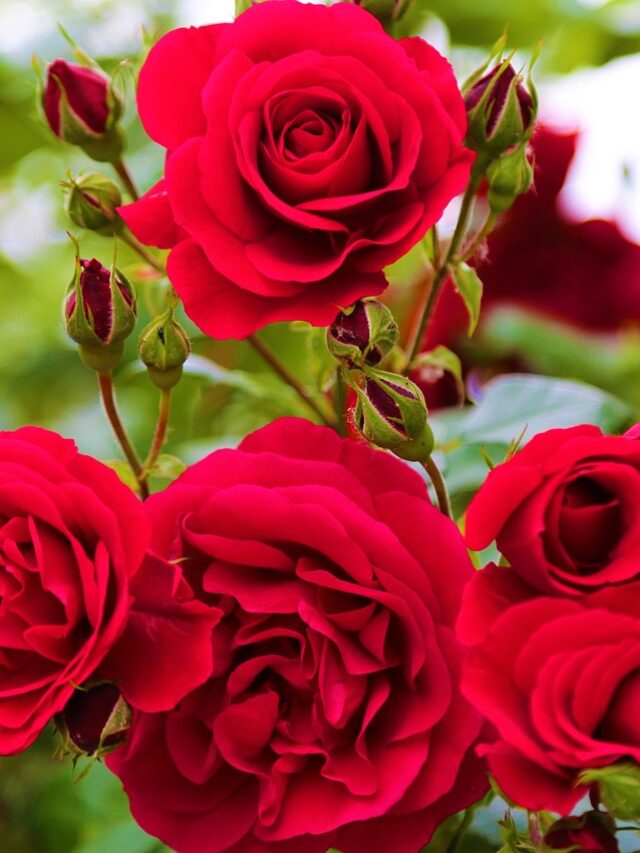
2. Hard Cuttings: Rose, Bougainvillea, Hibiscus, Mogra, and Aprajita plant cuttings can be propagated in moist sand.
Keep them in a shaded area, maintain moisture, and avoid disturbing them.
जेड प्लांट एक सरल और कम रखरखाव वाला पौधा है। यह न केवल आपके घर में हरियाली लाता है, बल्कि इसे रखना भी बहुत आसान है।
अगर आप बागवानी में नए हैं या बहुत व्यस्त रहते हैं, तो जेड प्लांट आपके लिए एक बेहतरीन विकल्प है। इसके अलावा, यह सकारात्मक ऊर्जा और सौभाग्य लाने के लिए भी माना जाता है। यहाँ 12 कारण दिए जा रहे हैं कि आपको अपने घर में जेड प्लांट क्यों रखना चाहिए:
12 कारण क्यों आपको घर में जेड प्लांट रखना चाहिए
1. सौभाग्य और सकारात्मक ऊर्जा लाता है:
लोककथाओं और फेंग शुई सिद्धांतों के अनुसार, ऐसा माना जाता है कि जेड प्लांट अपने मालिकों के लिए समृद्धि और सौभाग्य को आकर्षित करता है।
अपने घर में इसे रखकर, आप अपने रहने के स्थान में सकारात्मकता और प्रचुरता का वातावरण लाते हैं।
2.कम रखरखाव, टिकाऊ पौधा:
Healthy Jade plant in ceramic pot
व्यस्त दिनचर्या के कारण अक्सर पौधों की देखभाल के लिए बहुत कम समय बचता है। सौभाग्य से, जेड प्लांट उपेक्षा से पनपता है, और इसे कम से कम ध्यान और रखरखाव की आवश्यकता होती है।
इसकी मजबूत प्रकृति के कारण, शुरुआत करने वाले बागवान भी आसानी से एक समृद्ध इनडोर गार्डन की सुंदरता का आनंद ले सकते हैं।
3. वाटर-वाइज वंडर:
इस पौधे को बार-बार पानी देने की जरूरत नहीं होती। यह अपनी पत्तियों में पानी जमा कर लेता है, जिससे यह सूखे को भी सहन कर लेता है।
4. आकार और शैली में बहुमुखी:
जेड प्लांट किसी भी स्थान में फिट हो सकता है, चाहे वह छोटा गमला हो या बड़ा।
यह किसी भी आंतरिक सजावट योजना में आसानी से समायोजित हो जाता है।
5. बारहमासी पौधा:
जेड प्लांट सालभर हरा-भरा रहता है, जिससे आपका घर हमेशा ताजगी से भरा रहता है। इसका कालातीत आकर्षण आपके घर की सजावट का स्थायी हिस्सा बन जाता है।
6. विभिन्न जलवायु में पनपता है:
चिलचिलाती गर्मियों से लेकर सर्द सर्दियों तक, जेड पौधा लचीला होता है और विभिन्न जलवायु में पनपने में सक्षम होता है।
अत्यधिक तापमान को सहने की उनकी क्षमता उन्हें दुनिया भर के घरों के लिए आदर्श साथी बनाती है।
7. कीट-मुक्त मन की शांति:
इस पौधे में प्राकृतिक सुरक्षा गुण होते हैं, जो इसे कीटों से बचाते हैं। इससे आपको कीटों की चिंता किए बिना इसकी हरियाली का आनंद लेने का अवसर मिलता है।
8.किसी भी प्रकार की मिट्टी के लिए अनुकूल:
जेड प्लांट किसी भी प्रकार की मिट्टी में पनप सकता है, चाहे वह रेतीली हो, दोमट हो या चिकनी मिट्टी हो। यह इसकी अनुकूलता का प्रमाण है।
9. उगाने का लचीला माध्यम:
आप जेड प्लांट को पारंपरिक मिट्टी के अलावा पानी, लेक्का बॉल्स या कोको पीट जैसे अन्य माध्यमों में भी उगा सकते हैं।
10. सरल प्रसार:
जेड प्लांट को कटिंग से उगाना बहुत आसान है। इससे आप अपने दोस्तों और परिवार के साथ इसे बाँट सकते हैं या घर में नई व्यवस्था बना सकते हैं।
11. बोनसाई सौंदर्य:
आप जेड प्लांट से सुंदर बोन्साई बना सकते हैं। इसके लचीले तने और जीवंत पत्तियाँ इसे बोन्साई के लिए आदर्श बनाते हैं।
12. लटकते हुए गमलों के साथ उन्नत सजावट:
हैंगिंग पॉट्स में जेड प्लांट लगाकर साधारण जगहों को असाधारण शोकेस में बदल दें।
छत से लटकाए जाने या अलमारियों पर प्रदर्शित किए जाने पर, ये झरने जैसी सुंदरियाँ किसी भी कमरे में ऊर्ध्वाधर आयाम और दृश्य रुचि जोड़ती हैं।
अंत में, जेड प्लांट प्राकृतिक सुंदरता और शांति का प्रतीक है, जो हमारे घरों और जीवन दोनों को समृद्ध करने वाले कई लाभ प्रदान करता है।
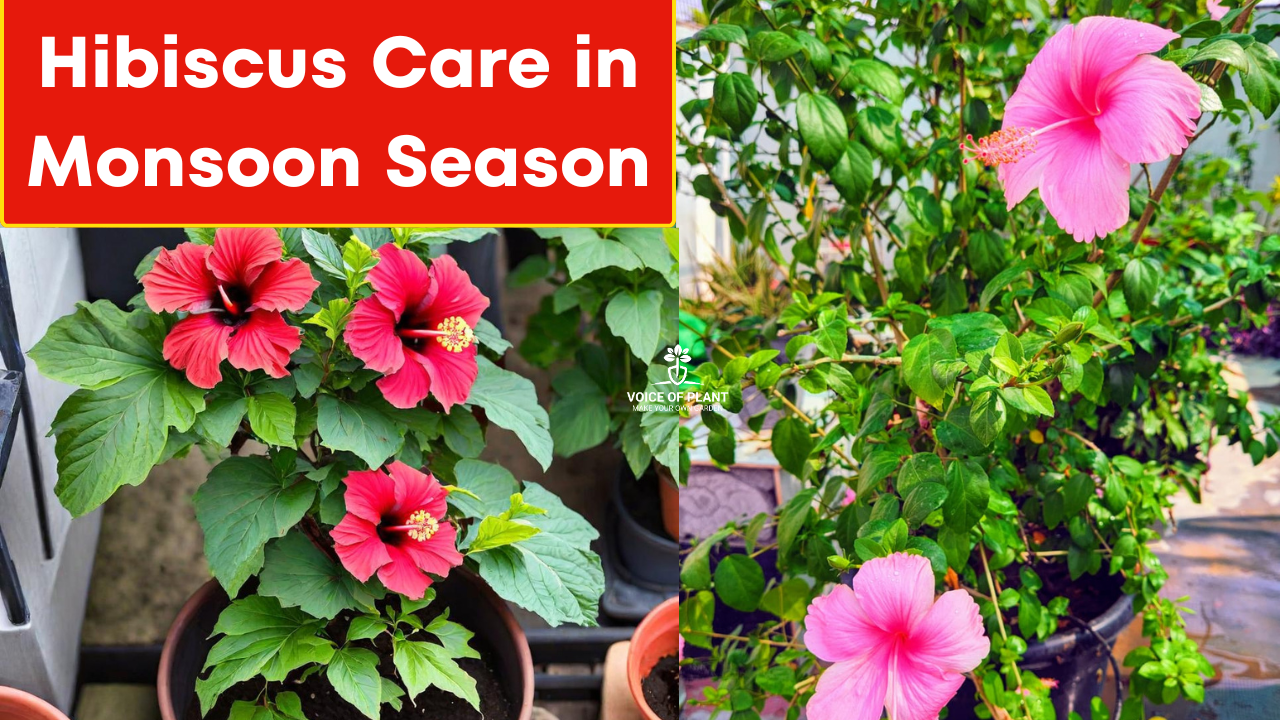
10 Best Tips for Hibiscus Care in Monsoon to Boost Flowering
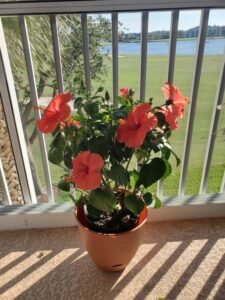
Caring for hibiscus plant during the rainy season can be both challenging and rewarding. The increased moisture and cooler temperatures provide an excellent environment for these vibrant flowers to thrive, but they also introduce a higher risk of pests and fungal diseases.
Pink Hibiscus flowering
To ensure your hibiscus plant bloom to their fullest potential, here are ten essential care tips that will help you navigate the monsoon season effectively.
1 Kitchen Item Will Make Your Peace Lily Bloom
10 Easy Winter Flowering Plants to Grow Before Winter
10 Best Flowering Plants to Grow at Home
10 Best Houseplants for Your Living Room
10 Flowers That Bloom in Summer Season
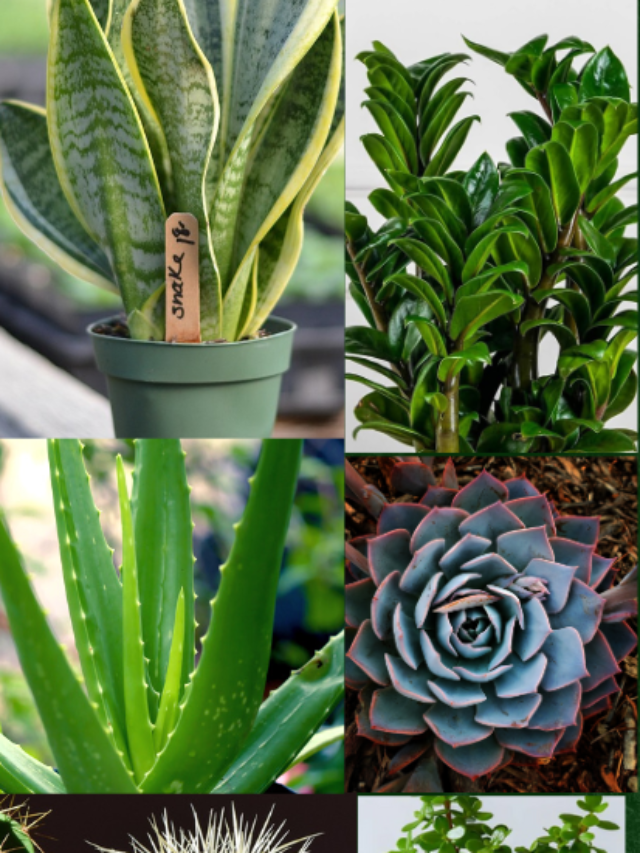
10 Houseplants That Brings Peace & Prosperity At Home
10 Reasons – Why You Must Keep Pothos (Money Plant) At Home
10 Reasons Why You Should Have Tulsi (Holy Basil) Plant At Home
Tilling the soil around your hibiscus plants improves aeration, which is vital for root health.
Well-aerated soil allows roots to absorb nutrients and water more efficiently.
Additionally, incorporating neem cake powder into the soil can prevent pest and fungal attacks, enhancing the soil’s fertility.
Steps for Effective Tilling:
Loosen the topsoil gently without damaging the roots.
Mix in neem cake powder for added pest protection.
Ensure the soil remains loose and well-drained.
4. Give Fungicide Water in Soil
Fungal infections are common during the rainy season due to the high humidity and moisture levels.
Using a fungicide solution or cinnamon powder in the soil can help prevent fungal attacks.
Fungicides help protect the roots and lower stems from rot and other fungal diseases.
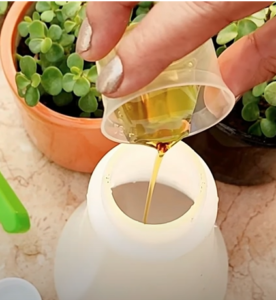
5. Onion Peel Fertilizer
Onion peel fertilizer is an excellent natural nutrient source for hibiscus plants. Rich in potassium, phosphorus, and calcium, it promotes overall plant health and boosts flowering. This simple, homemade fertilizer is easy to prepare and highly beneficial for your plants.
Preparation and Application:
Collect onion peels and soak them in water overnight.
Strain the liquid and use it to water your hibiscus plants.
Apply this fertilizer once a week for best results.
Good drainage is essential for hibiscus plants, especially during the rainy season.
Poor drainage can lead to waterlogged soil, which causes root rot and other issues.
Ensure your pots have drainage holes and that they are not blocked.
10. Sunlight for Hibiscus Plant
Hibiscus plants thrive with 5-6 hours of direct sunlight each day.
During the rainy season, cloudy days can reduce sunlight exposure.
Ensure your plants receive adequate light by placing them in the sunniest spot available.
Conclusion
Caring for hibiscus plants during the rainy season requires attention to detail and proactive measures. By following these ten tips, you can ensure your hibiscus plants remain healthy and vibrant, maximizing their flowering potential.
Monsoon season brings a burst of growth and rejuvenation to plants due to the increased moisture and favorable weather conditions. However, this period also necessitates careful maintenance to ensure plants remain healthy and vigorous.
Pruning involves the selective removal of certain parts of the plant to promote better growth, prevent diseases, and enhance overall aesthetics.
Before embarking on pruning, a thorough inspection of the plant is crucial to determine which parts need attention and where cuts should be made. Careful consideration must be given to avoid causing harm to the plant.
1 Kitchen Item Will Make Your Peace Lily Bloom
10 Easy Winter Flowering Plants to Grow Before Winter
10 Best Flowering Plants to Grow at Home
10 Best Houseplants for Your Living Room
10 Flowers That Bloom in Summer Season
10 Houseplants That Brings Peace & Prosperity At Home
10 Reasons – Why You Must Keep Pothos (Money Plant) At Home
10 Reasons Why You Should Have Tulsi (Holy Basil) Plant At Home
Methods of Pruning in Plants During the Monsoon Season
1. Pruning of Leaves
pruning of leaves of money plant dead leaves
i. When Leaves Start Turning Yellow or Brown:
Essential Timing:
It is crucial to prune leaves promptly when they start turning yellow or brown to maintain the plant’s overall health.
Prevention of Disease Spread:
Removing diseased or dying leaves prevents the spread of infection and redirects the plant’s resources towards healthier growth.
ii. In Case of Infection:
Immediate Action:
If any leaves show signs of infection, such as discoloration, spots, or mold, immediate pruning is necessary.
Promoting Recovery:
This prevents the spread of disease to other parts of the plant and promotes faster recovery.
iii. Removing Bottom Leaves:
Moisture Management:
Pruning the bottom leaves of the plant is beneficial as these leaves often retain moisture, creating a favorable environment for pests and fungal diseases.
Efficient Energy Allocation:
Lower leaves receive less sunlight and contribute less to the photosynthesis process.
By removing them, the plant can allocate its energy more efficiently to the upper, healthier leaves.
2. Pruning of Branches and Stems
Encouraging Healthy Growth:
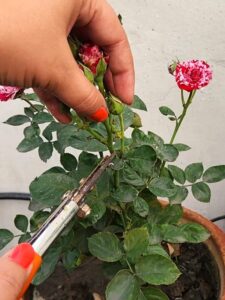
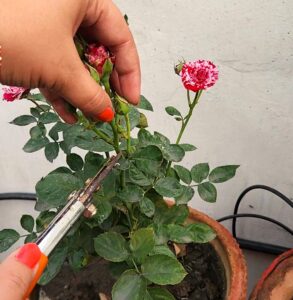
Pruning of stems of Rose plant
It is advisable to prune dead stems and branches during monsoon season.
Pruning at this stage encourages the plant to develop a healthier and denser growth pattern.
Precise Cuts:
Curry stem pruning
Pruning can be done by pinching off excess growth, but it’s crucial to make precise cuts just above the node—the point where leaves or branches connect to the stem.
This strategic pruning promotes new growth at the desired location, contributing to a more balanced and attractive plant shape.
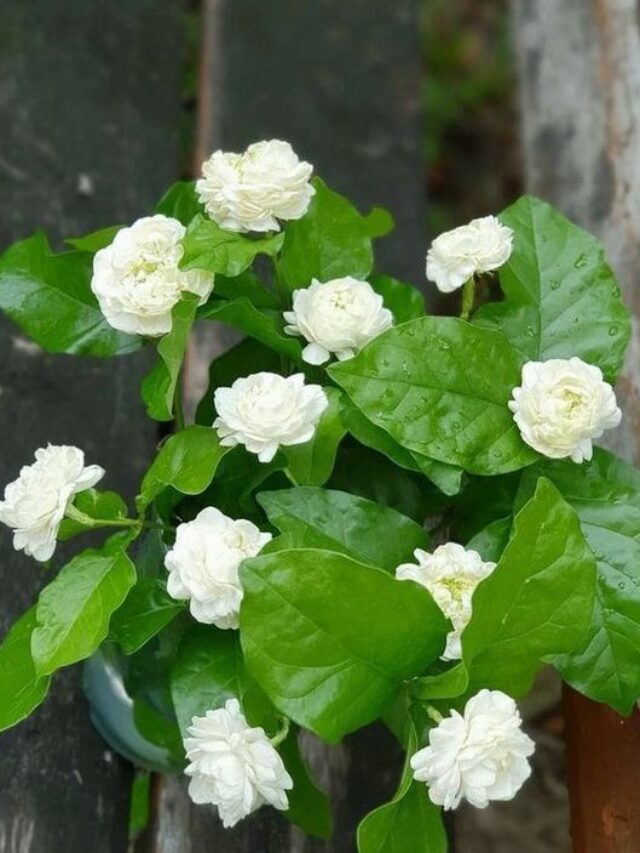
Once flowers have bloomed and started to fade, it’s essential to remove them promptly. By removing spent flowers, the plant can redirect its energy towards producing new blooms or other growth.
(ii) Continuous Blooming:
For example, in the case of jasmine plants, removing the entire branch on which flowers have bloomed stimulates the plant to produce flowers on other branches, promoting continuous blooming.
Completion of Life Cycle:
Pruning of Tulsi flowers and seeds
Tulsi Plant Management:
In the case of the Tulsi plant (Holy Basil), when flowers have matured and developed into seeds, it indicates the completion of the plant’s life cycle.
To maintain the health and bushiness of the Tulsi plant, it is advisable to remove the flowers once they have matured into seeds.
This encourages the plant to channel its energy towards producing new foliage and promotes a more robust growth habit.
Sanitization of Tools
Before pruning, it is essential to sanitize all pruning tools, such as scissors or pruners, using disinfectants like Dettol or soap.
This precaution helps prevent the transfer of infections from one plant to another, safeguarding the overall health of your garden.
Plants That Can Be Pruned During the Monsoon Season
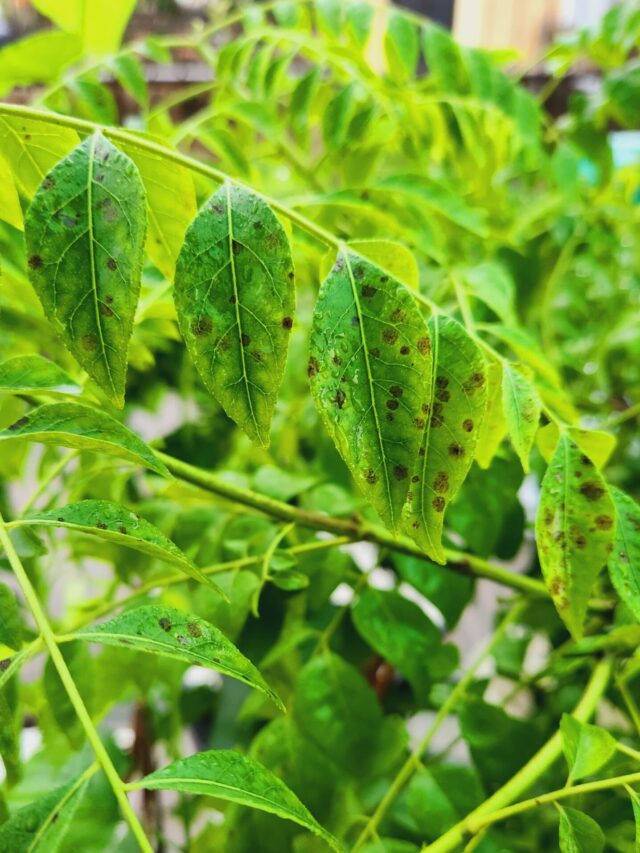
Pruning of yellow leaves of Curry leaf plant
Here are some plants that can benefit from pruning during this time:
You can do pruning of all outdoor plants such as: Hibiscus, Bougainvillea, Rose, Tulsi (Holy basil), Curry leaf, Jasmine, Night blooming Jasmine, etc.
You can do pruning of some ornamental plants such as:
pruning money plant dead leaves
Money plant, Jade plant, Monstera, Vinca, Areca palm. etc.
Conclusion
Pruning during the monsoon season is a vital practice to ensure that plants remain healthy, vibrant, and aesthetically pleasing.
By removing diseased or unnecessary parts, redirecting the plant’s energy towards healthier growth, and promoting a balanced structure, gardeners can help their plants thrive.
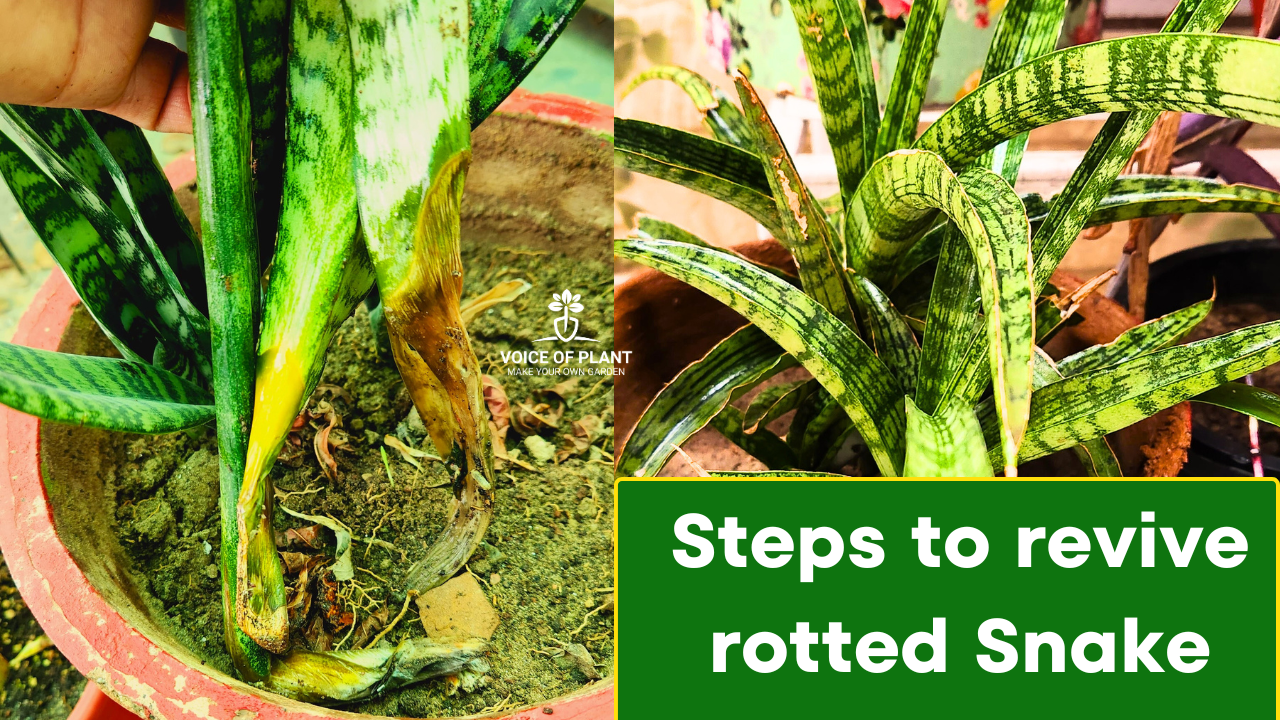
Snake plants, known for their striking appearance and low maintenance needs, are popular among houseplant enthusiasts. But like all plants, they require proper care to thrive. When neglected, they can suffer from root rot, which poses a significant threat to their health. When your Snake plant starts showing signs of distress, it’s time to act.
In this guide, we’ll delve into the steps and tips on how to revive a rotted snake plant, ensuring it returns to its former glory.
1 Kitchen Item Will Make Your Peace Lily Bloom
10 Easy Winter Flowering Plants to Grow Before Winter
10 Best Flowering Plants to Grow at Home
10 Best Houseplants for Your Living Room
10 Flowers That Bloom in Summer Season
10 Houseplants That Brings Peace & Prosperity At Home
10 Reasons – Why You Must Keep Pothos (Money Plant) At Home
Root rot is a common issue for many houseplants, and snake plants are no exception. Recognizing the early signs is crucial for a successful revival. Key symptoms include:
1. Yellowing Leaves:
If the lower leaves are turning yellow, it could be a sign of overwatering or poor root health.
2. Soft or Mushy Stems:
Healthy snake plant stems are firm to the touch. Mushy or soft stems indicate rot.
3. Stunted Growth:
When roots are rotting, the plant struggles to absorb nutrients, leading to slowed growth.
The first step is to isolate the affected plant from others to prevent the potential spread of any pathogens.
2. Inspect the roots
Carefully remove the plant from its pot and inspect the roots. Healthy roots are white or light tan and firm. Rotted roots appear brown or black and mushy.
How to Revive a Rotted Snake Plant
1. Stop Watering immediately
The primary cause of root rot in snake plants is often overwatering. Therefore, it is crucial to stop watering immediately.
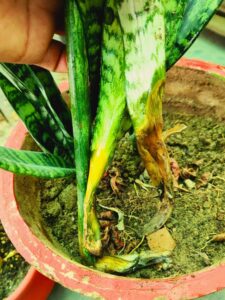
2. Remove infected parts
If you have a snake plant whose leaves started decaying then first of all remove all the infected parts which are rotting.
With clean scissors or pruning shears, trim away all the rotted roots. If necessary, remove rotted parts of the stem as well.
3. Use Fungicide or Cinnamon Powder
Spray cinnamon powder or fungicide on the cut to prevent fungi from growing.
4. Repot Your Snake Plant
Repot your Snake plant in a sandy soil mixture. Cactus or succulent soil mixes are ideal as they prevent water retention.
Always prefer small pots for Snake plants.
5. Keep in a direct or indirect light area
Now, keep it in any corner with a medium or bright light (not in direct sunlight).
Snake plants thrive in bright, indirect light.
However, they can also tolerate low-light conditions. Avoid placing them in direct sunlight, which can scorch the leaves.
6. Do not feed with any fertilizer or water
At this stage, avoid giving any fertilizer and water.
7. Do not disturb for some days
Just keep it for some days undisturbed and it will start recovering on its own.
Preventing Future Rot
1. Proper Watering: Allow the soil to dry out between waterings.
2. Good Drainage: Always use pots with drainage holes.
3. Soil Quality: Use well-draining soil mixes.
4. Monitoring: Regularly check the soil moisture and the overall health of your plant. Early detection of issues can prevent severe damage.
Conclusion
Reviving a rotted snake plant may seem daunting, but with the right steps, it’s entirely possible. By identifying the signs early, addressing the causes, and following a structured approach to care, you can bring your snake plant back to health.
Remember, the key lies in proper watering, good drainage, and regular monitoring. With patience and diligence, your snake plant will once again become a thriving, vibrant part of your indoor garden.
Rainwater, nature’s purest form of hydration, holds immense benefits for plant life. Its unmatched quality and composition contribute significantly to plant health and growth, making it an invaluable resource for gardeners and farmers alike.
Plant in Rain
In this article, we will explore the myriad advantages of using rainwater for plants:
1 Kitchen Item Will Make Your Peace Lily Bloom
10 Easy Winter Flowering Plants to Grow Before Winter
10 Best Flowering Plants to Grow at Home
10 Best Houseplants for Your Living Room
10 Flowers That Bloom in Summer Season
10 Houseplants That Brings Peace & Prosperity At Home
10 Reasons – Why You Must Keep Pothos (Money Plant) At Home
Rainwater is nature’s own distilled water, free from many contaminants that tap water often contains.
As rainwater falls through the atmosphere, it collects minimal impurities, resulting in a clean and soft water source.
This natural purity is highly beneficial for plants, providing them with water that is free from harmful chemicals and additives.
2. Absence of Chemicals and Salts
Pic credit: Pinterest
One of the primary reasons rainwater is best for plants is its lack of chemicals such as chlorine, fluoride, and salts commonly found in municipal water supplies.
These substances can accumulate in the soil over time, potentially harming plant roots and disrupting nutrient uptake.
Rainwater, being devoid of these chemicals, ensures that plants receive only what they need – pure, clean hydration.
3. Optimal pH Level for Plant Growth
The pH level of rainwater typically ranges between 5.5 and 6.5, which is slightly acidic and close to the optimal pH range for most plants.
This slight acidity helps in dissolving essential minerals and nutrients in the soil, making them more available to plants.
Consequently, plants can absorb nutrients more efficiently, leading to healthier growth and development.
4. Enhanced Nutrient Absorption
When plants receive rainwater, their roots can more effectively take in essential minerals such as nitrogen, phosphorus, and potassium.
This improved nutrient uptake results in vibrant foliage, robust root systems, and increased resistance to diseases and pests.
5. Beneficial Microorganisms in Rainwater
Rainwater often contains beneficial microorganisms that are absent in treated tap water.
These microorganisms play a crucial role in maintaining soil health by breaking down organic matter and enhancing nutrient cycling.
By using rainwater, gardeners can introduce and sustain these helpful microorganisms, contributing to a thriving and balanced soil ecosystem.
6. Rainwater’s Role in Soil Health
Healthy soil is the foundation of vigorous plant growth, and rainwater plays a significant role in maintaining soil health.
Unlike tap water, which may contain salts that can lead to soil compaction and reduced aeration, rainwater helps preserve soil structure.
This preservation is vital for root health, as well-aerated soil promotes better oxygen flow and root expansion.
Fruit and vegetable crops thrive when irrigated with rainwater.
The enhanced nutrient absorption facilitated by rainwater leads to improved yields and better-quality produce.
Additionally, the absence of chemicals in rainwater reduces the risk of phytotoxicity, ensuring that fruits and vegetables remain safe for consumption.
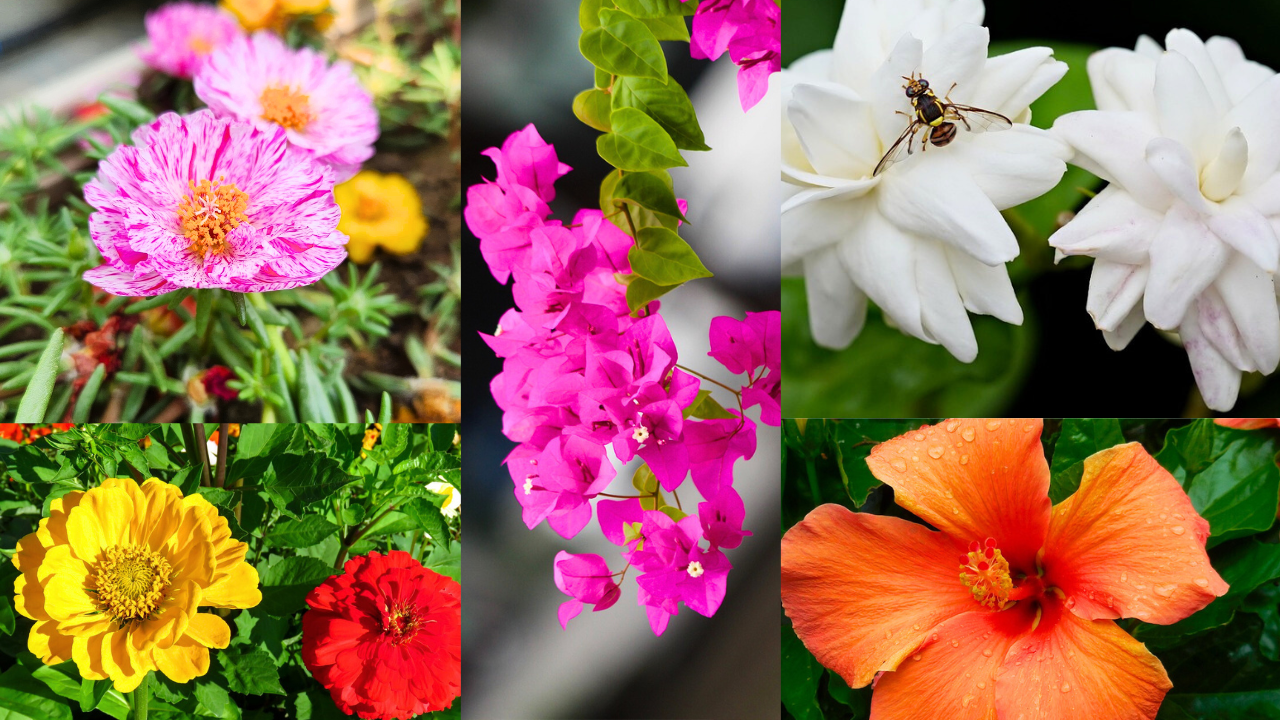
Are you wondering to grow flowering plants in your garden? The monsoon season is the perfect time to start growing beautiful flowering plants in your home garden.
Here are thirteen flowering plants that thrive during the rainy season:
13 Best Flowers To Grow During Rainy Season
flowering plants
1. Hibiscus
Hibiscus flower plant
(i) Growing Conditions:
Prefers full sun and well-drained soil. Hibiscus plants enjoy the humid conditions of the rainy season.
(ii) Tips:
Regularly prune to encourage new blooms and manage size.
1 Kitchen Item Will Make Your Peace Lily Bloom
10 Easy Winter Flowering Plants to Grow Before Winter
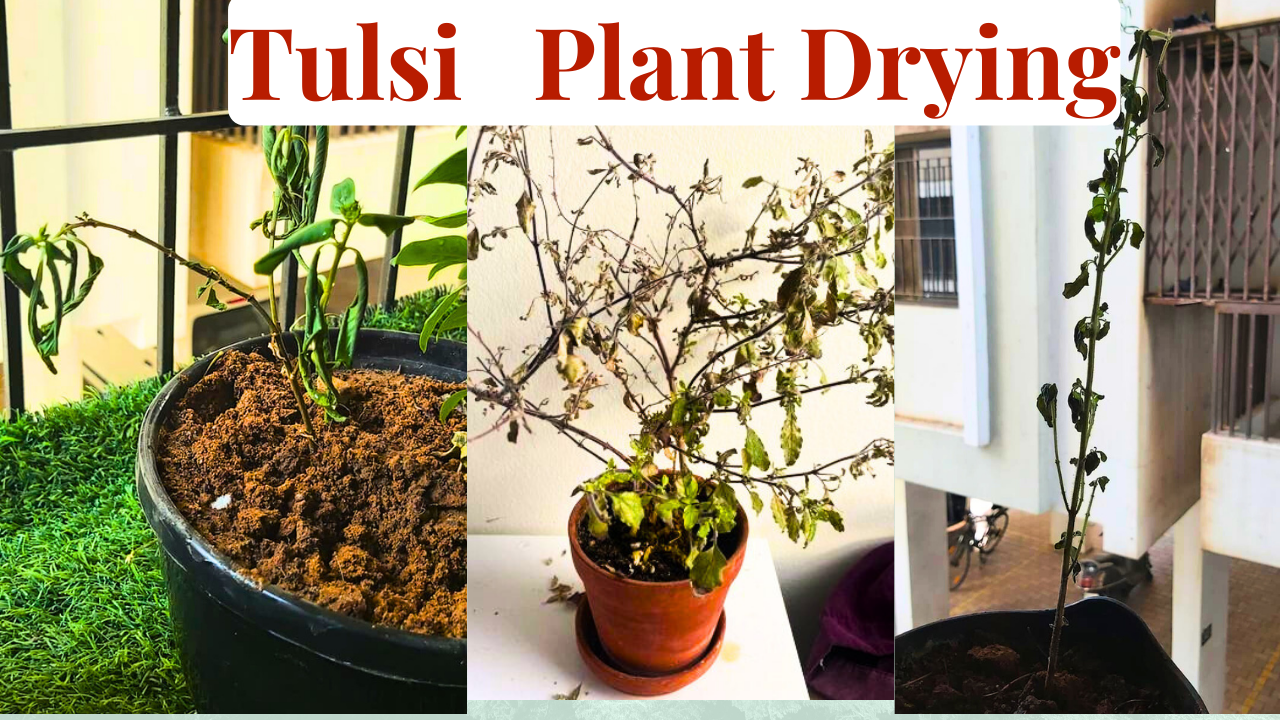
The Tulsi plant holds a revered place in many cultures due to its medicinal and spiritual significance. Despite its hardy nature, many gardeners find themselves perplexed by its tendency to dry out.
Tulsi dry
Understanding the reasons behind this issue is crucial to ensure your Tulsi plant remains lush and healthy. This article delves into the common causes of a drying Tulsi plant and provides actionable solutions to revive and maintain its vitality.
The Importance of Proper Care for Tulsi (Holy Basil)
Caring for a Tulsi plant requires more than just occasional watering. It demands an understanding of its specific needs, including sunlight, soil conditions, and watering practices. Each of these factors plays a pivotal role in the plant’s health and can influence its propensity to dry out.
1 Kitchen Item Will Make Your Peace Lily Bloom
10 Easy Winter Flowering Plants to Grow Before Winter
10 Best Flowering Plants to Grow at Home
10 Best Houseplants for Your Living Room
10 Flowers That Bloom in Summer Season
10 Houseplants That Brings Peace & Prosperity At Home
10 Reasons – Why You Must Keep Pothos (Money Plant) At Home
One of the primary reasons for a drying Tulsi plant is improper watering. Both under-watering and over-watering can stress the plant.
(i) Overwatering: Some people water their Tulsi plant daily, which leads to root rot and causes the plant to spoil.
(ii) Underwatering: Some people water their Tulsi plant only occasionally, depriving it of essential moisture and causing the plant to dry out.
2. Using Poor Soil Quality
Tulsi plants require well-draining soil rich in organic matter for thrive.
Some people never add compost or organic matter to their soil mix, causing the soil to become hard and clay-like, which results in the Tulsi plant drying out.
Note:
Heavy, clayey soils that retain water can cause root suffocation and drying out of the plant.
Conversely, sandy soils that drain too quickly can lead to moisture deficiency.
Tulsi thrives in full sunlight, requiring at least 6-8 hours of direct sun daily.
Some people do not provide proper sunlight to their Tulsi plant and keep it in a shaded or indoor area.
Insufficient sunlight can weaken the plant, making it more susceptible to drying out.
4. Environmental Stress
Extreme temperatures, low humidity, and exposure to strong winds can all contribute to a drying Tulsi plant. Tulsi prefers moderate, stable conditions to flourish.
5. Not Providing Proper Nutrients:
Some people never feed their Tulsi plant with fertilizer, which results in weakening the plant’s health condition.
A lack of essential nutrients can weaken the plant and cause it to dry out.
6. Not Pruning Flowers and Seeds
Pruning of Tulsi plant flowers
Some people never prune the flowers and seeds of their Tulsi plant.
Not pruning flowers and seeds can cause the plant to expend too much energy on flowering and seed production, leading to it drying out.
7. Pest and Disease Infestation
Pests such as aphids and diseases like fungal infections can compromise the health of your Tulsi plant, leading to symptoms like wilting and dryness.
Best Practices for Maintaining a Healthy Tulsi Plant
1. Regular Pruning
Pruning encourages bushier growth and helps the plant to focus its energy on healthy, new shoots. Remove any dead or yellowing leaves promptly.
2. Fertilizing Appropriately
Feed your Tulsi plant with a balanced, organic fertilizer every few weeks during the growing season. This ensures the plant receives all necessary nutrients for robust growth.
3. Monitoring Soil Moisture
Use a soil moisture meter to keep track of the moisture levels. This can help prevent both over-watering and under-watering, ensuring the plant receives the right amount of water.
4. Ensuring Proper Air Circulation
Good air circulation is vital for preventing fungal diseases. Space your plants adequately and avoid overcrowding to allow for sufficient airflow.
By addressing these issues, you can help ensure your Tulsi plant stays healthy and vibrant.