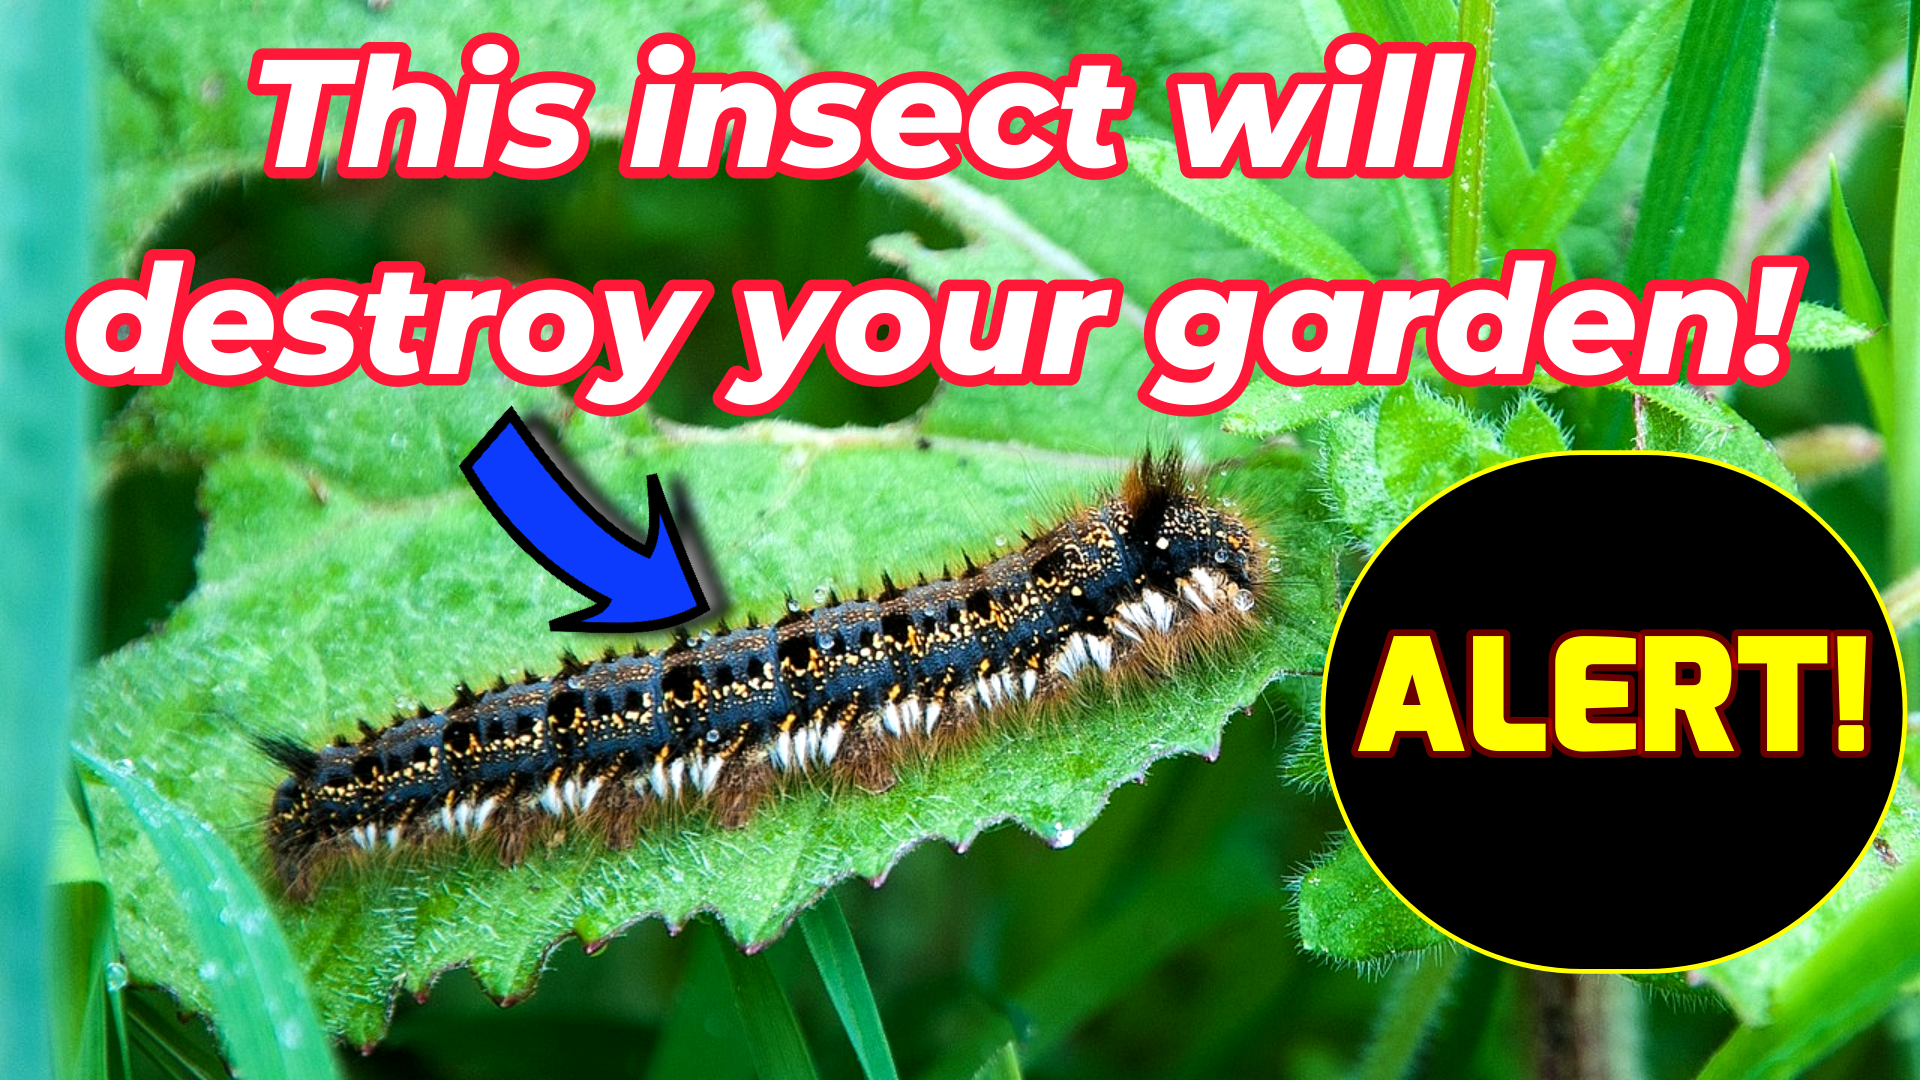


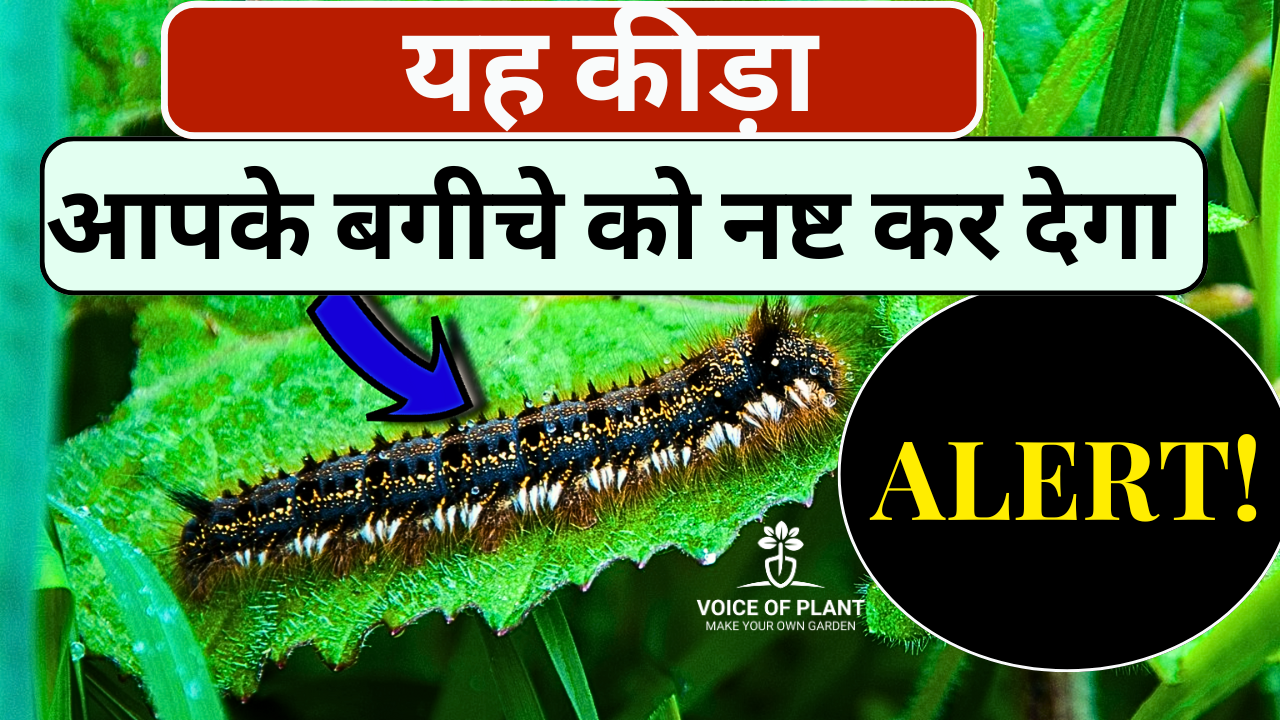
अपने बगीचे से कंबल कीड़े को हटाने के 7 आसान उपाय
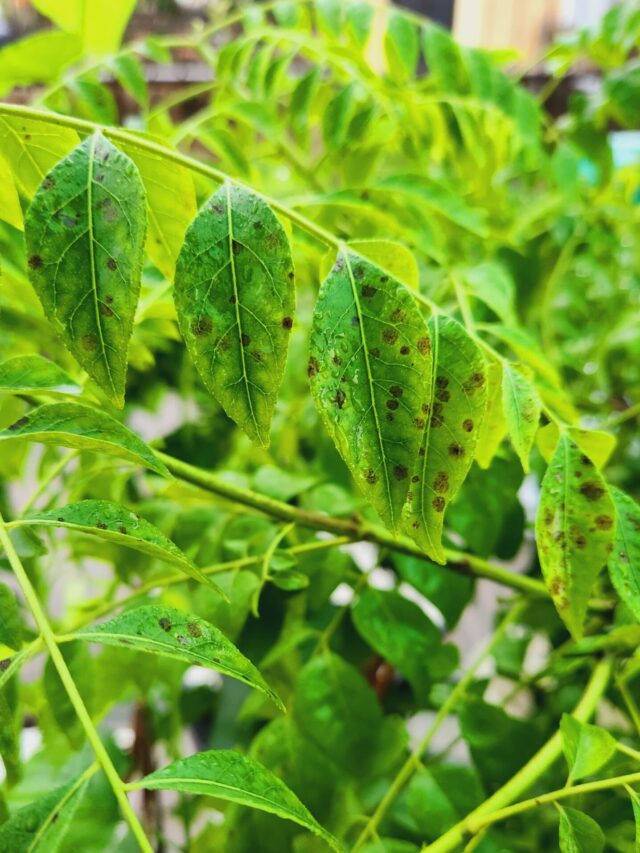
यदि आपके पौधों की पत्तियाँ कटी-फटी दिखाई दे रही हैं, तो इसका मतलब है कि आपके बगीचे पर कीड़ों का हमला हो चुका है। ये कीड़े पत्तियों को खाकर पौधों को नुकसान पहुँचाते हैं।
हर साल मानसून के मौसम में हमारे पौधों पर कंबल कीड़े (जिसे ऊनी कीड़ा या बालों वाला कीड़ा भी कहते हैं) का हमला होता है। यह कीड़ा पौधों की खासकर कोमल पत्तियाँ और तनों को खाकर नुकसान पहुँचाता है। गंभीर संक्रमण की स्थिति में पौधे पूरी तरह पत्तियों से विहीन हो जाते हैं, जिससे पौधों की वृद्धि रुक जाती है और उत्पादन में भारी गिरावट आती है।
कंबल कीड़े से पौधों को नुकसान कैसे होता है?
कंबल कीड़ा मुख्य रूप से कोमल पत्तियों और तनों को खाकर पौधों को नुकसान पहुँचाता है। कीड़ा तनों और पत्तियों के ऊपरी हिस्से को चबा डालता है, जिससे पौधों की वृद्धि रुक जाती है।

नई रोपी गई और छोटे पौधे सबसे ज्यादा प्रभावित होते हैं क्योंकि वे विकास के शुरुआती चरण में होते हैं। जब पौधे पत्तियों से विहीन हो जाते हैं, तो प्रकाश संश्लेषण रुक जाता है, जिससे पौधे ऊर्जा प्राप्त करने में असमर्थ हो जाते हैं।
कंबल कीड़े का जीवनचक्र
इस कीड़े का जीवनचक्र मानसून के मौसम में तेजी से शुरू होता है। ये कीड़े पत्तियों के निचले हिस्से पर अंडे देते हैं, और कुछ ही दिनों में अंडों से छोटे कीड़े निकलते हैं। ये कीड़े बहुत तेजी से बढ़ते हैं और फसलों पर हमला करते हैं। जब कीड़ों की संख्या बढ़ जाती है, तो वे बड़े समूह में पौधों को नुकसान पहुँचाते हैं, जिससे पूरे खेत या बगीचे को भारी नुकसान हो सकता है।
कंबल कीड़े से पौधों को बचाने के उपाय
थोड़ी सावधानी बरतकर आप अपने पौधों और फसलों को कंबल कीड़े के नुकसान से बचा सकते हैं। इसके लिए निम्नलिखित आसान और प्रभावी उपाय अपनाएँ:
1. नियमित निरीक्षण करें:

अपने बगीचे या खेत का नियमित रूप से निरीक्षण करें।
- जैसे ही पत्तियों या तनों के निचले हिस्से पर कीड़े या उनके अंडे दिखाई दें, उन्हें तुरंत हटा दें।
2. हाथ से कीड़ों को हटाएँ:
दस्ताने पहनकर इन कैटरपिलरों को पौधों से हाथ से हटा सकते हैं।
- उन्हें साबुन वाले पानी की बाल्टी में डालकर मार सकते हैं।
3. प्रभावित पत्तियों की छंटाई करें:

तुरंत प्रभावित पत्तियों को काटकर हटा दें।
- इससे अन्य पत्तियों और पौधे के हिस्सों में संक्रमण फैलने का खतरा कम हो जाता है।
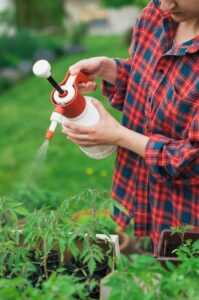
4. नीम तेल का छिड़काव करें:
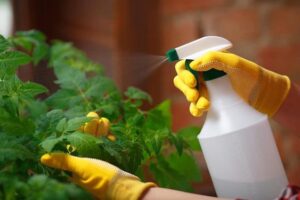
नीम का तेल एक लोकप्रिय जैविक कीटनाशक है। इसे पानी में मिलाकर प्रभावित पौधों पर छिड़कें।
- यह कीड़े के जीवनचक्र को बाधित करता है और उन्हें भगाने में मदद करता है।
-
- 1 लीटर पानी में 2 से 4 चम्मच नीम तेल का इस्तेमाल करें।
How to use neem oil for plants
5. लहसुन या मिर्च स्प्रे बनाएं:
घर पर लहसुन या मिर्च को पानी में मिलाकर स्प्रे तैयार करें।
- इस मिश्रण को छानकर पौधों पर छिड़कें। इसकी तीव्र गंध कंबल कीड़े और अन्य कीड़ों को दूर भगाने में मदद करती है।
6. अंडों के गुच्छे हटाएँ:
पत्तियों के नीचे नियमित रूप से अंडों के गुच्छों की जाँच करें और उन्हें हटा दें ताकि भविष्य में कीड़ों की संख्या न बढ़े।
7. बगीचे को साफ रखें:
मरे हुए पत्ते, पौधों के अवशेष और खरपतवारों को नियमित रूप से हटाएँ।
- यह कैटरपिलरों के छिपने की जगह होती हैं, जिससे उनका प्रकोप बढ़ सकता है।
इन प्राकृतिक तरीकों से आप अपने बगीचे को कंबल कीड़े के प्रकोप से बचा सकते हैं और पौधों को बिना किसी नुकसान के सुरक्षित रख सकते हैं।
हमारे सोशल मीडिया चैनल को फॉलो करें:
1. Voice of Plant – YouTube Channel
2. Voice of Plant Facebook Page
3. Instagram Voice of Plant Channel
शुभ बागवानी!