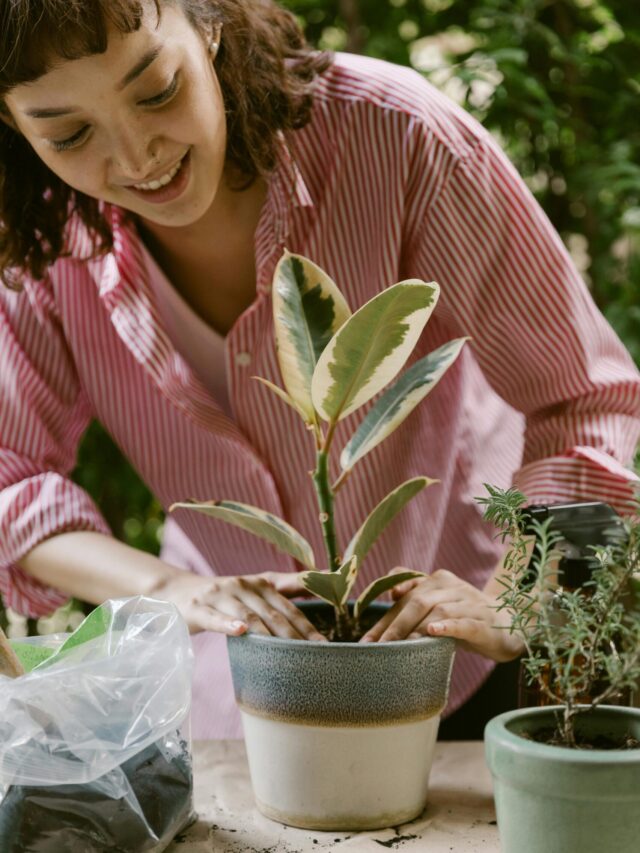
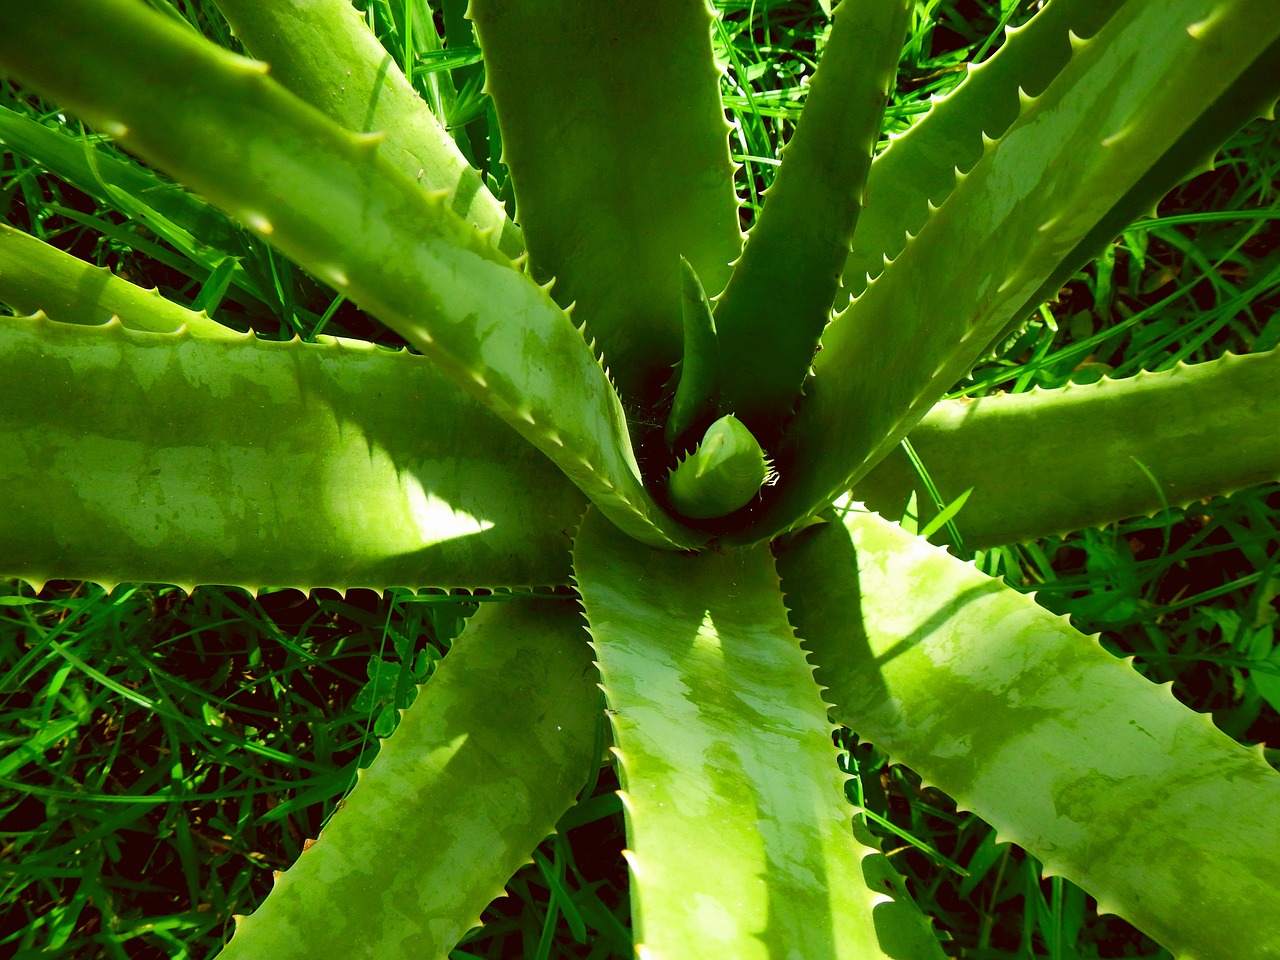
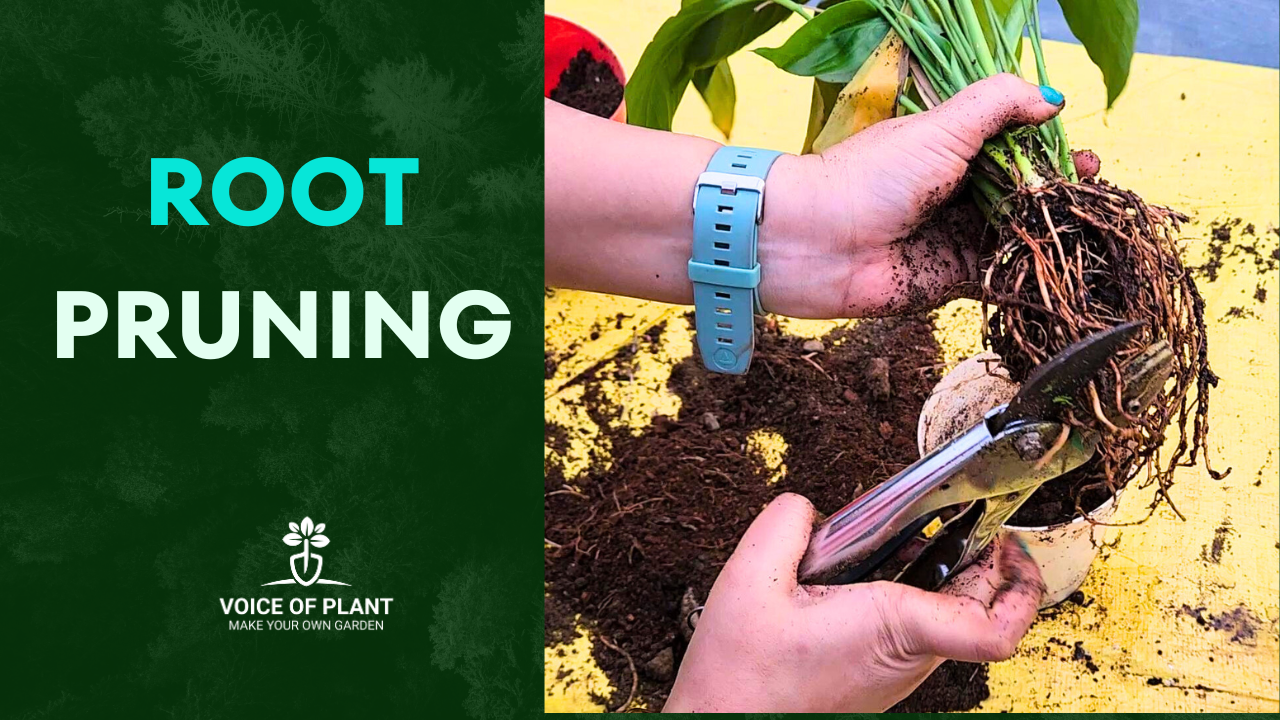
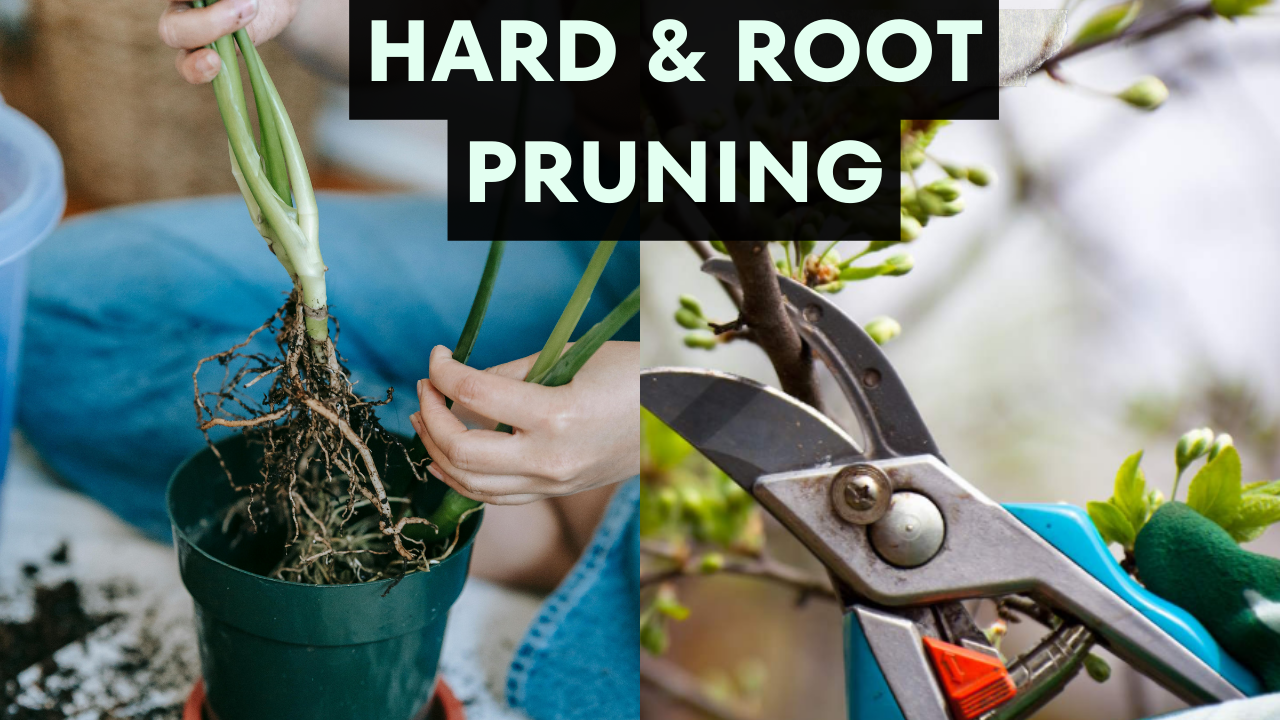
What is Root Pruning?
Root pruning is when you trim the roots of a plant that has outgrown its container. You take the plant out, cut back the roots, and then put it back in the same or a bigger pot. It helps the plant stay healthy and grow better.
This article is about why root pruning is important for plants and it covers basic and advanced questions about it. By reading this, you will understand why root pruning matters and get answers to many questions about taking care of plants.

1. Why is root pruning important?
2. How to do root pruning?
3. Which is the best season for root pruning?
4. What precautions need to be followed pre and post root pruning?
5. What will happen if root pruning is not done at time?
6. What are the symptoms of plants showing need for root pruning?
Before answering all these queries lets understand first understand the need of root pruning.
What is the need of Root Pruning?
The need for root pruning arises mainly in container gardening, where plants are grown in pots or containers instead of in the ground.
In traditional ground gardening, plants have plenty of space for their roots to spread out. However, in container gardening, the limited space confines root expansion.
Without enough room for the roots to grow, plants become vulnerable to a condition called root binding.

This happens when the roots become tightly packed and start circling around the inside of the pot. If left unchecked, root binding can suffocate the plant and hinder its growth. Therefore, root pruning is necessary to prevent this problem and ensure the health and vitality of container-grown plants.
What to do in Root Bound?

If a plant is root-bound, there are three potential solutions:
1. Remove the plant from its current pot and transplant it into the ground.
2. Transfer the plant to a larger pot.
- This option is suitable for smaller plants.
- For larger plants already in sizable pots that cannot be accommodated in an even larger container, another approach is necessary.
3. Perform root pruning.
How is Root Pruning different from Hard pruning?
Root pruning and hard pruning are two different techniques used in gardening:
Root Pruning:

- It involves trimming the roots of a plant without affecting its above-ground parts like stems, branches, or flowers.
- Primarily applied to container-grown plants to manage root growth and prevent root binding.
Hard Pruning:

- It involves cutting back or removing all visible parts of a plant, including branches, stems, buds, and flowers.
- Used to shape or rejuvenate the plant, promote new growth, or control its size.
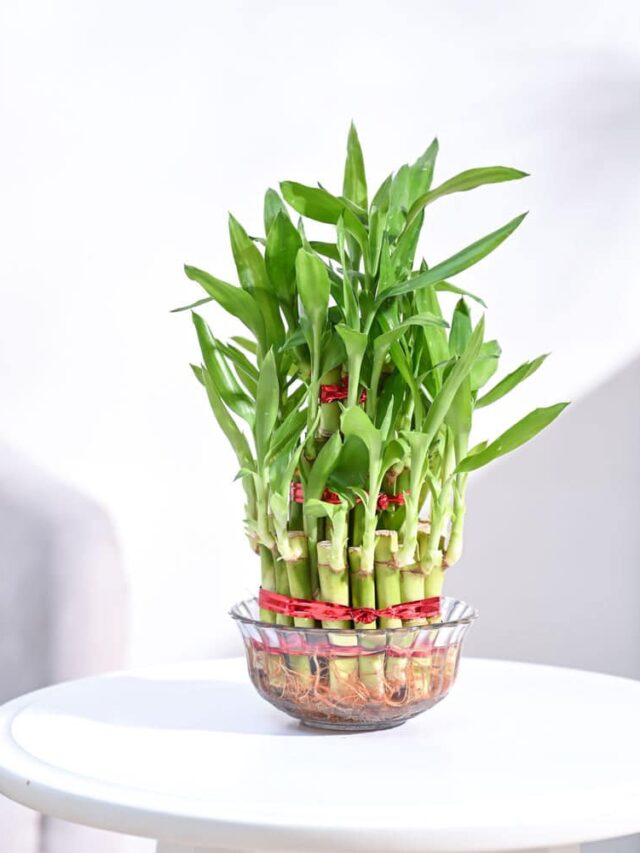
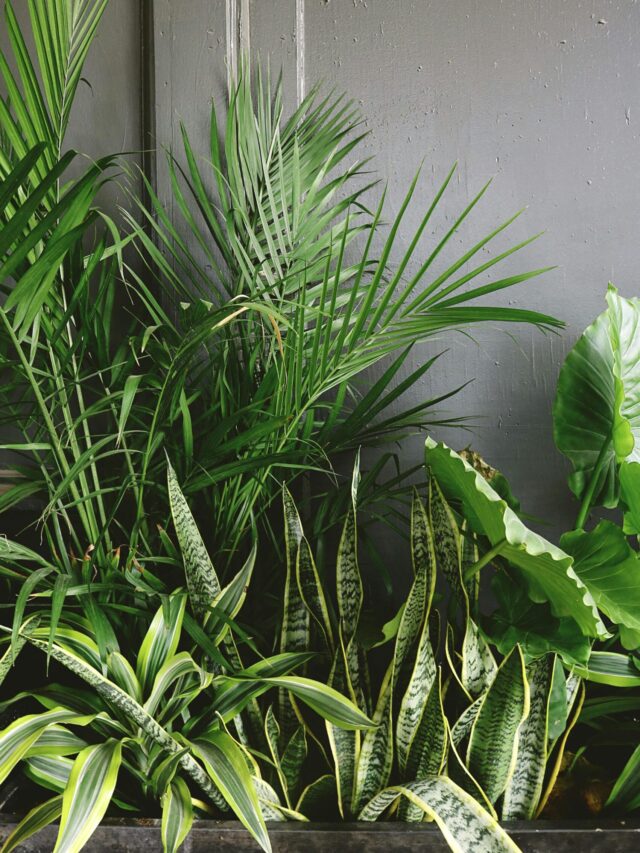
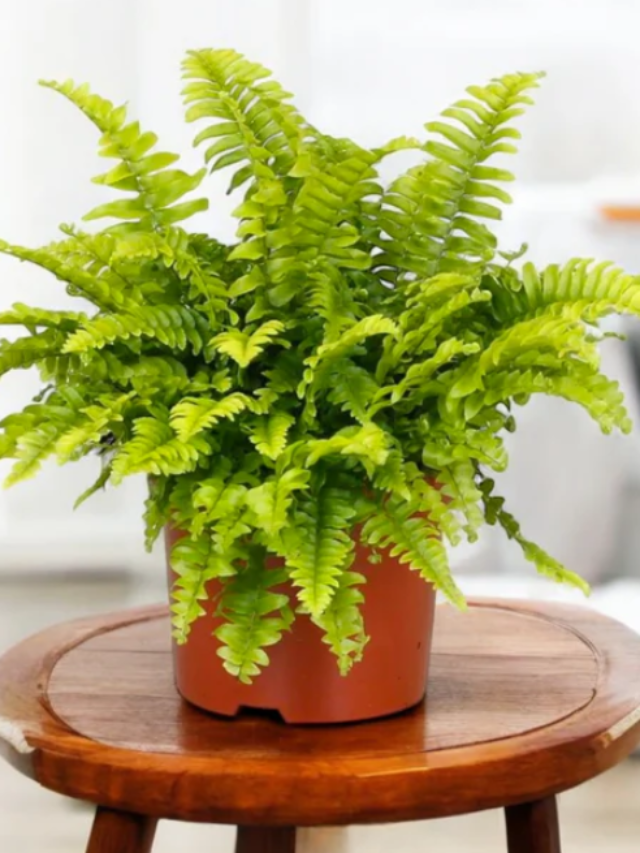
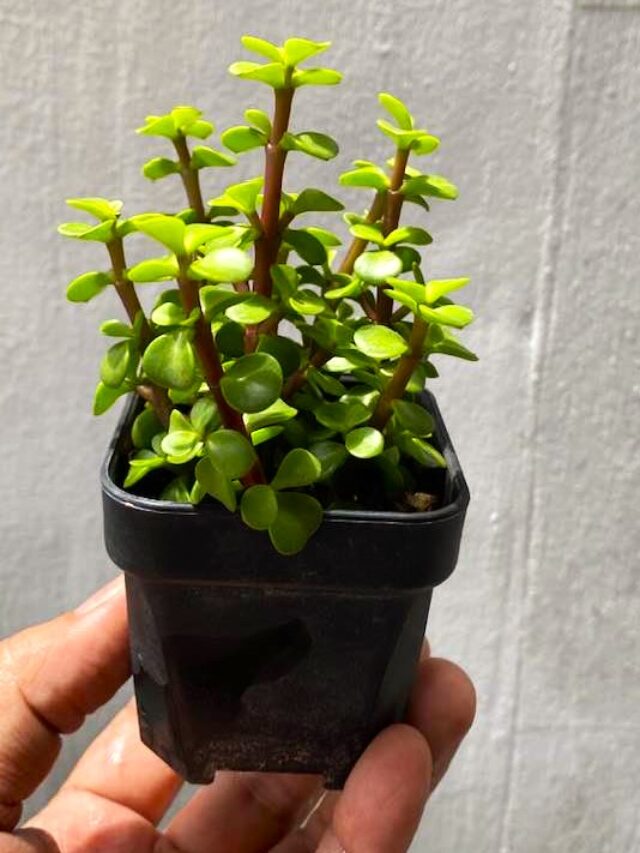
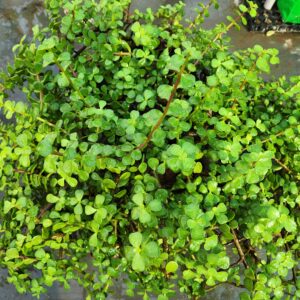
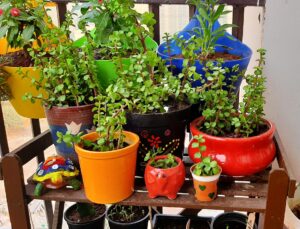
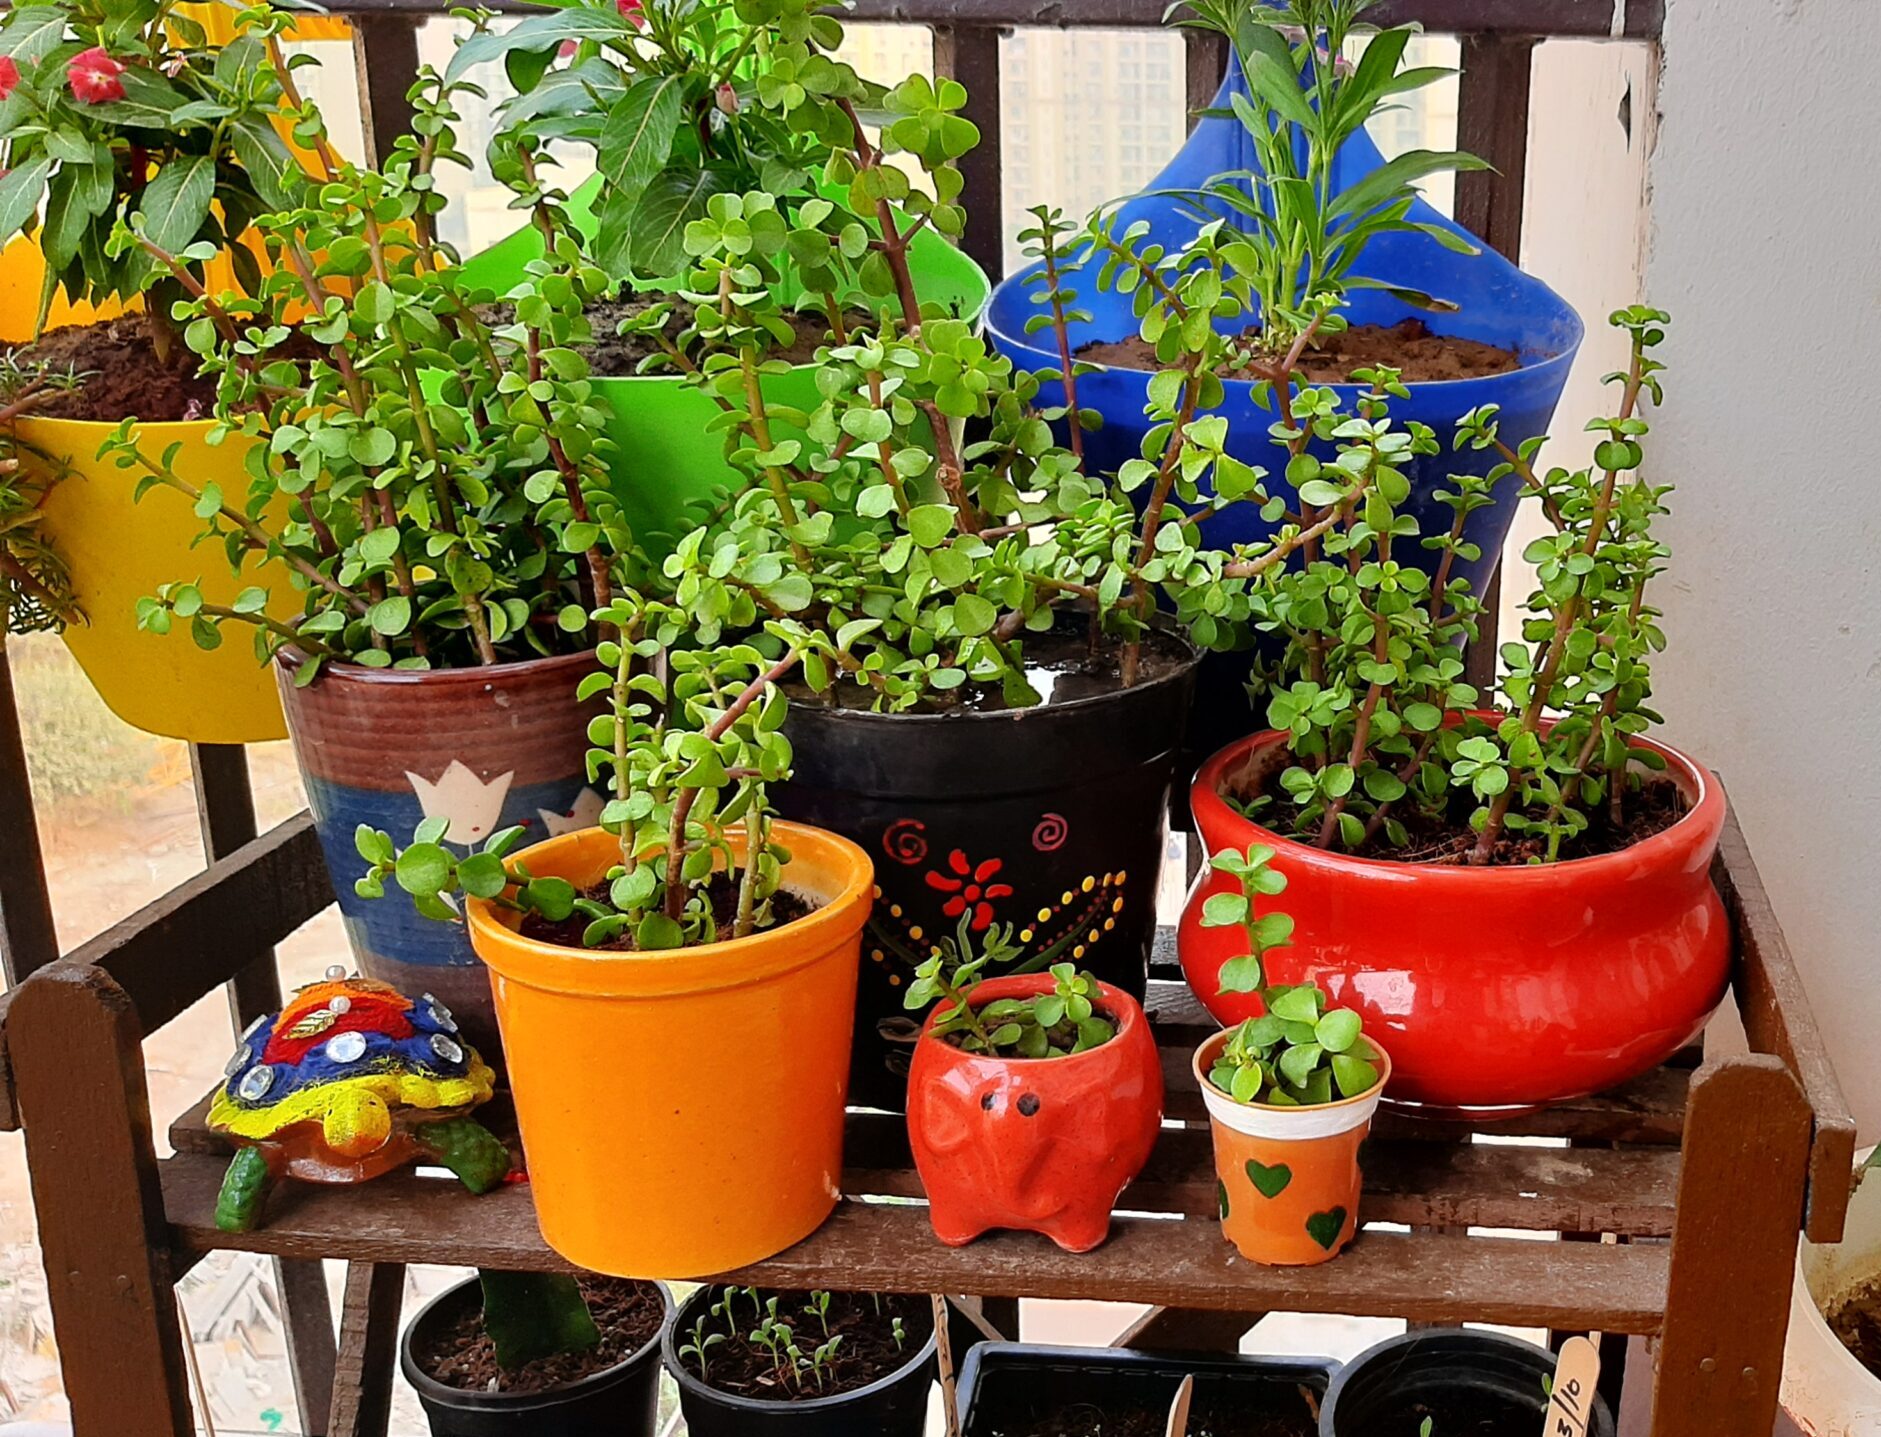
Which plants can be root pruned?
Plants Suitable for Root Pruning:
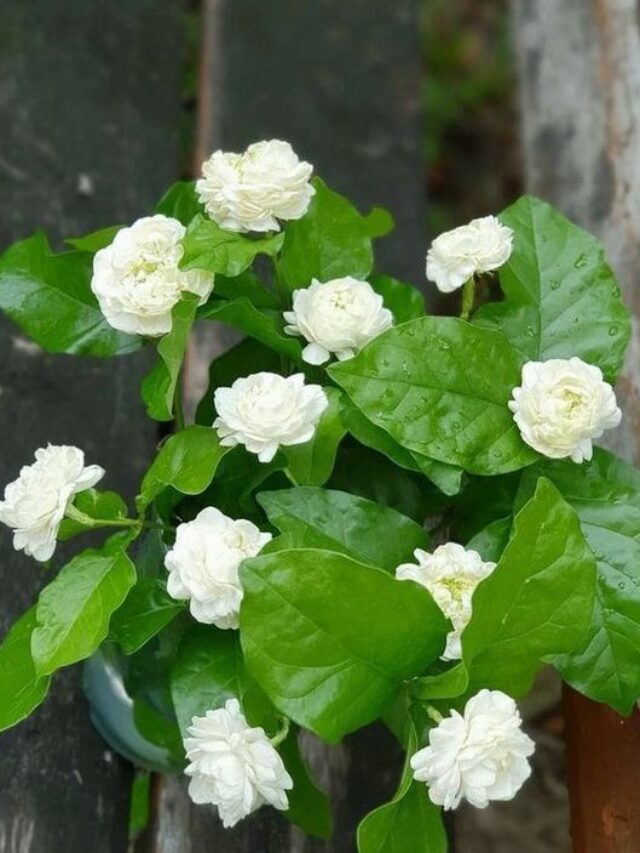
(i) Recommended for permanent plants especially those grown in containers such as
- tulsi (Holy basil),
- curry Leaf,
- hibiscus,
- night jasmine,
- areca palm,
- monstera,
- aglaonema,
- jasmine,
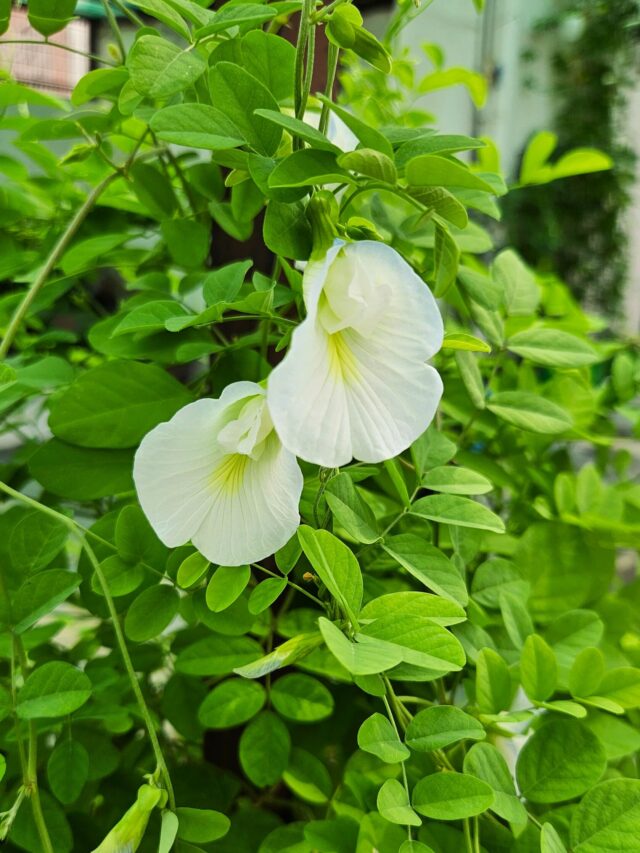
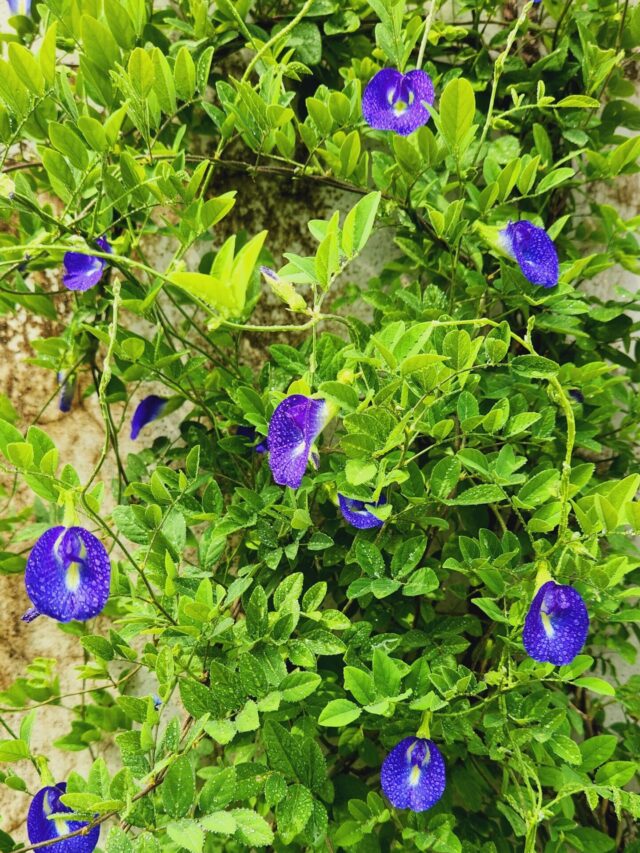
- clitoria,
- bougainvillaea, etc.
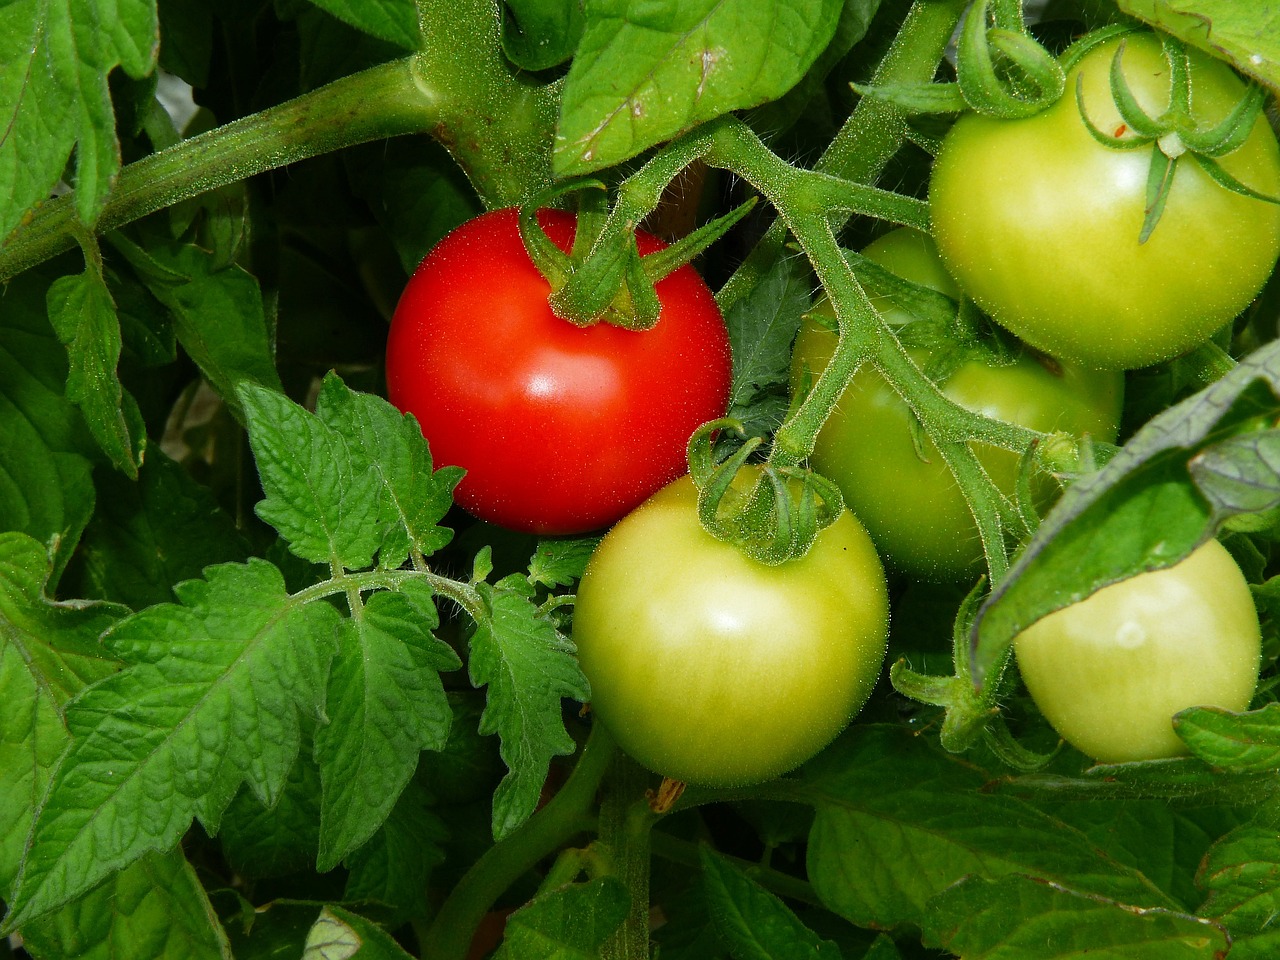
(ii) Root pruning is generally not necessary for seasonal plants like
- tomato,
- bitter gourd,
- okra,
- cauliflower,
- capsicum
- petunia, and
- dianthus, etc.
These plants complete their life cycle within a single growing season and are typically replanted annually, making root pruning unnecessary.
Important note:
- Furthermore, it is crucial to understand that root pruning is mainly relevant to plants cultivated in containers rather than those grown directly in the ground.
Favorable Season For Root Pruning
Root pruning should always be practiced in spring or monsoon season.
- It should not be done during extreme hot or cold weather.
Important note:
- Hard pruning usually occurs in early spring, while root pruning can be done later in the spring season or monsoon season.
Symptoms Indicating the Need for Root Pruning:
1. Plants are in stress
Plants can experience stress for various reasons, such as excessive fertilizer, insufficient sunlight, or neglect.
- In these cases, signs of stress typically manifest quickly. However, when a plant is stressed due to being root-bound, the symptoms emerge gradually or slowly. The plant may gradually wilt and wither over time.
2. Roots start coming out of the pot
When root binding happens, roots may extend through the drainage holes at the bottom of the pot, and they may also become visible on the surface of the soil.
3. Check While Repotting
Inspect all mature plants during the spring season by taking them out of their pots.
- Look for signs of root binding, and if you see any, perform root pruning.
- If there are no signs of root binding, check the soil condition and replant the plant in a pot of suitable size if necessary.
Precautions While doing Root Pruning
1. Ensure the soil is neither too wet nor too dry.
2. If you watered the plant recently, wait a couple of days before root pruning to avoid excess moisture.
3. Perform root pruning in the evening.
5. Clean and sanitize your pruning tools before use.
6. Beginners should prioritize hard pruning before attempting root pruning.
7. Start with small, resilient plants to boost confidence.
8. Practice root pruning when you feel confident in your abilities.
How To Do Root Pruning?
1. To remove the plant from the pot, gently pull it along with the soil, avoiding root disturbance.
2. Tap the pot’s sides to loosen the soil.
3. When examining roots, white indicates new growth, while brown or black roots are older.
4. Two types of roots may be visible: thin roots and stem-like roots. Trim both types by 70-80% before replanting in a pot with a healthy soil mixture. Beginners should only remove thin roots and avoid touching thick ones.
5. For larger pots, use your feet to stabilize the pot while pulling the plant out.
- Once the plant is removed, use a knife to trim the soil from all sides and inspect for root binding.
- If root binding is present, carefully remove the roots.
- Otherwise, assess the soil condition and replant the pot accordingly.
Soil Mixture After Root Pruning:
1. After trimming roots, plants may feel a bit stressed and prefer familiar conditions.
- So, for small plants, you can reuse the old soil after cleaning it. Just refill the pot with the cleaned soil; no need for extra compost, fertilizers, or fungicides—the old soil works fine.
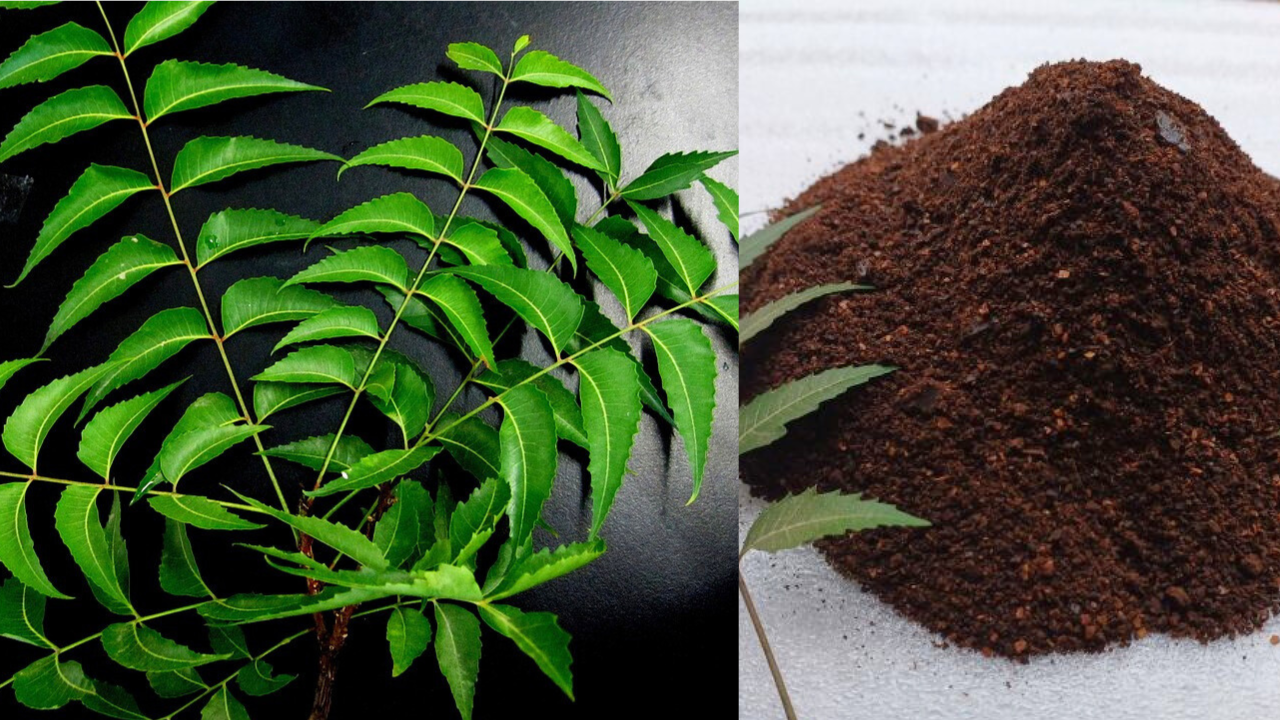
2. For larger pots, use a fresh soil mixture with additives like compost and fungicides at the bottom.
- Reuse the old soil mixture near the roots of plant. Before using, just clean the soil mixture.
Process After Repotting
After repotting, gently tap the pot to settle the soil, avoiding shaking.
1. Water properly and add a bit of fungicide to the water.
2. Put the plant in a bright light area (under shade), but keep it away from direct sunlight. The plant may feel stressed for 4-5 days after root trimming.
3. Water the plant sparingly, and check the moisture level of the soil at a depth of 1-2 inches.
- Since the roots have been trimmed, the plant will require less water. Only water when the soil is dry.
4. Allow the plant to recover undisturbed for 20-25 days, avoid giving any fertilizer’s like Epsom Salt, Onion peel liquid fertilizer or any other fertilizer.
5. Resume watering the plant only when the soil is dry, and make sure to continue providing bright light. After about a month, the plant should start growing again and produce flowers.
For plants aged 2-3 years, thoroughly inspect the roots during repotting for signs of root binding. If you find any signs of root binding, consider root pruning to address the issue.
Happy Gardening !
Make Your Own Garden!