Tag Archives: indoor plant care

morning sunlight indoor plants

Why Is Morning Sunlight Best for Indoor Plants? 5 Facts You Should Know

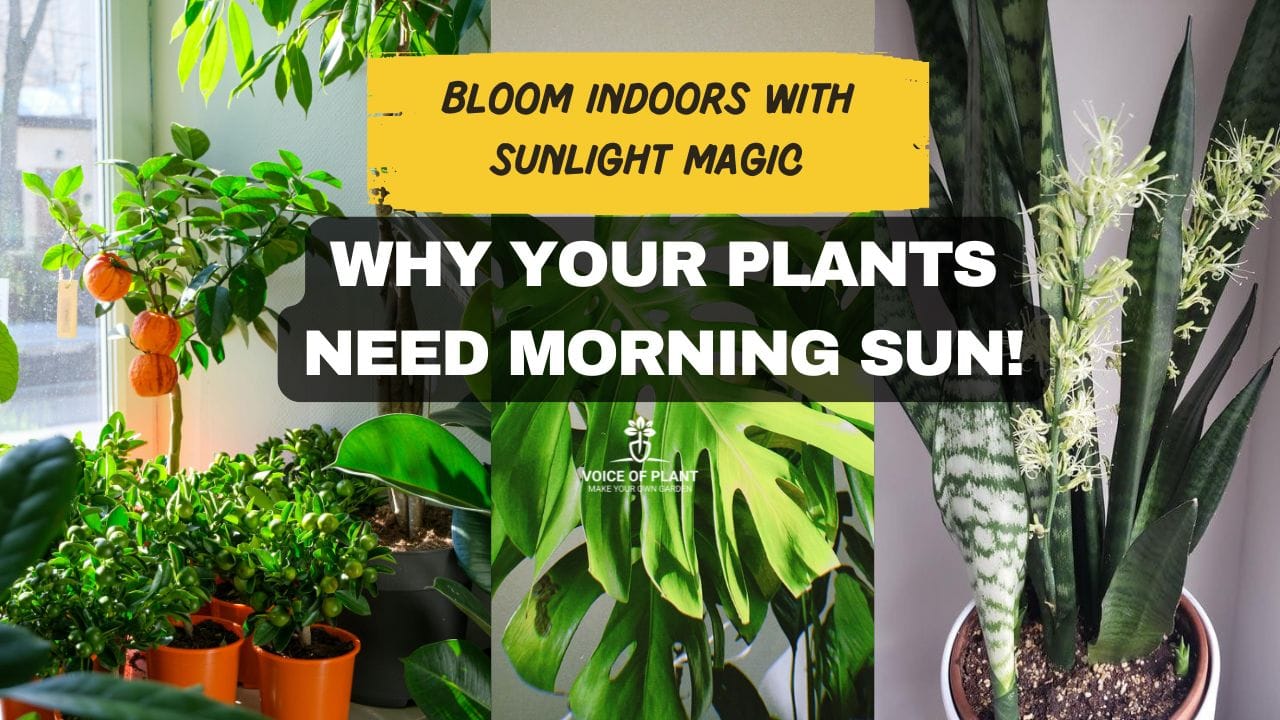
Why Is Morning Sunlight Best for Indoor Plants? Morning sunlight is a blessing for indoor plants. Many gardeners aren’t aware of this and always keep their plants indoors all the time.

Yes, you read that right — morning sunlight benefits all indoor plants, whether they bloom or not.

In this post, I’ll share some important facts about why you should expose your indoor plants to morning sunlight for at least 2 to 3 hours, twice a week.

Morning Sunlight Blessing for Indoor plants


Fact 1: Plants cannot grow without sunlight

No plant can grow and survive in complete darkness. This is absolutely true – plants need sunlight to survive.

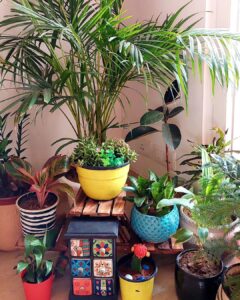
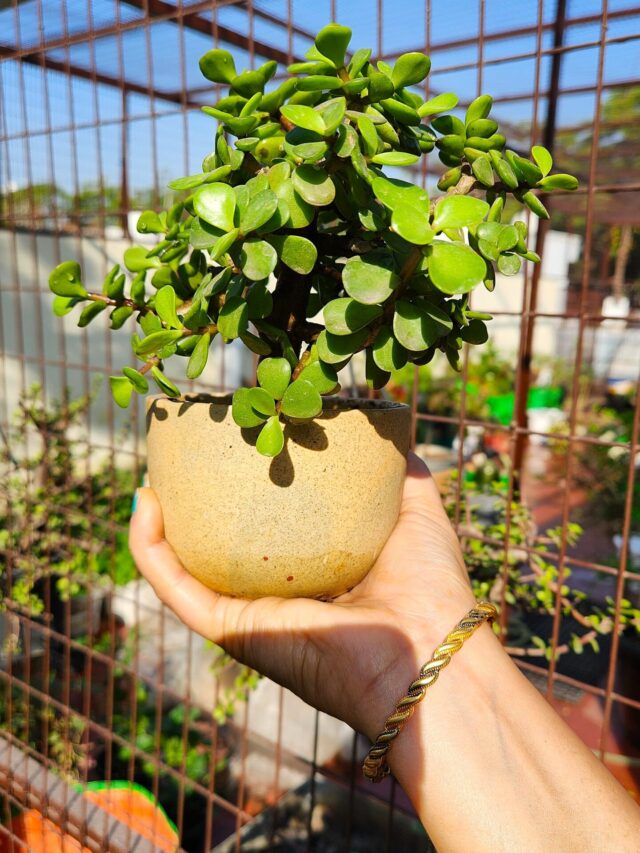
Indoor plants grow slowly so they need less light. But if we keep them in the morning sunlight for some time, their growth improves significantly.

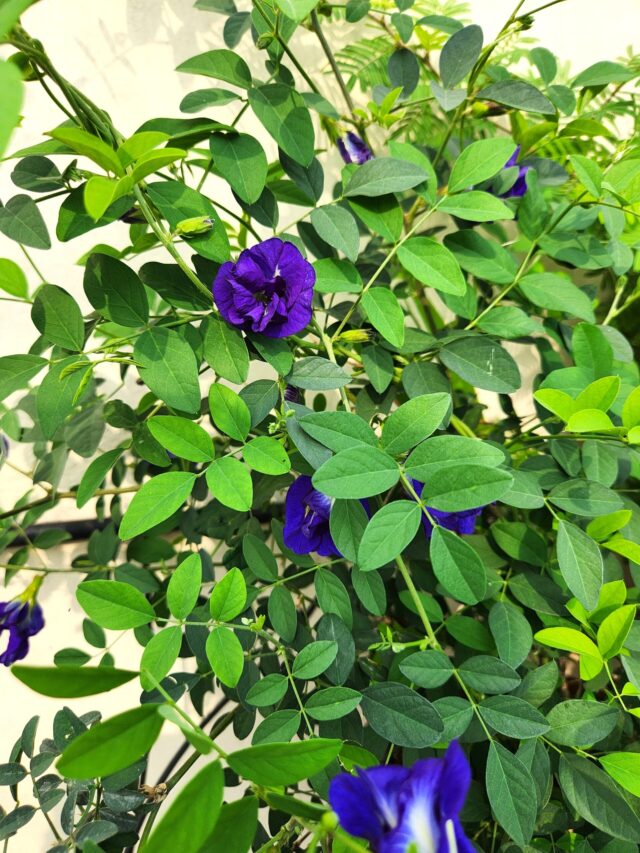
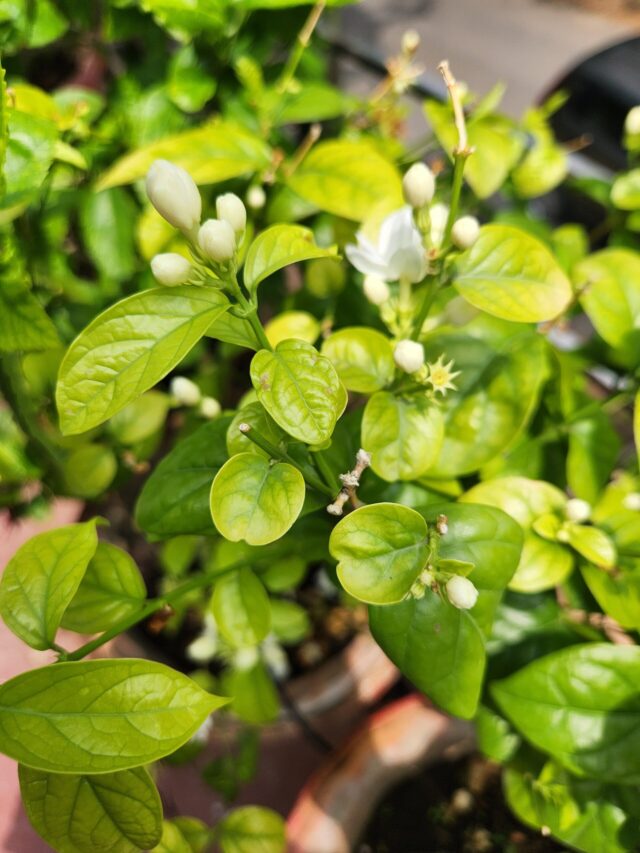
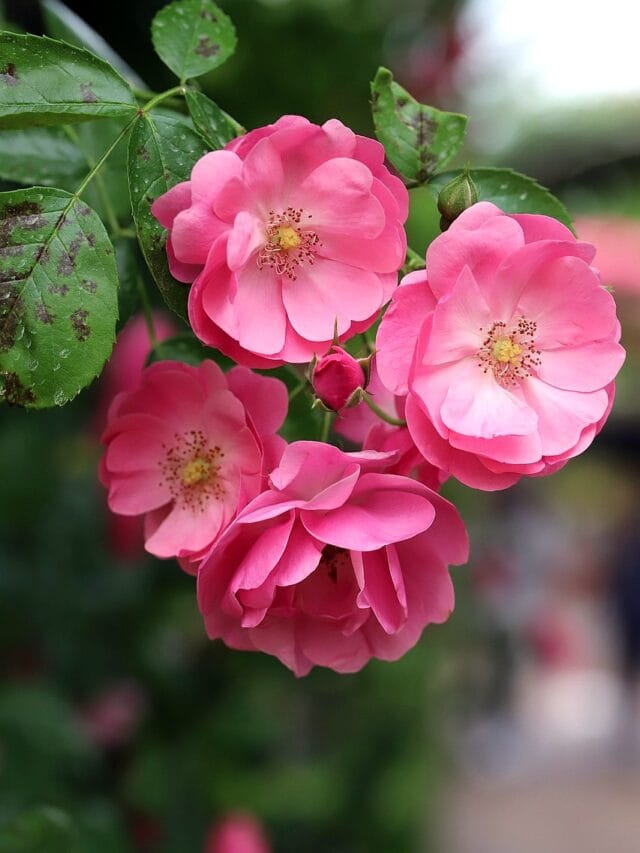
Fact 2: It boost flowering in plants

Flowering is not possible without direct sunlight. In some indoor plants, direct morning sunlight encourages blooming.

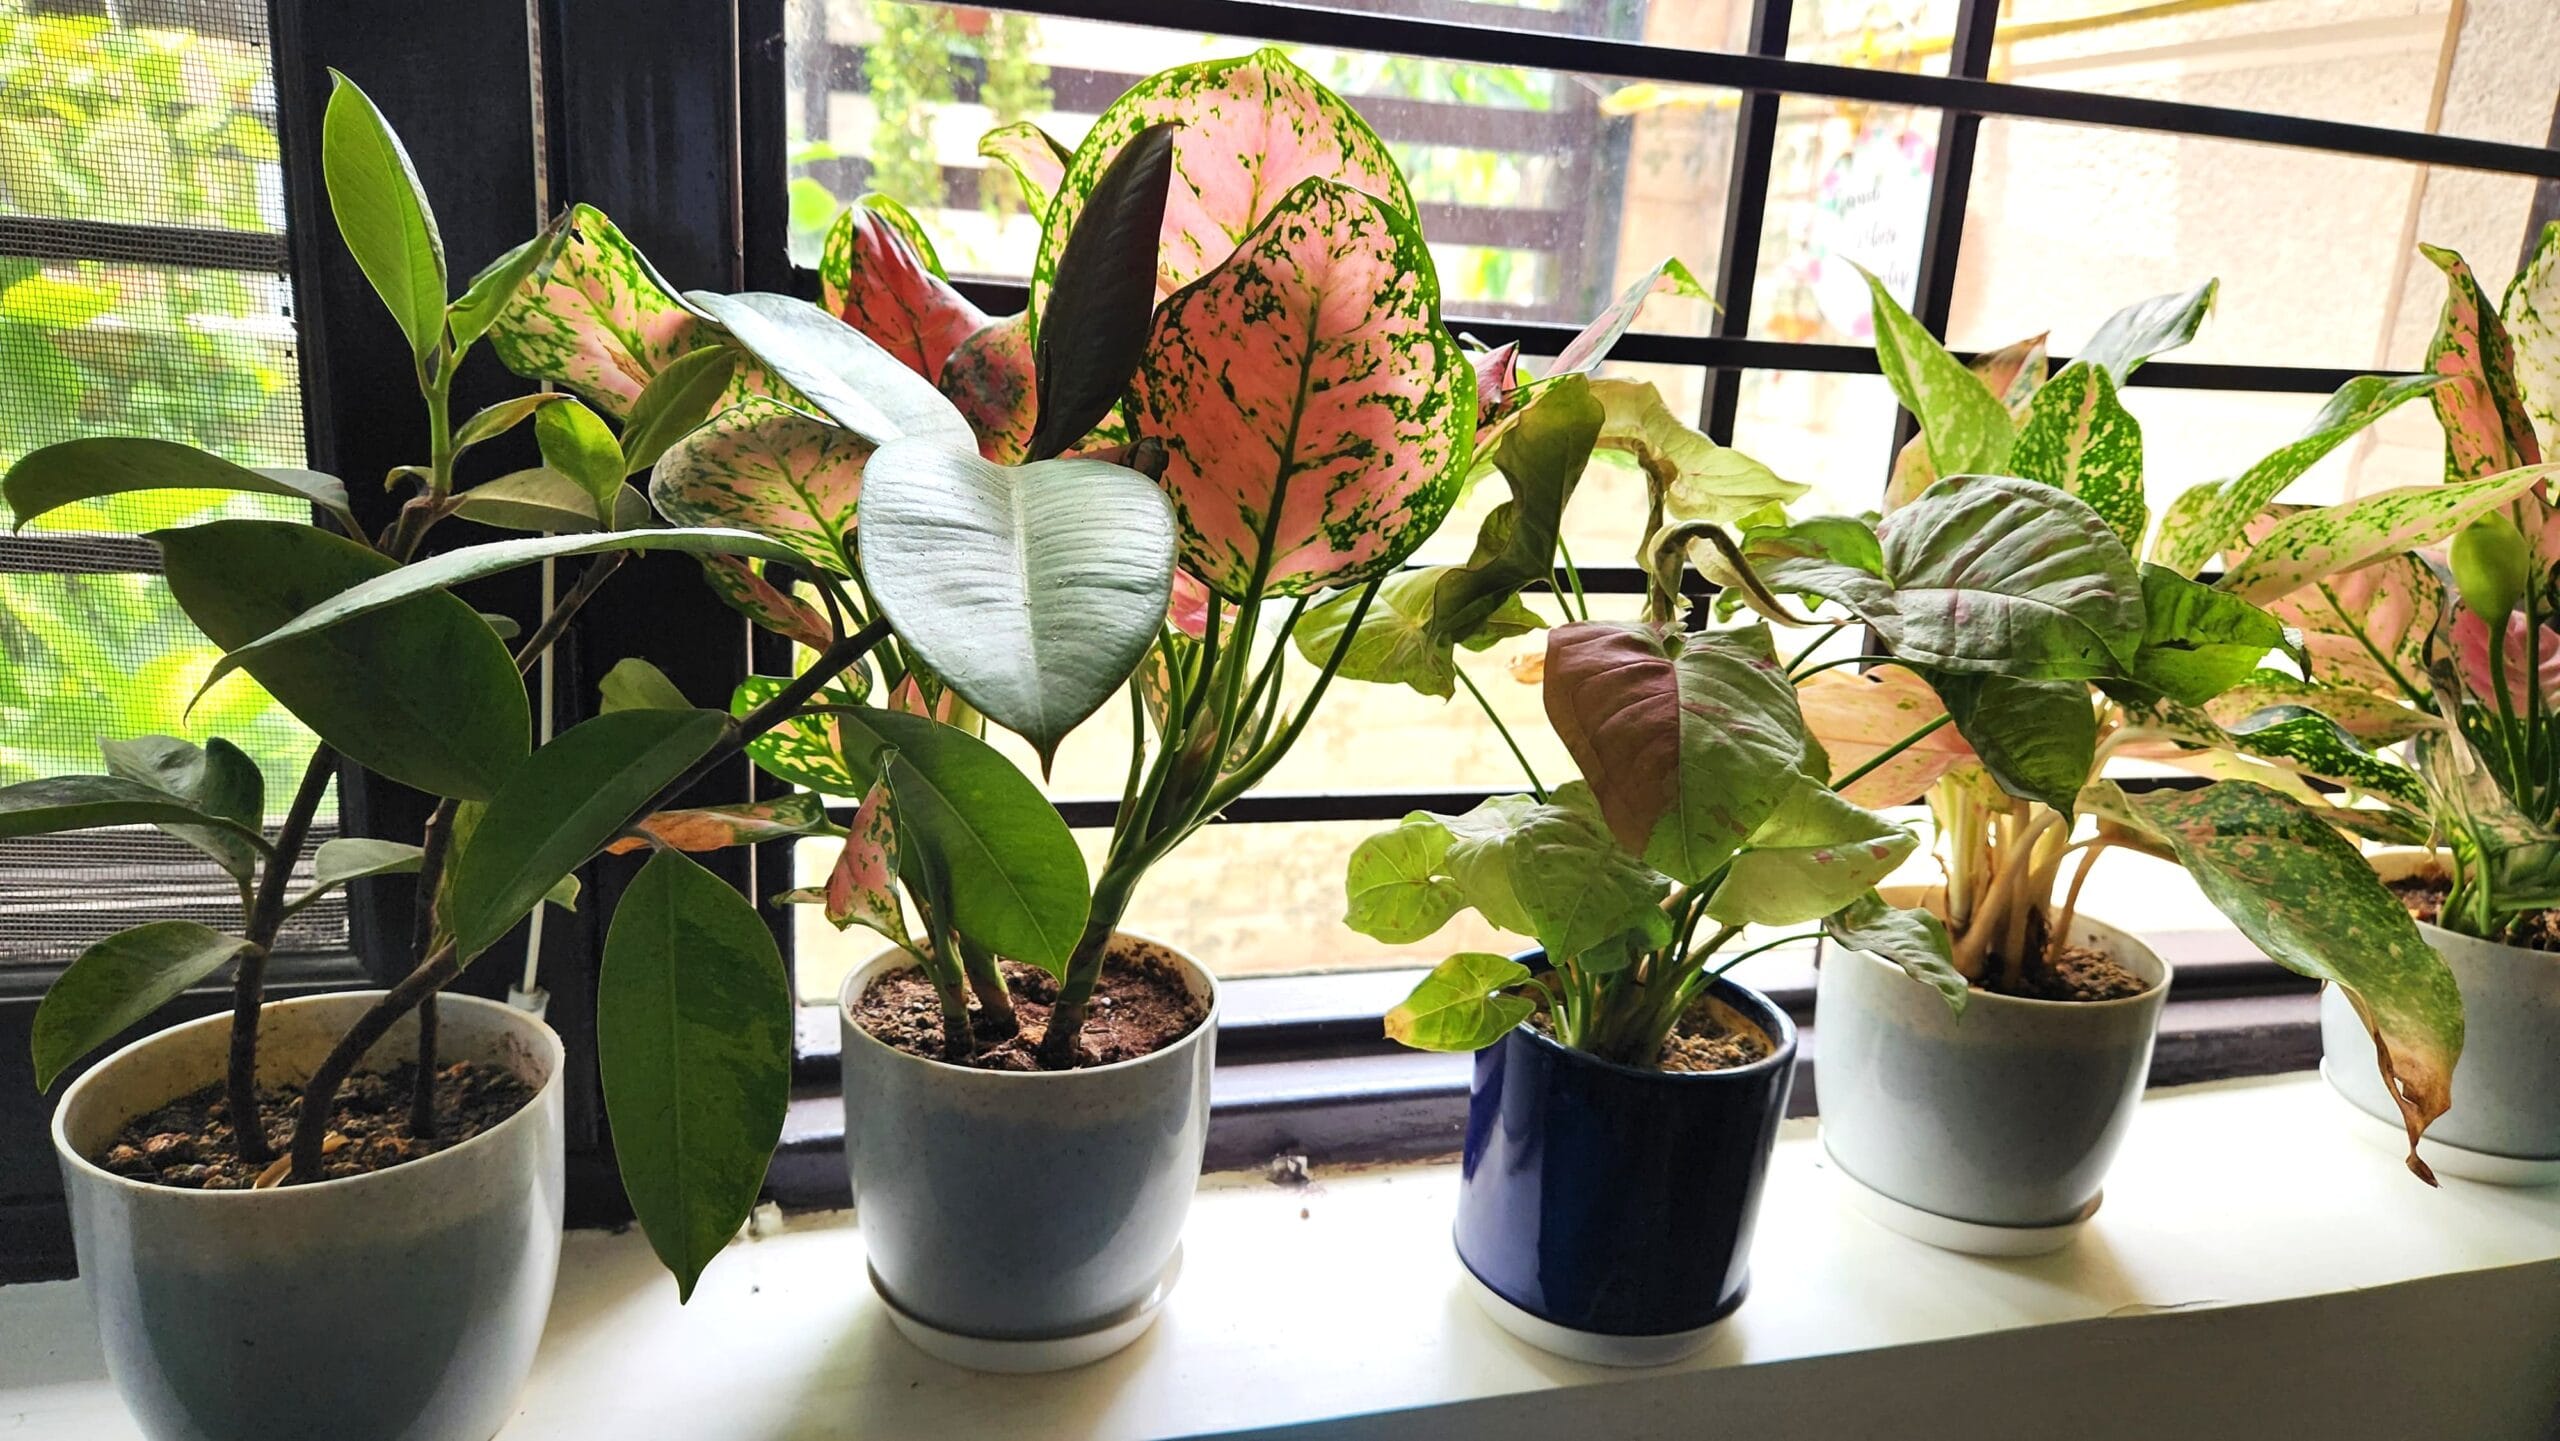
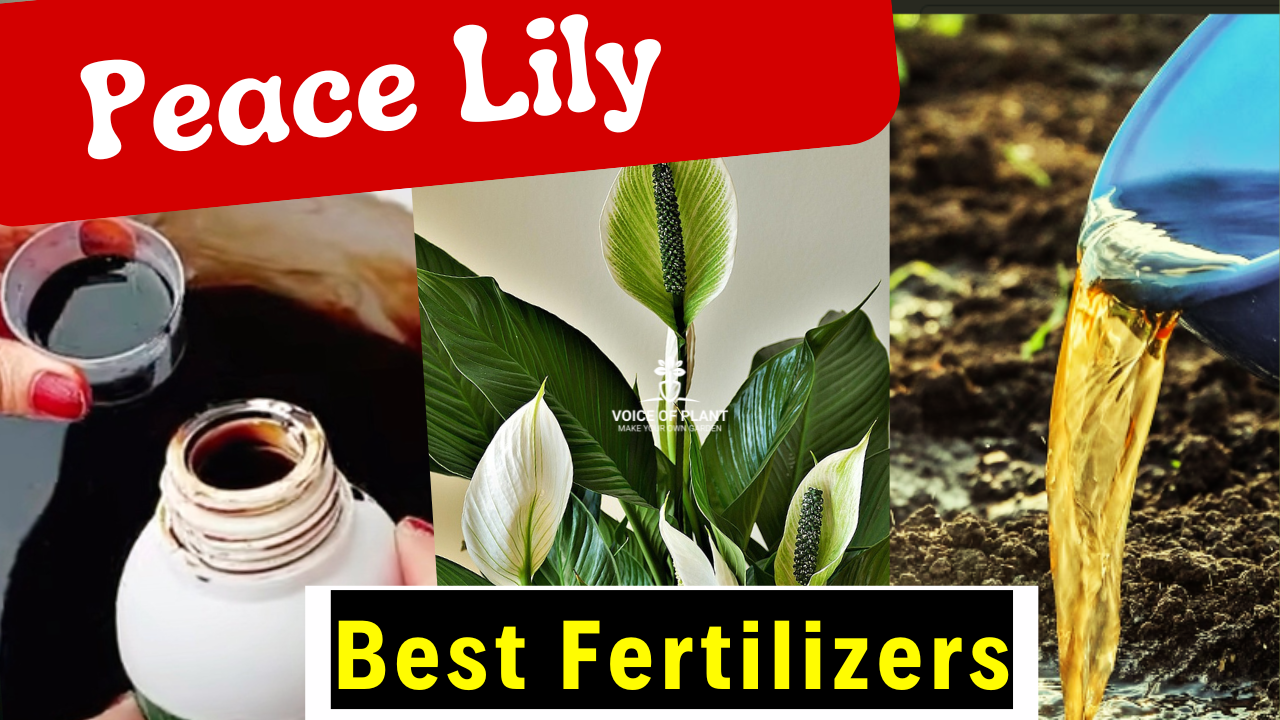
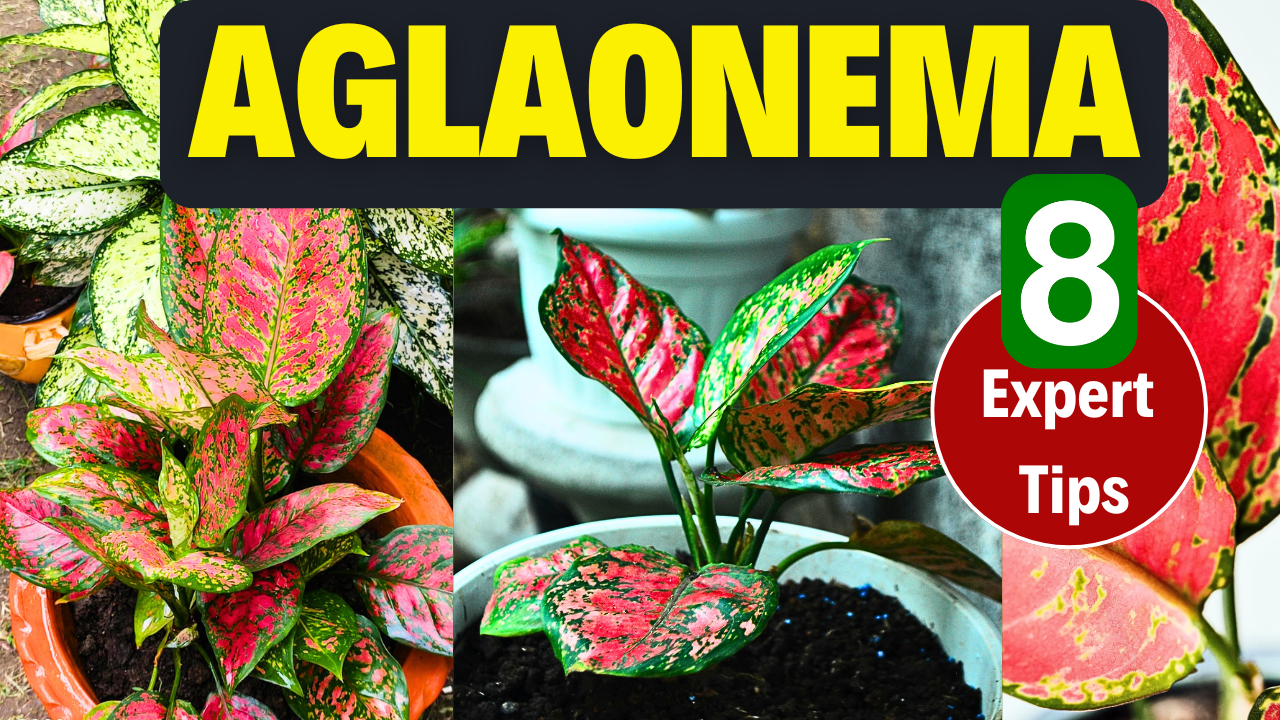
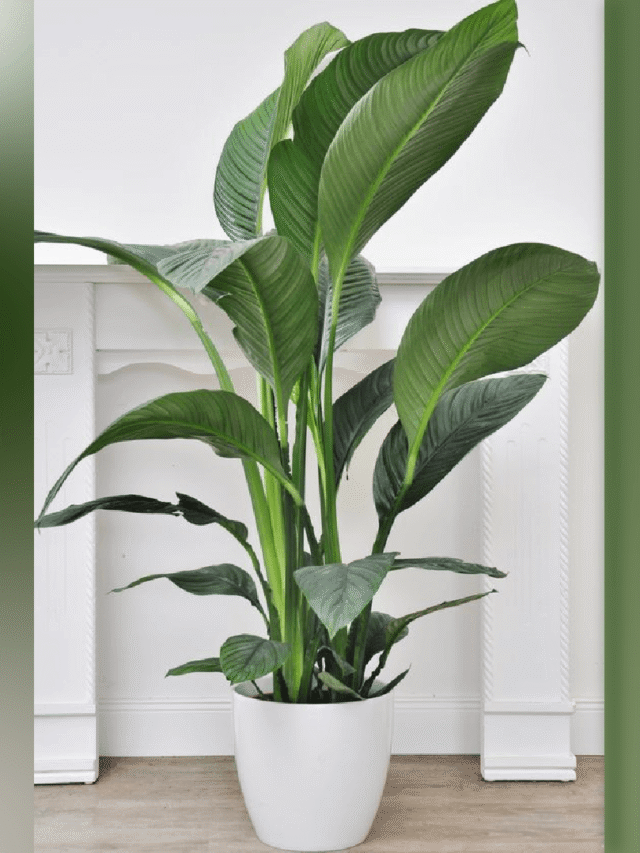
Indoor plants like Aglaonema, Peace Lily, and others often begin to bloom when they receive 2 to 3 hours of direct morning sunlight two to three times a week.

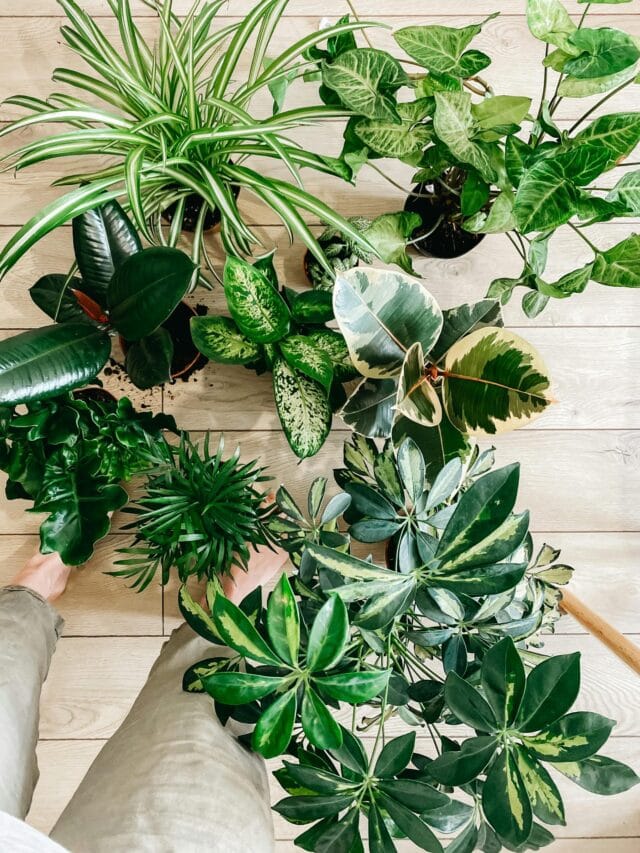
Fact 3. It enhances the colour of the leaves

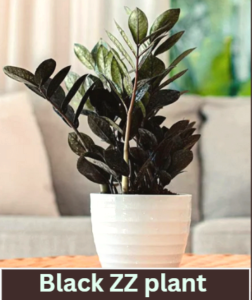
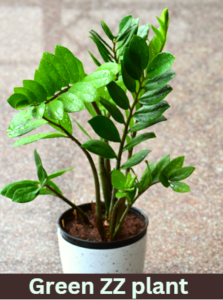
Morning sunlight contribute to vibrant green coloration of the leaves in indoor plants.

It promotes the production of chlorophyll in the indoor plants, which makes the leaves look lush green. A few hours of morning sunlight can improve the overall appearance and health of the plant.

4. It boost photosynthesis in plants 

Morning sunlight boost Photosynthesis in indoor plants as well. Direct morning sunlight is gentle and soft but it is very effective, helping indoor plants produce more energy without the risk of sunburn.

Note:

  • Photosynthesis is the process by which plants make their own food, and this process is most efficient in natural light.

Fact 5: It Promotes Strong and Healthy Stems

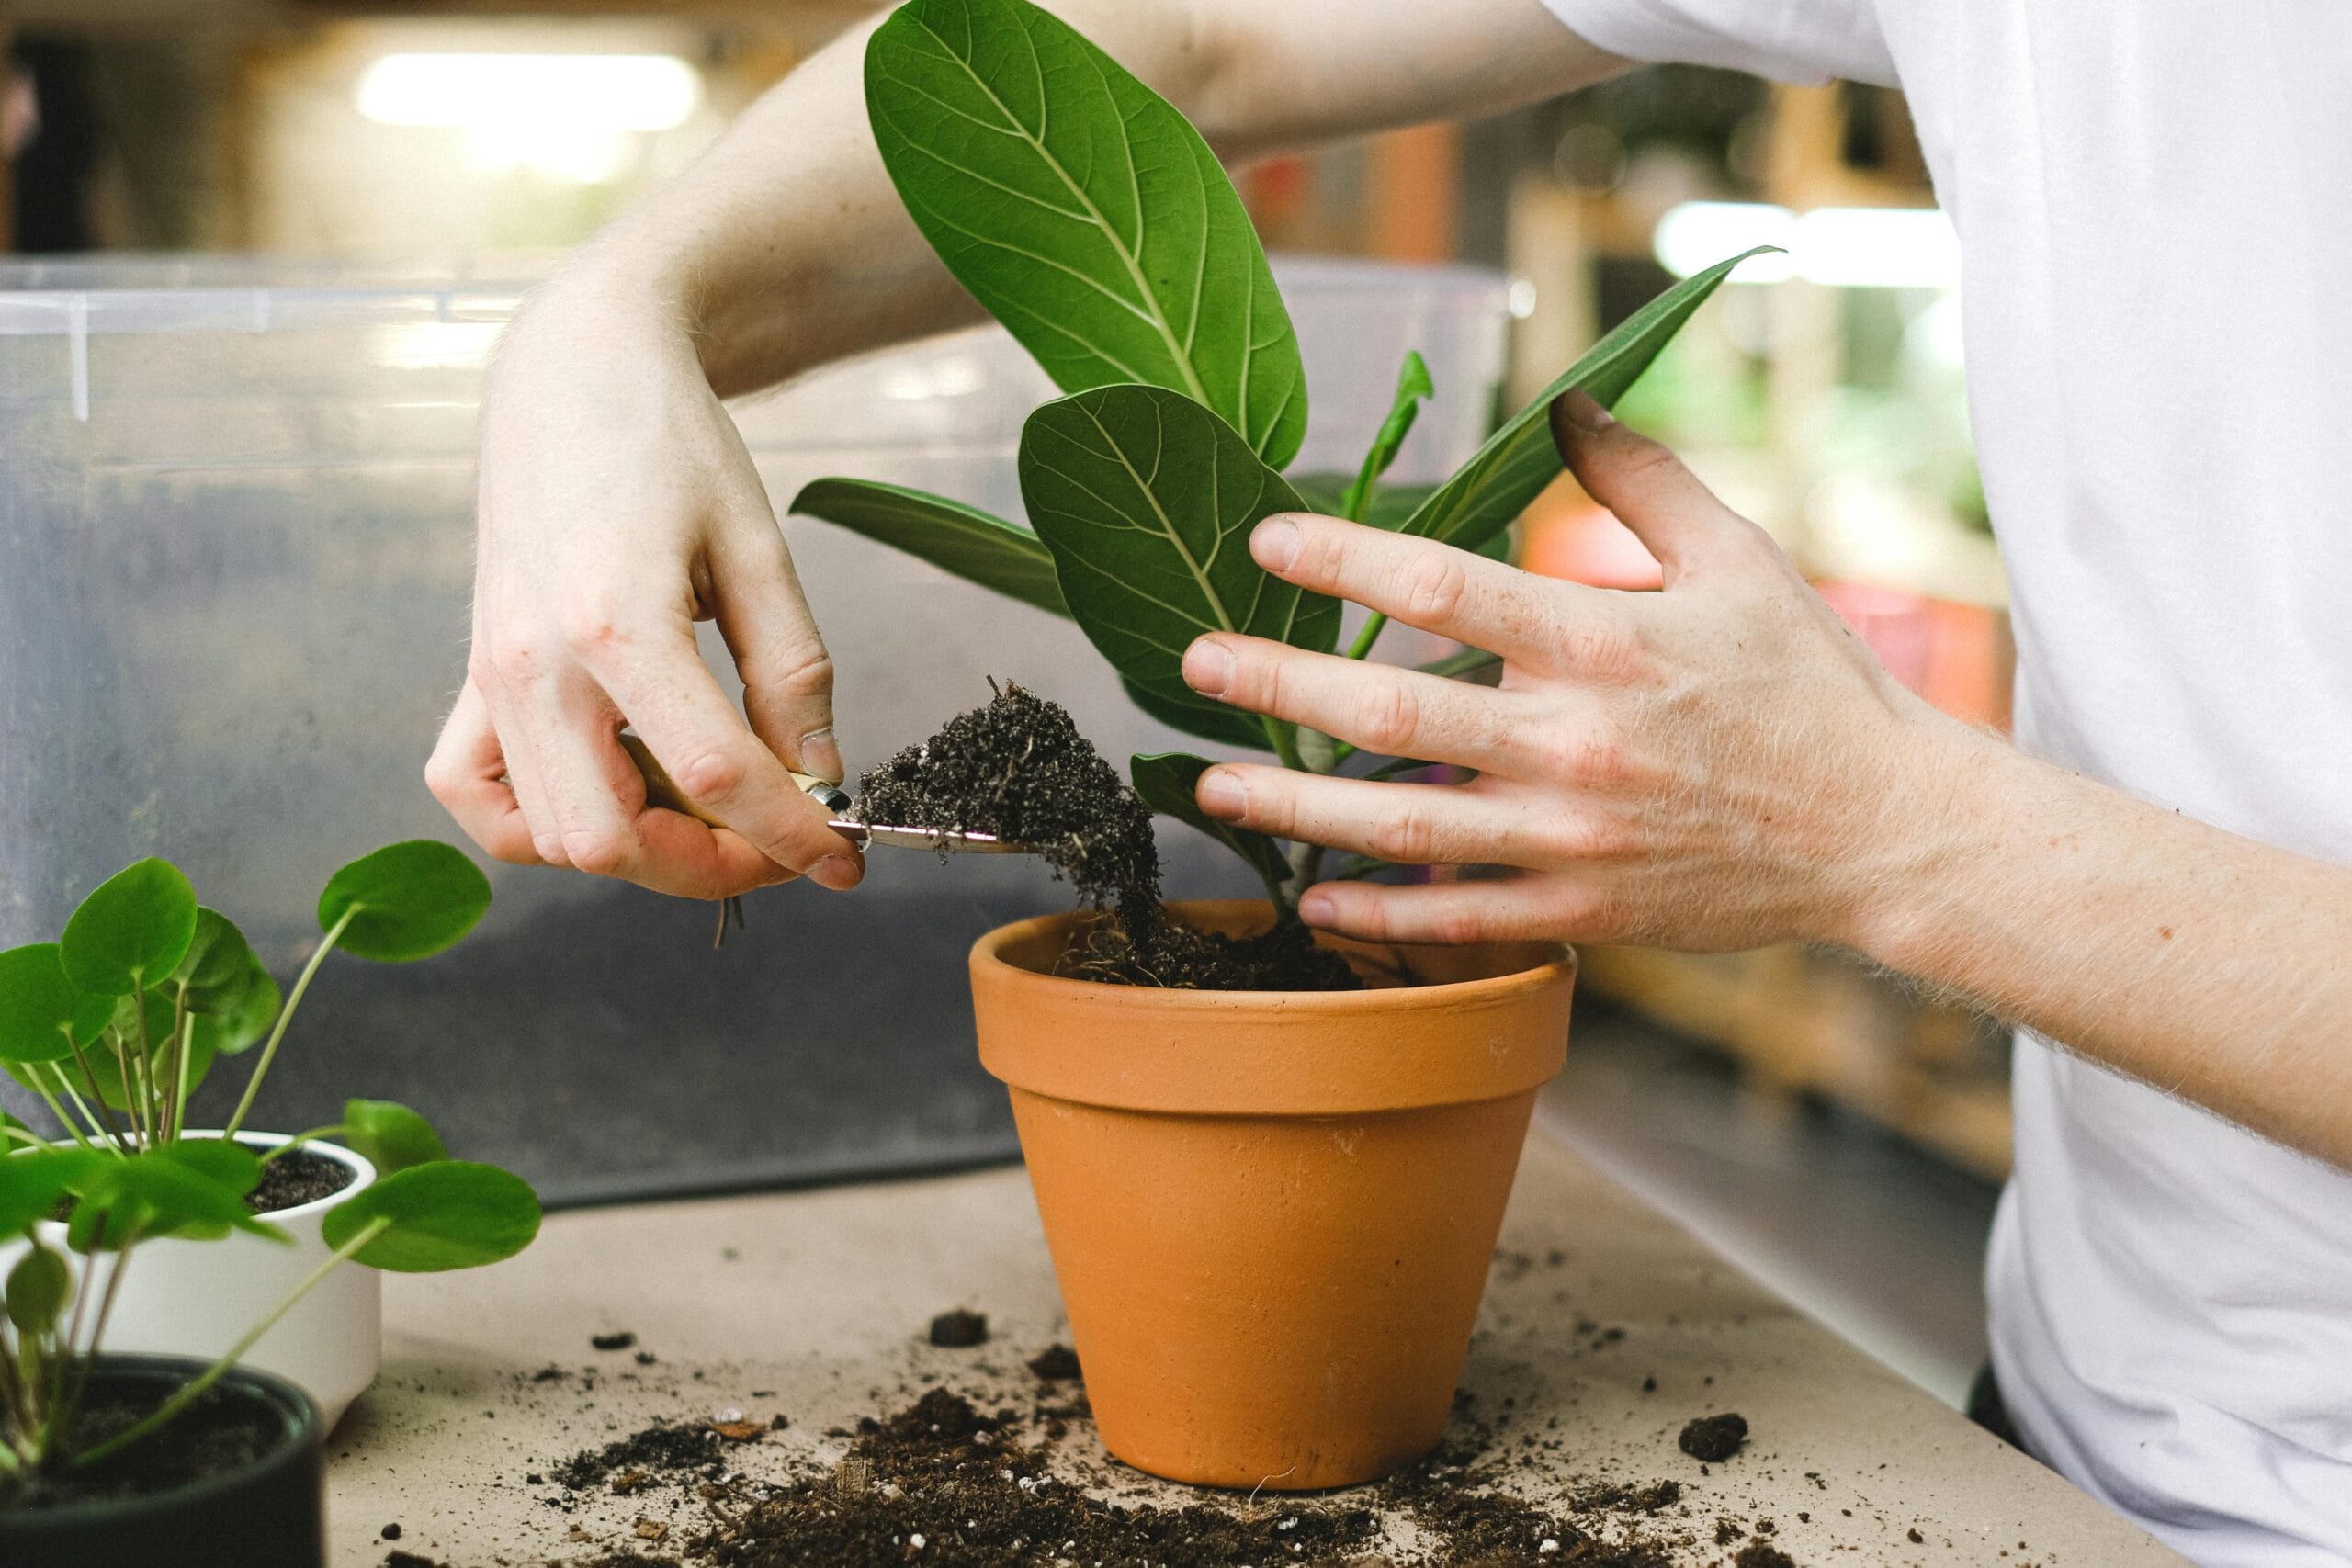
Regular exposure to morning sunlight leads to stronger stems, denser foliage, and a healthier root system, resulting in a more resilient and attractive plant.

Note:

  • To encourage bushiness in indoor plants, place the plant where it receives direct bright sunlight for 2-3 hours twice in a week. This amount of light will work wonders for their growth.
  • Avoid keeping indoor plants in direct harsh sunlight, as it can cause leaf burn.

Also, read:

Indoor Plant Care Guide for Healthy & Green Plant

Indoor Plant Care Guide: Tips to Keep Your Houseplants Healthy & Green

Indoor Plant Care Guide: Did you know? Caring for indoor plants does not require any special expertise. Indoor plants are easy to care for – they do not need much attention. Yes, you read that right. In fact, over-caring can actually harm them. 

Healthy indoor plants

In this article, we will explain how to take proper care of indoor plants and highlight some common mistakes that should be avoided.

Indoor Plant Care Guide

1. Understand the location and sunlight requirement 

Indoor plants grow best when placed in areas where they receive at least one of three types of light: bright light, indirect sunlight, or direct sunlight.

Note:

  • They are not suitable for dark, enclosed spaces like bathrooms or kitchens where natural light is limited.
Indoor plants in bright light area

In bright light conditions, you can place popular plants like: Snake plant, Spider plant, ZZ plant, Lucky bamboo, Syngonium. These plants can also grow well in indirect or direct sunlight. 

  • Other great indoor options you can include like: Areca palm, Dumb cane (dieffenbachia), Peace lily, Satin Pothos, Golden Money plant, Aglaonema, Rubber plant, Betel leaf plant, Monstera, and more.

Note:

It is important to note that plants cannot survive in completely dark spaces – not even with grow lights. Although grow lights can support plants growth, they still require some ambient light to be effective.

  • In complete darkness, even with grow light, indoor plants are unlikely to survive. 
Indoor plants under grow light

2. Awareness before buying Indoor plants:

plant nursery

(i) Buy from a trusted nursery:

  • Always purchase indoor plants from a reputable and well-known nursery. Though they may be a little expensive, the quality and health of the plants are worth the extra cost.

(ii) Choose a healthy plant:

  • Look for plants that are healthy and in a good condition. A plant that already looks stressed or weak may struggle to survive once you bring it home.

(iii) Prefer locally potted plants:

  • Opt for plants that are already growing in the local soil of your area, as they’ll adapt more easily to the environment.
  • If you find a healthy plant that isn’t in local soil, you can still buy it — just be prepared to give it a little extra care.

(v) Avoid repotting 

  • Most indoor plants do not respond well to frequent repotting. It’s best to choose a plant that is already in a sturdy and  in a suitable pot.
  • Try to avoid buying plants that come in plastic grow bags or damaged containers.

3. Selecting the right pot for indoor plants

Clay pots are often the best choice for plants, thanks to their breathability and natural look. However, when it comes to indoor decor, many people look for pots that also enhance the aesthetic of their space. While clay pots are simple and understated, they can easily be painted or decorated to match your home’s style.

Avoid using cement pots indoors — they’re quite heavy, can damage flooring, and are difficult to move around. 

Ceramic pots are a beautiful alternative and can elevate the look of any indoor space, but not all plants thrive in them. Only very hardy plants like the Jade plant or Syngonium typically do well in ceramic pots.

ZZ in high quality quality pots

If other options are not available, high-quality plastic pots can also be used for indoor plants. 

Grow bags are not recommended for indoor plants.

Note:

  • When it comes to pot size, always choose a pot that is just one size larger than the plant’s current pot.
  • Avoid placing indoor plants in oversized pots, as this can lead to overwatering and hinder their growth.

4. Pot plates and stand for indoor plants

Always place trays or plates under your pots to catch excess water and dust. This helps keep your floors clean and dry. Avoid placing large plants like Areca palm on stands, as they can become unstable and may topple over during cleaning.

Pink Aglaonema indoor

Position smaller plants near windows where they can get enough light, and place medium-sized plants on low tables for better support and visibility.

Note:

  • Try not to move or disturb your plants frequently while cleaning. Most indoor plants thrive best in a stable, undisturbed environment.

5. Soil Mixture for indoor plants

The soil mixture for indoor plants should be light, well-balanced, and not too compact. Unlike outdoor plants, indoor plants receive less sunlight or airflow, which means their soil tends to stay moist for longer. That’s why the soil mix should prevent excess water retention and promote healthy root growth.

Compact soil of Areca palm – not good for the plant
  •  A well-draining, balanced soil mix is the key to keeping your indoor plants happy and thriving.

6. Avoid Frequent Watering 

 Indoor plants generally do not require frequent watering, so it’s important to check the soil before giving water.

Steps to check soil moisture of indoor plant

  • First, touch the top layer of the soil—if it feels sticky or moist, there’s no need to water yet. 
  •  If the top layer appears dry, insert a stick deep into the soil and then pull it out.
  • If the stick comes out dry and free of any soil clinging to it, this means the soil is dry and it’s time to water.

7. When to give fertiliser to indoor plants

Indoor plants grow slowly, so they do not need frequent feeding. Give  organic fertilizer once every two months is enough to keep them healthy.

You can use:

  • Food sticks,
  • diluted seaweed fertilizer, and
  • Prime Plus can be used effectively,
  • Natural alternatives like onion peel water,
  • Mustard cake and neem cake are good organic fertilizers as well, but they should be finely sieved before use.

8. Pesticides 

There is usually no need for pesticides if you take care of your indoor plants as mentioned above. Pests do not usually attack healthy plants. However, if the pots are kept in dark rooms or areas with poor ventilation, the risk of pest infestation increases.

As a preventive measure,

  • Spray neem leaf concoction on your plants once a month,
  • Take the plant outside before spraying and cover it thoroughly.
  •  If neem concoction isn’t available, you can use a plant protector spray.

If there is pest attack:

  • Check your plants, identify the problem and do proper treatment.  
  • During the rainy season, it is helpful to water the plants with a mild fungicide solution once or twice a month to prevent fungal infections.

9. Pruning tips for Indoor plants

Only remove the dead or damaged parts of the plant—there’s no need for heavy pruning.

  • During extreme heat or cold, some leaves may show signs of stress -simply trim off those affected areas to maintain the plant’s health. 

Also, read:

5 Common Mistakes That Are Killing Your Indoor Plants

Happy Gardening!

Follow our Social media channel:

1. Voice of Plant – YouTube Channel

2. Voice of Plant Facebook Page

3. Instagram Voice of Plant Channel

Indoor Plant Care | 5 Common Mistakes That Are Killing Your Indoor Plants

Indoor Plant Care: If your indoor plants are looking a bit wilted or not looking vibrant, maybe it’s time to change the way you care for them.

Let’s take a moment and see what’s going wrong and what common mistakes we make unknowingly – so that we can give our green friends the care they truly deserve.


Indoor plants like the Areca Palm, Aglaonema, Dumb Cane, Peace Lily, ZZ and others don’t require constant attention, but they do need the right care to thrive.

Our gardening expert, Mrs. Sudeepti Bajpai (founder of Voice of plant Website and YouTube channel), has shared some common mistakes which gardners do while caring Indoor plants. So, let’s get started!

Mistake 1: Outdoor and indoor plants need the same care

This is a common misconception among gardeners and plant lovers—that indoor and outdoor plants require the same kind of care. This is completely incorrect.

Outdoor plants thrive in natural outdoor conditions. If you keep them indoors for an extended period, they will eventually die due to lack of sunlight, airflow, and proper space.

Similarly, indoor plants are adapted to indoor environments. If you place them outdoors and treat them like outdoor plants, they will not survive. They can suffer from harsh sunlight, wind, and fluctuating temperatures.

Therefore, I urge all plant lovers to change this mindset and adopt the correct care practices for indoor and outdoor plants.

  • Understanding their specific needs is the key to keeping them healthy and thriving.

Mistake 2- Mis-selling by Nursery 

Sometimes, plant sellers mistakenly sell outdoor plants by labeling them as indoor varieties.

For example, the Jade plant is often marketed as an indoor plant, which is not entirely accurate.

People who are not very familiar with plants can easily be misled and end up purchasing outdoor plants, thinking they are suitable for indoor environments.

  • This not only leads to disappointment but also makes it difficult to keep the plant healthy and thriving.

Read, this: 5 Expert Tips To Grow Healthy Indoor Plants

Mistake 3 – Every plant needs same care

Many people still follow the same care routine for every plant, without considering their individual needs.

Some indoor plants thrive with a weekly watering, while others need watering only once every 20 days. Yet, many continue to water all their plants daily without checking the soil or observing the plant’s condition.

And it’s not just about watering—fertilizer requirements, sunlight exposure, and other care factors also vary from plant to plant.


Each plant has its own preferences, and it’s important to understand these differences before settling into a fixed routine.

Mistake 4 – Doing Too much care

Indoor plants don’t thrive with excessive attention — in fact, they often do best when left undisturbed.

  • Many people tend to overuse fertilizers or constantly fuss over their plants, thinking it will help them grow faster.

But the truth is, if your indoor plants are staying healthy with minimal care, that’s already a great sign.

Indoor plants naturally grow slowly and steadily. Gentle, consistent, and minimal care is usually all they need to stay happy and healthy.

Mistake 5 – They will survive in dark area or any corner of house

Many people assume that indoor plants will survive anywhere indoors, even in dark areas or unused corners.

But the truth is, most indoor plants still need some amount of natural light to stay healthy and grow.

Placing them in completely dark or low-light corners can lead to weak growth, yellowing leaves, or even plant death.

These are some of the most common mistakes people make when caring for indoor plants. By avoiding them, you can help your plants stay healthy, vibrant, and long-lasting.

Happy Gardening!

Follow our Social media channel:

1. Voice of Plant – YouTube Channel

2. Voice of Plant Facebook Page

3. Instagram Voice of Plant Channel


FAQs on Indoor Plant Care in the Winter Season

Indoor Plant Care in the Winter Season


Winter can be a challenging time for indoor plants, as the season brings shorter days, lower light levels, and drier air due to indoor heating. Many plant lovers notice changes in their plants during this time, such as slower growth, yellowing leaves, or drooping foliage. This is natural, as most plants enter a semi-dormant state during winter and require adjustments to their care routine.

Indoor plants

Here, we aim to address some of the most common questions about keeping indoor plants healthy and thriving throughout the winter season.

Frequently Asked Questions (FAQs) on Indoor Plant Care During Winter


1. How often should I water my indoor plants in winter?

Water only when the top inch of soil feels dry.

  • Plants grow more slowly in winter, meaning they require less water.

2. What is the best way to increase humidity for my plants?

You can increase humidity by:

  • Using a humidifier near your plants.
  • Grouping plants together to create a microclimate.
  • Placing pebble trays filled with water under your plant pots (ensure pots don’t sit directly in the water).

3. Can I use regular LED lights as grow lights?

Regular LED lights may provide some light, but specialized grow lights are designed to emit the full spectrum of light that plants need for photosynthesis and are more effective.

4. Why are my plant leaves turning yellow in winter?

Yellowing leaves during winter may result from:

  • Overwatering.
  • Low humidity levels.
  • Inadequate light.
    Check your plant’s environment and adjust watering, humidity, and lighting conditions accordingly.

5. Is it okay to mist plants during the cold season?

Yes, but sparingly.

  • Mist only plants that enjoy high humidity, such as ferns and Calatheas.
  • Avoid misting in the evening to prevent excess moisture from sitting on leaves, which can lead to mold or fungal growth.

6. Is it good to repot my indoor plant during winter?

No.

  • Winter is not the ideal time to repot most plants, as they are in their dormant phase.

7. Is it good to prune my indoor plant during winter?

No. During the winter season, indoor plants that thrive in the summer often experience stress.

  • Avoid regular pruning
  • Avoid hard pruning
  • Skip root pruning
  • No pinching
  • Avoid experiments: Do not try new techniques or treatments when plants are already stressed.

Must read:

Indoor Plant Complete Care in Winter Season

Follow our Social media channel:

Happy Gardening!

Best Fertilizers for Peace Lily Plant & How to Use Them Effectively

Best Fertilizers for Peace Lily Plant


Choosing the right fertilizer is essential for keeping your Peace Lily healthy and vibrant. Many gardeners are often unsure which fertilizers will best enhance the growth of their Peace Lily plants. Without proper knowledge, they may end up using the wrong fertilizer, which can ultimately harm the plant.

 Here is a guide to the best fertilizers for Peace Lily plant and how to use them effectively.

1. NPK liquid fertilizer

2. Seaweed Liquid Fertilizer

3. Vermicompost Tea

1. Balanced Liquid Fertilizer

Type: A balanced 20-20-20 (N-P-K) liquid fertilizer.

Benefits: Liquid fertilizers are easy to apply and provide quick nutrients to the plant’s roots.

  • A balanced formula ensures that the Peace Lily gets a steady supply of nitrogen, phosphorus, and potassium.

How to Use:

Dilute 3 ml of solution in 1 liter of water and apply every 6–8 weeks during spring and summer.

2. Seaweed Liquid Fertilizer


Seaweed liquid fertilizer is quickly absorbed, making it an effective way to boost plant growth in less time.

Benefits:

Organic fertilizers are rich in natural nutrients that promote healthy root and leaf growth. They also help maintain soil health.

How to use:

Dilute 3 ml of solution in 1 liter of water and give once in 30 days.

  • Organic fertilizers are gentler, reducing the risk of over-fertilizing.

Must read: Seaweed  Fertilizer Benefits & Uses


3. Vermicompost tea 


Vermicompost tea is an organic fertilizer, rich in nutrients that promote healthy root and leaf growth.

How to use:

Take this tea and dilute it with water at a ratio of 1 part tea to 4 parts water.

  • When using only vermicompost tea, apply it once every 45 to 60 days.

Must read: All About Vermicompost Tea, Benefits & Uses


Important note:

Avoid Over-Fertilizing:

Peace Lilies are sensitive to excess nutrients.

  • Stick to a light feeding schedule and avoid fertilizing during the winter.

By choosing the right fertilizer and applying it carefully, you can keep your Peace Lily lush, green, and thriving year-round.

Peace Lily Plant Care


Here are a few additional tips to keep your Peace Lily healthy and thriving:

1. Maintain Indirect Light


Peace Lily prefer bright, indirect light.

  • Too much direct sunlight can scorch their leaves, so keep them in a shaded spot or filtered light.

2. Avoid Overwatering


Let the top inch of soil dry out between waterings to prevent root rot.

  • Water thoroughly, but don’t let the plant sit in standing water.

3. Dust Leaves Regularly


Clean the leaves with a damp cloth to remove dust.

  • This allows the plant to absorb light better and keeps it looking vibrant.

4. Prune Spent Flowers


Remove any wilted or yellowing leaves and cut off spent flowers at the base to encourage new growth and keep the plant looking tidy.

5. Repot When Necessary


Repot your Peace Lily every 1–2 years or when it becomes root-bound.

  • Use a pot that is 1–2 inches larger in diameter than the current one.

Following these simple tips will help your Peace Lily stay healthy, vibrant, and free from common issues.

Follow our Social media channel:

1. Voice of Plant – YouTube Channel

2. Voice of Plant Facebook Page

3. Instagram Voice of Plant Channel

Happy gardening!

How Not to Kill Your Houseplant: Simple Tips for Beginners

How Not to Kill Your Houseplant


Are you a beginner or an avid gardener? Do you enjoy gardening for relaxation or to bring more greenery into your home? No matter your level of experience, the key to a successful indoor garden is knowing how not to kill your houseplants! Whether it’s overwatering, poor lighting, or neglect, many of us unintentionally harm our plants. But with a few simple, effective tips, you can keep your houseplants healthy and thriving.

Indoor plants

1. Watering Wisely


Overwatering is one of the most common ways to kill a houseplant. While it’s tempting to water frequently, too much water can cause root rot. The trick is to water your plants only when they need it. Always check the soil before watering—if the top inch feels dry, it’s time to water. Ensure your pots have drainage holes to let excess water escape, preventing waterlogging.

Click here to read: How to water plant correctly


2. Choose the Right Soil


Not all soil is suitable for houseplants. Avoid using heavy, compact soil that retains too much moisture, as it can suffocate the roots. Opt for well-draining, loose soil mixtures that allow air and water to move freely. You can mix perlite or sand into your soil to improve drainage. A good-quality potting mix is key to keeping your plant’s roots healthy and oxygenated.

Click here to read: How to make soil mixture for plants


3. Proper Lighting


Every plant has different light requirements. Some need full sun, while others prefer low light. Research your plant’s specific needs and place it in the appropriate spot. For example, succulents and cacti thrive in bright, direct sunlight, while peace lilies prefer low, indirect light. If your plant looks leggy or isn’t growing well, it may need more light.

Click here to read: Discover lighting conditions for plants


4. Do not over fertilizer your plants


While plants need nutrients, over-fertilizing can cause more harm than good. Fertilize your houseplants once a month during the growing season (typically spring and summer). Too much fertilizer can burn the roots and stunt growth, so use a balanced fertilizer and follow the instructions carefully. In the dormant season (fall and winter), reduce or stop fertilizing entirely.

5. Avoid Frequent Re-Potting


Re-potting too often can shock your plants. Instead, repot only when the plant outgrows its current pot or the soil no longer drains well. Typically, this happens every one to two years, depending on the plant’s growth.

6. Monitor Humidity


Some plants, especially tropical ones, need more humidity than typical indoor environments provide. If you notice dry, crispy leaves, try misting the plants, using a humidifier, or placing them near other plants to increase moisture in the air.

7. Watch for Pests


Check your plants regularly for pests like aphids, spider mites, or mealybugs. If you find any, treat your plants immediately with insecticidal soap or a homemade solution of water and mild soap.

By following these simple tips, you can enjoy lush, healthy houseplants without fear of killing them. With proper care, your indoor garden will thrive, and you’ll help contribute to a greener, more vibrant environment!

—————

Follow our Social media channel:

1. Voice of Plant – YouTube Channel

2. Voice of Plant Facebook Page

3. Instagram Voice of Plant Channel

Happy Gardening!

How to Make Aglaonema Bushy: Top Tips for a Lush, Full Plant

How to make Aglaonema Bushy

Aglaonema commonly known as Lipstick or Chinese Evergreen, is known for air-purifying plant not only cleanses the air but also adds a magical burst of colour to your home.

 This plant symbolizes peace, vibrancy, elegance, and love.


Tips to make Aglaonema plant bushy


1. Select a healthy plant from nursery


For a bushier Aglaonema, start by selecting a healthy plant with 3-4 pups from the nursery.

2. Sunlight


Place the plant in a spot where it receives gentle morning sunlight, which helps in the development of new pups.

  • Position it in bright or medium sunlight.
  • When exposed to sunlight, it produces delightful white flowers.

3. Pot size


Opt for a smaller pot, as this can stimulate quicker pup growth due to the confined space encouraging the plant to spread out.

  • A pot size of 6-8 inches is generally adequate, with clay pots being the preferred choice.

4. Optimal watering


Water your aglaonema plant when the upper inch of soil becomes dry.

  • The leaves will show signs of wilting when the plant is in need of water.
  • Ensure thorough watering until water starts draining from the pot’s drainage holes, but be cautious to avoid overwatering.

5. Strategic Pruning


Regularly trim any long or thin stems.

  • This allows the plant to focus on growing new, thicker shoots, leading to a fuller and more compact shape.

6. Consistent Rotation


Ensure your Aglaonema gets light evenly by rotating the pot every couple of weeks.

  • This simple habit prevents uneven growth and promotes a symmetrical, bushier form.

7. Smart Fertilization


During the active growing months (spring and summer), feed your Aglaonema with a balanced liquid fertilizer every 4-6 weeks.

  • Groundnut cake and onion peel liquid fertilizer are effective fertilizers.
  • Fertilize sparingly, especially avoiding the scorching summer months and the winter season.
  • This nutrient boost encourages vibrant, new growth and keeps the plant lush.

8. Choosing the Right Soil


For healthy growth, use a well-draining potting mix.

  • A blend that includes compost, coco peat, sand and standard potting soil works best, as it prevents water from sitting around the roots, which could stunt growth.

Following these practices will help your Aglaonema develop into a lush, bushy plant that’s both healthy and attractive.


Follow our Social media channel:

1. Voice of Plant – YouTube Channel

2. Voice of Plant Facebook Page

3. Instagram Voice of Plant Channel

Happy gardening!

How to Grow and Care for ZZ Indoor Plants

ZZ plants, scientifically known as Zamioculcas zamiifolia are known for their resilience and ability to thrive in low-light conditions. They are considered perennial indoor plants and are well-suited for various locations within a home. They are recognized for their low-maintenance characteristics and are often used as decorative elements. Understanding the specific needs of ZZ plants is essential for their successful growth.

In this article, we will discuss key steps on how to grow and care for ZZ plants at home.

ZZ plants known for Air-purifying qualities

ZZ plants are recognized for their air-purifying qualities and ability to contribute to oxygen levels in indoor environments. These plants are often included in lists of air-purifying houseplants because they can help remove certain toxins from the air and enhance indoor air quality. 

Preferred Season and Temperature

ZZ plants thrive in typical summer conditions and can prosper year-round in regions without harsh winters.

  • During winter, they may face challenges such as yellowing leaves and occasional branch loss. However, they generally remain manageable and tend to recover independently once the weather shifts.
  • The optimal season for their growth is spring, with an ideal temperature range of 15-25°C.

Types of ZZ plant

ZZ plants come in two varieties: Green ZZ and Black ZZ.

  • Mature black ZZ plants feature leaves with a blackish hue, while their smaller leaves initially exhibit a green color.

  • On the other hand, green ZZ plants maintain their characteristic green leaves throughout their growth.

How to Get ZZ Plant

From Nursery
Green ZZ plants are readily available at all nurseries, while black ZZ plants can be found at select renowned nurseries. They are also easily accessible online, though prices may be comparatively higher.

  • A medium-sized ZZ plant typically costs between Rs 150-200, and prices increase with the size of the plant.

Propagation Methods

➢ By bulbs
ZZ plants propagate through bulbs in their roots.

  • By carefully separating a healthy ZZ plant from its dense growth, you can collect a ZZ plant along with its bulb and nurture a new plant using this method.

➢ By stem
ZZ plants can also be grown from stem cuttings.

  • Simply place cut pieces of the stem into the soil, and you can cultivate a new plant from these cuttings.

➢ By leaves
ZZ plants can be propagated through leaves as well.

  • By placing the leaves in the soil mixture, a new plant will emerge after some time.

Preferred Pots for ZZ plants

1. ZZ plant can thrive in the same pot for years

ZZ plants thrive when their roots are tightly bound, this condition encourages robust leaf growth. However, they are not fond of frequent pot changes or relocations. Once comfortably settled, a ZZ plant can thrive in the same pot for years.

Note:

  • When obtained from a nursery, it is recommended to refrain from repotting the plant for a minimum of three months after purchase.

2.Versatile pot types
ZZ plants are versatile in terms of pot types—they can be grown in ceramic, clay, plastic, soil, cement, or metal pots.

  • The choice of pot material depends on the plant’s placement; for decorative purposes, ceramic pots are a great option. However, it’s recommended to avoid using grow bags.

3. Repotting Guidelines
When repotting, always choose a pot that is 1 or 2 sizes larger than the current one.

  • Going beyond that size increase is not advisable for the well-being of the ZZ plant.

Sunlight and Location for ZZ plants

The ZZ plant does not thrive in direct sunlight or exposure to rainwater, as its leaves are prone to drying out in heat.

  • To ensure its well-being, it is recommended to keep the ZZ plant indoors, away from direct sunlight and rain exposure.
  • Choose a location inside the home with bright, medium, or low light for the optimal growth of the plant. Despite being a slow-growing plant, it flourishes best in an area with bright light.

Read article on:

Different Lighting Areas for Plants

Watering tips for ZZ plants

Moisture Retention:

The bulbs of ZZ plants are adept at retaining moisture, making them well-suited for minimal watering. Typically kept indoors away from direct sunlight, the soil tends to stay wet for extended periods.

Check soil condition before watering to ZZ plant

To gauge the need for watering, insert a stick into the soil, reaching the bottom where the bulbs are located. If the soil is dry at that depth, move the plant outdoors and water it generously until drainage occurs from the bottom hole.

After-Watering Care:

After watering, spray water on the leaves and ensure they are thoroughly cleaned.

  • Once water stops draining from the bottom hole and the leaves have dried (usually after 2-3 hours), relocate the plant back indoors. This careful watering routine contributes to maintaining the ZZ plant’s health and well-being.

Importance of Careful Watering:

Careful watering is crucial for ZZ plants due to their delicate bulbs, which can be adversely affected if not handled with care.

  • Overwatering may lead to bulb melting or rotting, with the plant showing signs such as yellowing leaves and drooping stems. If these indications are observed, a thorough inspection is essential.

Dealing with Bulb Rot:

If bulb rot is detected, remove the ZZ plant from its pot and examine the bulbs.

  • Any rotted bulbs should be removed, cleaned, and surrounded with soil or coco peat to enhance soil dryness.
  • It is important to note that the rotting of one bulb can impact others. After thorough cleaning, repot the plant with a well-balanced soil mixture to ensure continued health.

Resilience to Underwatering:

ZZ plants are resilient to underwatering, but caution must be exercised to avoid overwatering.

  • Determining the frequency of watering can be challenging due to varying weather conditions across regions.
  • As a general guideline, individuals in North India often check every 20 days by inserting a stick into the soil to assess its moisture content.

“Watering is recommended when the soil is completely dry at the bottom of the pot, creating a balanced and suitable environment for the ZZ plant.”

How to prepare Soil mixture for ZZ plant

1. Collect local garden soil:

  • Begin by collecting local garden soil for the ZZ plant. Ensure the soil is clean by removing any debris or glass pieces.

2. Add Compost in the soil

  • For a well-balanced soil mix, add compost which should be half the amount of soil.
    You can choose from various compost options such as vermicompost, kitchen compost, cow dung compost, or leaf compost.

3. Add Sand in the soil

  • Include construction sand in approximately ¾ of the compost quantity.
  • Adding sand to the soil promotes good drainage.

4. Add cocopeat in the soil

  • To further enhance the soil mixture, consider adding a small amount of cocopeat.
  • Coco peat is effective in retaining water. It has excellent water-holding capacity, helping the soil stay moist for a longer time.
  • However, in regions where temperatures are not excessively high, cocopeat can be omitted.

5. Optionally, add perlite and vermiculite in small quantities.

Mix all the ingredients thoroughly, and your ZZ plant’s soil is ready for use.

———————-

If you like this article, kindly leave a comment and consider sharing it with your friends. Your support is greatly appreciated!

Happy Gardening!

Best Indoor Plants

Indoor plants are thriving very much nowadays mainly used for giving positivity, and freshness, glorifying the different corners of homes, workplaces, and offices.

Luckily! we can keep some plants with us inside the house, even in the bedrooms.

Neither we will have any problem nor those plants will have any problems.

All about Indoor Plants

❖ Indoor plants absorb pollutants and all the harmful chemicals from the air.

❖ They reduce stress. Moreover, physically or psychologically they are also good for health.

❖ Most of the indoor plants are those plants that were lying under the trees in dense forests without any direct sunlight or water. They were growing on their own.

❖ Plants which were very beautiful and attractive, people got them from the forests to their homes. Later on in the research also they won the battle and proved beneficial for the health of human beings.

❖ So, by nature these plants do not need any direct sunlight or care. If you provide some direct sunlight it is good, if you can not provide it, it is ok for them.

❖ The biggest reason for the non-survival of indoor plants is overcared. They need the least care and maintenance.

❖ Steadily available in variable sizes.

Some of the small size indoor plants are amplified over here:

1) SNAKE PLANT – SANSEVIERIA

● They are called Snake plants due to their appearance.

●They are the best air purifier and oxygen-ceding plants.

● It can be kept in bright, medium, or low light.

●Give water when the soil inside is completely dry. Ideally, a gap of 7-8 days can be maintained in giving water.

● Its roots are very small, if the soil stays wet for a longer duration then the roots may lose their grip and its leaves might start shedding down.

Overwatering is the main cause of the deterioration of this plant. Prevent leaves also from becoming wet.

● Its growing medium consists of normal garden soil and sand, little mustard cake fertilizer can also be added.

● Coco peat is not required because this plant does not need much water.

2 ) AGLAONEMA

● This beautiful plant stays best in bright or medium light. In direct strong sunlight, it goes under stress.

● Optimum water is needed by this one. Over-watering is the biggest reason, it starts rotting.

● Give water when the soil is completely dry. Some water can be sprayed on the leaves also to remove the dust from them.

● For its growing medium, normal soil, compost with sand, and topped with cocopeat can be opted for.

● Leaves and stems are very delicate, so try to use a spray bottle to give water and to prevent over-watering also.

3) GOLDEN MONEY PLANT ( Golden Pothos)

● The leaves of this one are yellowish which differentiates them from other Pothos (money plants).

● They look beautiful when kept in bright or medium light.

● If kept in direct sunlight, then leaves will start turning dark in the shade.

● In comparison to other indoor plants, they need a little more water. Neither over-watering nor under-watering is allowed here. Check the soil every 3-4 days and give water if the topsoil looks dry.

● In the growing medium, take normal soil, and a little bit of compost with sand.

4) PEACE LILY

● This indoor plant bears flowers but without any sunlight.

● This plant loves early morning sunlight otherwise do not place it in direct sunlight.

● Give water when the soil is dry.

● Mix sand and soil in a growing medium. Do not add coco peat.

5) SYNGONIUM

● This pretty plant comes in various colors.

● It grows very easily and can be kept in any corner where there is a bright, medium or low light.

● There should be some moisture in its soil. Check the soil every 3-4 days and give water followed by the spray.

● In the growing medium, keep the soil mixed with sand. Coco peat is not required here.

Some common key points of Indoor Plants

➔ All these indoor plants need fertilizers in the interval of 2 months. Any fertilizer can be given like cow dung, mustard cake, vermicompost, or any other.

➔ These plants grow very slowly except Pothos, so there is no need to change the pots for a year.

➔ Some of them emit carbon dioxide during the night but they would not affect the health of human beings as it is too less in quantity.

➔ There is no impact of room lights on these plants.

This is all about Indoor plants.

Happy Gardening!

nhttps://youtu.be/Q1Z0sfUtb5M