


LECA stands for “Lightweight Expanded Clay Aggregate”, widely used in gardening nowadays.
LECA balls, made of clay, are small, lightweight, and hollow. They are heated at high temperatures, causing the clay to expand and all moisture to evaporate. This process results in lightweight yet very strong and slightly expanded balls.


- They won’t break when falling, nor will they swell or melt when dipped in water.
- These balls have small pores that allow air to pass through, and water is also retained in these small holes.
LECA balls provide a solution by maintaining aeration and preventing soil compaction. Their lightweight and porous structure create an environment where roots can thrive, promoting healthier and more robust plant growth.
Benefits and Uses of Leca Balls in Gardening
The use of LECA balls in gardening is versatile and offers several benefits in different applications:
1. Hydroponics: LECA balls are preferred by those practicing aquatic gardening in hydroponic systems.
2. Hanging Plants: They serve as a lightweight alternative to soil for hanging pots.
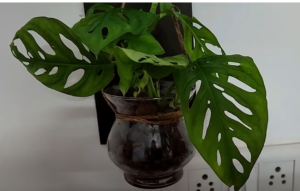

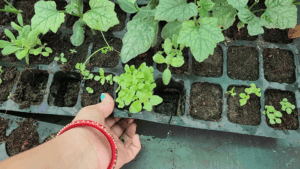
3. Growing Cuttings: Soft plant cuttings, such as monstera, money plant (pothos), snake plant, syngonium, and more, thrive in LECA balls.
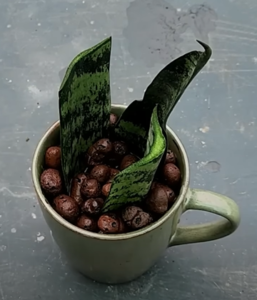

- The porous structure promotes aeration, preventing root rot.
4. Container/Pot/Vessels/Bottle: Unlike water propagation, where a bottle is required, LECA balls can be used in any vessel or pot.
5. Probability of Root Rotting: LECA balls address the issue of root rot by providing aeration, preventing waterlogged roots. The porous nature allows good air circulation.
6. Ease of Transplanting: Transplanting cuttings grown in LECA balls to soil is less disruptive, as the sturdier roots are better adapted to a non-water environment.


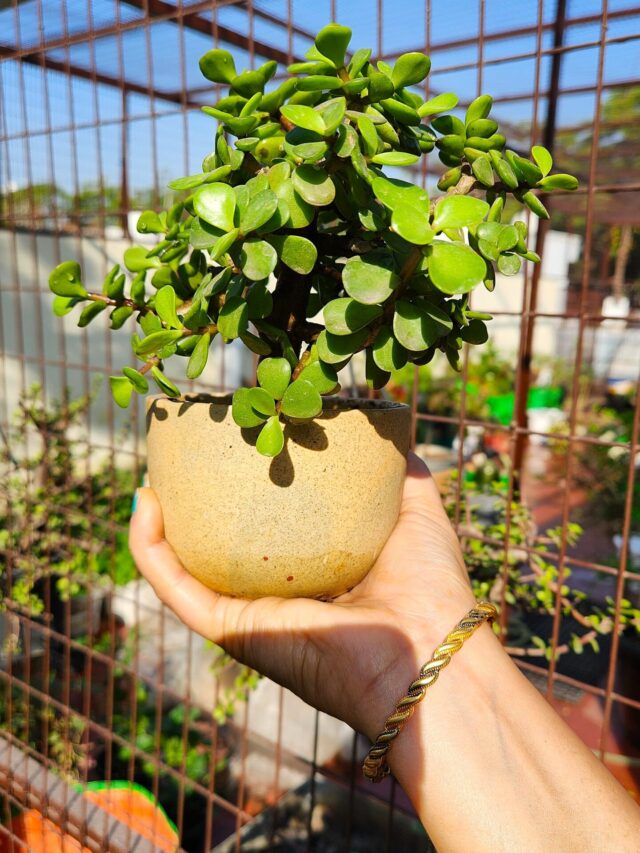
7. Growing Medium for Medium Size Plants: LECA balls serve as a versatile growing medium for medium-sized plants like Areca Palm or Moss Chara.
8. Ingredients in Soil Mixture: They are commonly incorporated into soil mixtures to enhance soil quality.
9. Maintaining Drainage System in Pots: Placing LECA balls beneath the bottom layer of soil inside pots helps retain moisture while allowing excess water to drain away, maintaining the pot’s drainage system.
10. Mulching: During extreme summers, LECA balls can be used for mulching instead of dry leaves or rice husks.
Remember:
- Availability: LECA balls are readily available online in different sizes.
- Preparation: Always wash or sterilize them before use to remove any unwanted dirt or dust.
-
Sterilization: To sterilize, boil them in water for 10 minutes and then wash with clean water.
How to Use Leca Balls in Gardening!
Propagating Cuttings
1. Container Selection:
-
- Fill a decorative container or pot with LECA balls.
- Place the cuttings into the filled container.
2. Additional LECA Balls:
-
- Add more LECA balls to secure the cuttings.
3. Moisture Control:
-
- Pour water to retain moisture, but be cautious of excess water, as it may lead to cutting rot. Maintain the water level up to a certain point.
4. Monitoring and Watering:
-
- Keep an eye on the moisture level in the LECA balls.
- When the balls appear dry, add a small amount of water.
- Frequency depends on weather conditions; in summer, it may be every 5 days, and during the rainy season, it could extend to 15-20 days.
5. Water Change:
-
- Change the water when cuttings show significant growth, and roots have spread extensively (if you prefer not to change the growing medium).
6. Transplanting:
-
- Transplant the cuttings into a different growing medium once the roots have reached a noticeable level of growth.
Nutrients in LECA Balls:
LECA balls contain fewer nutrients compared to soil.
1. For cuttings in LECA balls, additional fertilizer or tonic is not required, as the water inherently contains sufficient minerals.
2. For plants in LECA balls, it is recommended to provide liquid fertilizer once a month.
- Options include seaweed, micronutrients, pheromones, or epsom salt.
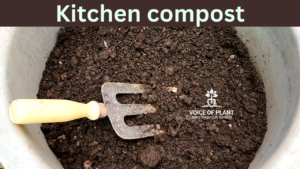
- Avoid teas made from cow dung compost, vermicompost, mustard cake, or kitchen compost, as they can cause stagnant water, unpleasant odors, and clog the pores of the LECA balls.
Reuse of LECA Balls:
LECA balls are reusable and can be employed for propagating additional cuttings or as a growing medium for any plant.
In summary, using LECA balls is a simple and easy method suitable for everyone in gardening.
Happy Gardening !!