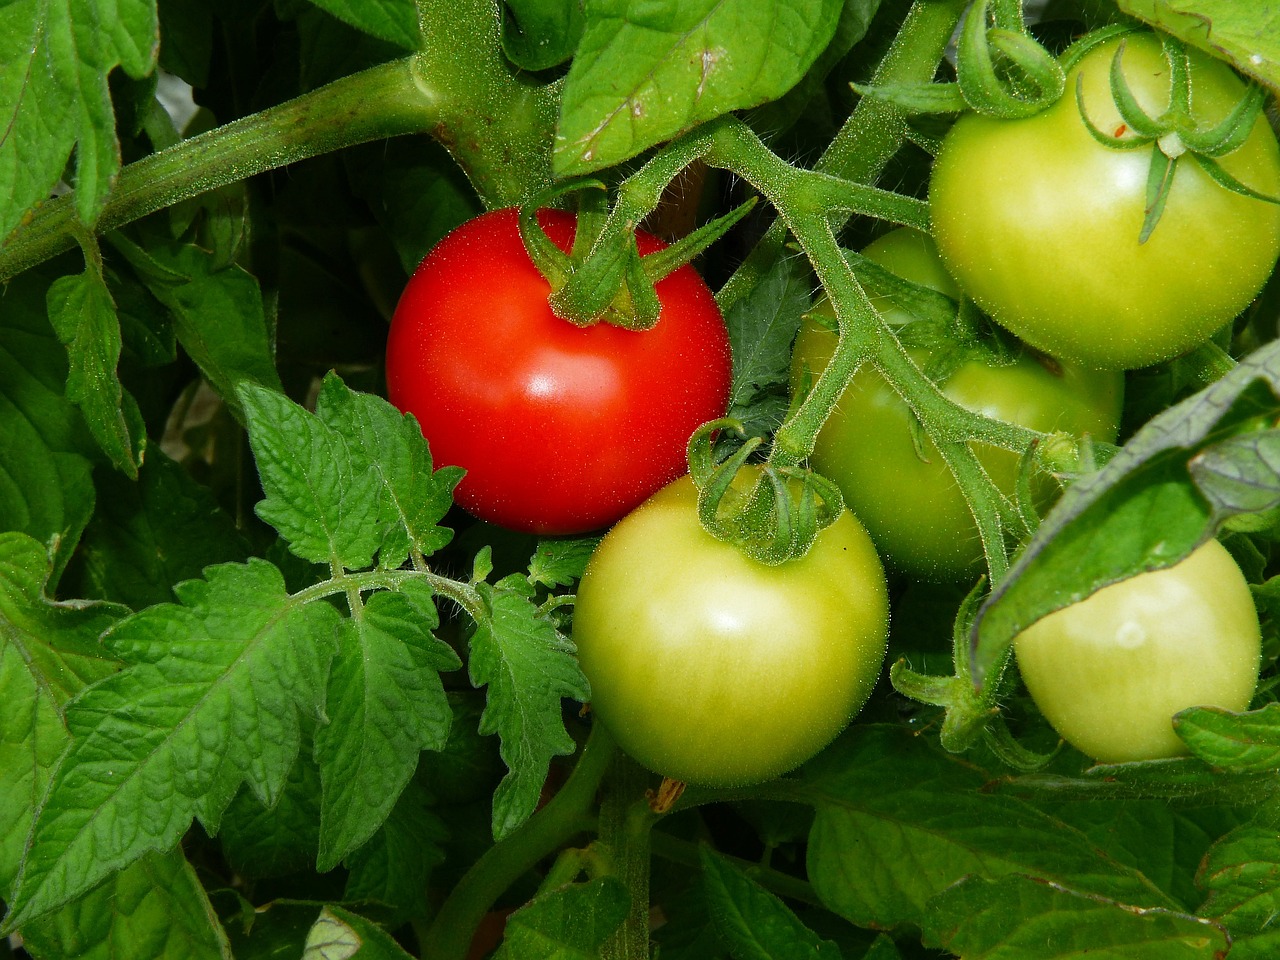


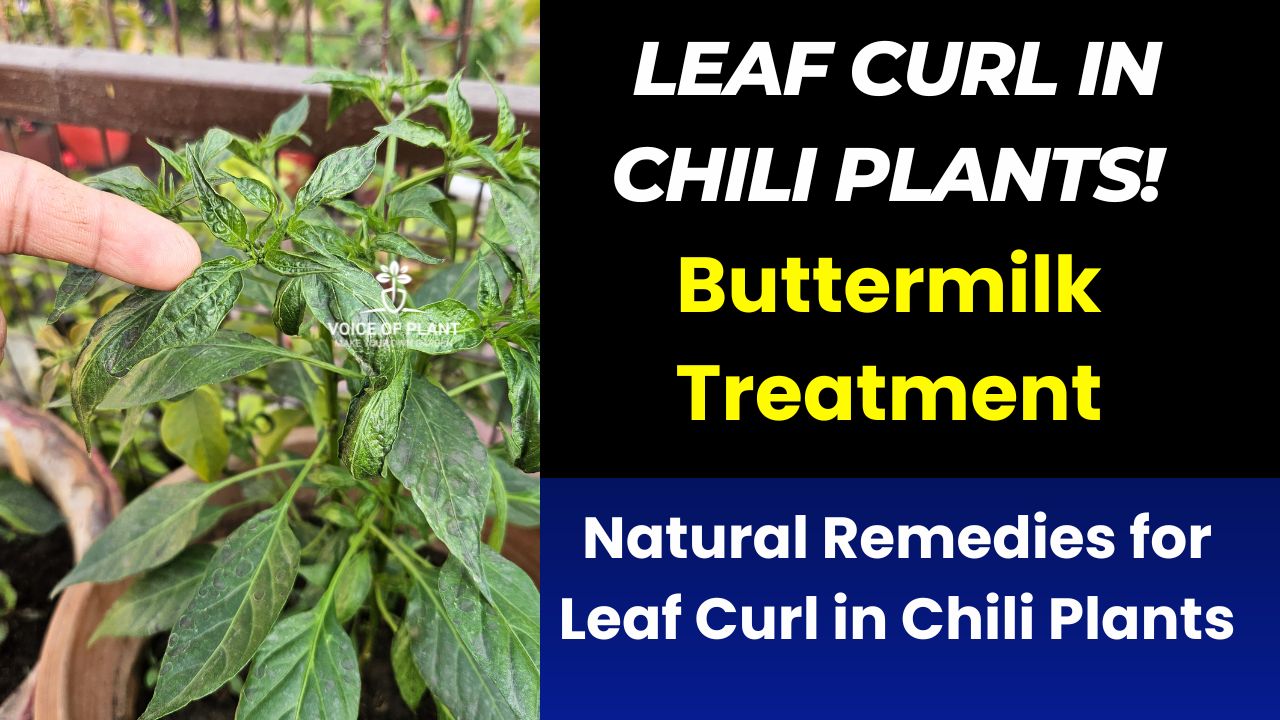
Leaf Curl in Chili Plants Causes & Solutions
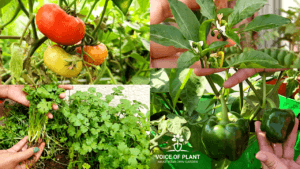
Chili plants are a staple in many home gardens, but one common problem growers face is leaf curl disease. When leaves start curling upwards or downwards, it can affect plant health, reduce fruit yield, and make the plant vulnerable to pests.
While chemical pesticides are available, organic solutions like buttermilk treatment are safer and more effective in the long run.
Buttermilk, a byproduct of butter-making, is packed with beneficial microbes, nutrients, and antifungal properties that help chili plants recover from infections.
This article will guide you through using buttermilk as a natural remedy to treat leaf curl in chili plants, along with additional tips for prevention and care.
Leaf Curl in Chili Plants Causes & Solutions
Understanding Leaf Curl in Chili Plants
What is Leaf Curl Disease?
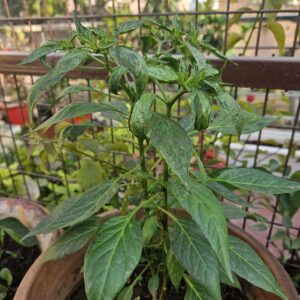
Leaf curl is a condition where the leaves of the chili plant start to curl inward or downward, affecting photosynthesis and overall plant growth.
Causes of Leaf Curl
1. Viral Infections – Chili Leaf Curl Virus (CLCV) is one of the primary causes of leaf curl. It is spread by whiteflies.
2. Pest Infestation – Aphids, thrips, and mites suck plant sap, leading to curling leaves.
3. Nutrient Deficiencies – Lack of calcium, potassium, or magnesium can weaken the plant and cause leaf abnormalities.
4. Environmental Factors – Excessive heat, water stress, or poor soil conditions can trigger leaf curl.
Symptoms and Signs of Leaf Curl
-
Leaves curling upwards or downwards
-
Yellowing of leaves
-
Stunted plant growth
-
Presence of whiteflies or aphids under leaves
Why Use Buttermilk for Leaf Curl Treatment?
Nutritional Benefits of Buttermilk
-
Rich in probiotics that improve soil health
-
Contains calcium that strengthens plant cell walls
-
Lactic acid acts as a natural pesticide
Natural Antifungal and Antibacterial Properties
-
Buttermilk helps fight against fungal infections that weaken the plant.
-
It kills harmful bacteria that contribute to leaf curl.
Safe and Eco-Friendly Alternative
-
100% organic and chemical-free
-
Does not harm beneficial insects like bees and ladybugs
-
Can be used regularly without side effects
Proper Dilution and Application Methods
-
Dilution is key – Using undiluted buttermilk can cause leaf burn.
-
Always use fresh buttermilk for the best results.
Check here: How To Treat Leaf Curl in Rose Plant?
How to Apply Buttermilk on Chili Plants?
Foliar Spray Method
-
Pour the prepared buttermilk solution into a spray bottle.
-
Spray evenly on both sides of the leaves.
-
Apply early in the morning or late in the evening to prevent leaf burn.
Soil Drenching Method
-
Pour the buttermilk solution at the base of the plant to improve soil health.
-
Repeat every 7–10 days for the best results.
Frequency and Best Time to Apply
-
Use once a week for mild leaf curl.
-
For severe cases, spray twice a week until improvement is seen.
Additional Natural Remedies for Leaf Curl in Chili Plants
While buttermilk is highly effective, combining it with other natural treatments can speed up the recovery process. Here are some alternative organic remedies for treating leaf curl in chili plants:
Neem Oil Spray
-
Neem oil is a powerful natural pesticide that kills whiteflies, aphids, and thrips—common pests responsible for leaf curl.
How to use:
-
Mix 1 teaspoon of neem oil with 1 liter of water.
-
Add a few drops of mild liquid soap (helps the oil stick to leaves).
-
Spray every 3–4 days until the leaf curl improves.
Preventive Measures to Avoid Leaf Curl Disease
Preventing leaf curl is always better than curing it. Follow these best practices to keep your chili plants healthy and disease-free:
Proper Watering Techniques
-
Overwatering and underwatering both stress the plant, leading to curled leaves.
-
Solution: Water the plants only when the topsoil is dry. Avoid splashing water on leaves.
Balanced Fertilization
-
Deficiency in calcium, magnesium, or potassium weakens plant health, making it more prone to leaf curl.
Solution:
-
-
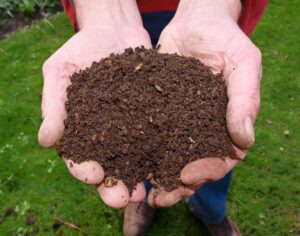
Use organic compost like cow dung or vermicompost.
-
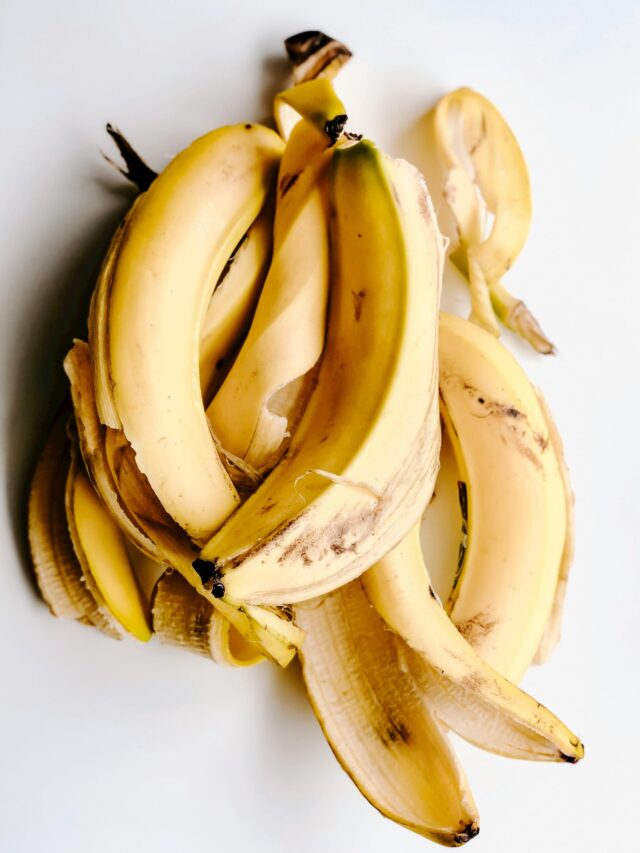
Apply banana peel fertilizer for potassium.
-
Spray Epsom salt (magnesium sulfate) solution once a month.
-
Common Mistakes to Avoid While Using Buttermilk
While buttermilk is beneficial, using it incorrectly can harm your chili plants. Here are some common mistakes to avoid:
1. Overuse of Buttermilk
-
Applying buttermilk too frequently can cause nutrient imbalances.
-
Solution: Stick to once-a-week application unless the infection is severe.
2. Using Undiluted Buttermilk
-
Direct buttermilk application can be too strong and may burn the leaves.
-
Solution: Always dilute it with water in a 1:5 ratio.
3. Applying During Peak Sunlight Hours
-
Spraying during midday can lead to leaf burns due to the reaction with strong sunlight.
-
Solution: Always apply early in the morning or evening.
How Long Does It Take to See Results?
The effectiveness of buttermilk treatment depends on the severity of the leaf curl and proper application.
Expected Timeframe for Improvement
-
Mild cases: Improvement in 7–10 days.
-
Moderate cases: Visible changes in 2–3 weeks.
-
Severe cases: May take up to 1 month, with multiple applications.
With the right application method, preventive care, and complementary organic solutions, your chili plants can thrive and produce a bountiful harvest.
Remember: A healthy plant is less likely to suffer from diseases, so focus on balanced watering, proper fertilization, and pest control alongside buttermilk treatment.
Follow our Social media channel:
1. Voice of Plant – YouTube Channel
2. Voice of Plant Facebook Page
3. Instagram Voice of Plant Channel