


How to Get Rid of Mealybugs from Hibiscus Plant
Mealybugs can be a nightmare for hibiscus plant lovers. These tiny, white, cotton-like insects suck the sap from plants, causing weak growth, yellow leaves, and even plant damage. They spread quickly, so it’s important to act fast to keep your hibiscus healthy and pest-free.
If you have noticed white, fluffy masses on your hibiscus stems and leaves, it’s time to take action. In this guide, we’ll explore effective ways to eliminate mealybugs and prevent them from coming back.
How to Get Rid of Mealybugs from Hibiscus Plant
Understanding Mealybugs
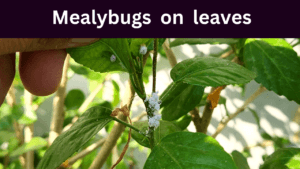
Mealybugs are small, soft-bodied insects covered in a white, powdery wax that makes them look like tiny cotton balls.
- They belong to the Pseudococcidae family and thrive by feeding on plant sap.
Why Are They Harmful to Hibiscus Plants?
-
Suck plant sap, leading to weak and stunted growth.
-
Produce honeydew, which encourages sooty mold.
-
Attract ants that protect them from natural predators.
-
If left untreated, can cause severe plant damage or death.
How to Identify Mealybug Infestation
Physical Appearance of Mealybugs
-
Small, oval-shaped insects covered in white, cottony wax.
-
Typically found on the undersides of leaves, stems, and flower buds.
Symptoms of Infestation on Hibiscus
-
Leaves turning yellow or curling.
-
Sticky honeydew residue on leaves and stems.
-
Presence of ants moving around the plant.
-
White, cotton-like clusters on plant surfaces.
Natural Ways to Get Rid of Mealybugs
If you prefer eco-friendly methods, try these natural remedies:
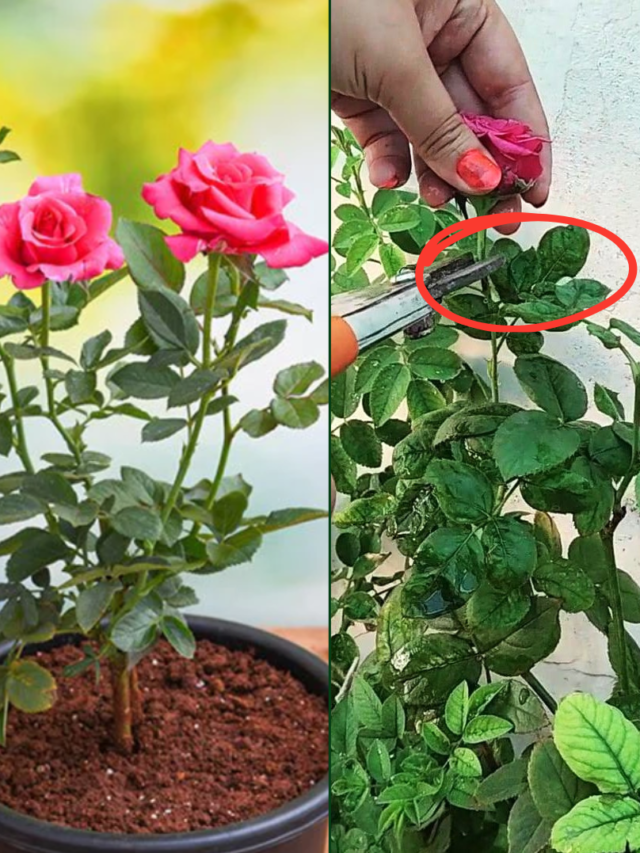
Manual Removal
-
Use a cotton swab dipped in rubbing neem oil to remove individual mealybugs.
-
Squish visible mealybugs by hand.
Water Spray Technique
-
Use a strong jet of water to wash away mealybugs.
-
Repeat daily for best results.
Using Neem Oil
-
Mix 2 teaspoons of neem oil with water and spray on affected areas.
-
Neem oil disrupts mealybugs’ feeding and reproduction.
Applying Insecticidal Soap
-
Use store-bought or homemade insecticidal soap (dish soap + water).
-
Spray directly onto mealybugs to suffocate them.
Introducing Beneficial Insects
-
Release ladybugs or lacewings in your garden to naturally control mealybugs.
DIY Remedies to Eliminate Mealybugs
Neem liquid pesticide and Water Mixture
-
Add 10 tablespoons of neem liquid to 1 liter of regular water.
-
Spray directly on infected leaves and on mealybugs.
Click here to read: How to make Neem Pesticide at home
Soap and Water Spray
-
Mix 1 tablespoon dish soap with 1 quart water.
-
Spray directly on mealybugs.
Garlic and Chili Spray
-
Blend garlic, chili peppers, and water.
-
Strain and spray on hibiscus.
How to Revive a Hibiscus Plant After Mealybug Damage
-
Prune affected leaves and stems.
-
Apply a balanced fertilizer to encourage recovery.
-
Adjust watering to prevent stress.
-
Monitor new growth and watch for reinfestation.
Conclusion
Mealybugs can be a serious threat to hibiscus plants, but with the right strategies, you can eliminate them and keep your plants healthy. Regular inspections, natural remedies, and preventive measures are key to long-term success. Stay proactive, and your hibiscus will thrive!
Common Hibiscus Problems & Solutions You Should Know
Follow our Social media channel:
1. Voice of Plant – YouTube Channel