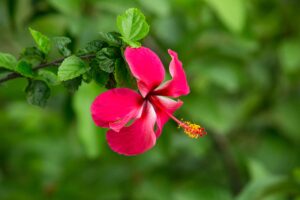


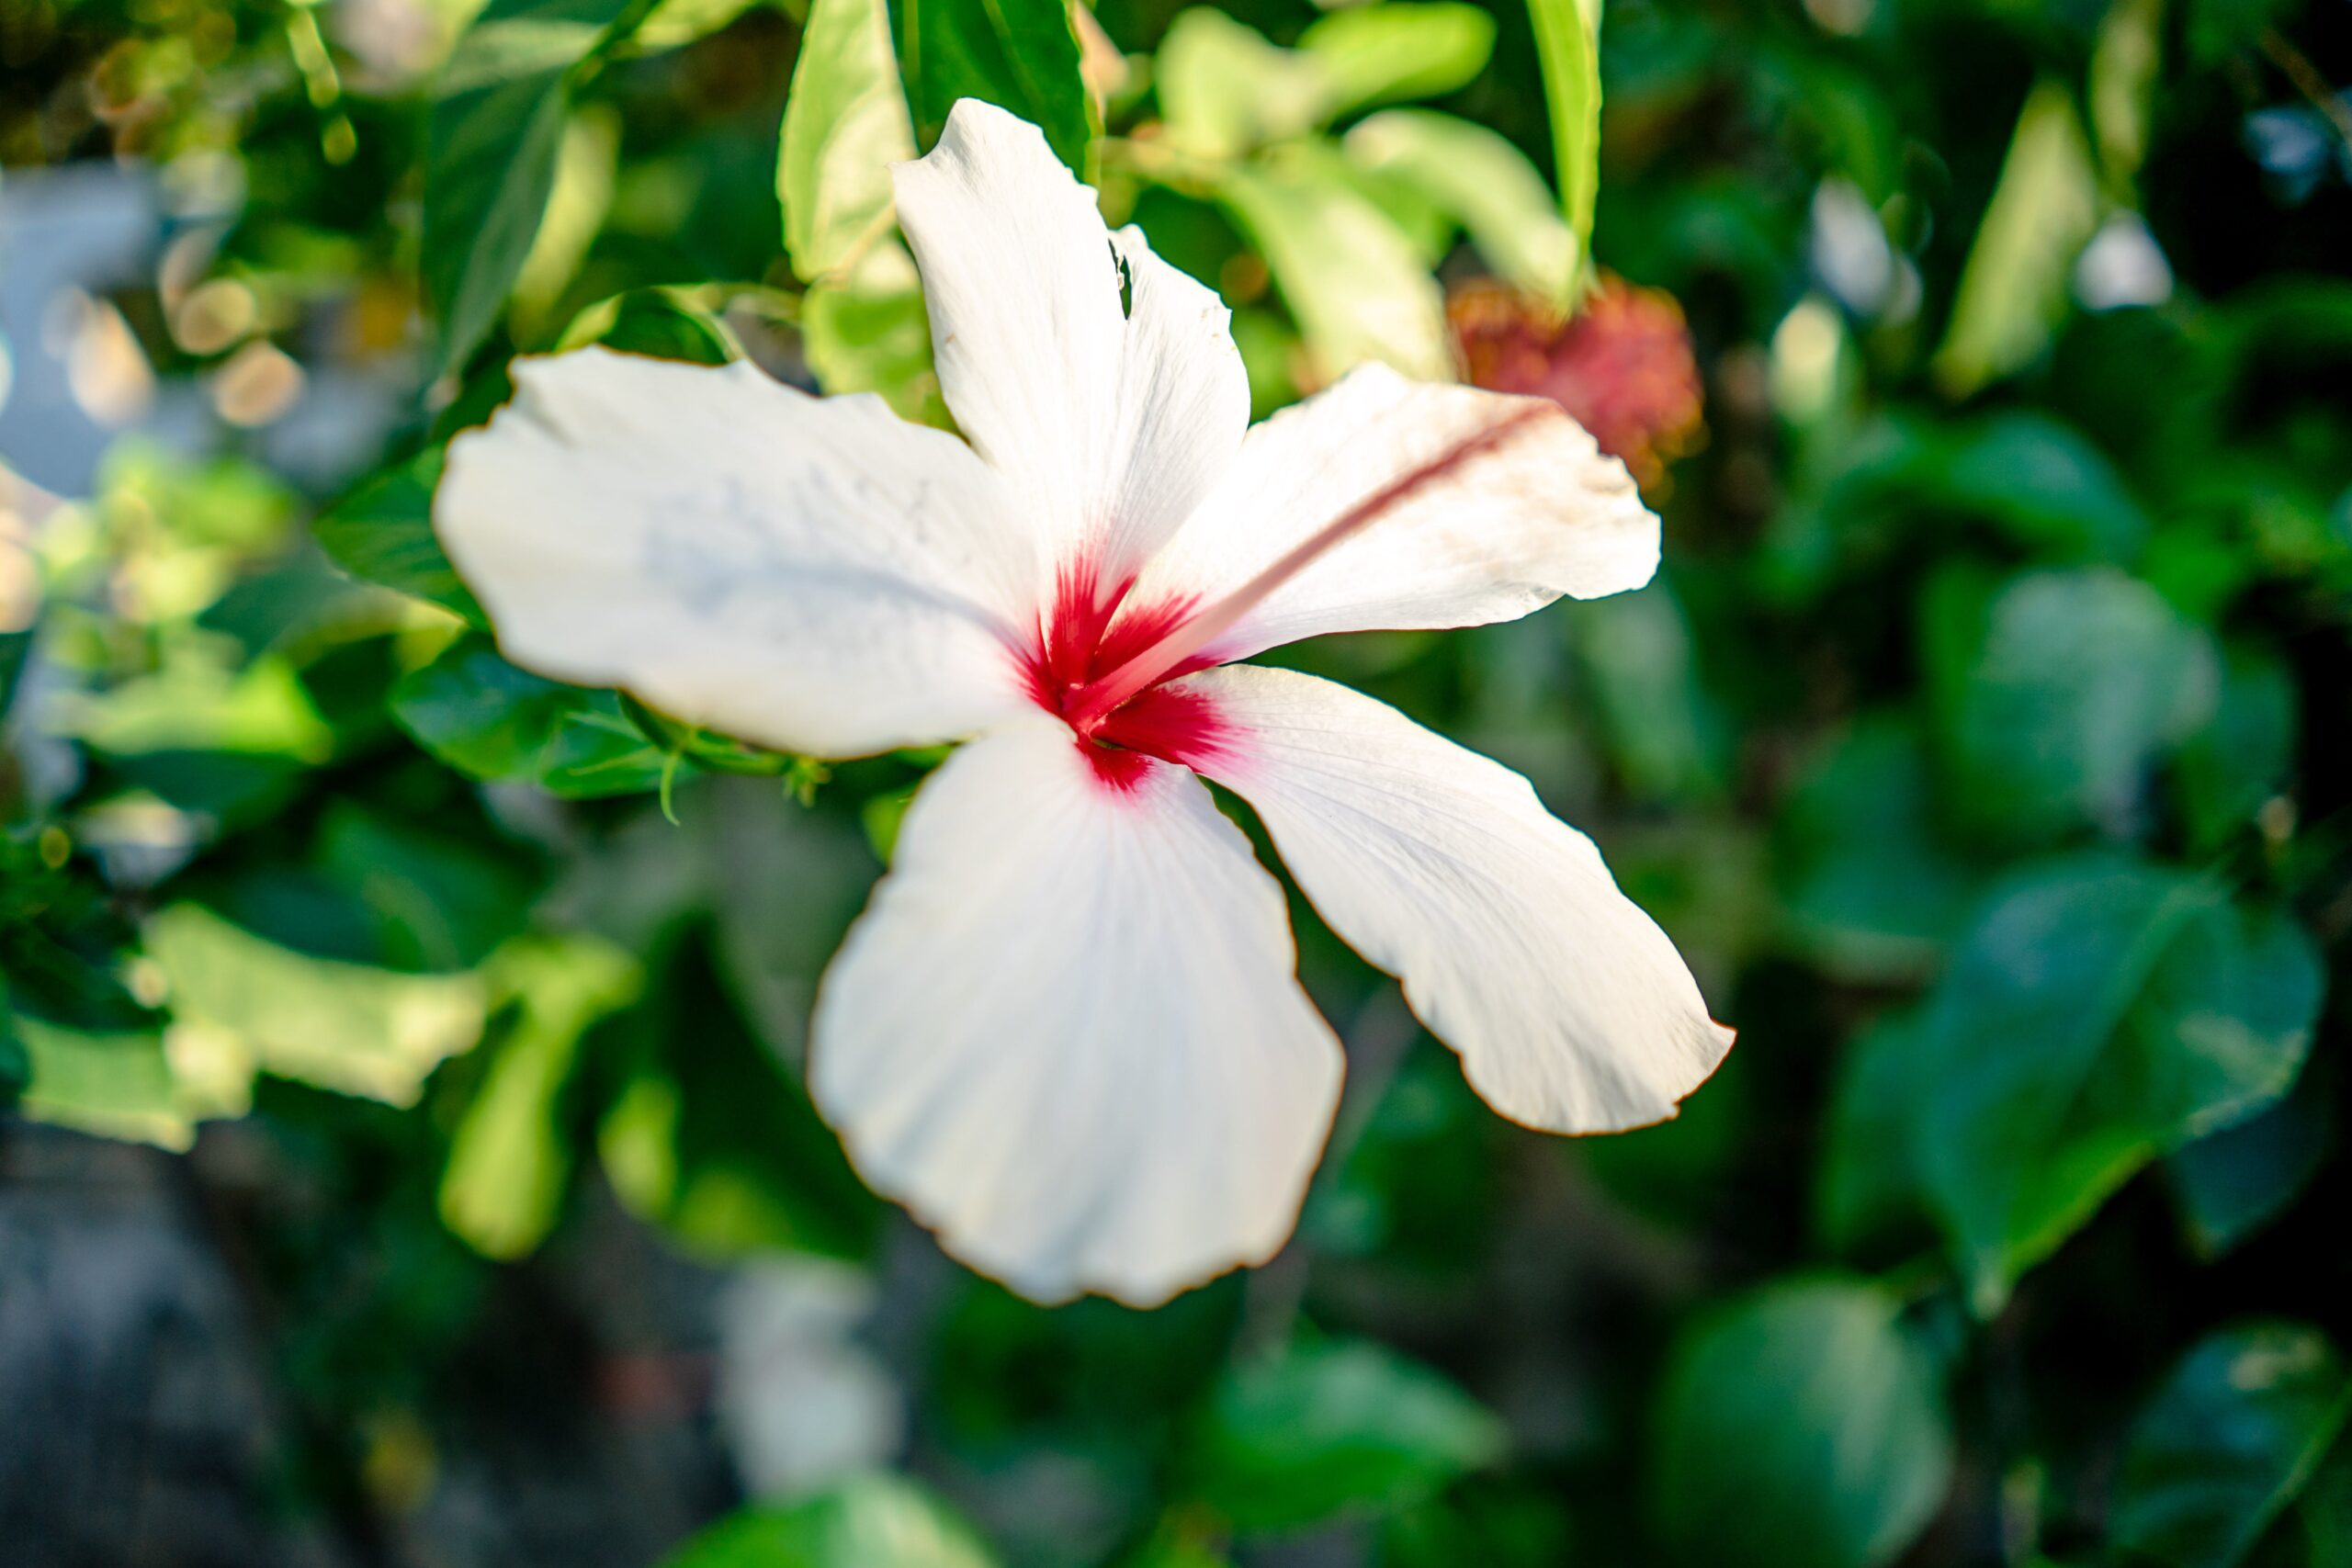
Many gardeners often encounter the issue of their healthy hibiscus plant not flowering despite being in good condition.
As a result, they unknowingly treat the plant with incorrect fertilizers, leading to damage.
For a hibiscus that is healthy but not blooming, several factors may be involved. Choosing the right fertilizer can make a significant difference and promote flowering.
Best Fertilizer for Hibiscus Flowering
So, why is it happening, and what are the reasons behind this? Let’s review a list of concerns your hibiscus may be experiencing if it’s not flowering:
1. Buds Not Blooming:

- Lack of phosphorus in the soil can hinder flower production, so it’s important to look for a fertilizer that contains phosphorus to promote blooming.
2. Plant Healthy But Not Flowering:

-
- Sometimes, hibiscus plants focus on growing foliage rather than flowers.
- Opt for a balanced fertilizer with equal N-P-K ratios to encourage overall plant health and flower production.
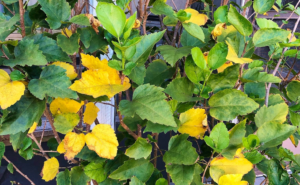
3. Yellow Leaves:
-
- Yellowing leaves can indicate a lack of nitrogen.
- Choose a fertilizer with higher nitrogen to address nitrogen deficiency and promote greener foliage.
4. Buds Not Mature:
-
- Hibiscus buds may fail to mature if they are not getting enough potassium.
- Look for a fertilizer with a higher potassium to support bud development and maturation.
5. Buds Falling:

-
- Poor root development or stress can cause buds to drop prematurely.
- Consider a fertilizer with micronutrients like magnesium and iron to improve root health and resilience.
Why Hibiscus Plant is not Flowering
The main reason for hibiscus plants not flowering is often due to a lack of nutrients. This can be attributed to two factors:
1. Inefficient Nutrient Distribution to Various Plant Parts
When fertilizer is provided to the roots, it is not efficiently distributed to other parts of the plant, such as the stem, leaves, branches, or buds.
2. Limited Distribution of Starch-Based Food to Plant Roots
Additionally, while plants produce their food in the form of starch in their leaves, it is possible for the food to remain in the leaves and not be distributed to other parts of the roots of the plant.
Note: Starch plays a crucial role in providing immunity to plants, especially for their roots.
The above two factors indicate that the “transportation system” of the plant is not working well which can be attributed to a lack of potassium.
Luckily, potassium is highly available in bananas and banana peels and can be used to improve the transportation system of the plant.
- If in this condition, the plant is fed by banana peel fertilizer, then the problem would be resolved.

3. Nutrient-Rich Composition of Banana Peels
Not only potassium but banana peels contain many other nutrients like calcium, magnesium, sulfur, and phosphorus, all of which are essential for plant growth and development.
4. Micronutrient Content in Banana Peels
Additionally, banana peels contain other micronutrients, such as zinc, copper, and iron, which are important for plant health.
When to give Banana peel fertilizer?
1. Do not give banana peel fertilizer to small plants
Avoid using banana peel fertilizer on plants that are still small or in the growing stage because they require equal amounts of nitrogen, phosphorus, and potassium (NPK) at that time.
In banana manure, the quantity of nitrogen is very low. It will lead to nutrient imbalance and plants might die due to a deficiency of nitrogen.
2. Apply banana peel fertilizer during the flowering or fruiting stage
Always, give banana manure, when the plant is at the stage of flowering or fruiting.
3. Balancing Banana Peel fertilizer with Other fertilizers
While banana peel fertilizer can be used on all plants, it is important to rotate it with other fertilizers to maintain nutrient balance.
- After applying banana peel fertilizer, wait for at least 10 to 15 days before using other fertilizers such as cow dung liquid fertilizer or any other.
4. Onion peel liquid fertilizer
Following the banana peel fertilizer, wait for another 10 to 15 days and then give onion peel liquid fertilizer to the plant.
- This fertilizer also promotes flower blooming, and you can expect to see new buds appearing within a few days.
Note:
- In instances where the leaves of the blooming plant turn yellow, it is an indication of a need for more nutrients.
5. Cow dung liquid fertilizer

- After 10 days of the onion peel fertilizer, provide the plant with a liquid fertilizer made from cow dung.
By adhering to this schedule of applying different liquid fertilizers every 10 days, you can stimulate consistent blooming in your hibiscus.
Also read: How to Get Maximum Flowering in Hibiscus
Plants need sunlight, water, air, and nutrients for healthy growth. Monitor and meet these needs carefully. When blooming, reduce fertilizer to avoid overfeeding. Follow the checklist before applying remedies.