


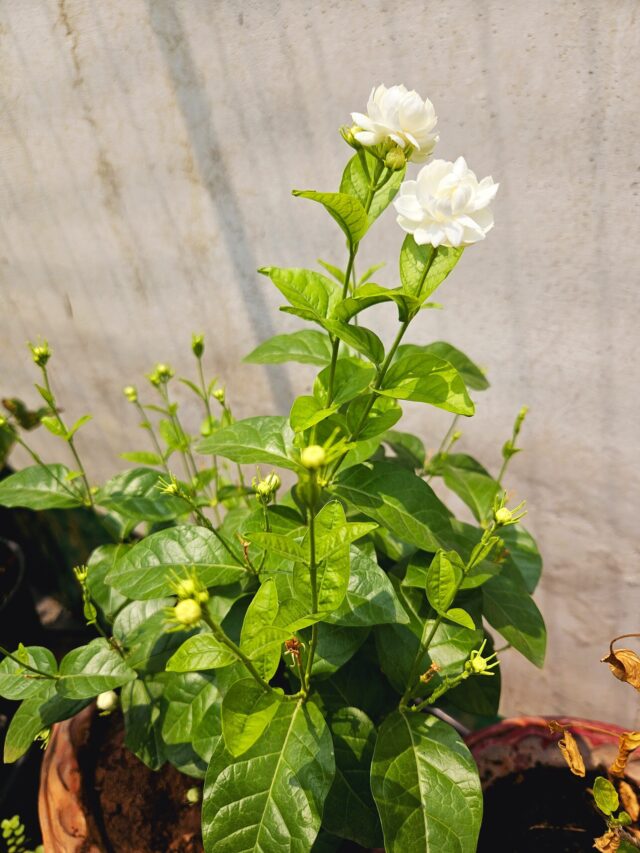


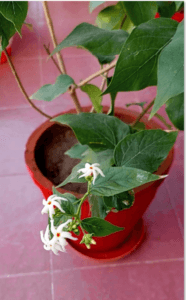
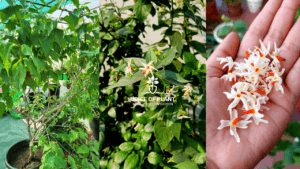
Night Jasmine, also known as Parijat, Harsingar, Shuili is a delicate and fragrant flowering plant. It is also commonly recognized under the scientific name Nyctanthes Arbor-tristis.
Its small, star-shaped white flowers with orange centers bloom at night, spreading a sweet, heady fragrance. Although this plant is relatively easy to grow, it can encounter some common problems.

In this article, we will discuss some issues and provide effective solutions for nurturing a healthy Night Jasmine plant (Parijat/Harsingar).
Night Jasmine (Parijat) Plant Care
Problem 1: Not pruned regularly:
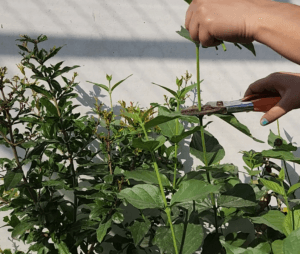
- Night Jasmine can become leggy and unruly if not pruned regularly.
Solution:
- Prune your Night Jasmine in the early spring to remove dead or overgrown branches and encourage bushier growth.
- This also promotes better air circulation and blooming.
Hard Pruning:
- Perform a hard pruning of the plant after winter to stimulate new growth.
Check this article:
Night Jasmine Plant Complete Care
Problem 2: Overwatering

- One of the most common mistakes made when caring for Night Jasmine is overwatering.
- This plant prefers well-draining soil and doesn’t tolerate waterlogged conditions.
Solution:
- Allow the top inch of soil to dry out before watering.
- Be sure the pot or planting area has good drainage, and consider using a well-draining potting mix.
- Reduce watering during the winter months when the plant is dormant.
Problem 3: Chlorosis Treatment
If the leaves of the plant begin turning white instead of green, it’s a sign of chlorosis. This occurs when chlorophyll is not forming properly in the leaves due to stress.

Solution:
To treat chlorosis follow the tips:
- Mix 1 teaspoon of Epsom salt in 5 liters of water.
- Spray the solution on the plant twice, with a 15-day gap between applications.
- Remove the white leaves.
- Place the plant in direct sunlight for a maximum of 1 hour.
- Over time, the plant will recover, and new green leaves will grow.
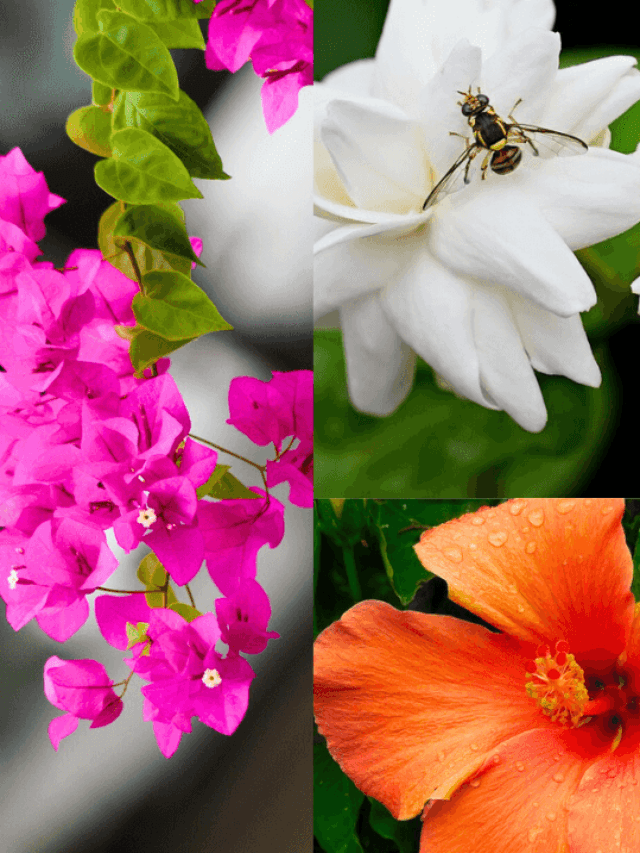
Problem 4: Pests

- Night Jasmine can be vulnerable to common pests such as aphids, mealybugs, and spider mites.
Solution:
- Regularly inspect your plant for signs of pests, including yellowing leaves or tiny insects.
- You can use neem oil or insecticidal soap to treat the infestation.

- In severe cases, consider moving the plant outdoors temporarily to allow natural predators like ladybugs to assist in pest control.
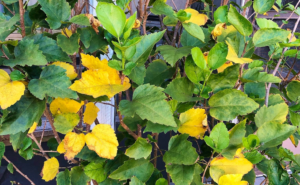
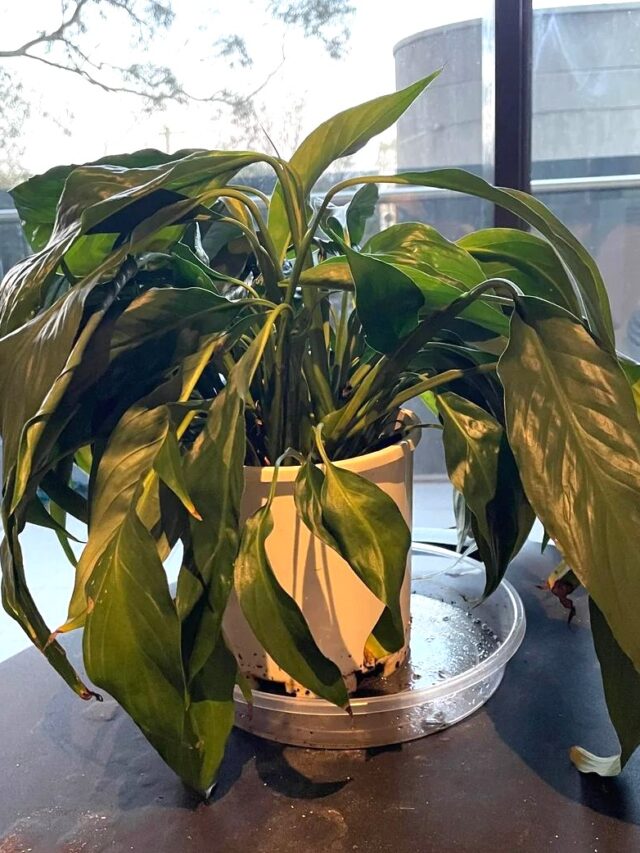
Problem 5: Yellowing Leaves

- Yellowing leaves are often a sign of nutrient deficiencies or stress in Night Jasmine plants.
Solution:
- Feed your plant with a balanced, water-soluble fertilizer every 4-6 weeks during the growing season (spring and summer).
Problem 6: Insufficient Light
- Night Jasmine thrives in full sunlight.
- Insufficient light can lead to leggy growth and reduced blooming.

Solution:
- Place your Night Jasmine in a location where it receives at least 6-8 hours of direct sunlight daily.
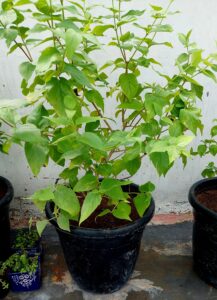
Problem 7: Root Bound Issue
- In the initial years, the plant may do well in the same pot, but after 2-3 years, it may become root-bound.
- When this happens, the plant may show signs of stress, such as bent leaves, despite receiving adequate fertilizer and water.
- Roots might even start emerging from the bottom hole or appearing at the top of the soil.
- This is an indication that the current pot is no longer suitable for the plant.

Solution:
- To address this problem, you have two options:
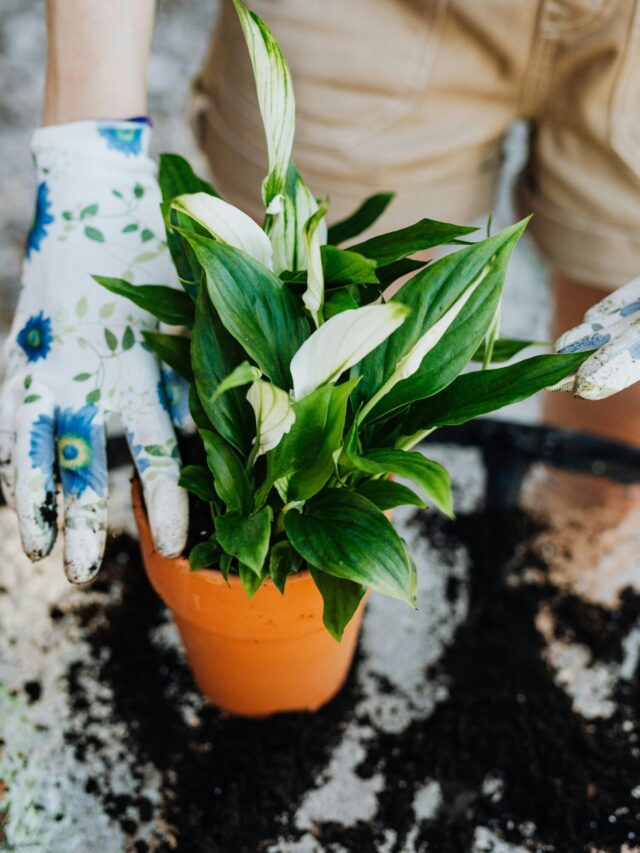
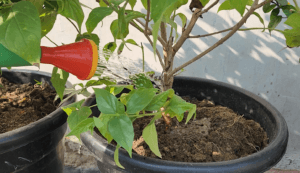
Option 1: Change the pot and shift the plant into a larger pot

- Gently remove the plant from the old pot.
- Consider using a plastic pot as larger clay pots are not available.
- If using a plastic pot, make sure to create drainage holes at the bottom to prevent water stagnation.
- Add a small amount of fungicide (less than a teaspoon) and incorporate cocopeat (half of the compost) into the soil mixture.

- Larger pots can dry out quickly, especially if exposed to high levels of sunlight, so cocopeat helps retain moisture.
- Fill the new pot with the soil mixture and place the old plant in it without disturbing the soil and roots.

- Follow the same pruning process to encourage bushier growth.
- Maintain the watering and fertilizing routine to support the plant’s growth for the next 3-4 years in the new pot.
Option 2: Root Pruning
- Remove the plant from the pot, and trim the side roots without disturbing the main root.
- Then, repot the plant in the same pot with fresh soil.
Also read;
How to Grow Night Jasmine from Cuttings & Seeds
Problem 8: Arrival of Seed Pods:
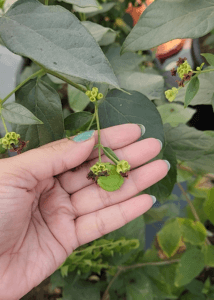
- Occasionally, seed pods may develop at the tip of the plant, containing Parijat seeds.
- These seed pods should be removed to prevent overcrowding, as excessive seed production can harm the plant.
In conclusion, Night Jasmine (Parijat) is a lovely plant with a wonderful fragrance. By taking care of it and solving the problems we discussed, you can enjoy its beautiful flowers and delightful scent for a long time. Just remember, it needs patience and regular care to grow well.
———————
Follow our Social media channel:
1. Voice of Plant – YouTube Channel
2. Voice of Plant Facebook Page
3. Instagram Voice of Plant Channel
Happy Gardening!