


Benefits & Uses of Banana Peel Fertilizer for Plants
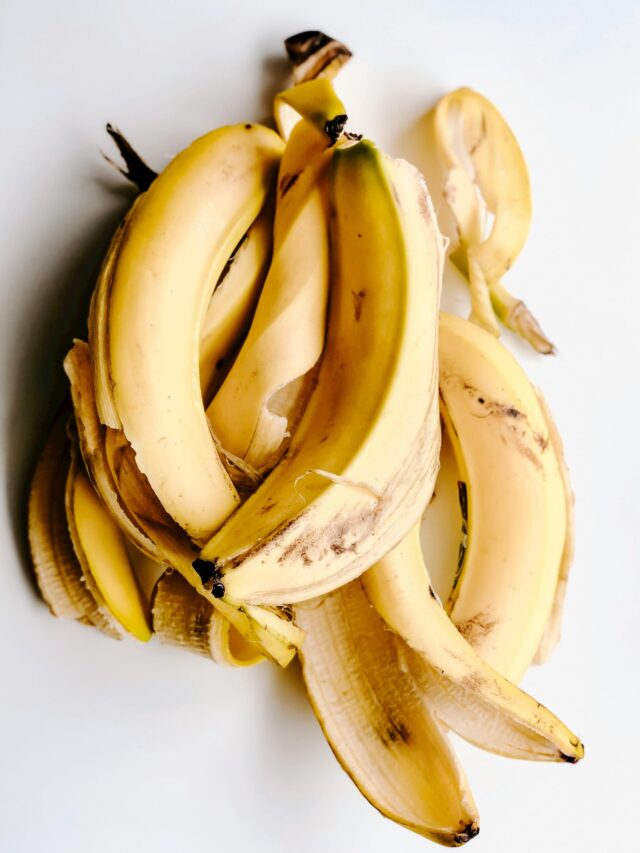
If you are fond of gardening, then banana peels will be of great use to your plants. The banana peel fertilizer is an excellent source of organic manure that can be easily made at home. It is a natural and cost-effective way to provide plants with the essential nutrients they need to grow and thrive.
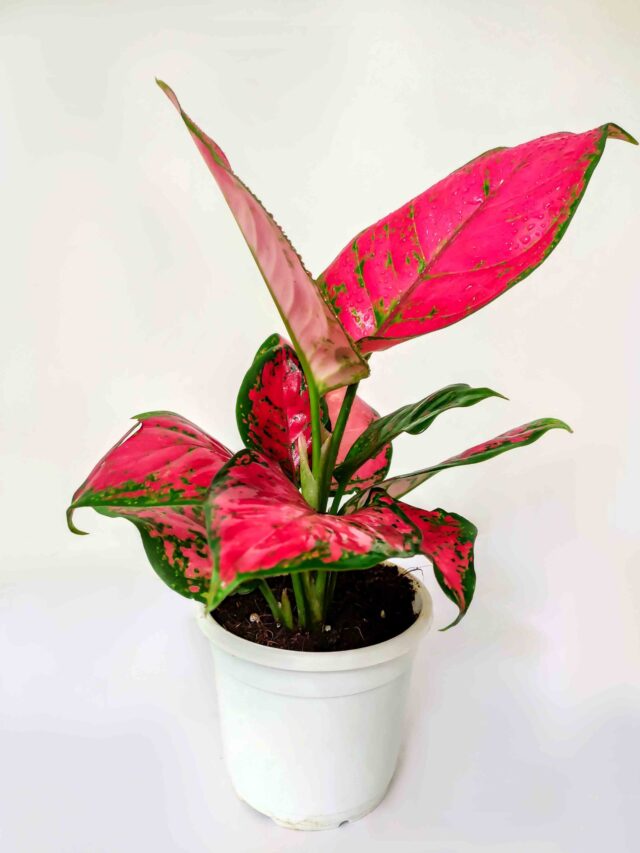
Many people complain that despite taking all necessary care and measures for the plant, there are still irregularities in its growth. My plants are not flowering or the plant is healthy but flowers or fruits are not coming.
-
- So, why is it happening, and what are the reasons behind this?

The main reason for this is the lack of nutrients in your plant. This indicates two factors:
1. When fertilizer is provided to the roots, it is not efficiently distributed to other parts of the plant, such as the stem, leaves, branches, or buds.
2. Additionally, while plants produce their food in the form of starch in their leaves, it is possible for the food to remain in the leaves and not be distributed to other parts of the roots of the plant.
Note: Starch plays a crucial role in providing immunity to plants, especially for their roots.
The above two factors indicate that the “transportation system” of the plant is not working well which can be attributed to a lack of potassium.
- Luckily, potassium is highly available in bananas and banana peels and can be used to improve the transportation system of the plant.
- If in this condition, the plant is fed by banana peel fertilizer, then the problem would be resolved.

Note:
-
- Not only potassium but banana peels contain many other nutrients like calcium, magnesium, sulfur, and phosphorus, all of which are essential for plant growth and development.
- Additionally, banana peels contain other micronutrients, such as zinc, copper, and iron, which are important for plant health.
How to make Banana peel fertilizer at home?
There are many ways to make banana manure at home. Some of them are detailed here:
Method – 1
1. Chop the banana peels into small pieces.

2. Place them in a clean utensil and fill the water. Make sure the peels are properly dipped in the water.

3. Cover the container and keep it in a shaded area for 8-10 hours.
4. During this process, the remains of the banana pulp dissolve in the water.
5. After 10 hours, strain the water and dilute it with more water (using 7-8 times more water than the amount of fertilizer produced). Then, use the diluted mixture to feed your plants.

6. It is essential to sieve and dilute the fertilizer before using it on plants. Otherwise, the quantity of potassium would be much higher than the requirement, which can prevent the plant from absorbing other nutrients.

Method – 2 (Banana peel fertilizer powder)
1. Cut the banana peels and dry them in the sun.

2. After 4 days, the peels will be completely dry, black, and crispy.

3. Grind the dried peels into a fine powder and store it in a container.

4. When required, dissolve the powder in water and use it to feed your plants.
5. Alternatively, you can sprinkle the banana peel powder on the top layer of soil and water the plant.

6. The banana manure will decompose slowly in the soil, so avoid adding too much water. This method provides a slow-release fertilizer for your plants.
Method – 3
1. Take a banana peel and bury it in the soil of a potted plant.

2. Do not add any additional water or moisture to the soil.
3. Over time, the banana peel will decompose and release its nutrients into the soil, making it more fertile for the plant to grow.
This method is a natural way to provide nutrients to your plants, but it may take longer for the banana peel to decompose and release its nutrients compared to other methods.
When to give Banana peel fertilizer?
1. Avoid using banana peel fertilizer on plants that are still small or in the growing stage because they require equal amounts of nitrogen, phosphorus, and potassium (NPK) at that time.
In banana manure, the quantity of nitrogen is very low. It will lead to nutrient imbalance and plants might die due to a deficiency of nitrogen.
2. Always, give banana manure, when the plant is at the stage of flowering or fruiting.
3. While banana peel fertilizer can be used on all plants, it is important to rotate it with other fertilizers to maintain nutrient balance.
- After applying banana peel fertilizer, wait for at least 20 days before using other fertilizers such as mustard cake or any other.
- This will help ensure that the plants receive a balanced mix of nutrients to support their growth and development.
Important note:
1. Overwatering can spoil the plant, so it is important to only fertilize when the soil is completely dry. In addition, after fertilizing, water should only be given when the soil appears to be dry.
2. There are 17 essential nutrients that plants require for healthy growth. Supplements like potassium, nitrogen, and phosphorus i.e. NPK are needed in ample quantities to fulfill all the nutrient requirements.
So, fertilizers play a crucial role in the acute growth of plants.
==============================
So, get bananas, eat them to stay healthy, and use their peels to make organic fertilizer for your plants. This way, you can ensure that your plants get the nutrients they need to grow strong and healthy. By following the above important tips, you can help your plants thrive and enjoy the benefits of homegrown produce.
Happy gardening!!