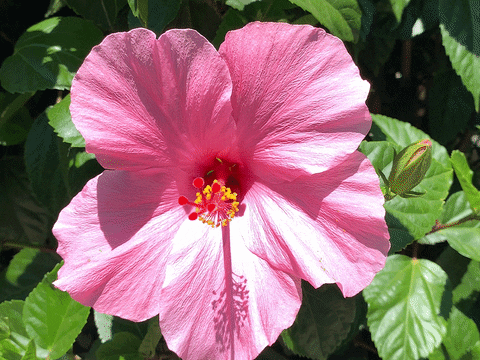


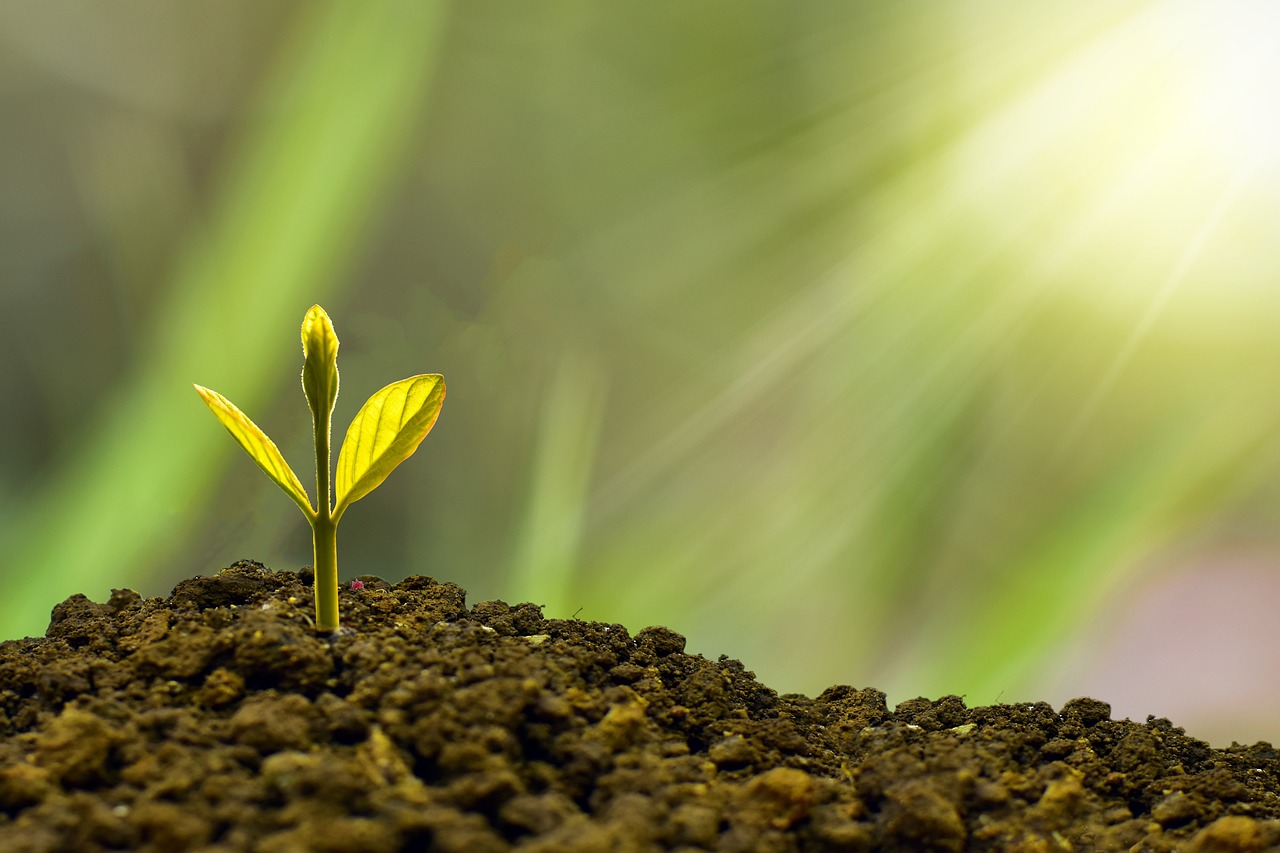
Healthy plants start with the right foundation – the soil. One crucial aspect of soil health is drainage. In this article, we will explore the ins and outs of creating well-drained soil for your plants, ensuring they thrive in optimal conditions.
Understanding Well-Drained Soil
Before diving into the practical steps, let’s understand what well-drained soil means.
- Essentially, well-drained soil allows water to move freely, preventing waterlogged conditions that can harm plant roots.
- Poorly drained soil, on the other hand, can lead to root rot and other plant diseases.
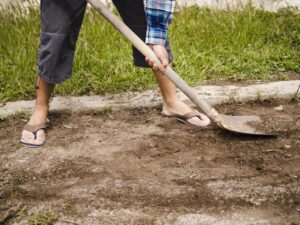
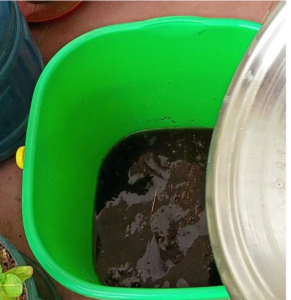
To assess whether your soil needs improvement, conduct a simple DIY soil drainage test.


- First of all, check whether the soil is well-drained or not.
- Give water to the soil slowly.
- If the soil promptly absorbs the water, it indicates good drainage.
- If water accumulates on the soil’s surface, measures should be taken to improve its drainage.
Look out for signs like wilting plants, standing water after rain, or a foul odor, which can indicate poor drainage.
Improving Drainage for potted plants during rainy season
In situations of heavy rainfall where moving our plants indoors is not feasible, there is a risk of overwatering and subsequently damaging our plants if the soil in their pots becomes too soggy.


Steps to make Soggy soil into Well-drained Soil
To improve drainage and prevent this, carefully loosen the soil inside the pot as deeply as possible without disturbing the plants and their roots.
- Remove this loosened soil from the pot and add sand to it.
- Test the soil consistency by attempting to form it into a ball with your hand. If the soil still sticks together, continue adding sand until it reaches a point where it does not adhere to your hand and gains a slippery texture.


Check the bottom hole of the pot


If water fails to drain from the bottom of the pot, the advantages of having well-drained soil are nullified.


It is essential to ensure that the bottom hole is functioning correctly; sometimes, roots or other debris may block these holes, preventing proper drainage. Continue watering your plant until water flows out from the bottom hole.
- This process effectively transforms clay soil into well-drained soil.”
How to make Well Drained Soil for Plants
Ingredients for Well-Drained Soil
Creating well-drained soil involves selecting the right ingredients.
1. Garden Soil:
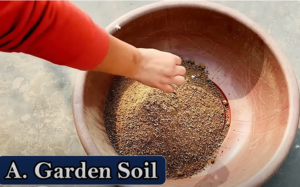

- Opt for high-quality garden soil as the foundation of your mixture. Ensure it possesses a loamy texture and promotes good drainage. Avoid using dense clay soils.
2. Add Compost for Increased Organic Matter:
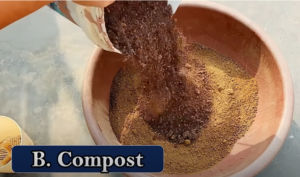

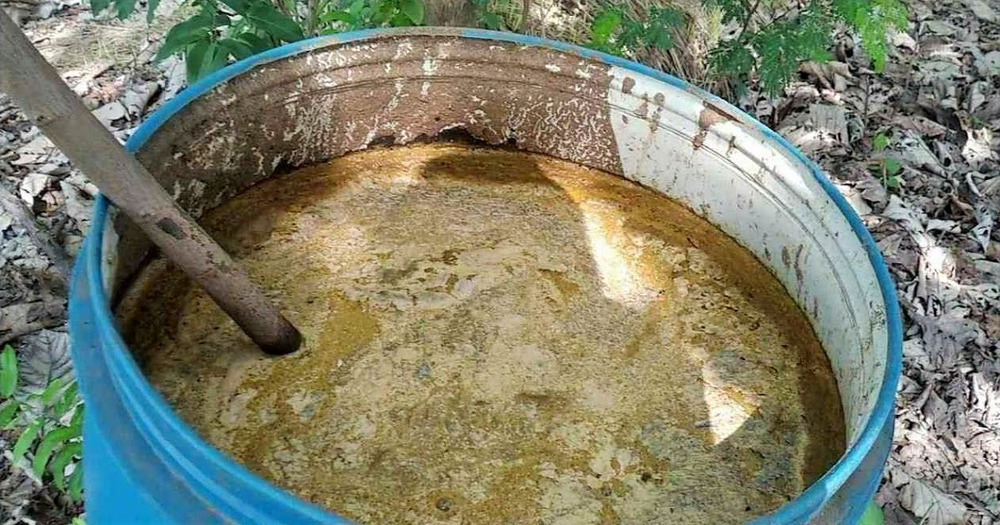
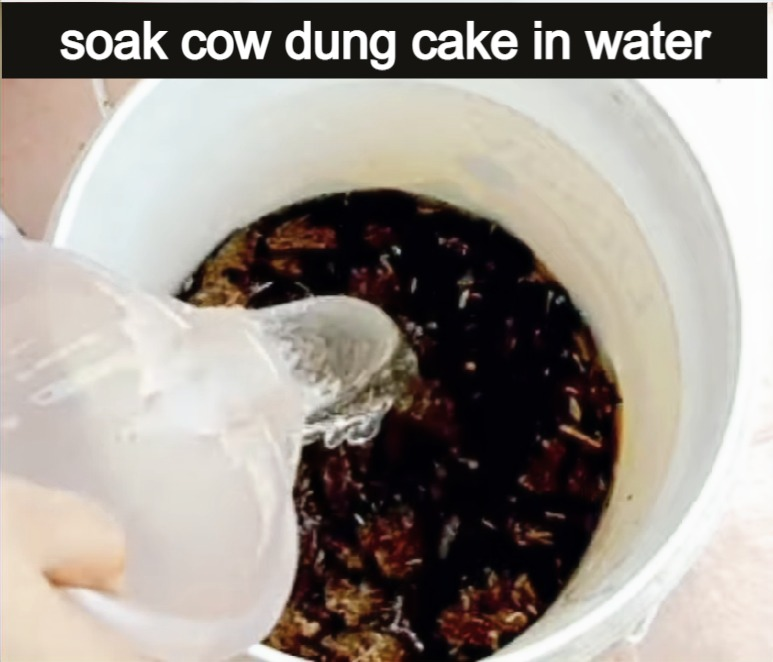
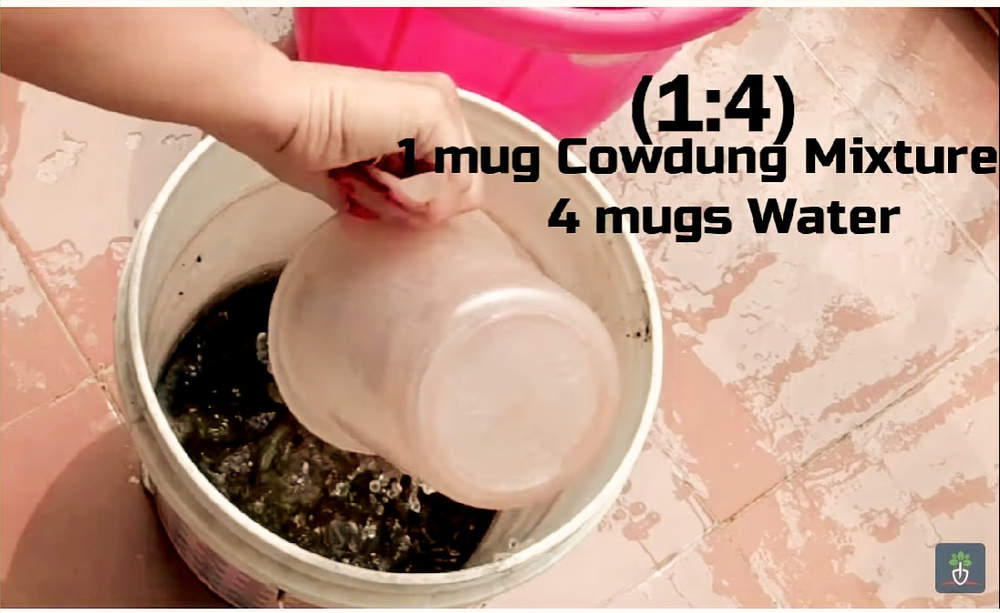
- Boost the organic content of your soil mixture by introducing compost. Consider adding either cow dung compost or vermicompost.
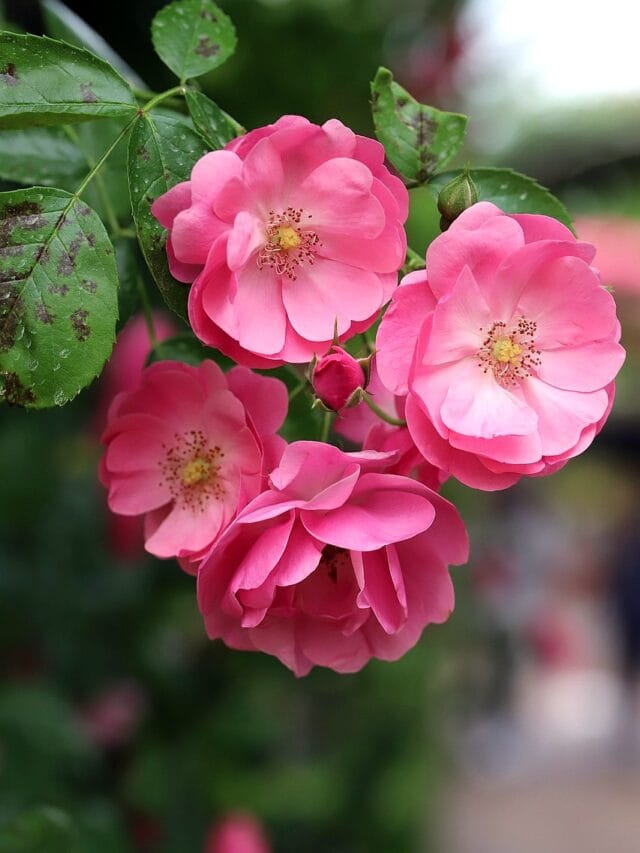
- Compost enriches the soil with essential nutrients and enhances its overall structure, creating an ideal environment for rose growth.
3. Add Sand for Enhanced Drainage:


- If your soil exhibits poor drainage due to its heavy consistency, introduce sand to facilitate better drainage.
Steps to make well-drained soil for plants
1. Prepare Garden Soil:
- Before creating the soil mixture for your plants, ensure your garden soil is thoroughly cleaned. Remove any debris, as well as glass or plastic fragments that could impede the plants’ growth.
2. Combine ingredients in the following ratios:
-
- Compost: Incorporate vermicompost or cow-dung compost, comprising half the quantity of the garden soil.
- Sand: Add one-fourth of the garden soil.
- Coco Peat: Include coco peat in a proportion equivalent to one-fourth of the garden soil.
Note:
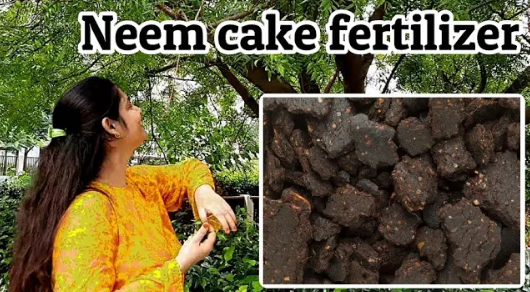
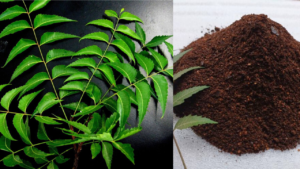
You can add Neem Cake Powder and Fungicide to the soil as well:
- Introduce a small amount of neem cake powder into the mixture.
- Optionally, add a minimal amount, approximately 3-4 grams, of fungicide to the soil mixture.


Blend all the components thoroughly to achieve well-drained soil. It is advisable to periodically enrich the soil with compost and other organic materials to uphold its fertility and structure.
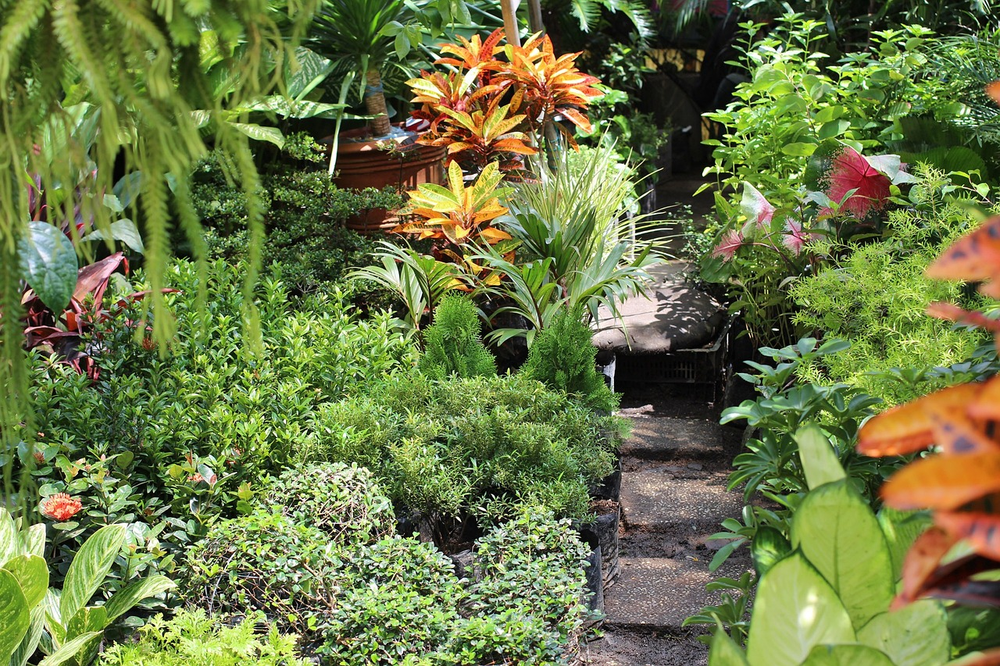
Benefits of Well-Drained Soil
The advantages of well-drained soil are numerous.
- Enhanced root development, disease prevention, and improved nutrient absorption are just a few benefits that contribute to overall plant health.
Conclusion
Creating well-drained soil is a fundamental step towards nurturing thriving plants. By understanding the importance of proper drainage, choosing the right ingredients, and following practical steps, you can establish an environment where plants flourish. Take the time to tailor your soil to the specific needs of your plants, and you will reap the rewards of a vibrant and healthy garden.
Happy Gardening!