All posts by Neeraj Mishra

cherry-blossoms

Why Spring Season is Best time for Gardening

Welcome to the wonders of spring!

Spring is a magical season when nature comes alive, painting everything with bright colors and filling the air with the sweet scent of flowers. As the frost fades away and the days get longer, gardeners everywhere celebrate the arrival of spring. It is the perfect time to take care of our plants.

In India, the spring season usually spans from mid-February to the start of April. During this time, the weather is sunny and pleasant.

Benefits of Spring Gardening

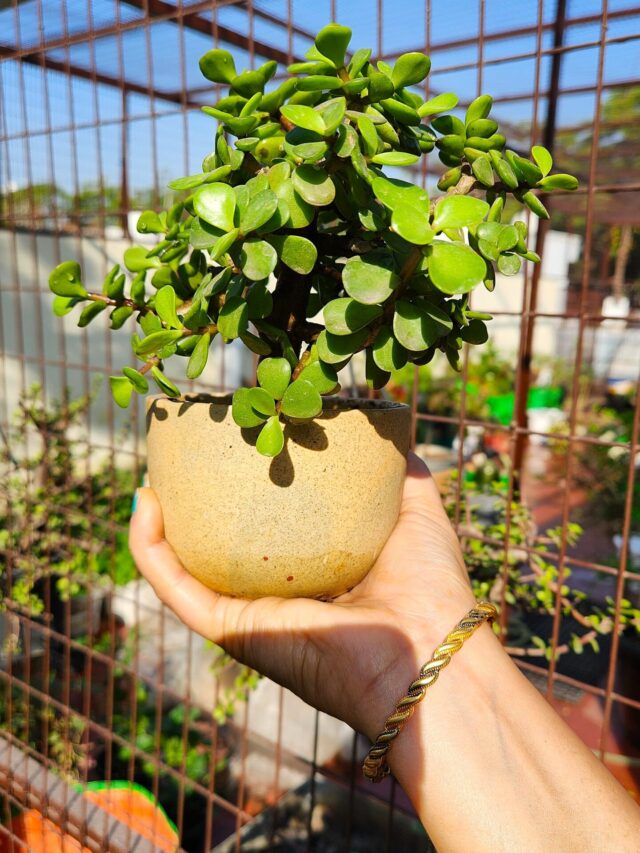
As the world around us starts to bloom again, gardeners get excited to revive their gardens.

They use the energy of spring to plant seeds, grow new plants from cuttings, and take care of delicate young plants and revive the dormant plants.

Let’s delve into why the spring season stands out as the optimal time for gardening endeavors.

Favorable Weather Conditions

In winter, temperatures decrease and daylight hours shorten, posing challenges for plant growth by slowing metabolic processes. The diminished warmth and sunlight hinder efficient photosynthesis, the process by which plants generate energy from sunlight.

Spring’s mild temperature and ample sunlight create an ideal environment for plant growth and development.

  • Long hours of daylight provide ample photosynthetic opportunities, allowing plants to produce energy and thrive. Additionally, the moderate temperatures of spring reduce stress on both plants and gardeners, creating optimal conditions for gardening endeavors.

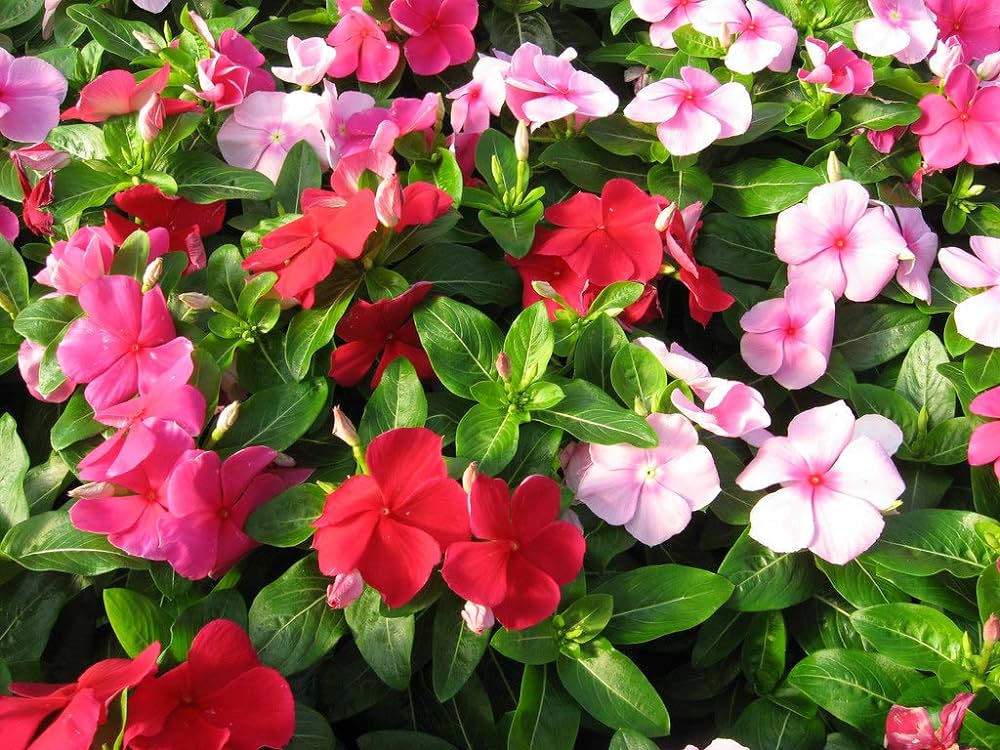
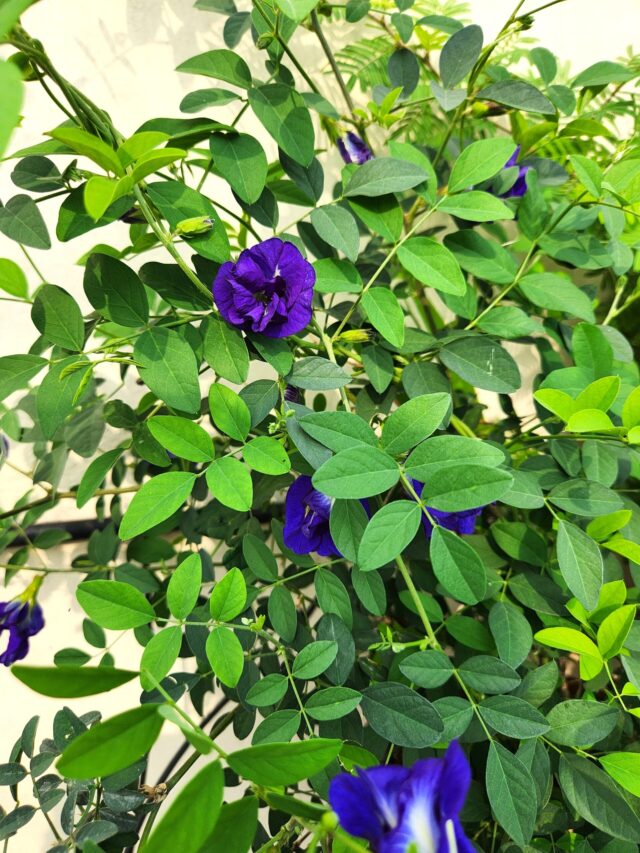
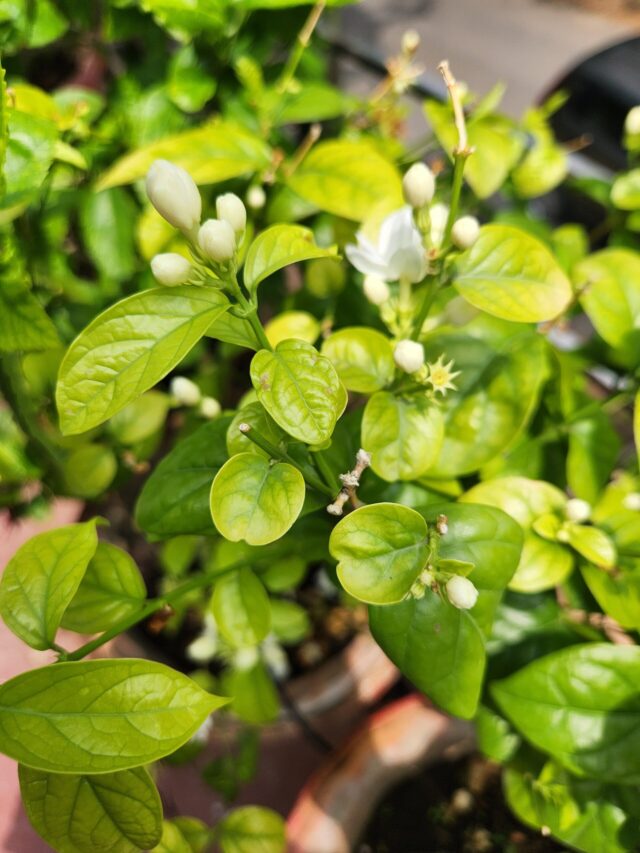
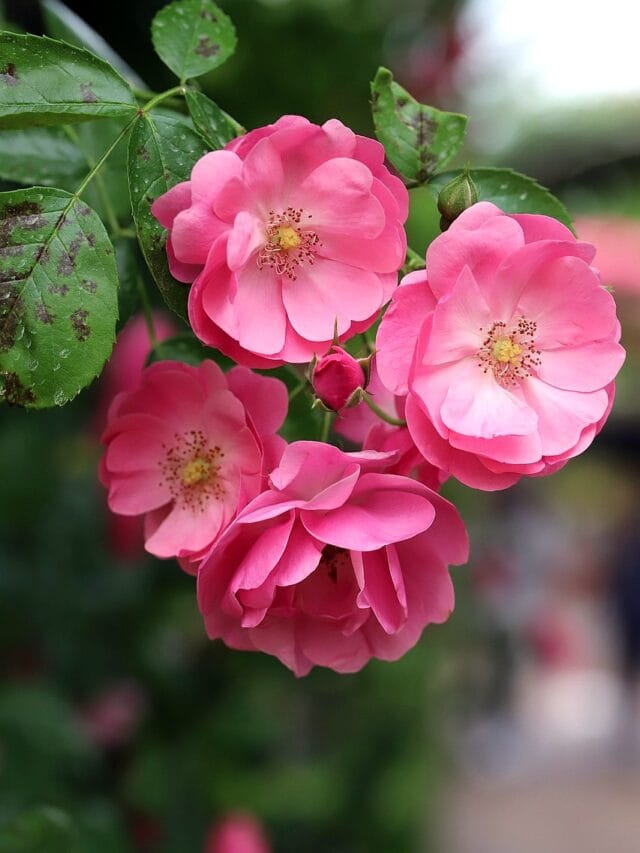
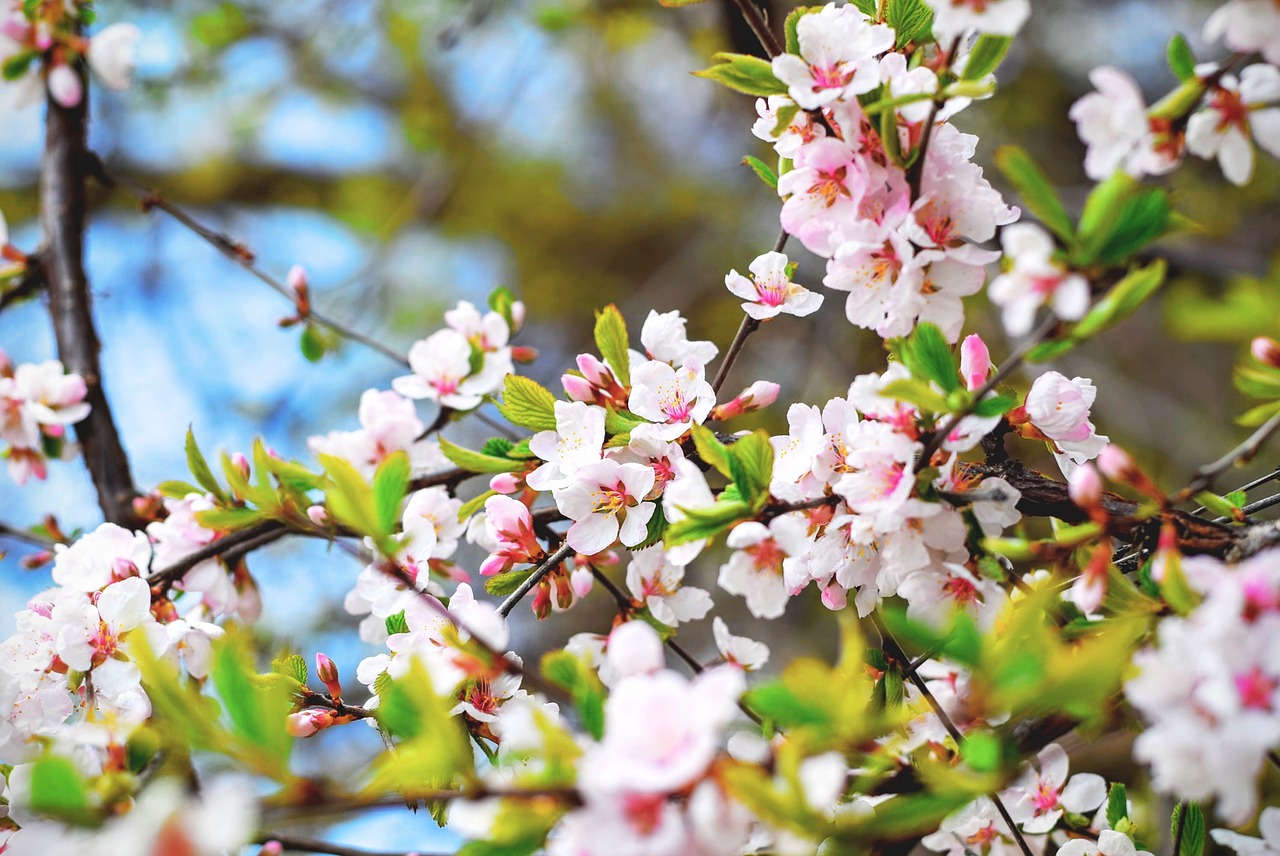
Abundant Growth and Blooming Possibilities

One of the most exciting aspects of spring gardening is witnessing the rapid growth and blooming of various plant species.

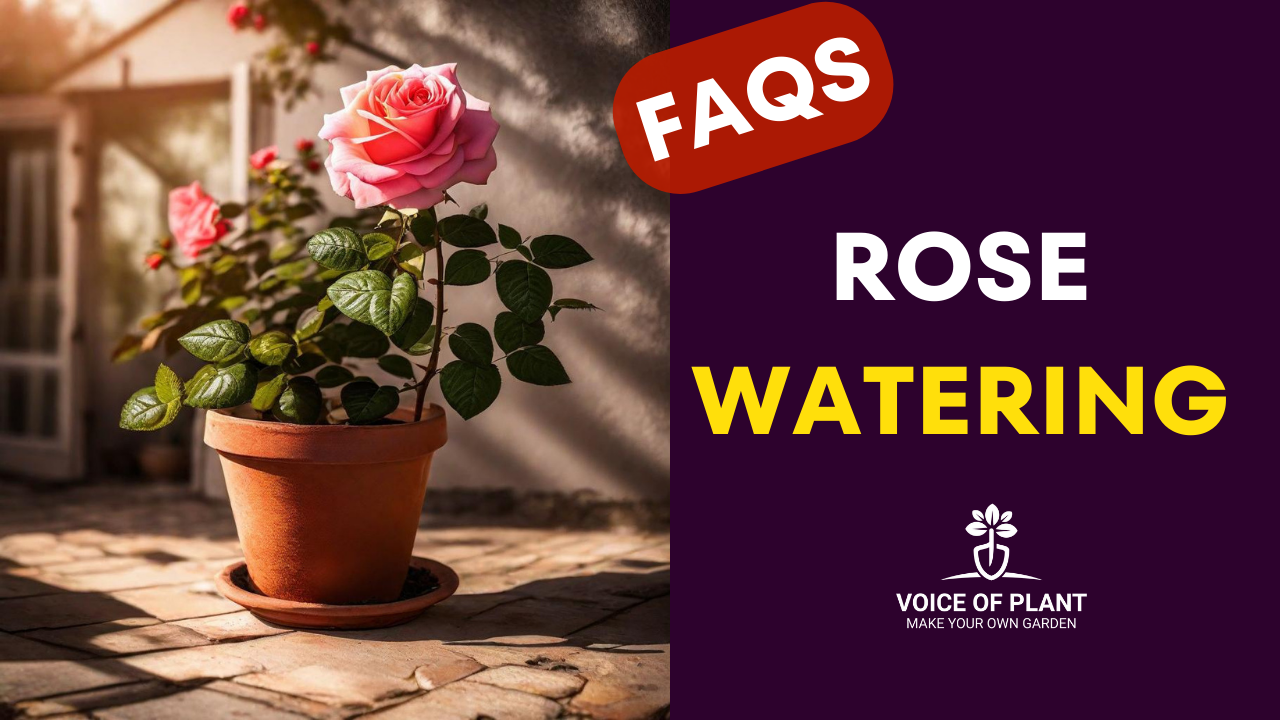
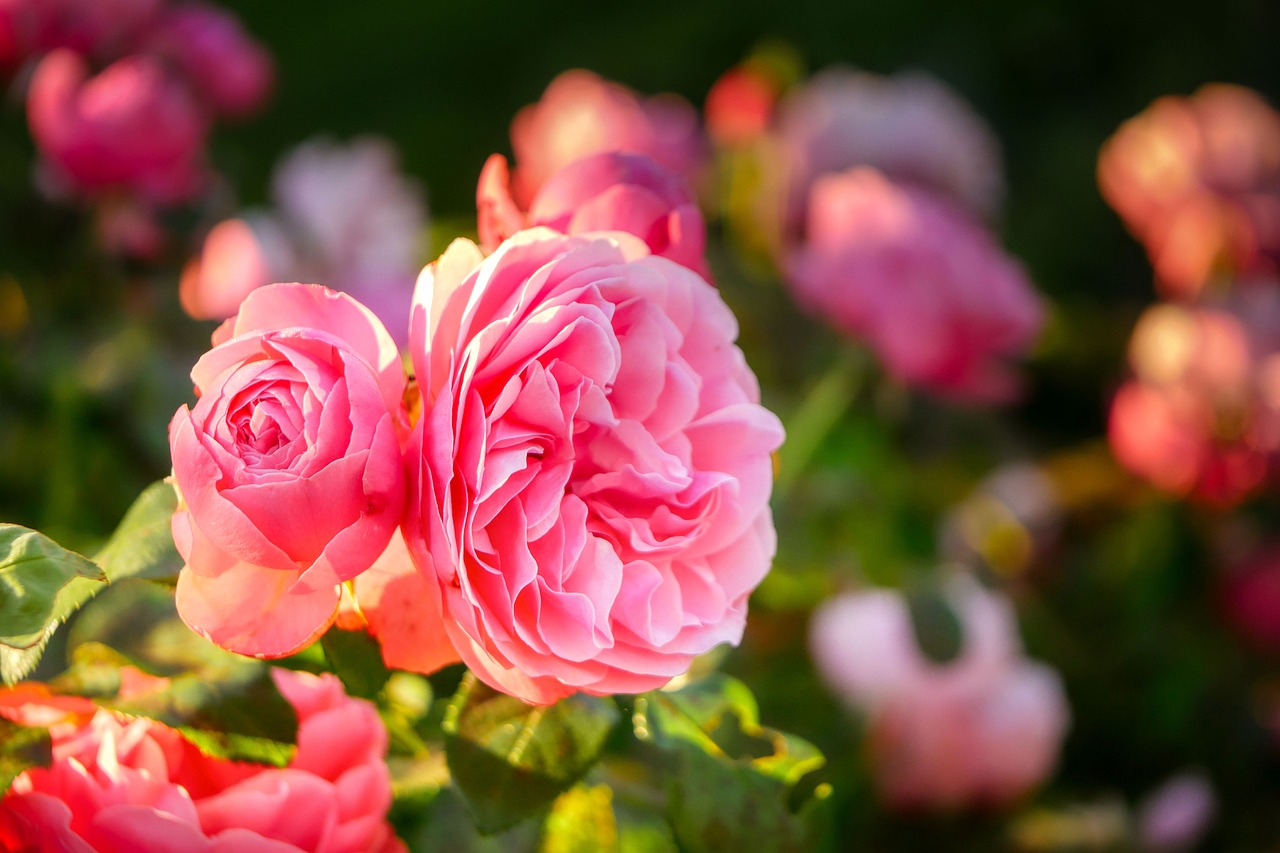
From colorful tulips and daffodils to fragrant roses and vibrant cherry blossoms, spring offers an explosion of hues and scents that rejuvenate the senses. This abundance of growth possibilities inspires gardeners to experiment with diverse plant varieties, creating captivating landscapes brimming with life.

Optimal Soil Condition

After the dormant winter period, the soil in spring becomes enriched with nutrients, making it fertile ground for planting. Spring replenishes the soil’s moisture levels, ensuring adequate hydration for plant roots to establish and thrive.

Additionally, the soil’s temperature rises gradually, promoting microbial activity and nutrient absorption, vital for robust plant growth.

Seasonal Pests and Diseases Under Control

Spring heralds the awakening of not only plants but also pests and diseases that can wreak havoc on gardens. However, by starting early in the spring season, gardeners can stay one step ahead of potential infestations and diseases.

  • Implementing preventive measures such as proper sanitation, regular inspection, and timely interventions ensures that plants remain healthy and pest-free throughout the growing season.

Time for Planning and Preparation

As nature awakens from its winter slumber, gardeners have ample time to plan and prepare for their gardening endeavors.

  • Whether it is sketching out garden layouts, selecting seeds and plants, or organizing gardening tools, the spring season offers a window of opportunity to set the stage for a successful growing season ahead. This meticulous planning lays the foundation for a bountiful and beautiful garden landscape.

Therapeutic Benefits and Mental Well-being

Beyond the tangible rewards of a flourishing garden, spring gardening also provides valuable therapeutic benefits for the mind and soul.

Engaging in hands-on activities such as planting, pruning, and nurturing plants fosters a sense of connection with nature and promotes mindfulness.

  • The tranquil ambiance of a garden in bloom serves as a sanctuary for relaxation and rejuvenation, offering solace from the stresses of modern life.

Conclusion

In conclusion, the spring season serves as a beacon of hope and renewal, igniting the passion for gardening in enthusiasts worldwide.

With its favorable weather conditions, abundant growth opportunities, and therapeutic benefits, spring offers the perfect canvas for creating enchanting garden landscapes that delight the senses and nourish the soul.

So, seize the moment, roll up your sleeves, and immerse yourself in the wonders of spring gardening!

Thanks

Make Your Own Garden!

How to repot a Rose plant?

Repotting is the process of transplanting a plant from one pot to another.

Why should you repot a rose plant?

rose plant

The main objective behind repotting the plant is:

  • to provide more space to grow,
  • to avoid root-bound,
  • to provide better soil conditions,
  • to provide adequate supply of nutrients for healthy growth,
  • to ensure the plant’s continued health and well-being.

In this article, we will guide you through the process of repotting new rose plant, ensuring that it thrives in its new pot.

When to repot a rose plant?

rose plant in pot

The best time to repot your new rose plant to a bigger pot is in early autumn during October month. If you received a potted rose as a gift or you bought one, and its roots are coming out of the pot or it feels unstable, it is time to repot it.

Steps to follow before repotting a rose plant

rose plant in clay pot

1. When you bring the plant home, don’t put it in direct sunlight for the first two days to prevent it from getting sunburned.

2. Make sure it is not kept in a dark place, look for a bright place to keep it.

3. After two days, if the plant looks healthy, you can place it in the sun and water it when the top soil dries.

4. If the plant still looks good after five days, it’s ready for a new pot.

5. Only transplant your rose plant in the evening.

6. Roses don’t like clayey soil, so use the right soil mixture.

What is needed for repotting?

1. New pot: Select a pot that is at least 2-3 inches larger in diameter than the current pot. Ensure it has drainage holes at the bottom.

2. Fresh soil mixture: Use good soil mixture which is prepared for roses or other flowering plants.

3. Gloves: Rose plants have thorns, so protect your hands with gloves.

4. Watering can: To water the plant once it is in its new pot.

5. Pruner: To trim roots and prune the leaves of the plant if needed. 

Steps to repot rose plant:

1. Remove the plastic: If the plant is in plastic bag, first, remove the plastic covering and soil from the roots.

or

1. Remove the rose plant from its current pot: If the plant is in old pot, gently tap the pot to loosen the root ball. 

2. Immerse the roots of the rose in water: After removing, immerse the roots of the rose in water, so that the remaining soil also gets removed in the water.

3. Trim if needed: Check the roots for any damaged parts and trim them if needed to help the roots grow well.

4. Fill new pot with soil: Always use clay pot. Fill the new pot with the right soil mixture, after covering the bottom hole with any newspaper.

soil mix

5. Place the rose in the new pot: Put the plant in the new pot and press the soil gently so it stays in place. Add more soil, pressing it down gently to remove air gaps.

6. Water thoroughly: Water it well but in installments, until you see water draining from the bottom hole. 

watering to rose plant

7. Keep rose plant in a shade: Now, keep the plant in the shade for two more days.

Read here:

How to prepare Soil Mix for Rose plant

Conclusion:

Repotting your rose plant is important to help it stay healthy and beautiful. With the right tools and a little care, you can give your rose the space it needs to grow and thrive. Doing this regularly, along with proper care, will reward you with a beautiful, fragrant rose that will brighten your garden for years to come.

Plant it! Love It !

Happy gardening !

Is Epsom Salt Good for Indoor Plants?

Benefits of Epsom Salt for Indoor plants

Many of us might already be acquainted with the practice of soaking in an Epsom salt bath to relieve sore muscles. Surprisingly, this can also benefit your indoor plants!

Epsom salt, chemically known as magnesium sulfate, is a versatile compound with numerous benefits for indoor plants. It has long been used by gardeners and plant enthusiasts as a natural remedy to enhance plant growth and overall health.

What is Epsom Salt?

Epsom salt

Epsom salt is a crystalline substance comprised of magnesium, sulfur, and oxygen. It derives its name from the town of Epsom in Surrey, England, where it was first discovered in natural springs. Its molecular structure enables it to easily dissolve in water, making it readily available for plant uptake.

Composition of Epsom Salt

Magnesium and sulfur are essential nutrients for plant growth.

  • Magnesium plays a crucial role in chlorophyll production,photosynthesis, and the activation of enzymes involved in plant metabolism.
  • Sulfur is a component of amino acids and vitamins essential for plant development.

How Does Epsom Salt Benefit Indoor Plants?

1. Nutrient Absorption Enhancement:

  • Epsom salt helps improve the uptake of essential nutrients such as nitrogen, phosphorus, and potassium, promoting vigorous growth and lush foliage.

2. Boost their growth 

  • Epsom salt can promote lush foliage and vibrant green color in indoor foliage plants like ferns and philodendrons, ZZ plant, Aglaonema, Syngonium, Areca Palm, Spider plant, Pothos (Money plant), etc. 

How to Apply Epsom Salt to Indoor Plants

There are two methods to provide Epsom Salt to your plants:

1. First Method:

  • Dissolve 1 tablespoon of Epsom Salt in 1 liter of water. Then, spray this solution on the plant leaves. Through this method, Epsom Salt will enter the plant via the leaf pores.

2. Second Method:

  • Loosen the soil around the plant and dig a little. Place Epsom Salt into the soil. For larger pots, use 1 tablespoon, and for smaller pots, use ½ tablespoon of Epsom Salt. Cover it with soil and mix thoroughly. Then, water the plant.

Note

  • After this procedure, wait for 8-10 days as it works slowly and gradually. It is not a magical solution that yields instant results.
  • So, after applying Epsom Salt for the first time, repeat the same process after 8-10 days.
  • You will notice visible changes in your plant’s growth.

Precautions and Considerations

1. Dosage:

  • Excess use of Epsom Salt, like with anything, can be harmful. Epsom Salt is not a fertilizer, so it should not be used repeatedly on plants.
  • As excessive application can lead to magnesium toxicity.

2. Frequency of Application:

  • Apply Epsom salt to indoor plants every 6-8 weeks during the growing season.

3. Signs of Overuse:

  • Monitor plants for signs of yellowing leaves or stunted growth, which may indicate overuse of Epsom salt.

Conclusion

In conclusion, Epsom salt offers numerous benefits for indoor plants, ranging from improved nutrient absorption to pest deterrence. When used judiciously and in conjunction with proper plant care practices, it can contribute to the health and vitality of indoor greenery.

Thanks
Make Your Own Garden!

How to Grow Night Jasmine (Parijat) from Cuttings & Seeds

How to Grow Night Jasmine (Parijat) from Cutting

Introduction

Night Jasmine or Night blooming Jasmine or Coral Jasmine, also known as Harshringar or Parijat is a large tree that typically grows easily when planted in the ground. However, it can also be successfully grown in pots or containers with proper care and maintenance.

The scientific name of Night blooming Jasmine is “Nyctanthes arbor-tristis”.

  • “Arbor-tristis” means “sad tree” in English. It is called a sad tree because the flowers bloom at night and fall before the first rays of the morning sun shine.
night blooming jasmine

In this article, we will explore three methods of propagating Night Jasmine, ensuring that you can enjoy its blooms in your garden.

Note:

  • The optimal time for propagating the Night Jasmine plant is during the month of February, which falls within the spring season.

Propagation of Night Jasmine (Harshringar) Plant

night jasmine plant in big  pot

1. Propagation from Cuttings:

Night Jasmine can be easily propagated from cuttings. Follow below steps for successful propagation of Night Jasmine from cuttings.

(i) Select healthy plant:

  • Begin by selecting healthy stems from a mature plant.

(ii) Choosing the right cuttings:

  • These stems should be approximately six inches long and free from any signs of disease or damage.

(iii) Preparation

  • Once you have chosen your cuttings, remove any leaves from the lower half of the stem. This will prevent excess moisture loss and encourage root development.
  • Dip the cut end of the stem in rooting hormone to promote faster root growth.

(iv) Plant in well-drained Soil mix

soil mixture
  • Plant the prepared cuttings in a well-draining potting mix, ensuring that at least two nodes are buried beneath the soil.

(v) Watering:

  • Water the cuttings thoroughly and place them in a warm, bright location away from direct sunlight.

(vi) Care and maintenance:

  • To ensure successful propagation, keep the soil consistently moist but not waterlogged.
  • Monitor the cuttings for signs of root development, which typically occurs within four to six weeks.
  • Once roots have formed, transplant the cuttings into individual pots filled with a suitable potting mix.

Must read:

Night Jasmine (Harshringar) Plant Complete Care…

2. Propagation from Seeds:

Growing the Night Jasmine plant from seeds is another viable option. Follow below steps for successful propagation of Night Jasmine from seeds.

February is considered the best time for seed germination.

seed pots in night jasmine plant

(i) Seed selection and preparation:

  • Another method of propagating Night Jasmine is from seeds.
  • Begin by harvesting mature seeds from the plant.
  • Allow the seeds to air dry for a few days before storing them in a cool, dry location.

(ii) Germination process

  • Sow the seeds in a seed tray filled with a well-draining potting mix.
  • Lightly cover the seeds with coco peat for faster result and water them gently.
  • Place the tray in a warm location with indirect sunlight.

(iii) Transplanting Seedlings:

true leaves
  • Once the seedlings have developed several sets of true leaves, they can be transplanted into individual pots.
  • Ensure that each seedling has enough space to grow and continue to provide them with adequate water and sunlight.

Must read:

Night Jasmine (Parijat) Plant Care: Problems & Solutions…

3. Purchase from Nursery

night jasmine in pot

Alternatively, Night Jasmine plants are available for purchase at nurseries.

The ideal time to acquire them from nurseries is from the end of March to April.

(i) Timing and Selection

  • For those who prefer a more convenient option, Night Jasmine (Parijat) plants are readily available for purchase at nurseries.

  • Visit your local nursery from the end of March to April, when they are likely to have a fresh supply of plants.

(ii) Inspection and Care

  • When selecting a plant from the nursery, choose specimens with healthy foliage and no signs of pest infestation or disease.
  • Upon bringing the plant home, transplant it into a larger pot filled with quality potting mix.
  • Provide the plant with regular watering and fertilization to support healthy growth.

Conclusion

Propagation of Night Jasmine offers enthusiasts the opportunity to expand their collection and enjoy the beauty of this exquisite plant. Whether you choose to propagate from cuttings, seeds, or opt for a nursery purchase, following these guidelines will ensure success in growing your own Night Jasmine plant.

Thanks

Make Your Own Garden!

FAQs on How to Water Rose Plants

Roses are beautiful flowers that need just the right care to grow strong and healthy. In this post, we will cover some frequently asked questions (FAQ) about how to watering rose plants along with their answers.

How to Water Rose Plants

FAQs (Frequently Asked Questions)

Q.1 How often should I water my rose plant?

watering to rose plant

Ans: Watering frequency depends on factors such as weather conditions and soil type. Generally, roses benefit from deep, infrequent watering rather than shallow, frequent watering.

  • Aim to water deeply ensuring the soil is moist but not waterlogged. 

Q.2 Can rose plant survive in dry soil?

Ans: No. While roses are resilient plants, prolonged drought conditions can stress them and affect their growth and flowering. Adequate watering is crucial, especially during hot and dry periods.

Q.3 What are the benefits of moist soil for rose plant?

Ans: Moist soil promotes nutrient uptake, supports root development, and helps regulate temperature, contributing to healthier plants with vibrant blooms.

Must read:

Does Rose really Love Moist Soil?

Q.4 How do I know if my rose plant are getting enough water?

Ans: Signs of insufficient water include wilting leaves, drooping stems, and dry, crumbly soil.

  • Regularly monitoring soil moisture levels and observing plant behavior can help gauge watering needs accurately.

Q.5 Is it good to overwater rose plant?
Ans: No, overwatering can pose a risk to rose plants, leading to root rot and other moisture-related issues.

  • It is essential to strike a balance and avoid saturating the soil excessively. Allow the top few inches of soil to dry out between watering sessions to prevent waterlogging.

Must read:

Rose Plant Care: Complete guide…

Q:6. Can I use a sprinkler system to water my rose plant?
Ans: Yes, while sprinkler systems can provide convenience, they may not always deliver water precisely where it’s needed.

  • For optimal results, consider hand-watering or using drip irrigation to ensure thorough coverage while minimizing water wastage.

Q:7. Should I water my rose plant in the morning or evening?
Ans: Both morning and evening are suitable times for watering roses, but morning watering is generally recommended.

  • Watering in the morning allows foliage to dry quickly, reducing the risk of fungal diseases. However, if morning watering is not feasible, evening watering is also acceptable, provided foliage has ample time to dry before nightfall.

Q:8 How can I know if my rose plant needs water?
Ans: You can easily gauge the moisture level of your rose plant’s soil with a simple test.

  • Begin by gently inserting your finger into the soil near the base of the plant. If the soil feels dry to the touch, it is a clear indication that your rose plant is in need of watering.

Note:

  • Remember to check the soil regularly, especially during warmer months or in dry climates, to ensure your rose plant receives the hydration it requires to thrive.

Q: 9 Is it beneficial to use hot water when watering rose plants?
Ans: It is best to use normal temperature water when watering rose plants.

  • During hot weather, the water in tanks or containers may become warm due to the rise in temperature. Avoid giving warm or hot water to your plants, as this can potentially stress them.
  • Opting for water at room temperature ensures that your rose plants receive hydration without any adverse effects.

Q: 10 Should I avoid using chilled water for my rose plants during the winter season?
Ans: Yes, it is advisable to refrain from using chilled water when watering your rose plants, especially during the winter season.

  • Just as warm water can stress plants during hot weather, cold water can have a similar effect during colder months.

Important note:

  • Using water at room temperature ensures that your rose plants aren’t subjected to temperature extremes that could potentially shock their roots or inhibit proper hydration. 

Q:10 Can I water my rose plants multiple times a day during summer?
Ans: During the summer months, it may be tempting to water your rose plants frequently to combat the heat. However, it is essential to exercise caution to prevent issues such as root rotting.

  • While it is acceptable to water your rose plants twice or even thrice a day in hot weather, be mindful not to overdo it.
  • Ensure that the frequency of watering does not lead to waterlogged soil or excessive moisture around the roots, as this can harm the plant.
  • Strike a balance by monitoring soil moisture levels and adjusting your watering schedule accordingly to maintain optimal plant health.

Thanks

Happy Gardening!

Does Rose really Love Moist Soil?

Does Rose really Love Moist Soil?


One question that always arises in the minds of most gardeners is: Do roses really like moist soil? This article is here to help you understand everything about taking care of your roses, including how much water they need and when to give it to them.

The answer is Yes. Rose love moist soil.

Moist soil, in particular, plays a crucial role in facilitating the absorption of water and nutrients vital for the rose’s development.

Rose prefer well drained soil

The importance of Soil

Soil serves as the foundation for plant growth, providing essential nutrients, stability, and moisture.

Roses prefer soil that drains well, meaning water can move through it easily. If the soil is soggy or waterlogged, it can cause problems like root rot, fungus, or pest attack, which is not good for any plants, including rose as well. Hence, it is important to plant your roses in a well-drained soil in which water won’t get stuck too much.

Important to note:

  • It is important to note that roses don’t enjoy being in soil that is super-dry.

Must read:

How to Prepare Soil Mixture for Rose Plant?

Regularly check Rose plant


You should check your roses regularly to make sure they are getting just enough water.

  • When you first plant them, they need more water than when they have been growing for a while. In hot weather, they might need even more water.

Regular monitoring of soil moisture levels and adjusting watering practices accordingly can help maintain an ideal environment for growth.

Must read:

Rose plant care: Fertilizer

Challenges of overwatering


However, like any plant, roses can suffer adverse effects from excessive moisture.

Overwatering, in particular, poses a significant risk, leading to root rot, fungal diseases, and diminished overall health.

Rose care tips


deadheading of rose flowers

Beyond soil moisture management, routine care practices such as pruning and fertilization play integral roles in nurturing healthy roses.

  • Pruning encourages new growth and enhances airflow, while fertilization supplies essential nutrients for robust development.

Conclusion


In conclusion, while roses undeniably thrive in moist soil, achieving the perfect balance of moisture is key to unlocking their full potential. By understanding and addressing their specific needs, gardeners can cultivate flourishing rose gardens brimming with beauty and vitality.


Follow our Social media channel:

1. Voice of Plant – YouTube Channel

2. Voice of Plant Facebook Page

3. Instagram Voice of Plant Channel

Happy Gardening!

तुलसी का पौधा कैसे उगाएं और उसकी देखभाल कैसे करें

तुलसी, जिसे पवित्र तुलसी, वृंदा, वैष्णवी आदि नामों से भी जाना जाता है, कई क्षेत्रों में एक लोकप्रिय बारहमासी पौधा है। सावधानीपूर्वक ध्यान देने के बावजूद, यह कभी-कभी सूख सकता है, खासकर सर्दियों में।

हमें अपने पौधों को स्वस्थ रखने के लिए कुछ कदम उठाने की जरूरत है। आइए एक-एक करके प्रत्येक बिंदु पर चर्चा करें।

तुलसी का पौधा कैसे उगाएं और उसकी देखभाल कैसे करें

तुलसी के पौधे की देखभाल कैसे करें, इसके बारे में यहां कुछ सुझाव दिए गए हैं:

1. तुलसी के पौधे का स्थान या तुलसी के पौधे के लिए तापमान

तुलसी के पौधे पूर्ण सूर्य के प्रकाश में पनपते हैं। अपने बगीचे या बालकनी में ऐसी जगह चुनें जहां पौधे को रोजाना कम से कम 6-8 घंटे धूप मिल सके।

महत्वपूर्ण बिंदु:

(i) सर्दी के मौसम में जब तापमान 15℃-16℃ तक गिर जाता है, तो तुलसी की पत्तियां सूखने लगती हैं।

(ii) इसके विपरीत, गर्मियों में जब तापमान काफी बढ़ जाता है, तो पत्तियाँ जल सकती हैं, काली पड़ सकती हैं और आकार में सिकुड़ सकती हैं।

(iii) दोनों ही मामलों में, तुलसी के पौधे को कुछ छाया प्रदान करने की सलाह दी जाती है। पौधे को छायादार क्षेत्र में रखने से अत्यधिक तापमान के प्रभाव को कम करने में मदद मिल सकती है, चाहे वह बहुत अधिक या बहुत कम हो।

2. तुलसी के पौधे के लिए मिट्टी

  • तुलसी को कार्बनिक पदार्थों से भरपूर अच्छी जल निकासी वाली मिट्टी पसंद है। बगीचे की मिट्टी और खाद का मिश्रण अच्छा काम करता है। सुनिश्चित करें कि मिट्टी बहुत अधिक सघन न हो।

3. तुलसी के पौधे के लिए गमले का आकार

अपने तुलसी के पौधे की स्वस्थ वृद्धि सुनिश्चित करने के लिए, कम से कम 12 इंच व्यास वाले गमले का उपयोग करें।

  • बड़े बर्तन जड़ों को स्वतंत्र रूप से फैलने देते हैं, उन्हें उलझने से रोकते हैं और कुशल जल अवशोषण सुनिश्चित करते हैं। यह पौधों के समग्र स्वास्थ्य और दीर्घायु को बढ़ावा देता है।

4. तुलसी के पौधे को पानी देने के टिप्स

तुलसी के पौधे को पानी देने से पहले विचार करने योग्य मुख्य बातें यहां दी गई हैं:

1. तुलसी एक उष्णकटिबंधीय (tropical) पौधा है और इसे अत्यधिक पानी की आवश्यकता नहीं होती है। मिट्टी नम होनी चाहिए, कीचड़युक्त नहीं। पानी तभी दें जब मिट्टी पूरी तरह सूख जाए।

2. सतह को छूकर मिट्टी की नमी के स्तर की जाँच करें। यदि ऊपरी परत गीली है, तो भीतरी मिट्टी पर्याप्त रूप से नम होने की संभावना है, इसलिए पानी देने से बचें।

3. पानी देने से पहले, पूरी तरह से अवशोषण सुनिश्चित करने और वातन को बढ़ावा देने के लिए मिट्टी को 2-3 इंच तक ढीला कर दें।

4. पानी के वाष्पीकरण से बचने और मिट्टी को बहुत अधिक गर्म होने से बचाने के लिए पौधे को सुबह या शाम को पानी दें, जो संभावित रूप से पौधे की पत्तियों को नुकसान पहुंचा सकता है और उसके नष्ट होने का कारण बन सकता है। दोपहर के समय जब धूप तेज़ हो तो पानी देने से बचें।

5. तुलसी के पौधे की छँटाई युक्तियाँ (Pruning)

पौधों के स्वास्थ्य और दीर्घायु को बनाए रखने के लिए छंटाई आवश्यक है। इसमें पौधे के ऊंचे या मृत हिस्सों को काटना या हटाना शामिल है।

नियमित छंटाई, विशेष रूप से बढ़ते मौसम के दौरान, स्वस्थ विकास को बढ़ावा देने के लिए महत्वपूर्ण है।

फूलों वाले पौधों के लिए, लगातार खिलने को प्रोत्साहित करने के लिए मुरझाए फूलों (डेडहेडिंग) को हटाने के लिए नियमित रूप से छंटाई की जा सकती है।

महत्वपूर्ण लेख:

  • फूलों को बीज बनने से पहले हटाना महत्वपूर्ण है, क्योंकि यह पौधे की ऊर्जा को बीज उत्पादन के बजाय विकास की ओर पुनर्निर्देशित करता है।

6. तुलसी के पौधे के लिए खाद

तुलसी के पौधों को खाद देने के लिए, यदि उचित देखभाल और पानी दिया जाए, खासकर सर्दियों के दौरान, तो यह आम तौर पर अनावश्यक है।

  • हालाँकि, गर्मियों के दौरान, यदि उर्वरकों का उपयोग अन्य पौधों के लिए किया जाता है, तो आप महीने में एक बार “गाय-गोबर का तरल उर्वरक” या “वर्मीकम्पोस्ट” जैसे रसायन-मुक्त विकल्पों का उपयोग कर सकते हैं। कीड़ों की समस्या से बचने के लिए सुनिश्चित करें कि गाय का गोबर विघटित हो गया है।

7. तुलसी के पौधे के लिए कीटनाशक

जहाँ तक कीटनाशकों की बात है, तुलसी की प्राकृतिक प्रतिरोधक क्षमता के कारण उनकी आवश्यकता दुर्लभ है।

  • अधिक या कम पानी देने से रोग प्रतिरोधक क्षमता कमजोर होने के कारण कीट उत्पन्न हो सकते हैं। ऐसे मामलों में, नीम तेल स्प्रे जैसे रसायन-मुक्त विकल्प का चुनाव करें।

शुभ बागवानी!

How to Identify When Your Garden Soil Needs Improvement

Identifying Signs of Poor Garden Soil Health

Garden soil plays a crucial role in plant health and overall garden success. Recognizing signs that indicate your soil may need improvement is essential. Here’s a guide to help you identify when your garden soil requires attention:

Check 10 Signs of Poor Garden Soil Health

1. Water Drainage Issues:

  • Signs: Water pooling on the surface, slow absorption.
  • Reason: Poor drainage, possibly due to compacted soil.
  • Solution: Address soil compaction, enhance drainage with amendments.

2. Soil Compaction:

  • Signs: Hard, compacted soil.
  • Reason: Restricts root growth and water penetration.
  • Solution: Loosen soil through aeration, add organic matter.

3. Poor Plant Growth:

  • Signs: Stunted or slow growth.
  • Reason: Nutrient deficiencies or imbalances.
  • Solution: Test soil for nutrients, amend accordingly with fertilizers or organic matter.

4. Yellowing Leaves:

  • Signs: Yellow leaves, especially in younger growth.
  • Reason: Lack of essential nutrients, such as nitrogen.
  • Solution: Supplement nutrients through fertilization.

5. Wilting Plants:

  • Signs: Persistent wilting even with adequate watering.
  • Reason: Soil challenges affecting water absorption.
  • Solution: Improve soil structure, address drainage issues.

6. Soil Erosion:

  • Signs: Exposed roots, topsoil loss.
  • Reason: Poor soil structure.
  • Solution: Implement erosion control measures, improve soil structure.

7. Crop Quality Issues:

  • Signs: Consistently poor or low-quality crops.
  • Reason: Soil health impacting plant development.
  • Solution: Amend soil with appropriate nutrients and organic matter.

8. Pest and Disease Susceptibility:

  • Signs: Increased pest and disease presence.
  • Reason: Weak plants due to poor soil conditions.
  • Solution: Improve soil health to boost plant immunity.

9. Lack of Organic Matter:

  • Signs: Absence of organic material in soil.
  • Reason:  Reduced fertility.
  • Solution: Add compost to enhance organic content.

10. Foul Odors:

  • Signs: Unpleasant smells.
  • Reason: Anaerobic conditions, often linked to poor drainage.
  • Solution: Improve aeration, address drainage issues.

Regular soil testing and observation are key to understanding your garden’s soil needs. Implementing appropriate amendments based on these signs will contribute to a healthier and more productive garden.

Happy Gardening!

FAQs on Hybrid Vinca (Periwinkle) Plant

Hybrid Vinca, also called Periwinkle, is a pretty plant that many people like to have in their gardens. It has colorful flowers and shiny leaves, making it a popular choice for both experienced and new gardeners. In this article, we will answer common frequently asked questions (FAQs) about Hybrid Vinca plants.

Frequently asked questions (FAQs) about Hybrid Vinca plants:

Q.1. How do I care for Hybrid Vinca plants?
Ans: Hybrid Vinca plants thrive in well-drained soil and prefer full sun.

  • Water them regularly, but allow the soil to dry out between waterings.
  • Fertilize moderately and provide good air circulation to prevent from fungus.

Q.2. Are Hybrid Vinca plants suitable for containers?
Ans: Yes, many Hybrid Vinca varieties are well-suited for container gardening.

  • Choose a well-draining potting mix and ensure the containers have drainage holes to prevent waterlogging.

Q.3. Do Hybrid Vinca plants attract pests?
Ans: While Vinca plants are generally resistant to pests and diseases, it is essential to monitor for issues like aphids or spider mites.

  • Regular inspection and early intervention can help maintain the plant’s health.

Q.4. How do I propagate Hybrid Vinca plants?
Ans: Hybrid Vinca plants can be propagated through stem cuttings.

  • Take 4-6 inch cuttings from healthy plants, remove lower leaves, and plant them in a well-draining rooting medium. Keep the medium consistently moist until roots develop.

Q.5. When is the optimal time to plant Hybrid Vinca?
Ans: The best time to plant Hybrid Vinca is typically in the spring after the last frost. In warmer climates, it can also be planted in late winter.

  • Planting during these times provides the plant with a favorable environment to establish itself and promotes healthy growth.

Q.6. Is Hybrid Vinca susceptible to fungal issues?

Ans: Hybrid Vinca plants are generally known for their resilience and resistance to various diseases, including fungal infections. However, like any plant, they can be affected by fungus, especially in conditions of high humidity or if proper care is not maintained.

  • To prevent fungal problems, ensure good air circulation, avoid overwatering, and provide well-draining soil.
  • Regular monitoring and prompt action in case of signs of fungus will help keep your Hybrid Vinca healthy.

Q.7. Do Hybrid Vinca plants require pruning?


Ans: Pruning can help maintain a compact and bushy shape.

  • Pinch back the growing tips when the plant is young to encourage branching. Deadheading (removing spent flowers) can also prolong blooming.

Q.8. What should be the plant’s location when brought from the nursery?

Ans: When bringing the plant from the nursery in October-November, it is advisable to place it in direct sunlight.

Q.9. How should the plant be managed during the transition from winter to summer?

Ans: As the weather shifts from winter to summer, move the plant under a green net.

  • During intense summer heat, it may experience some stress.
  • In the rainy season, protect it from direct rainfall by placing it under a green sheet to prevent potential fungal attacks.
  • After rainfall, expose the plant to maximum sunlight.
  • This plant thrives in moderate weather, preferring conditions that are neither too sunny nor too cold.

Q.10. Does Hybrid Vinca need a strong fertilizer?

Ans: Hybrid Vinca does not require heavy feeding; it thrives well with adequate sunlight and in the absence of fungal attacks.

  • Any fertilizer, such as cow dung, mustard cake, peanuts, or others, applied once a month, is sufficient for its nutritional needs.

Always refer to specific care instructions provided with the particular Hybrid Vinca variety you have, as care requirements may vary.

Also read:

Complete Care of Hybrid Vinca Plant


Happy Gardening!

Complete Care of Hybrid Vinca Plant: 11 Tips

11 Tips to Care Hybrid Vinca Plant

Hybrid Vinca, also known as periwinkle, is a stunning plant that comes in various colors and is typically available during the winter season. However, due to its delicate nature, these plants often struggle to thrive once brought home from the nursery, despite diligent care and precautions.

Red Hybrid Vinca plant

If they manage to survive the initial days, sustaining their well-being beyond one or two weeks becomes a challenge. This unique plant requires distinctive care in various aspects, including the application of pesticides, fertilizers, the best soil, a suitable pot, pruning, meeting specific sunlight and water requirements, and finding the optimal location for its growth.

In this article, we aim to uncover 11 important tips to care for the thriving of hybrid vinca, demystifying the challenges associated with its cultivation.

1. Hybrid Vinca is Fungus Prone

Hybrid Vinca affected by Fungus

Well! Before understanding its care, let’s analyze its problems first, which it faces after being brought home from the nursery.

Within 4-5 days of acquiring the plant from the nursery, signs of deterioration become evident. In typical gardening fashion, individuals often resort to supplementing the plant with substances like Epsom salt, NPK, Neem oil, or other fertilizers to expedite its growth. However, it is crucial to note that when purchased from the nursery, the plant is already enriched with essential nutrients, as nurseries typically ensure proper fertilization before selling their plants. Furthermore, distinct symptoms manifest when the plant is nutrient-depleted, such as reduced leaf size, lack of flowering, and wilting, but the plant does not necessarily succumb entirely.

The primary challenge lies in the plant’s heightened susceptibility to fungus attack. Hybrid Vinca is very much prone to fungus attacks (usually not a local Vinca).

Fungal attacks can lead to the decay of the plant, presenting a significant hurdle in its overall health and well-being.

2. Repotting of Hybrid Vinca

This plant dislikes being repotted, so it is advisable to refrain from repotting for at least 6-7 months after bringing it home from the nursery.

  • Only consider repotting if it becomes absolutely necessary, such as when the roots start protruding, and the current pot is insufficient to accommodate the plant.

When repotting is unavoidable, follow a careful procedure:

  • Begin by removing the bottom polythene of the plant and then place it into the new pot.
  • Next, gently pull the side polybag upward, ensuring the roots remain undisturbed to prevent unnecessary stress on the plant.
  • There may be instances where the plant shows suboptimal growth, and repotting can be considered as a solution, but here keep repotting as the last option. Follow all other treatments first to revive the plant.

3. How to Grow Hybrid Vinca

1. Buy From Nursery:

Vinca at nursery

Hybrid Vinca is available at nurseries from October to November and January to February.

  • The most convenient method is to purchase a young plant directly from a nursery, typically priced between Rs 20-30.

2. Grow From Seeds:

Seedpods of Vinca plant

Seeds can be purchased online from various websites. However, growing from seeds is a somewhat tricky process.

    • Alternatively, seeds can be collected from mature seed pods produced when the flowers bloom.
    • Allow the pods to mature and naturally fall off; collect the black-colored seeds for growing new plants.

3. From Cuttings:

After pruning, remove leaves and flowers from the lower sections of the branches.

    • Submerge the pruned branch with its remaining leaves into water, ensuring that 2-3 nodes of the branch are submerged.
    • Plants grown from cuttings take at least 1-1.5 months to grow and will be of the hybrid category only.

By following these methods, you can successfully cultivate hybrid vinca while considering factors like seasonality, seed collection, and the preferred method of propagation.

4. Soil Mixture for Hybrid Vinca


Soil for this plant should be porous and soft to hold the delicate roots properly.

  1. Local Soil- Strain and thoroughly cleanse the soil, ensuring the removal of all debris, insects, and fungus. Expose the soil to sunlight to promote its rejuvenation.
  2. Compost – Take compost one –  third quantity of soil. Prefer vermicompost or cow dung compost here.
  3. Sand – Add the same quantity of sand as of compost.
  4. Fungicide – Add fungicide approximately one – third of a spoon in 5 kg of soil.

Mix all these ingredients and the resultant mixture is the perfect soil for Hybrid Vinca.

5. Preferred Pot Size for Hybrid Vinca


Regardless of the pot material, the size of the pot plays a crucial role. Whether it is made of cement, clay, plastic, or ceramic, the pot’s size should ideally be one size larger than the plant.

  • Avoid choosing a larger pot if the plant is small in size.
  • When water is provided to the plant, the roots will absorb the necessary moisture.
  • However, if the plant is smaller than the pot, excess soil can retain moisture, leading to fungal issues.
  • Matching the pot size to the plant ensures that water accumulation aligns with the root system’s requirements.
  • Soil in smaller pots dry out faster compared to those in larger pots.

6. Location of Plant:

When fetched from the nursery during October-November, keep this plant in direct sunlight.

  • When the weather changes from winters to summers, shift the plant under a green net.
  • During extreme summers, it may undergo some stress.
  • In the rainy season, keep it under a green sheet to protect against direct rainfall, which may invite fungal attacks. Store rainwater for the plant, but avoid exposing it to direct rainfall.
  • After rain, expose the plant to maximum sunlight.
  • This plant thrives in moderate weather, neither too sunny nor too cold.

7. Watering tips for Hybrid Vinca

Before watering, aerate the soil and allow it to dry thoroughly from the inside. The following day, provide water adequately.

  • When spraying any fungicide or water on leaves and flowers, ensure they do not retain water and completely dry out after spraying.
  • Opt for a morning temperature so that any stagnant water on the leaves and flowers dries promptly, preventing the risk of fungal attacks.

8. Pruning of Hybrid Vinca

Regular pruning is not recommended within the first year; a single instance of cutting the tips is sufficient to stimulate blooming.

  • Frequent pruning can increase the risk of fungal attacks.
  • If the plant appears leggy around February, perform standard pruning once.
  • For very bushy plants, opt for hard pruning in October or February, limiting it to once a year.
  • Maintain cleanliness by sanitizing your pruner before use.
  • Apply fungicide to both the pruner and the pruned parts of the plant. Alternatively, spray the fungicide on the plant after pruning, diluting ⅓ spoon of fungicide in 2 liters of water and apply it to both the leaves and the soil.
  • Remove dry and withered leaves from the lower side, as they may potentially attract fungal infections.

9. Fungicides Treatment:

Giving Fungicide in soil

If the plant shows signs of a fungal attack, trim away the affected parts and apply a fungicide solution to both the leaves and the soil.

  • Administer the same treatment to the plant once a month, even in the absence of issues, as a preventive measure against fungal attacks.

10. Fertilizers for Hybrid Vinca plant

This plant does not require heavy feeding; it thrives well with adequate sunlight and in the absence of fungal attacks.

  • Any fertilizer, such as cow dung, mustard cake, peanut, or others, applied once a month, is ample for its nutritional needs.
  • During peak flowering periods in October-November, February-March, and the rainy season, supplement regular fertilizer with additional banana peel fertilizer after 15 days of the initial application.
  • No other fertilizers are recommended or necessary for this plant.

11. Pesticide Treatment for Hybrid Vinca plant

Black Aphids on Vinca plant

Generally, this plant is not prone to pest attacks, but occasional infestations of small black aphids may occur.

  • If aphids are present, wash the plant thoroughly by spraying it with water to remove all insects and pests.
  • Prepare a solution comprising neem oil, soap, and garlic. Apply this solution by spraying it on the plant to deter further insect attacks.

Click here to read: How to Remove Aphids from the Plant

Hybrid Vinca is an exceptionally beautiful plant that can enhance the aesthetics of your garden. To ensure its well-being, decorate your garden with this plant and provide attentive care by adhering to the recommendations outlined above.

Happy Gardening!