


Air pollution have significant impacts on health, leading to various issues such as burning eyes and a sore throat. These health concerns are particularly prevalent among vulnerable populations, including senior citizens and individuals with pre-existing conditions like asthma.
The younger population also grapples with severe problems caused by air pollution. This is a major issue that needs attention because the health of every individual is a priority.

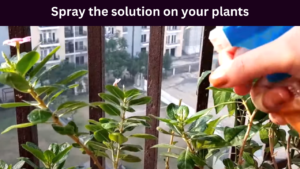
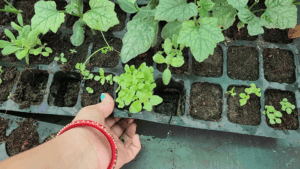
“Nature indeed provides solutions to many of our challenges, and indoor plants serve as natural air purifiers.”
While man-made air purifiers are widely used nowadays in various settings such as offices, schools, and homes.
“Did you know that there are plants that absorb toxic gases and chemicals, contributing to the purification of the surrounding air?”
Also, they can be conveniently placed in various locations, including inside the house, bedroom, kitchen, or study table.
Embarking on the exploration of indoor plants with air-purifying qualities, let’s delve into the study.
Top 10 Air Purifying Indoor Plants
- AGLAONEMA
- SYNGONIUM
- RUBBER PLANT
- GOLDEN POTHOS
- SPIDER PLANT
- PEACE LILY
- ALOE VERA
- ARECA PALM
- ZZ
- SNAKE PLANT
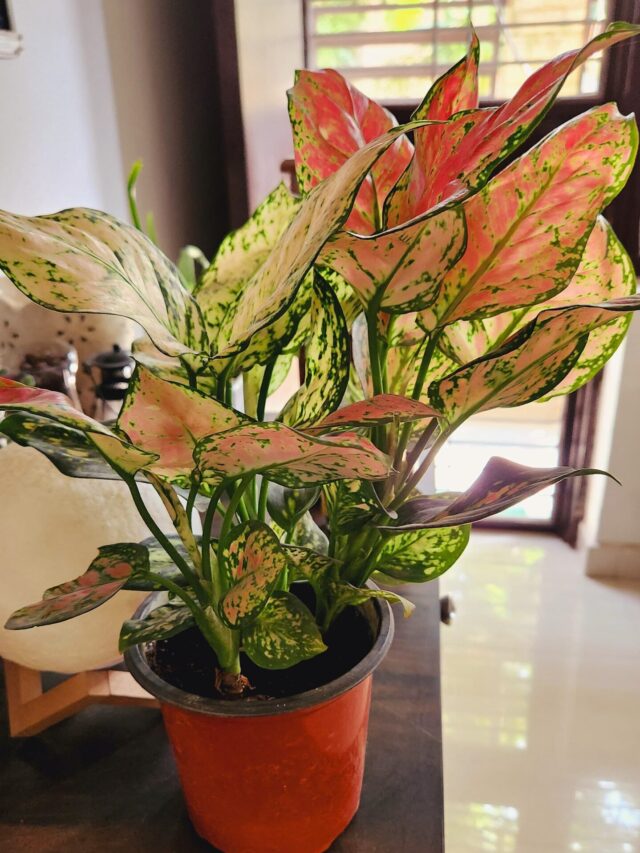
10. AGLAONEMA

AGLAONEMA, commonly known as Lipstick or Chinese Evergreen, is known for air-purifying plant not only cleanses the air but also adds a magical burst of colour to your home.

Colours:
- Available in various varieties and colours such as red, green, pink, pale silver green, etc.
Light requirement
- Indoors, position it in bright or medium sunlight; while it may not bloom indoors but it will still thrive well.
- When exposed to sunlight, it produces delightful white flowers.

- Ensure well-drained soil, preventing water from stagnating.
Pot size
- Ideal for small spaces, it fits perfectly in a 4-8 inch pot.
- Place it on a study table, above the fridge, near a window, or on centre tables.

Watering tips
- Water your aglaonema plant when the upper inch of soil becomes dry.
- The leaves will show signs of wilting when the plant is in need of water.
- Ensure thorough watering until water starts draining from the pot’s drainage holes, but be cautious to avoid overwatering.
This tender plant symbolizes peace, vibrancy, elegance, and love.
9. SYNGONIUM

Another popular and hassle-free air-purifying plant trending nowadays is the Syngonium.
Colours
- Available in various varieties such as green, white, yellow, black, and baby pink.

- This climber can be easily propagated by placing cuttings in water or regular pots and is suitable for hanging pots as well.

Light requirement
- This resilient plant thrives in bright, medium or low light conditions.
- In low light, it may become leggy, but it will endure and survive.
Watering tips
- Give water whenever it is needed.
- Do not overwater.
Syngonium wins all the races of coming first on its own without much care, it will grow on its own and will purify the air at a remarkable level.
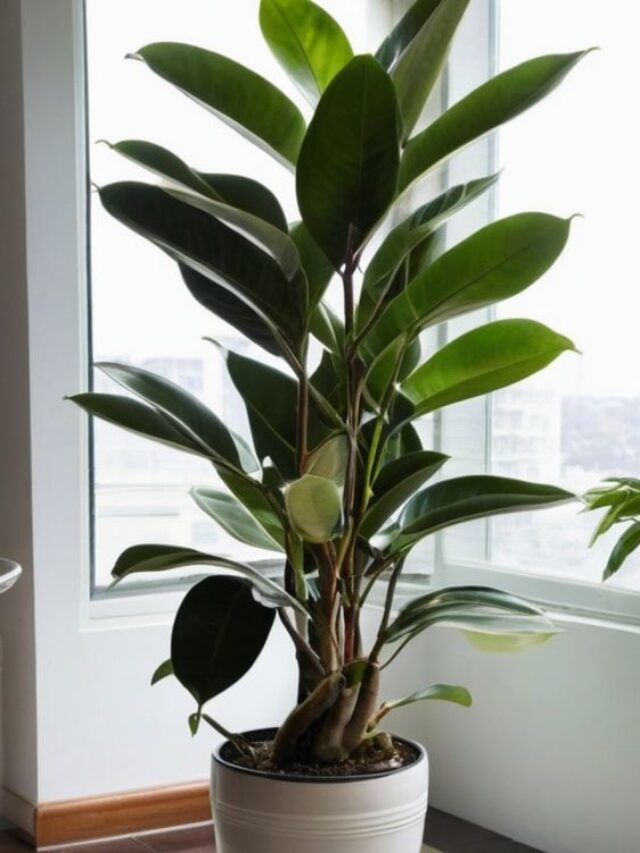
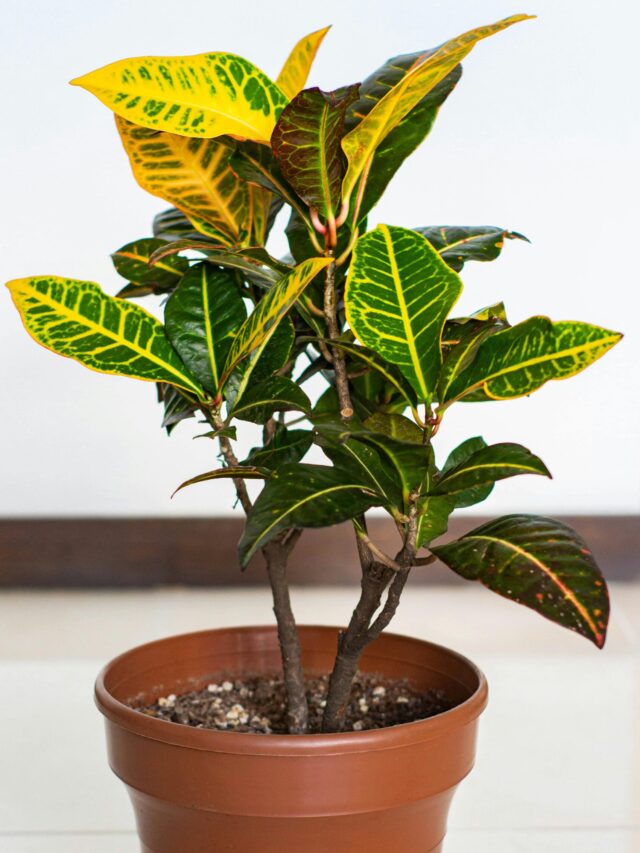
8. RUBBER PLANT

Rubber plant plays a significant role in air purification, effectively removing toxic gases and chemicals from its surroundings.
Colours:
- It is available in various colours and varieties such as light green, dark green, gray, pink, and variegated.

- It features a single stem with wide, unique, shiny, and smooth leaves continually emerging.
Pot size
- Given its characteristic to grow large, it’s advisable to choose an 8-10 inch pot.
- Suitable for placement beside sofas, fridges or in any corner.
Watering tips
- Water it when the soil has dried up.
Light requirement
- Although it is typically an outdoor plant, it adapts well to indoor settings with medium, indirect, or bright light.
- During winters, when pollution and dew levels rise, it’s recommended to keep this plant indoors.

With its shiny and polished leaves, this plant exudes a classy charm.
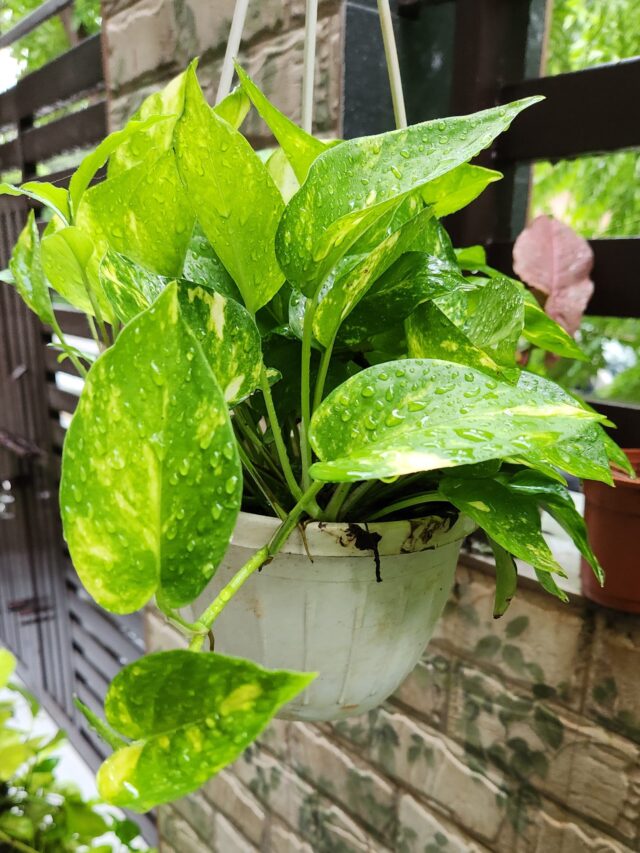
7. GOLDEN POTHOS (Money Plant)

It is a money plant variant which is light in colour, reflecting shades of golden or light green. Its leaves are comparatively smaller in size but grows at a high pace in comparison to other plants like areca palm or ZZ plant.
- Money plant (Pothos) is an excellent air purifying plant which can be kept inside the bedroom also.
“The money plant also secures the top position among the top 10 air-purifying indoor plants.”
Pot size:
- There is no need to keep it in a very big pot.
- Small and medium size pot is sufficient for it, when it becomes dense, trim it but do not change the pot.
Light requirement
- Bright or medium light conditions suit it well.
Watering tips
- It will thrive well in less water but if over watering then leaves will start turning yellow and the plant will deteriorate so water it when the soil is completely dry.
Read complete article on:
Money Plant Care Tips
6. SPIDER PLANT

This distinctive plant earns its name, “Spider,” due to its unique spider-like spread. However, it has no connection to inviting actual spiders into your home.
- Ranked among the best indoor plants, it’s perfect for bedrooms, contributing to air purification and a fresh atmosphere.
Colours:
- Spider plants are available in various colors, including green and variegated varieties with white or cream stripes on the leaves
Pot size:
- A small to medium-sized pot suffices, larger pots are unnecessary.
- Versatile in placement, it can adorn the top of the fridge, dining table, office desk or centre table.
Light requirement
- Thriving in both bright and medium light, it adapts well to various lighting conditions.
Watering tips
-
- Spider plants prefer moderate watering.
- Allow the top inch of the soil to dry before watering again.
- Keep an eye on the leaves. If they start to droop, it’s a sign that the plant needs water.
This petite plant spreads positive vibes with its extended wings.
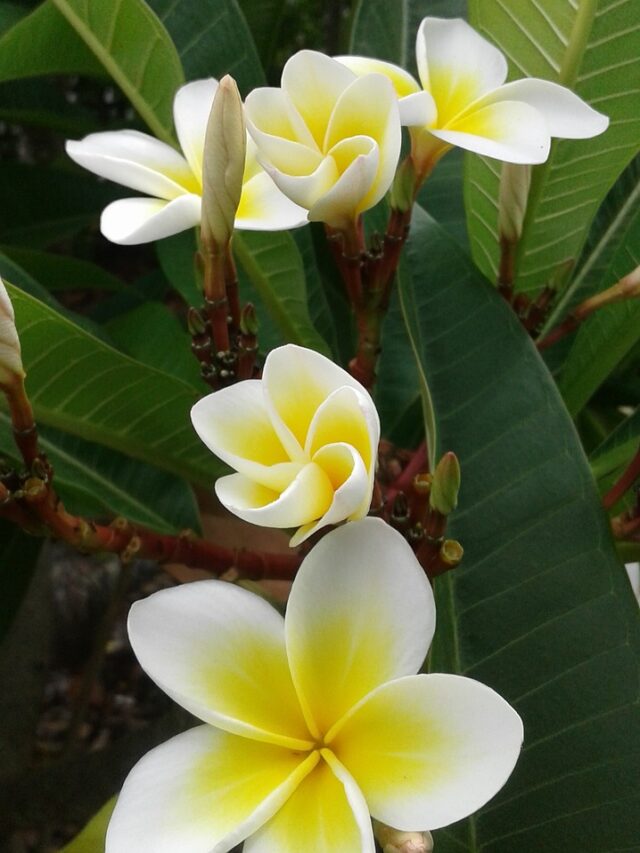
5. PEACE LILY

Meet the Peace Lily, a renowned air-purifying flowering indoor plant that excels at absorbing various toxic gases and harmful chemicals in its surroundings.
Light requirement
- It blossoms beautifully when placed outside in direct sunlight, but it tends to forgo flowering when kept in bright or medium light, although it still thrives.

Pot size:
- Possessing small stems and large leaves, this plant is suitable for small to medium-sized pots. However, if planted in the ground, it can grow into a sizable plant with increased height.
Watering tips
- Water only when the soil is completely dry.
- To check, insert a stick into the soil; if it comes out dry, it’s time to water.
- It is crucial to avoid both overwatering plus underwatering, as the plant can weaken and show signs of distress, such as bending leaves due to lack of water.

The Peace Lily may be a bit demanding, but with proper attention, it adds a touch of elegance to any indoor space.
4. ALOE VERA
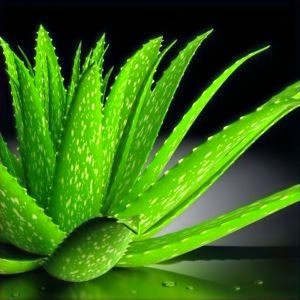
Introducing the Aloe Vera, a highly acclaimed succulent and xerophytic plant renowned for its air-purifying abilities and unique feature of releasing oxygen during the night.
- This hardy outdoor plant seamlessly adapts to various environments, including bedrooms, making it a versatile choice.
- During periods of increased pollution, it can even be brought indoors to contribute to air purification.

Medicinal benefits
- Aloe Vera, not just a pretty face, is also a medicinal powerhouse. The gel derived from its leaves provides instant relief when applied to burnt areas.
Light requirement
- This resilient plant thrives in bright, direct, medium, or low light—just steer clear of dark areas.
Watering tips
- Aloe Vera’s water requirements are minimal; if kept indoors, watering once or twice a month will suffice.
Read article on:
1. Aloe Vera Plant Care
2. Aloe Vera Care: Pest Attack and Black Spot
Known for its durability and cost-effectiveness, Aloe Vera stands as a low-maintenance plant with a multitude of benefits, making it a valuable addition to any space.
3. ARECA PALM

- Meet the Areca Palm, a widely acclaimed and stunning indoor plant celebrated for its air-purifying qualities.
- Its aesthetic allure makes it an irresistible addition to any home, enhancing the decor with its impressive size that effortlessly fits into any corner.
“Areca Palm also claims the top position among the top 10 air-purifying indoor plants.”
Light requirement
- To ensure optimal growth, place the Areca Palm in bright light, avoiding direct sunlight.
Watering tips
- Watering is a breeze—simply moisten the soil when the top layer is dry.

Pot size:
-
- This plant craves ventilation, so strategically position it near windows or doors to allow a constant influx of fresh air.
Read article on:
Areca Palm Care Tips
While the Areca Palm may seem straightforward but it does require some specific care and attention to thrive. Embrace the opportunity to care for this elegant green companion in your home.
Also, read
Areca Palm: Fertilizer & Pruning
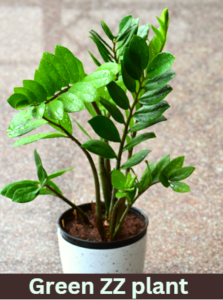
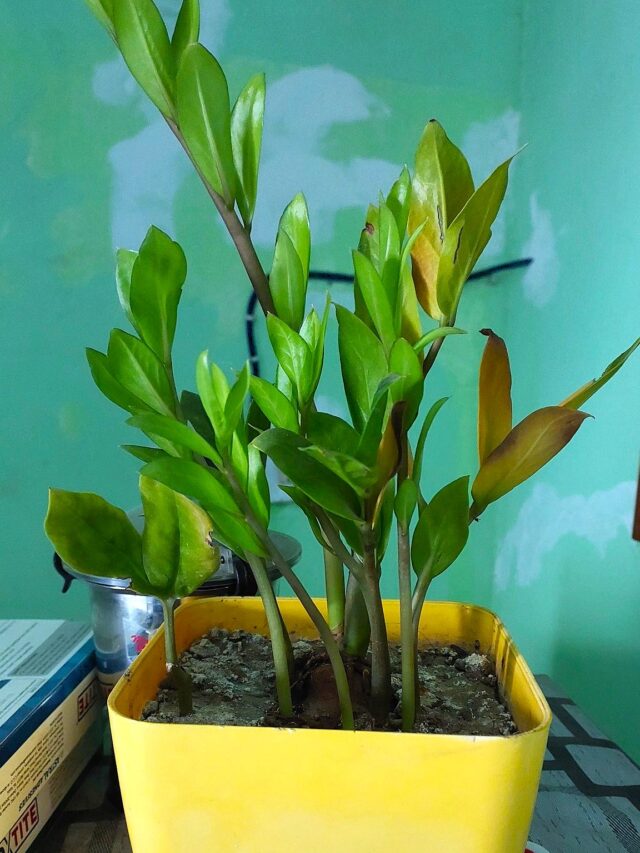
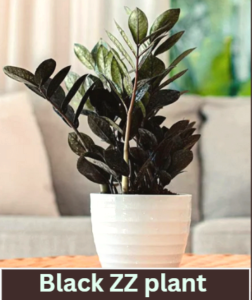
2. ZZ (ZAMIOCULCAS ZAMIIFOLIA) PLANT

Meet the ZZ Plant, a delightful and embracing green companion that not only boosts oxygen supply but also cleanses the air by removing toxic elements. With its shiny and glossy leaves, this plant effortlessly brings a touch of greenery to any space.
- The ZZ Plant comes in two varieties: green and black, offering options to suit different preferences.
Light requirement
- It thrives in bright or medium light, contributing to its overall resilience.
Watering tips
- When it comes to watering, less is more—give it a good soak, then let it be.
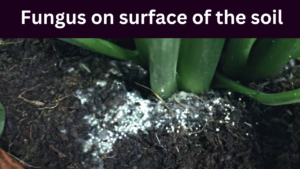
- Excessive watering can lead to the rotting of its bulbs which are potato- like structures.
- If it begins to rot, it can result in the deterioration of the entire plant.
Pot size:
- This hardy plant doesn’t appreciate unnecessary pot shifting.
- A standard guideline is to use a pot that is 1-2 inches larger in diameter than the current one.
Read article on:
ZZ Plant Care Tips
The ZZ Plant is a testament to resilience, master the art of watering and it will flourish in all conditions, becoming a constant source of green vibrancy in your surroundings.
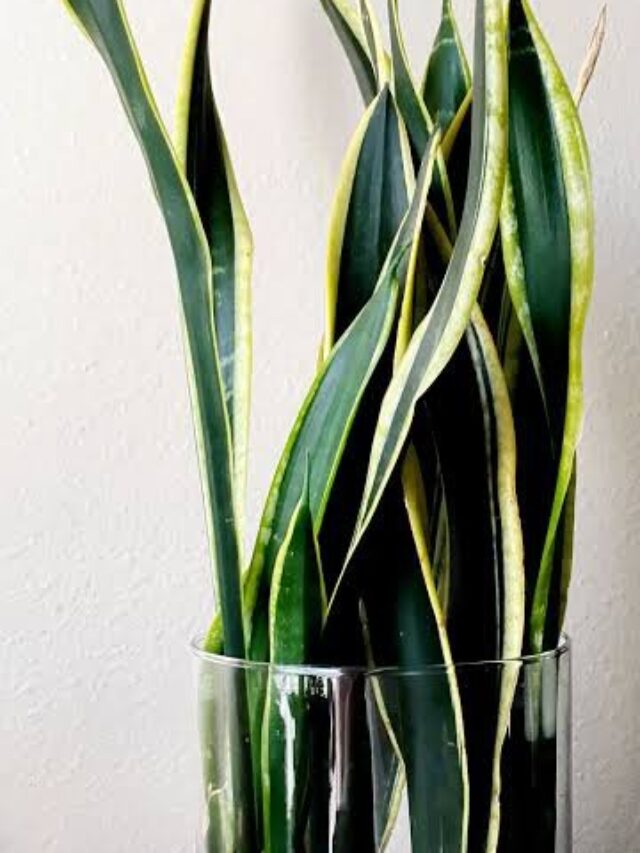
1. SNAKE PLANT

Also known as Sansevieria or the mother-in-law plant, the Snake Plant earns its name from its distinctive structure.
- The snake plant takes the top spot among the top 10 air-purifying indoor plants.
Colours:
- Snake plants are commonly available in various shades of green.
- While the traditional variety exhibits dark green leaves with yellow borders, there are cultivars with different patterns and shades, such as lighter greens or variations in leaf margins.

Pot size:
- Snake Plants flourish in small pots, as their roots spread well in small pots, producing frequent pups and creating a dense appearance.
- When the need for shifting arises, opt for a slightly larger pot only.
Light requirement:
- These resilient plants can thrive in bright, medium, or low light, but for optimal results, place them in a bright area.
Watering tips
- Exercise patience with watering—when you feel it’s time, wait an additional 2 days before providing water.

- Excessive watering can lead to plant rot.
- As succulents, establish a watering interval, ideally once every 10 days.
Read article on:
Snake Plant Complete Care Guide
The Snake Plant stands as a robust survivor, radiating positive vibes in any condition, making it a resilient and charming addition to your space.

These top 10 air purifying indoor plants excel at air purification and can be placed throughout your home, creating a pollution-free environment. Plant them, nurture them, and they will take care of you in return.
Also, read:
All about Indoor Plants
Happy Gardening!