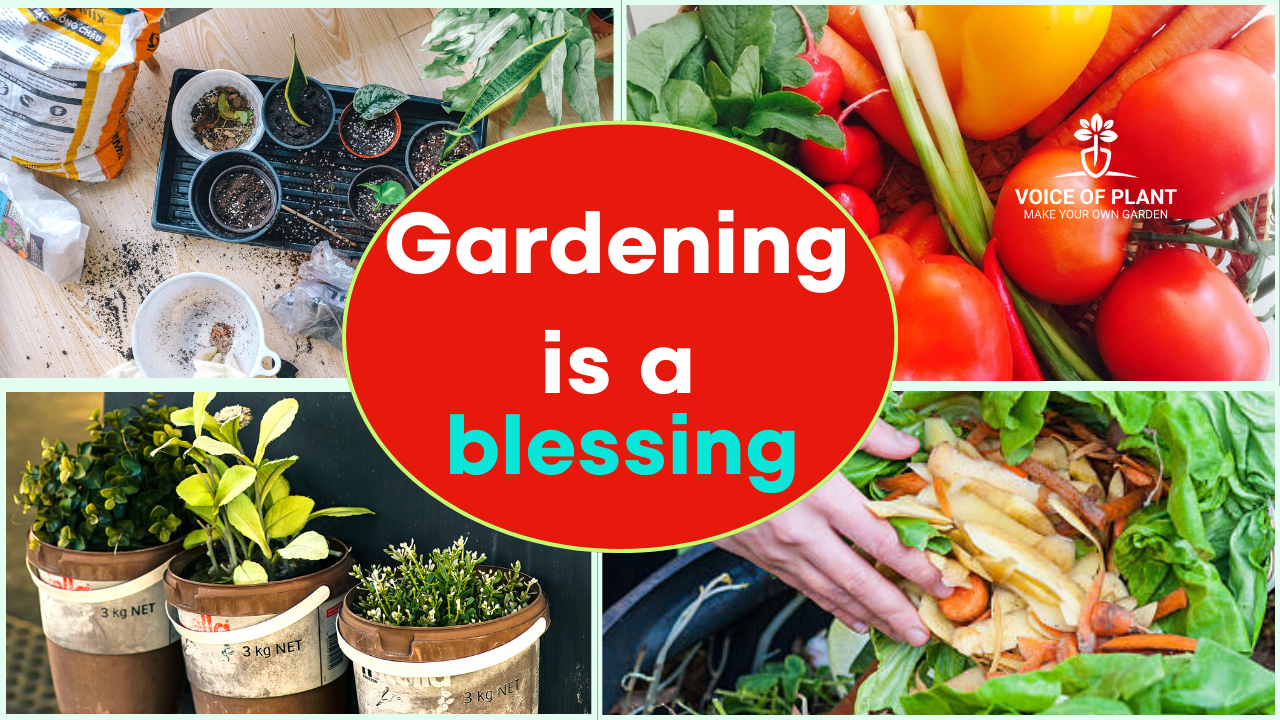


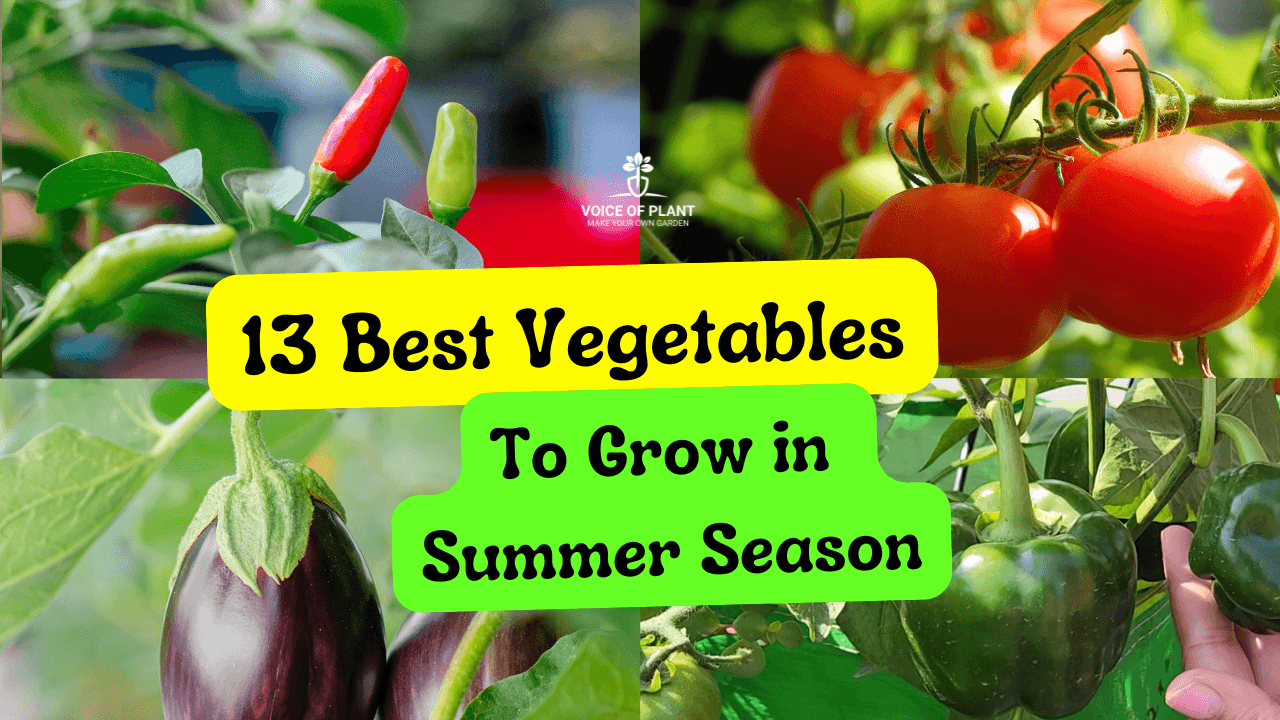
Best Vegetables to Grow in Summer Season
in Your Kitchen Garden
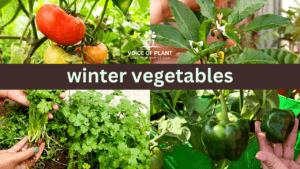
Spring season is an ideal season for cultivating vegetables in your kitchen garden. Many vegetable plants thrive under full sunlight, enjoying longer days and warmer temperatures, making them well-suited for the intense Indian summer.
One of the advantages of growing vegetables in spring season is that several of them can continue flourishing into the monsoon season. Depending on your preferences and the time you can dedicate to gardening, here’s a list of some excellent summer vegetables you can grow!
1. Tomato
2. Brinjal
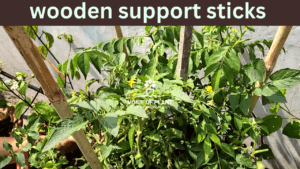
3. Chili
4. Pumpkin (Kaddu)
5. Cucumber
6. Bottle Gourd (Lauki)
7. Okra
8. Amaranth (Chaulai)
9. Ridge Gourd (Taroi)
10. Round Gourd (Tinda)
11. Bitter Gourd (Karela)
12. Capsicum (Bell Pepper)
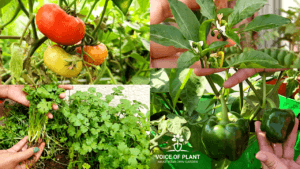
13. Herbs (Spinach & Mint)
Essential Growing Requirements for Summer Vegetables
1. Sunlight
Most summer vegetables require 5 – 6 hours of direct sunlight for healthy growth.
- Herbs like spinach, coriander, and mint require 2 to 3 hours of direct sunlight for optimal growth.
Ensure they are placed in a sunny spot, such as a terrace, balcony, or open garden area.
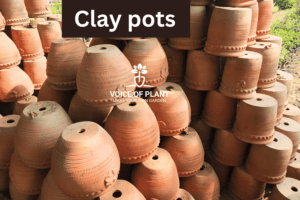
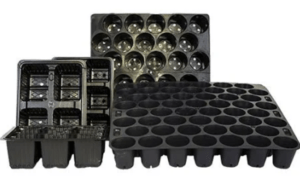
2. Suitable Grow Bags

Choosing the right grow bags or pots is essential for proper root development.
Here’s what you need:
- 10×10 or 12×12 inch grow bags – Suitable for tomatoes, chili, capsicum
- 15×15 or 16×16 inch grow bags – Ideal for brinjal, ridge gourd, bottle gourd, and round gourd
- Rectangular pots – Best for leafy vegetables and herbs like amaranth, mint and spinach.
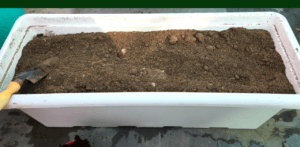
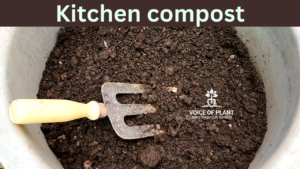
3. Soil Preparation
A well-draining, nutrient-rich soil is essential. Use a mix of:
- 50% garden soil
- 30% organic compost (vermicompost/cow dung compost)
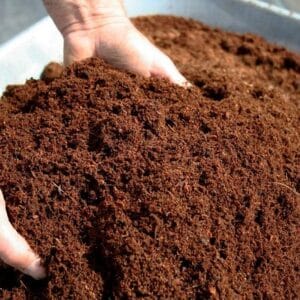
- 20% coco peat or sand for aeration
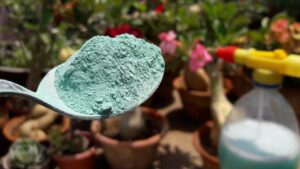
4. Fertilizer
- Use organic compost or vermicompost every 15-20 days to maintain soil fertility.
- Apply liquid fertilizers like compost tea or diluted cow dung water every 10-15 days for better growth.
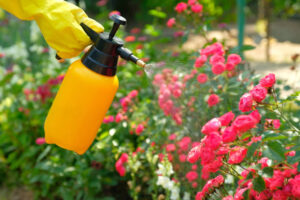
5. Watering
- Deep watering is required during summer, especially in grow bags.
- Water early morning or late evening to prevent moisture loss.
- Avoid overwatering to prevent root rot.
Best Vegetables to Grow in Summer Season
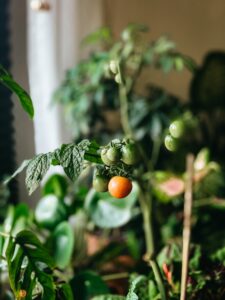
1. Tomato
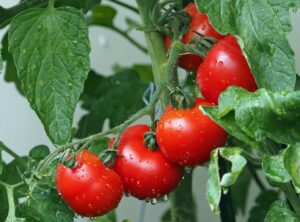
Tomatoes thrive in summer with abundant sunshine.
- They can be grown easily in containers or grow bags, making them a great choice for home gardeners.
- Tomatoes need moist soil to produce juicy fruits. Dry soil will result in less juicy produce.
Click here to read:
How To Grow Tomatoes At Home: Complete Guide
2. Brinjal (Eggplant)
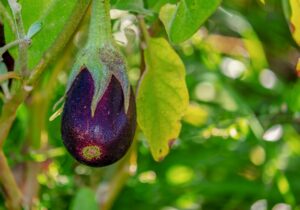
Brinjal is a warm-season vegetable that comes in different sizes, shapes, and colors.
- It grows well in grow bags and requires regular watering and fertilization.
3. Chili

Chilies are one of the most popular spices in Indian cuisine.
- Pungent varieties are more resistant to diseases and thrive in hot weather.
4. Pumpkin
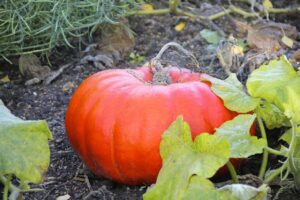
Pumpkins grow best in summer and require plenty of space to spread.
- They are best grown on the ground rather than on a trellis due to their large size.
5. Cucumber
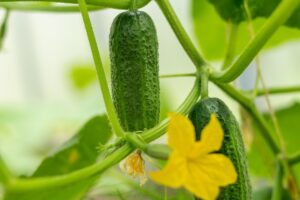
Cucumbers are perfect for summer and can be trained to grow on trellises, rooftops, or pergolas.
- They require consistent watering for juicy and crisp fruits.
6. Bottle Gourd
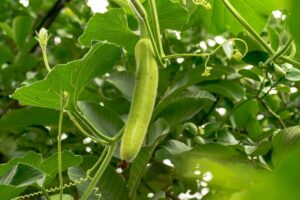
A fast-growing vine that thrives in hot weather, bottle gourd is a staple in Indian cuisine.
- It grows best in large grow bags or direct ground planting.
7. Lady’s Finger (Okra)
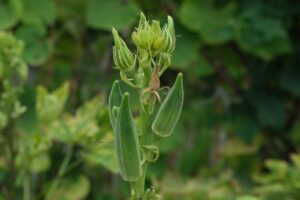
Okra loves the summer heat and grows quickly.
- It requires regular pruning to encourage new growth and a higher yield.
8. Amaranth (Chaulai)
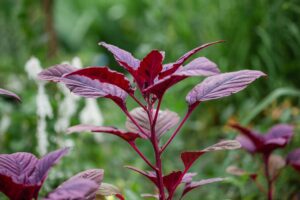
Amaranth is a hardy leafy vegetable that grows well in hot summers.
- It is an excellent source of iron and can be harvested multiple times in a season.
9. Ridge Gourd
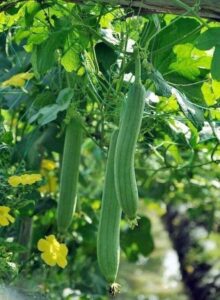
Ridge gourd is a climber that thrives in warm weather and requires support for vertical growth. Regular harvesting ensures continuous yield throughout the season.
10. Round Gourd (Apple Gourd/Tinda)
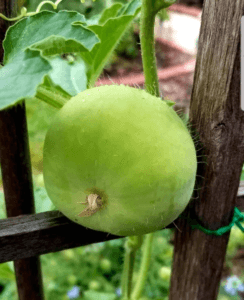
This small, round gourd is easy to grow and ideal for summer.
- It requires well-drained soil and regular watering.
11. Bitter Gourd (Karela)
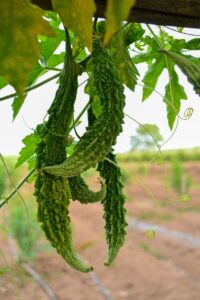
Bitter gourd, also known as Karela, thrives in warm temperatures and is an excellent choice for summer gardening. It is packed with nutrients and offers numerous health benefits.
- Sunlight: Requires full sunlight for at least 5-6 hours.
12. Capsicum (Bell Pepper)
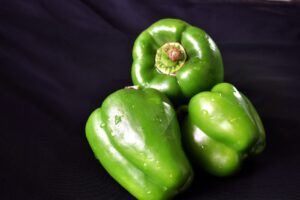
Capsicum grows well in summer with partial shade.
- It requires rich soil and consistent moisture for the best yield.
Herbs You Can Grow in Summer:
1. Spinach
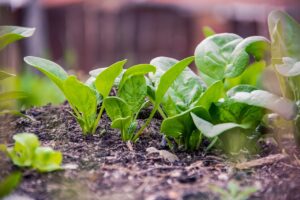
- Spinach can be grown for both the summer and winter seasons.
- The pot should be wider in size in comparison to the depth of the pot, it can be 6 to 8 inches in height.
- Any old tub or bucket or rectangular plastic pot can also be preferred for planting spinach.
Click here to read:
How to Grow Spinach at home, Complete Guide
2. Mint

The ideal period for sowing mint seeds is either in February-March or during the rainy season.
- Mint thrives in consistently moist soil, so water before the soil dries out.
- Rectangular pot is best for mint.
Click here to read:
How To Grow Mint at home: Complete Guide
Follow our Social media channel:
1. Voice of Plant – YouTube Channel
2. Voice of Plant Facebook Page
3. Instagram Voice of Plant Channel
Happy Gardening!