


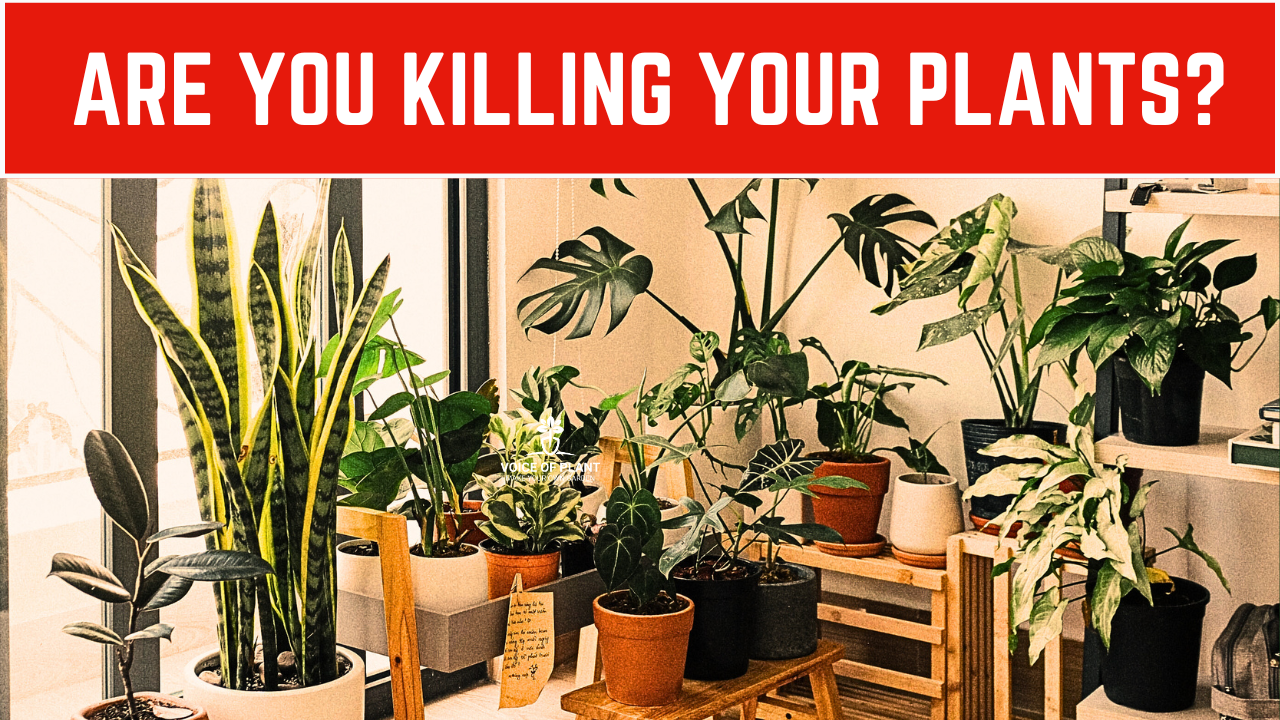
How Not to Kill Your Houseplant
Are you a beginner or an avid gardener? Do you enjoy gardening for relaxation or to bring more greenery into your home? No matter your level of experience, the key to a successful indoor garden is knowing how not to kill your houseplants! Whether it’s overwatering, poor lighting, or neglect, many of us unintentionally harm our plants. But with a few simple, effective tips, you can keep your houseplants healthy and thriving.

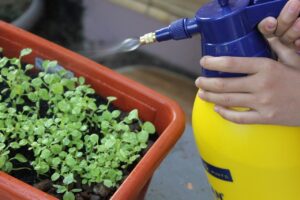
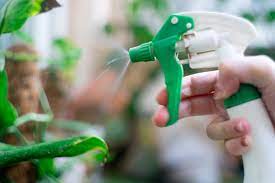
1. Watering Wisely
Overwatering is one of the most common ways to kill a houseplant. While it’s tempting to water frequently, too much water can cause root rot. The trick is to water your plants only when they need it. Always check the soil before watering—if the top inch feels dry, it’s time to water. Ensure your pots have drainage holes to let excess water escape, preventing waterlogging.
Click here to read: How to water plant correctly
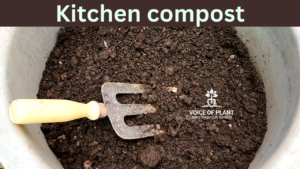
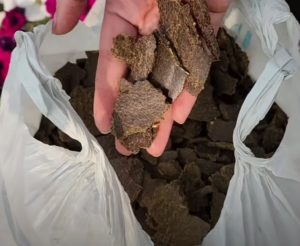
2. Choose the Right Soil
Not all soil is suitable for houseplants. Avoid using heavy, compact soil that retains too much moisture, as it can suffocate the roots. Opt for well-draining, loose soil mixtures that allow air and water to move freely. You can mix perlite or sand into your soil to improve drainage. A good-quality potting mix is key to keeping your plant’s roots healthy and oxygenated.
Click here to read: How to make soil mixture for plants
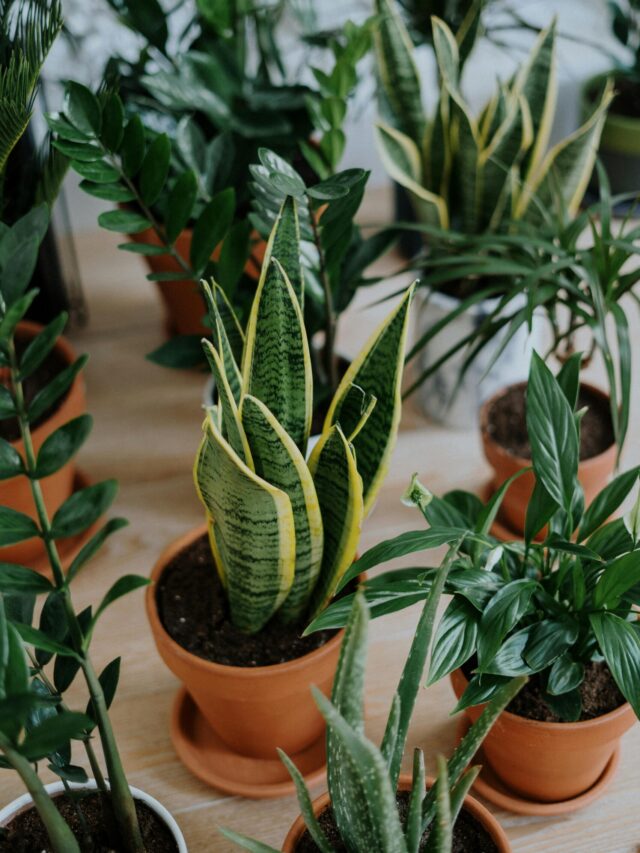
3. Proper Lighting
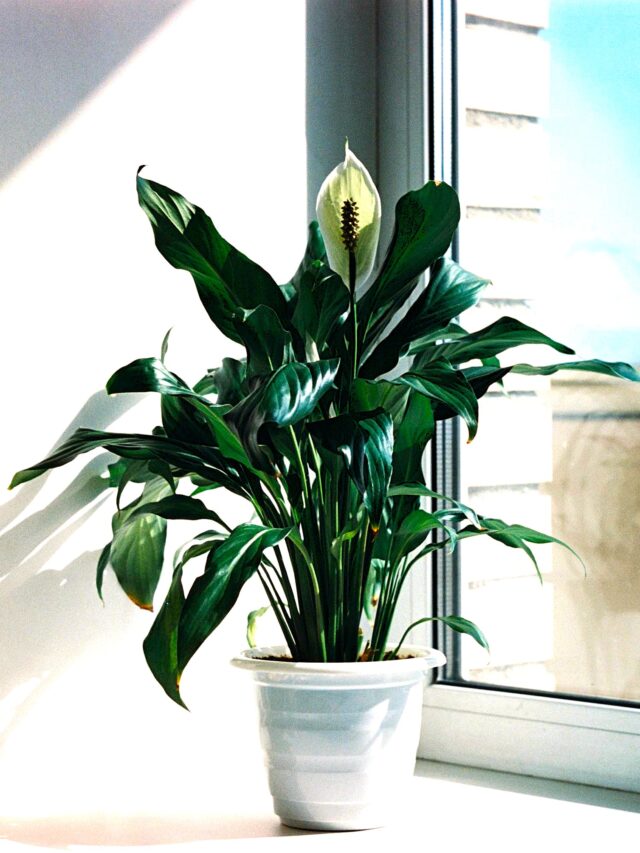
Every plant has different light requirements. Some need full sun, while others prefer low light. Research your plant’s specific needs and place it in the appropriate spot. For example, succulents and cacti thrive in bright, direct sunlight, while peace lilies prefer low, indirect light. If your plant looks leggy or isn’t growing well, it may need more light.
Click here to read: Discover lighting conditions for plants
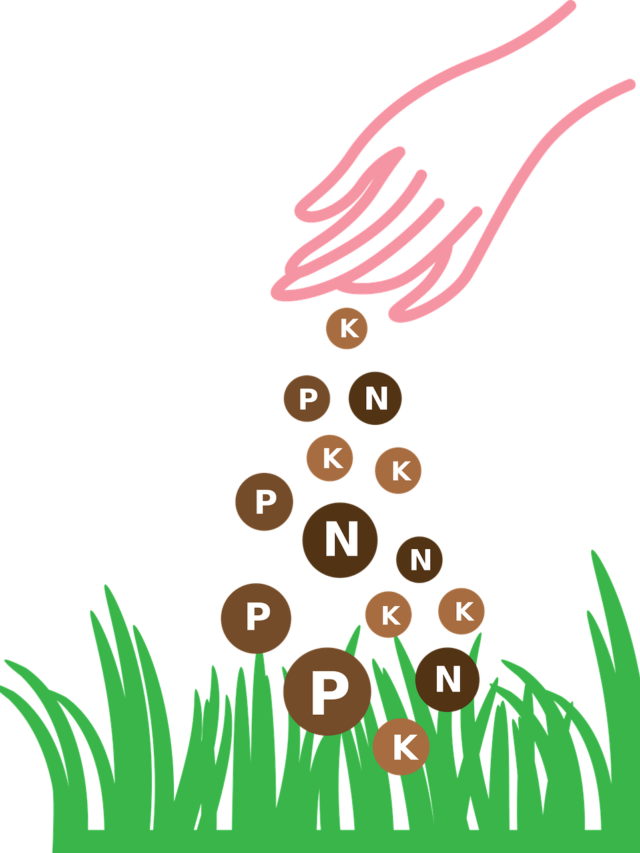
4. Do not over fertilizer your plants
While plants need nutrients, over-fertilizing can cause more harm than good. Fertilize your houseplants once a month during the growing season (typically spring and summer). Too much fertilizer can burn the roots and stunt growth, so use a balanced fertilizer and follow the instructions carefully. In the dormant season (fall and winter), reduce or stop fertilizing entirely.
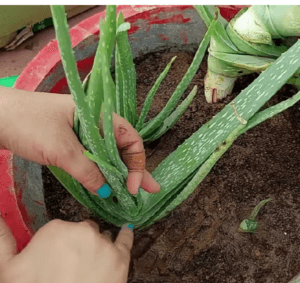
5. Avoid Frequent Re-Potting
Re-potting too often can shock your plants. Instead, repot only when the plant outgrows its current pot or the soil no longer drains well. Typically, this happens every one to two years, depending on the plant’s growth.
6. Monitor Humidity
Some plants, especially tropical ones, need more humidity than typical indoor environments provide. If you notice dry, crispy leaves, try misting the plants, using a humidifier, or placing them near other plants to increase moisture in the air.
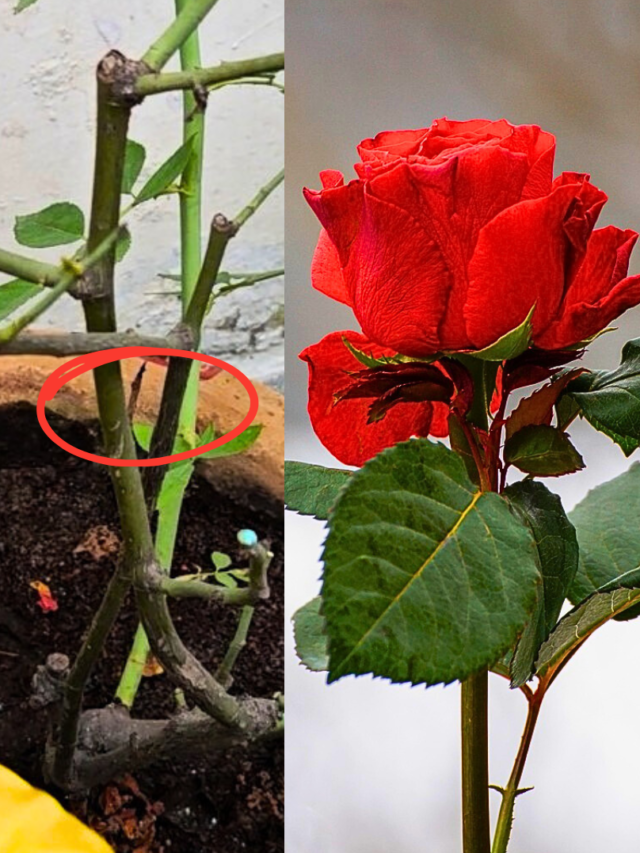
7. Watch for Pests
Check your plants regularly for pests like aphids, spider mites, or mealybugs. If you find any, treat your plants immediately with insecticidal soap or a homemade solution of water and mild soap.
By following these simple tips, you can enjoy lush, healthy houseplants without fear of killing them. With proper care, your indoor garden will thrive, and you’ll help contribute to a greener, more vibrant environment!
—————
Follow our Social media channel:
1. Voice of Plant – YouTube Channel
2. Voice of Plant Facebook Page
3. Instagram Voice of Plant Channel
Happy Gardening!