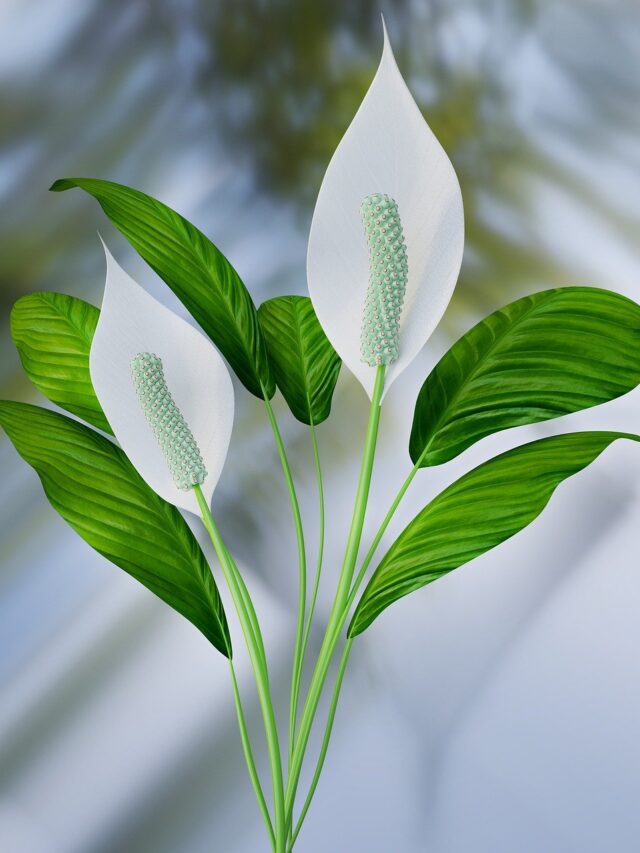
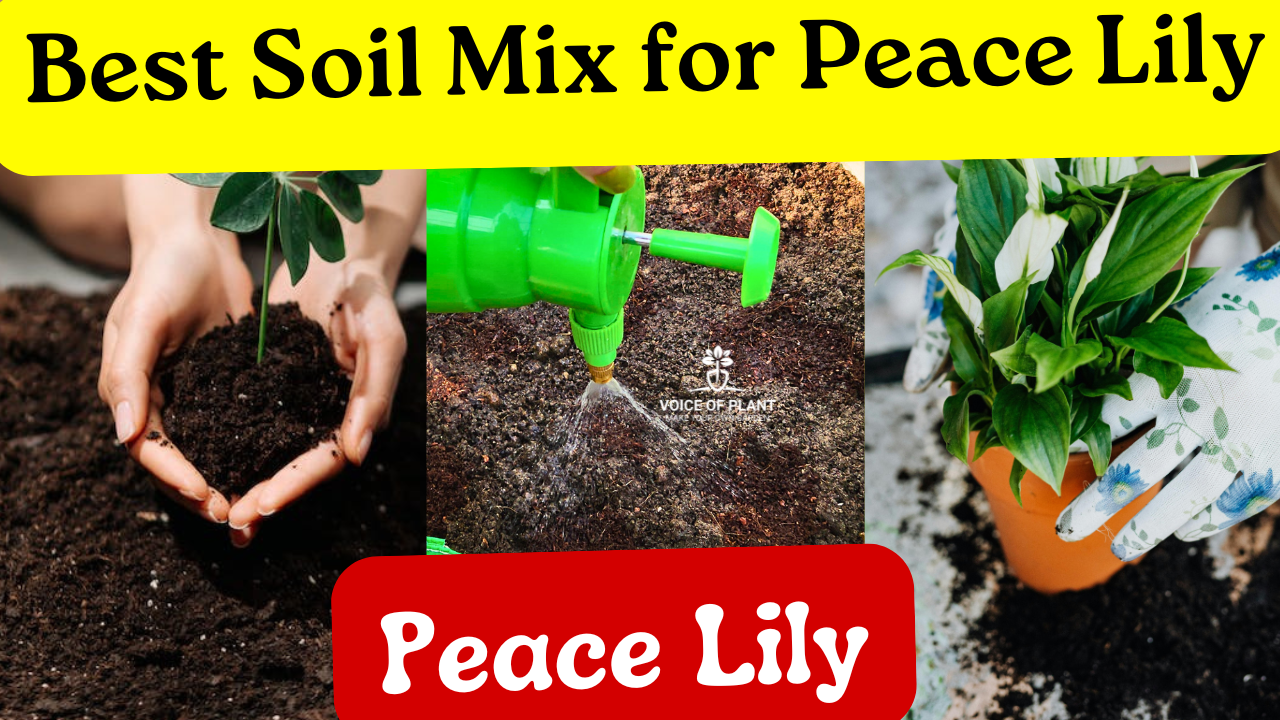
How Much Water Does a Peace Lily Need?
Peace lilies are one of the most popular indoor plants due to their lush foliage, graceful white blooms, and low maintenance needs. However, like all plants, they require the right amount of water to flourish. Proper watering is essential for the peace lily’s health and appearance, as both overwatering and underwatering can lead to common plant issues like root rot or drooping leaves.

In this guide, we’ll discuss the ideal watering practices, the factors that affect your peace lily’s water needs, and tips to keep your plant happy and healthy.

हरसिंगार (पारिजात) में फूल लाने के लिए अक्टूबर से पहले प्रूनिंग करें: जाने सही देखभाल
सुखी हुई तुलसी को हरा भरा कैसे करें?
ये हैं 10 पौधे जो आपके शरीर में रक्त के स्तर को बढ़ा देगा
ये 5 ऑर्गेनिक खाद आपके पौधों को रखेंगी हमेशा हरा-भरा: जानिए इनके फायदे
ये 10 पौधे आपके घर के अंदर की हवा शुद्ध करेंगे: आज ही लगाएं इन पौधों को
यह नीला फूल बहुत ही करामाती फूल है, इसकी चाय बहुत फ़ायदेमंद है
मेरा तुलसी का पौधा बार-बार क्यों सूख जाता है? तो ये वजह होती है जिम्मेदार
1. How long can Peace lily go without water?
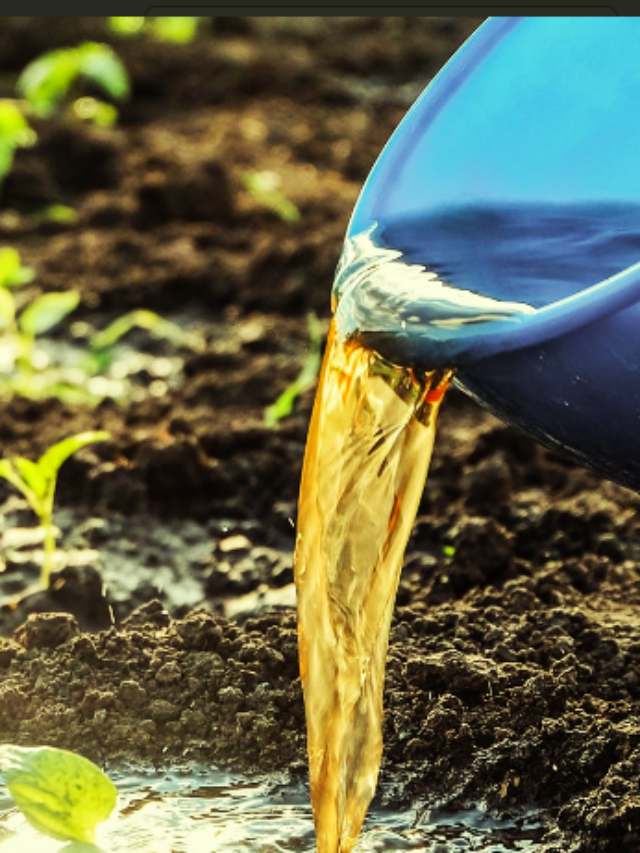
Peace lilies have different watering requirements depending on environmental factors such as temperature, humidity, and season. Although there is no precise measurement for watering peace lilies, a good rule of thumb is to water them thoroughly until water begins to drain out of the pot’s drainage holes. This ensures that the soil is adequately moistened without saturating the roots, which can lead to rot.
Key Factors Affecting Water Needs:
1. Seasonal Changes: Peace lilies often require more frequent watering during summer when the air is warmer and drier.
2. Indoor Temperature and Humidity: Homes with air conditioning or heating can dry out the soil more quickly.
3. Pot Size and Type: Larger pots retain moisture longer, while smaller ones dry out more quickly. Additionally, terracotta pots absorb water from the soil faster than plastic pots, affecting watering frequency.
By understanding these factors, you can tailor your peace lily’s watering schedule to suit its specific environment.
2. How Often to Water a Peace Lily?
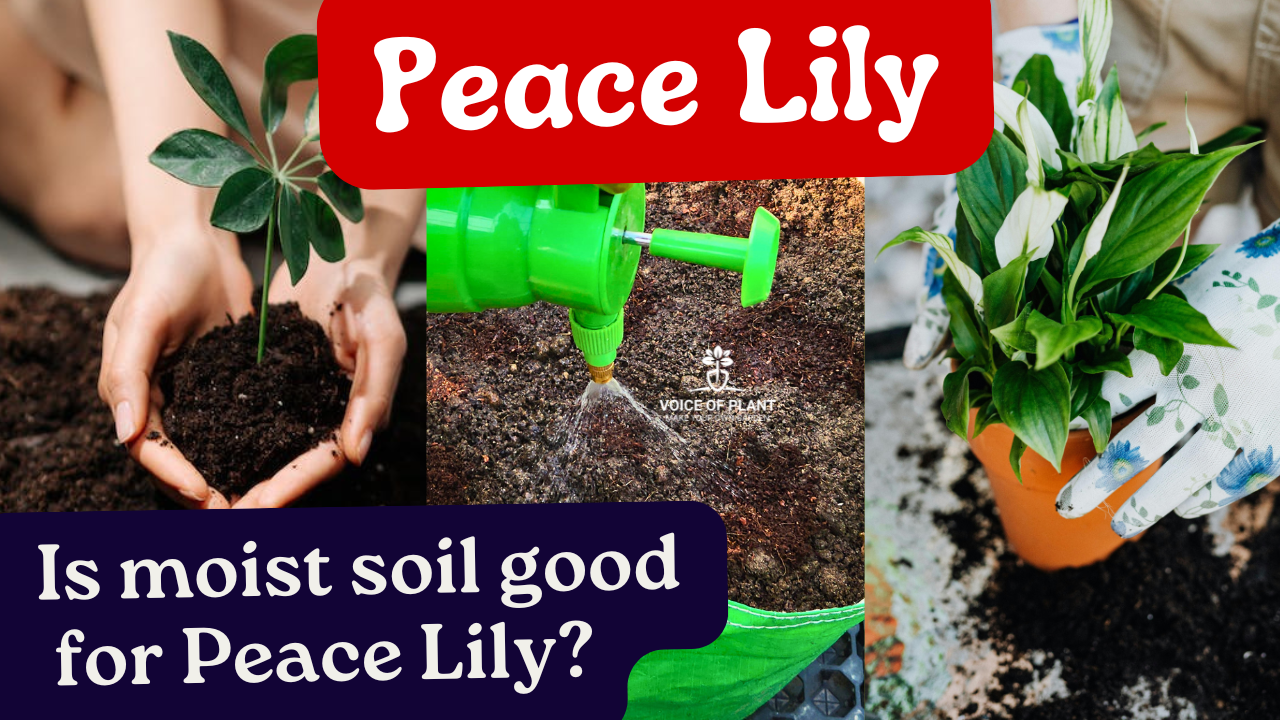
1. Check soil moisture
Instead of adhering to a strict schedule, checking the soil’s moisture regularly is the best practice for peace lilies.
- The top inch of the soil should feel slightly dry before the next watering.
- This can be done with a simple finger test—if the top layer feels dry, it’s time to water.
- This flexible approach helps prevent the risks associated with both overwatering and underwatering.
General Guidelines for Frequency:
1. Summer (High Heat): Water once every 3-5 days, or more if the soil dries out quickly.
2. Winter (Cooler Temps): Water every 7 to 12 days, as plants need less moisture due to lower evaporation rates.
3. Dry Indoor Environments: Check the soil more frequently, as indoor heating and air conditioning can affect soil moisture levels.
Remember, peace lilies are sensitive to overly dry or soggy soil, so adjusting to your plant’s needs is key.
3. Signs Your Peace Lily Needs Water
Knowing when to water your peace lily can prevent common plant issues like drooping, yellowing, or wilting leaves. Here are some tell-tale signs that your peace lily is in need of water:
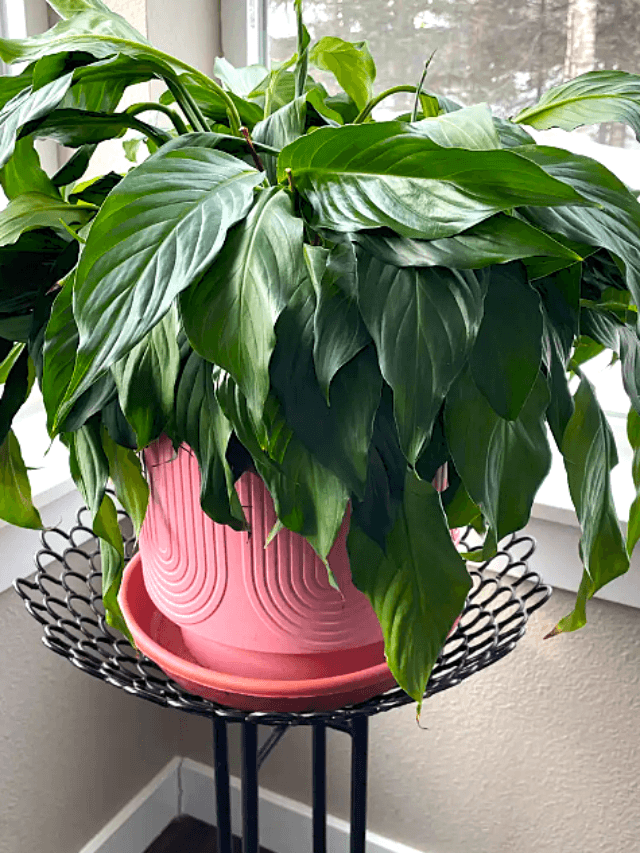
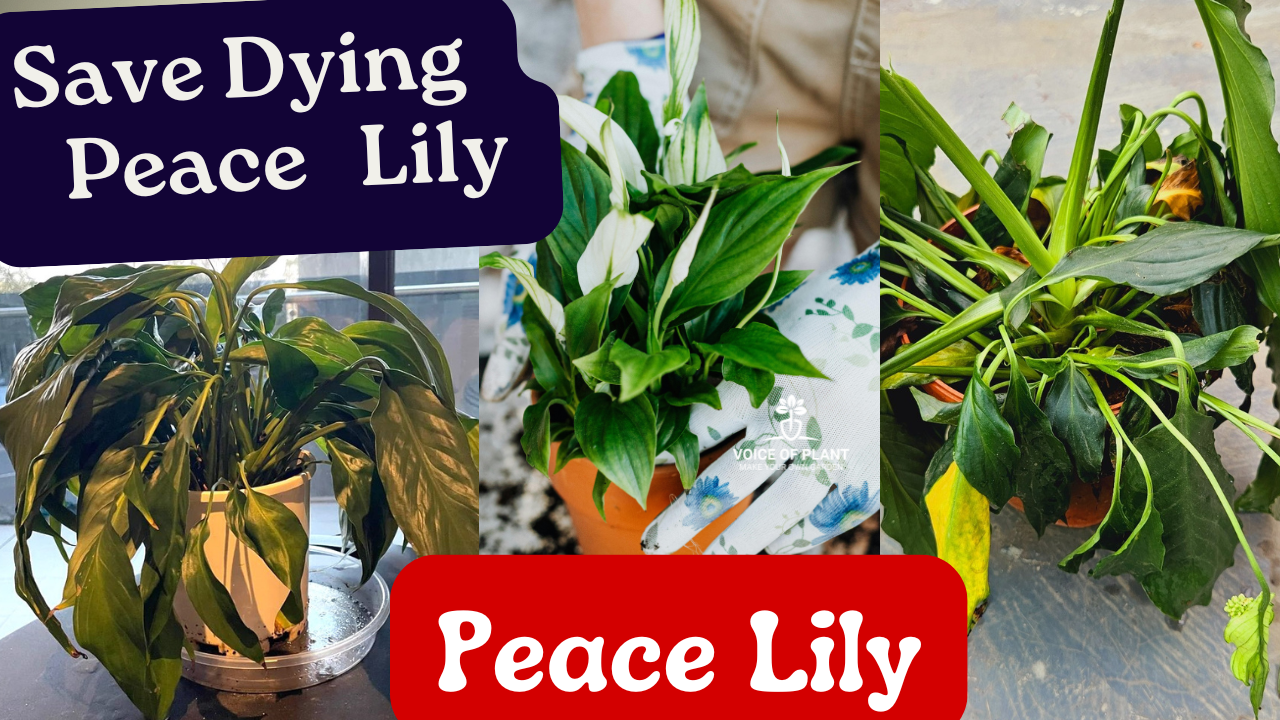
1. Drooping Leaves:
One of the first signs that your peace lily needs water is drooping leaves. The leaves will appear limp and start to hang downward.
2. Dry Soil:
If the top inch of soil feels dry to the touch, it’s a clear signal that your plant needs watering.
3. Pale or Faded Leaves:
Dehydrated peace lilies may develop pale or faded leaves, indicating that the plant is not receiving adequate water.
By keeping an eye out for these signs, you can help your peace lily maintain its vibrant, healthy appearance.
4. Should I Let My Peace Lily Dry Out Before Watering?
Yes, but only slightly!
Peace lilies do best when allowed to dry out a bit between waterings, which means letting the top inch of soil dry but not letting the entire pot dry out.
If the soil becomes completely dry, the plant may go into distress, causing leaves to wilt or turn brown.
- A small amount of dryness promotes root growth and helps avoid problems linked with overwatering.
- However, letting it dry out completely can lead to dehydration issues that may stunt growth or harm the plant. Checking the soil and observing the leaves can prevent watering-related mishaps.
Follow our Social media channel:
1. Voice of Plant – YouTube Channel
2. Voice of Plant Facebook Page
3. Instagram Voice of Plant Channel
Happy gardening!