


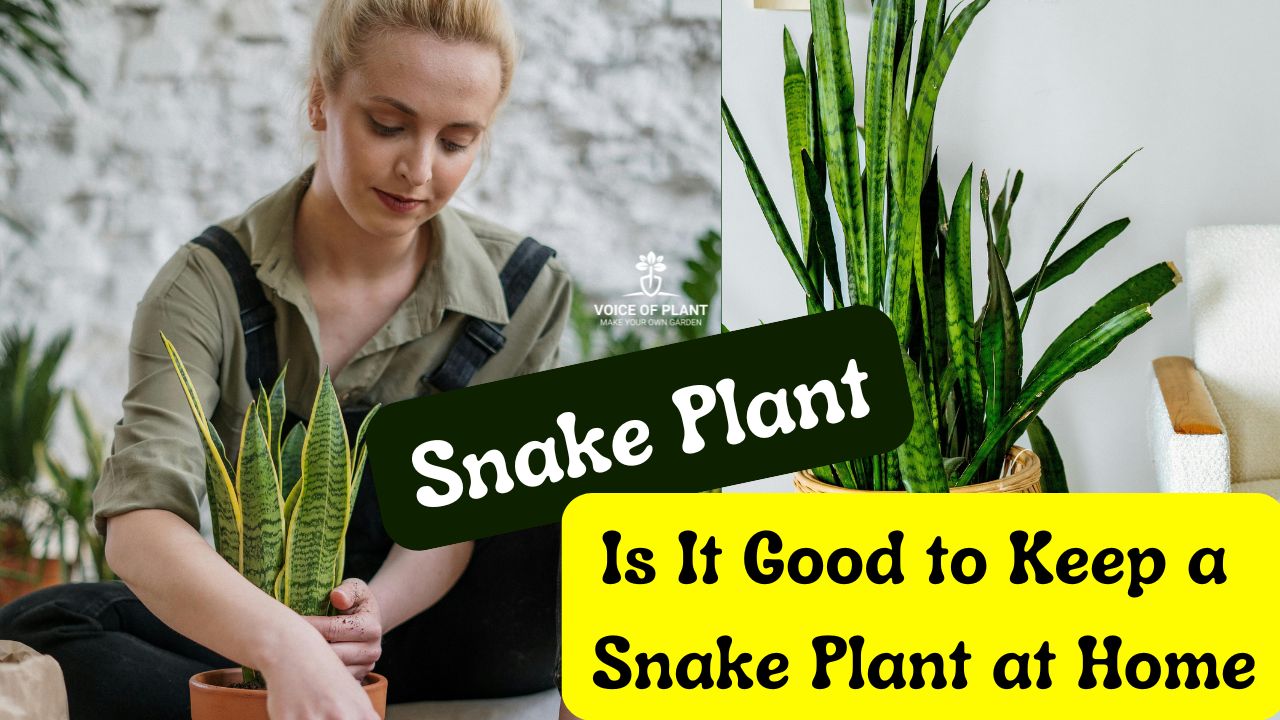
Is It Good to Keep a Snake Plant at Home
Many people, knowingly or unknowingly, label the snake plant as useless. There are numerous articles and social media posts claiming that the snake plant should not be kept at home. These posts often suggest that the plant brings financial troubles and bad luck. However, such claims usually come from individuals with little to no knowledge of gardening, often seeking attention by spreading misinformation.
I urge you not to believe these baseless posts and articles about the snake plant. All plants, including the snake plant, bring positivity and good fortune as they are a part of nature—and nature, in itself, is beneficial for us.
Is It Good to Keep a Snake Plant at Home
The snake plant, also known as Sansevieria or mother-in-law’s tongue, is a popular choice for many households. Known for its low-maintenance nature and unique aesthetic appeal, this versatile plant often sparks curiosity about whether it’s good to keep at home.
From its air-purifying properties to its connection with positive energy, let’s explore the many reasons why the snake plant is an excellent addition to your living space.
Why Is It Good to Keep a Snake Plant at Home?
1. Air-Purifying Properties
The snake plant is often referred to as a “natural air purifier.” According to NASA’s Clean Air Study, this plant is effective in removing toxins like formaldehyde, benzene, and carbon monoxide from the air.
- It also releases oxygen at night, making it an excellent plant for bedrooms to promote restful sleep and better air quality.
2. Low Maintenance
One of the best reasons to keep a snake plant at home is its ease of care.
- This plant thrives in a variety of conditions, from low light to bright, indirect sunlight.
- It doesn’t require frequent watering, making it perfect for busy lifestyles or those new to houseplants.
3. Positive Energy and Good Luck
In Feng Shui, the snake plant is believed to bring positive energy to a home.
- Its upright leaves symbolize strength, resilience, and protection, shielding the household from negativity.
- Proper placement, such as near entrances or corners, can enhance the flow of good energy.
4. Health Benefits
Beyond its air-purifying qualities, the snake plant helps regulate humidity levels, reducing the risk of airborne allergens.
- Its ability to absorb toxins contributes to a healthier indoor environment, benefiting respiratory health and overall well-being.
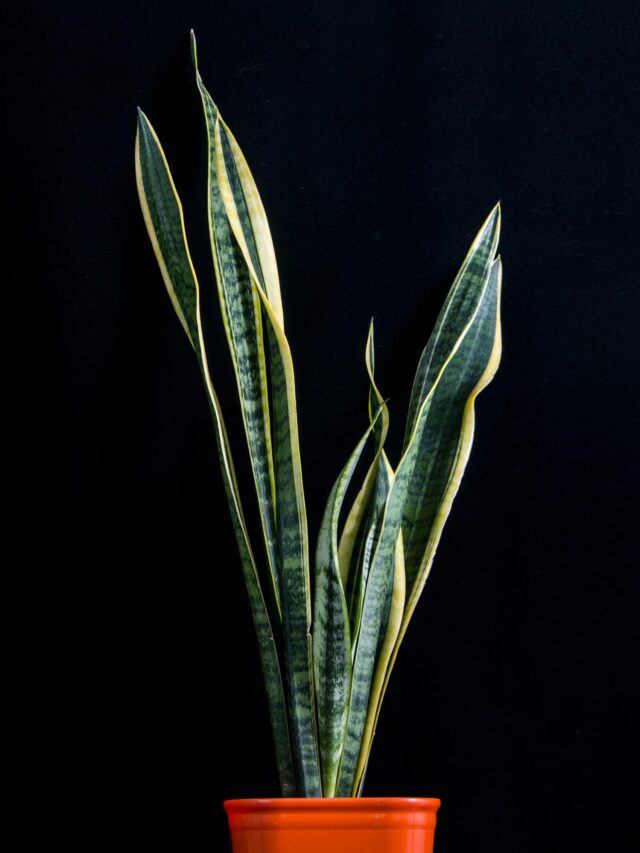
5. Aesthetic Appeal
The snake plant’s sleek, modern look complements a variety of interior styles, from minimalistic to bohemian.
- Its vertical growth makes it a great choice for smaller spaces, adding greenery without overwhelming the area.
Superstitions About Snake Plant Bringing Bad Luck
On the flip side, some believe the sharp, pointed leaves of the snake plant can invite harsh, cutting energy into the home. This is why placement is crucial—if positioned incorrectly, it might disrupt the flow of positive energy and create discord. However, these beliefs are mostly based on superstition and vary across cultures.
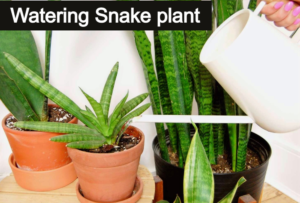
Click here to read: How & When to Water Snake Plant
Where to Place a Snake Plant in Your Home
1. Entrance
Placing a snake plant near the main entrance is believed to block negative energy and welcome positivity and prosperity into your home.
2. Bedroom
Since the snake plant releases oxygen at night, it’s ideal for the bedroom. Position it in a corner to enhance air quality and promote better sleep.
3. Office or Workspace
Adding a snake plant to your office or workspace can help boost focus and productivity. Its natural air-purifying abilities create a fresher, more inspiring environment.
Conclusion
Keeping a snake plant at home is undoubtedly a good idea. Its air-purifying qualities, low-maintenance nature, and positive energy make it a valuable addition to any living space. Whether you’re looking for a plant that promotes health, good fortune, or simply adds a touch of greenery to your home, the snake plant checks all the boxes.
Follow our Social media channel:
1. Voice of Plant – YouTube Channel
2. Voice of Plant Facebook Page
3. Instagram Voice of Plant Channel
Happy Gardening!