


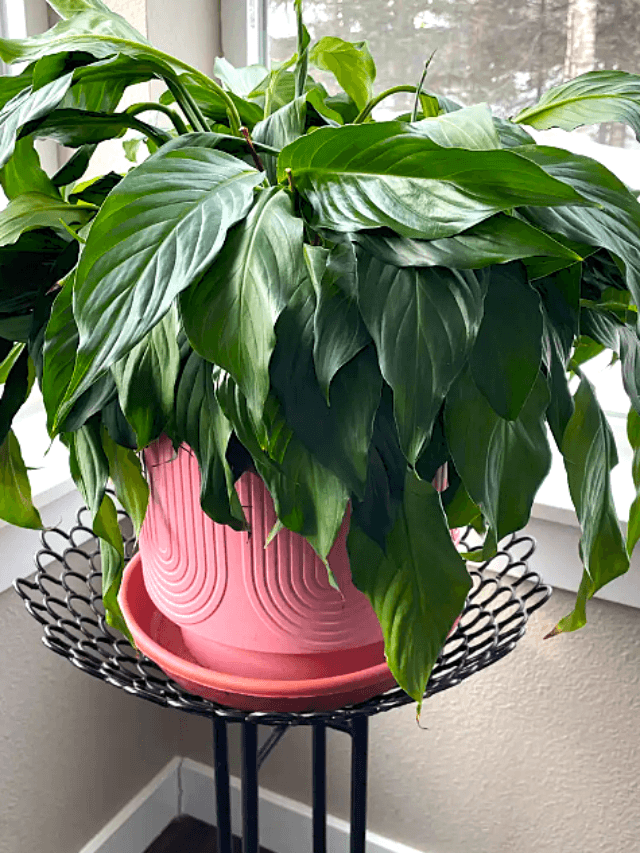


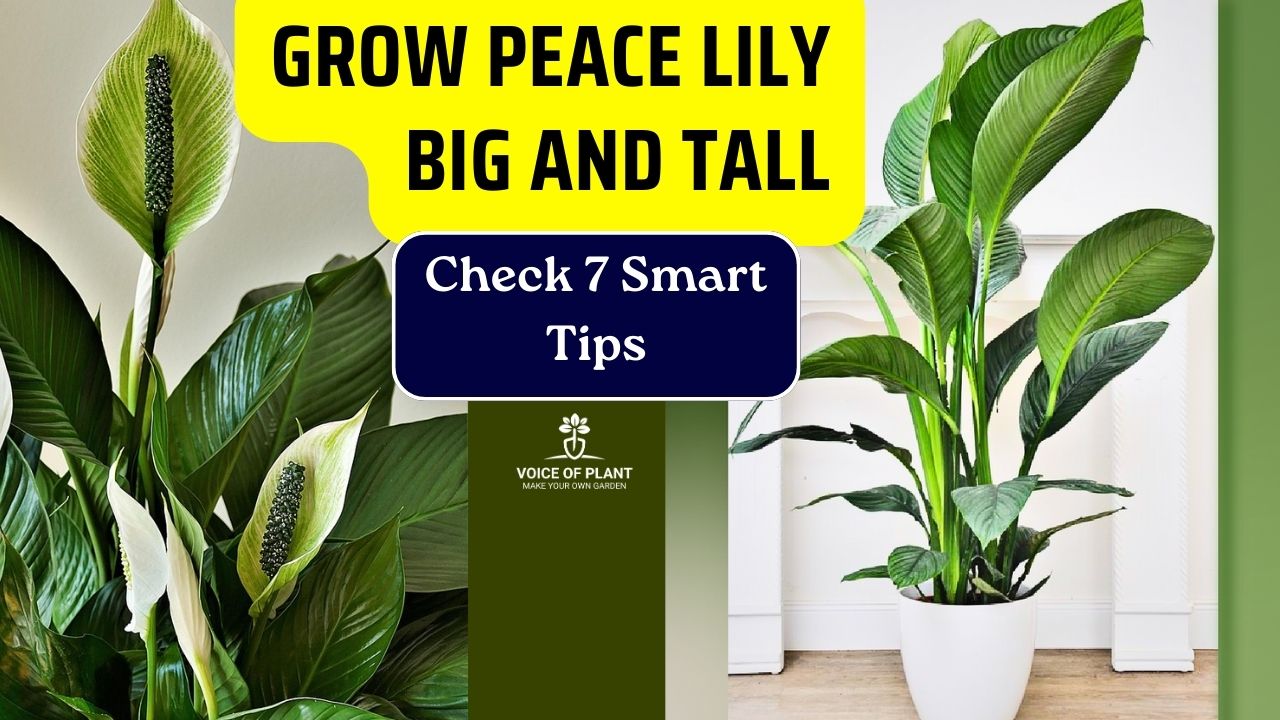
How To Grow Peace Lily Big and Tall
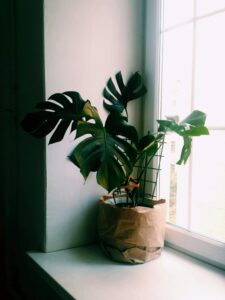
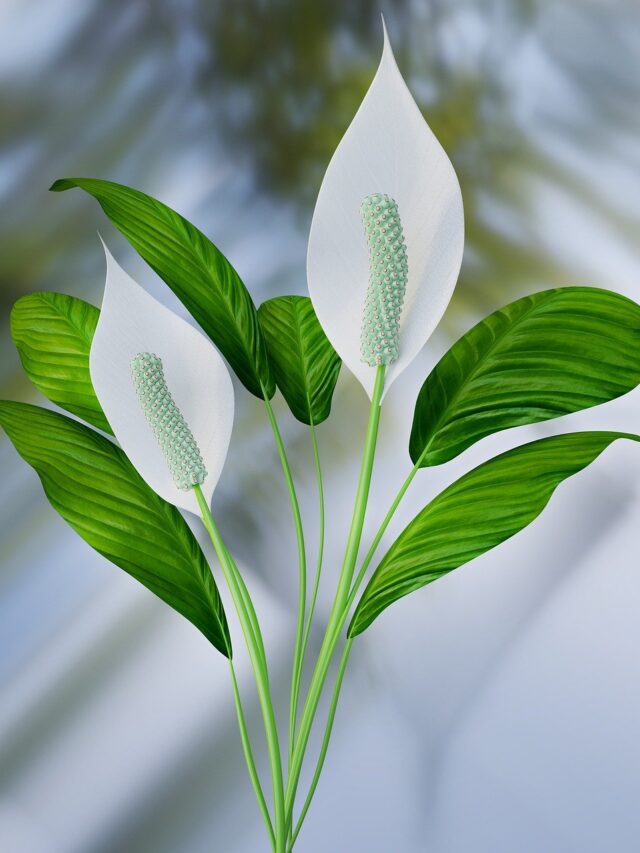
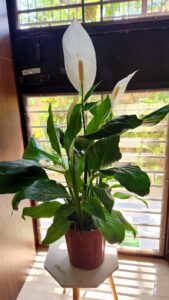
Peace Lily is a beautiful indoor plant with shiny green leaves and white flowers. Many people grow it at home, but it often stays small. Want to make yours grow big and tall? Just follow these 7 simple tips and tricks!
How To Grow Peace Lily Big and Tall
1. Choose a Tall-Growing Variety
Not all Peace Lilies are created equal! If you want a tall plant, start by selecting a variety that naturally grows large.
Some types are bred to stay small and compact—so avoid varieties like ‘Jetty,’ ‘Petite,’ ‘Wallisii,’ and ‘Little Angel.’
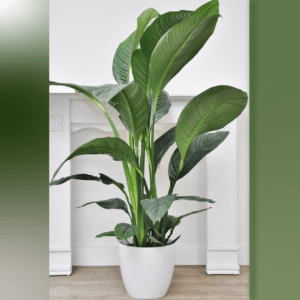
Instead, opt for cultivars like ‘Sensation’ or ‘Mauna Loa’. These types are known for their impressive height and broader leaves.
Did You Know?
The ‘Sensation’ variety can grow up to 6 feet tall and equally wide, making it the perfect choice for those aiming for a towering indoor beauty!
2. Provide Bright, Indirect Light
Peace Lilies are often labeled as “low-light” plants—but for tall growth, they need more than just a dim corner.
- A spot with bright, indirect light will encourage upward growth and frequent flowering.
- Low light may keep the plant alive, but better light helps it thrive.
Did You Know?
Just 2 hours of morning sunlight before 9 AM can make your Peace Lily bushier, healthier, and encourage more blooms!
3. Keep It Slightly Rootbound
Here’s a surprising trick: Peace Lilies grow better when slightly rootbound.
- When the roots are a little snug in their pot, the plant focuses energy on growing upward and producing flowers.
But if you decide to repot, only go up one pot size to avoid too much soil that can trap moisture and harm the roots.
4. Add a Touch of Lemon Juice
This unconventional method can give your plant a boost.
Peace Lilies prefer slightly acidic soil (pH between 5.8 and 6.5). If your tap water is alkaline, you can improve the soil condition by adding lemon juice.
Simply mix 1-2 tablespoons of lemon juice in a gallon of water and use it once a month.
- You can also lightly mist the leaves with this mixture—it helps clean the foliage, reduces salt buildup, and deters soft-bodied pests.
5. Don’t Overwater – Let Soil Dry Slightly
Overwatering is one of the biggest mistakes Peace Lily owners make. These plants love humidity, yes—but not soggy soil. For tall growth, allow the top inch of soil to dry before watering again.
A dry spell between waterings encourages the roots to grow deeper and stronger, helping your plant access nutrients more efficiently.
Quick Tip:
Use the finger test—poke your finger into the soil about 2 inches. If it feels dry, it’s time to water.
6. Feed With a Potassium-Rich Fertilizer
While nitrogen is great for leafy growth, potassium is the key nutrient when it comes to building strength, supporting photosynthesis, and boosting the plant’s overall vigor.
Choose a balanced fertilizer, ideally something like 10-20-10, where the last number (potassium) supports robust plant health and tall growth.
- Feed every 4–6 weeks during the growing season.
7. Let the Pups Grow With the Main Plant
Instead of separating the baby plants (pups) from the mother plant, let them grow together in a slightly bigger pot. This promotes a bushier, fuller look and minimizes stress on the main plant.
Pups can actually benefit from the established root system of the mother, making the entire plant grouping stronger and more vibrant.
Bonus Tip:
Wipe the leaves with a damp cloth regularly.
- Dust can block sunlight and interfere with photosynthesis—keeping the leaves clean helps the plant “breathe” better and grow faster.
With these practical tips, your Peace Lily will not only stay healthy but will also grow taller, fuller, and more beautiful over time. All it takes is a little attention and the right care—and soon, your indoor space will be graced with the elegant presence of a flourishing Peace Lily!
————
Follow our Social media channel:
1. Voice of Plant – YouTube Channel
2. Voice of Plant Facebook Page
3. Instagram Voice of Plant Channel