


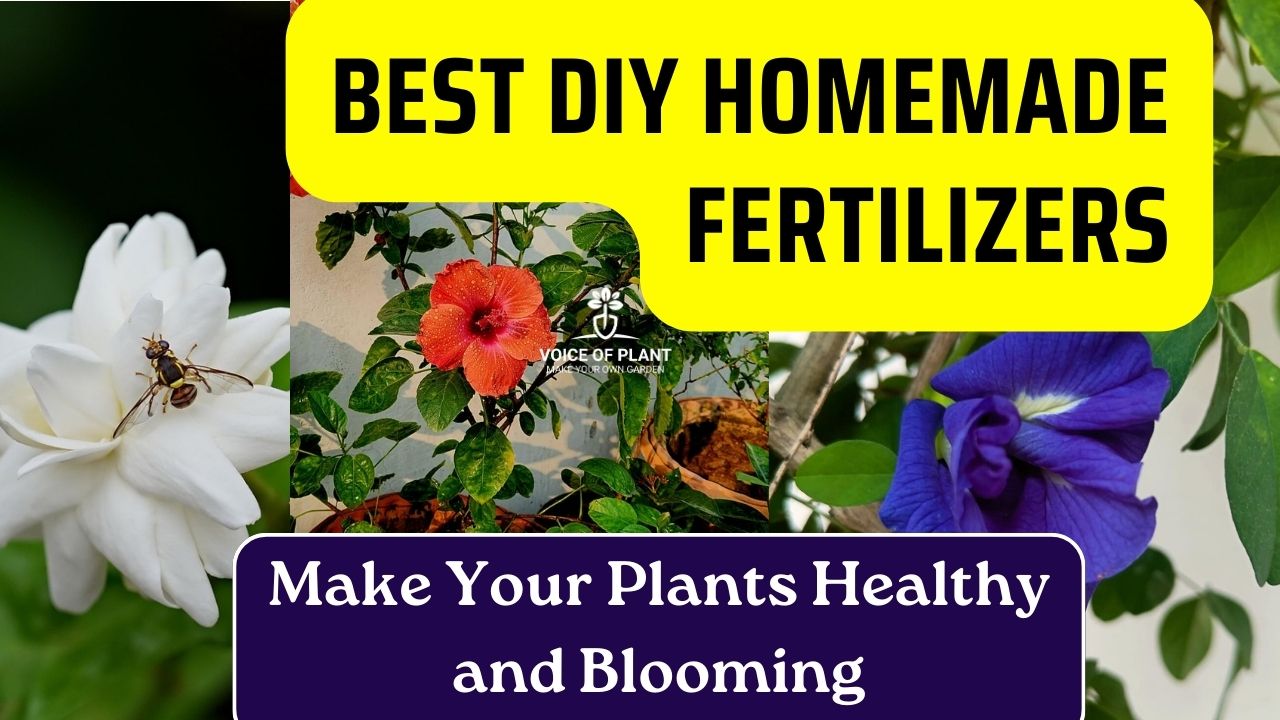
Best DIY Homemade Fertilizers to Make Your Plants Healthy and Blooming
Keeping your plants healthy and vibrant requires regular fertilization. Homemade organic fertilizers are an excellent way to nourish your plants naturally without any harmful chemicals.
Here’s why I prefer homemade fertilizers:
🌱 Kitchen waste turns into highly effective fertilizer
🌱 No side effects, even if used in excess or less
🌱 Budget-friendly and easy to make
If you are looking for simple, organic, and affordable ways to feed your plants, here are some easy homemade fertilizers you can try.
Best DIY Homemade Fertilizers
1. Kitchen Waste Fertilizer
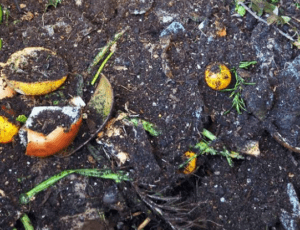
Instead of throwing away fruit and vegetable peels, turn them into a powerful liquid fertilizer for your plants.
How to Make It:
-
Take fruit and vegetable peels (banana, orange, potato, etc.) and put them in a bucket.
-
Add water and let them soak for 4-5 days to decompose slightly.
-
After five days, add half a spoon of baking soda to enhance the effectiveness.
-
Strain the liquid and dilute it with an equal amount of water before using it on your plants.
Benefits:
✅ Provides essential nutrients like potassium and phosphorus
✅ Helps plants grow strong roots and healthy leaves
✅ Completely organic and chemical-free
READ HERE – How to Make Kitchen Waste Compost
2. Green Leaf Fertilizer
Do you have fallen green leaves in your garden? Instead of discarding them, you can use them to create a natural fertilizer rich in nitrogen.
How to Make It:
-
Collect fresh green leaves and soak them in water for 3 days.
-
After three days, strain the liquid and use it directly for watering your plants.
Benefits:
✅ Enhances soil fertility
✅ Increases nitrogen levels for better leaf growth
✅ Helps improve plant immunity
3. Coffee Grounds Liquid Fertilizer
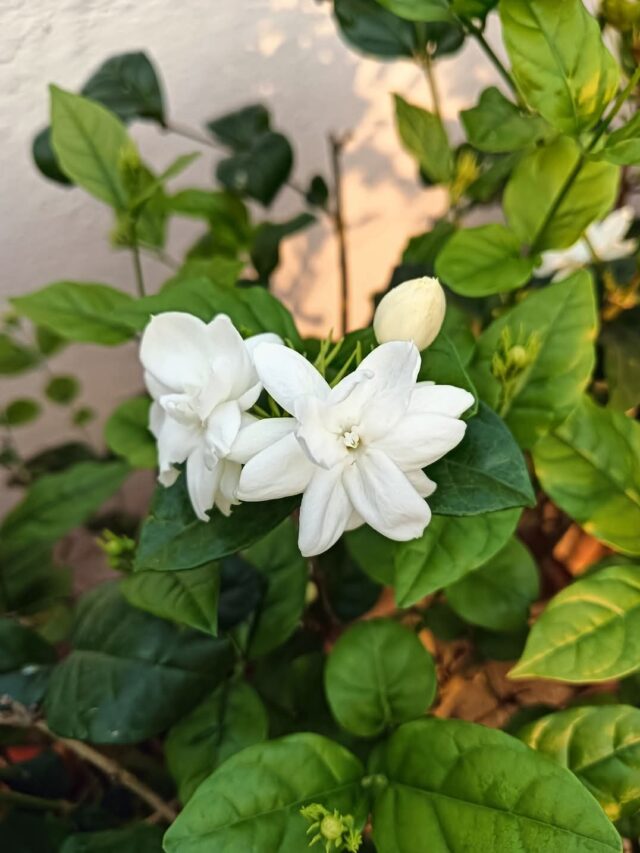
Used coffee grounds contain nitrogen, which is essential for leafy plants and flowering plants like Hibiscus, Rose, Jasmine, Aparajita and chrysanthemum (guldawari).
How to Make It:
-
After brewing your coffee, collect the leftover coffee grounds and store them in a bottle.
-
Fill the bottle with water and let it sit for 5 days.
-
Once fermented, dilute it by adding 5 times more water before using it on your plants.
Benefits:
✅ Encourages lush green growth
✅ Increases acidity in the soil (great for acid-loving plants)
✅ Acts as a slow-release fertilizer
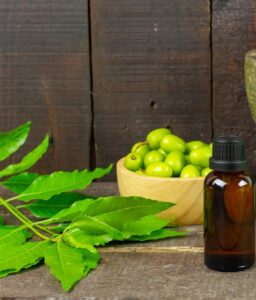
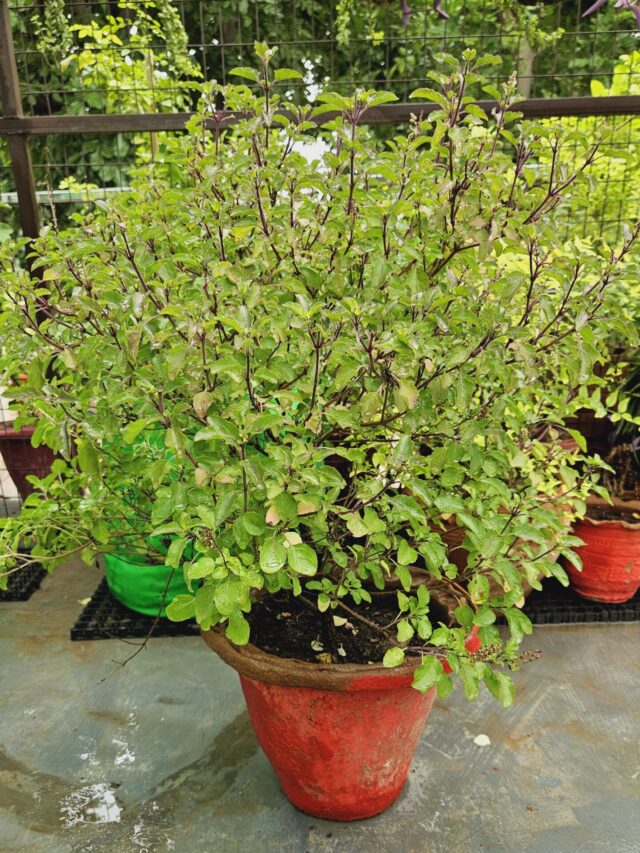
4. Neem Leaves Pesticide & Fertilizer

Neem leaves are a natural pest repellent and also add nutrients to the soil. This homemade neem liquid works both as a fertilizer and pesticide.
How to Make It:
-
Take fresh neem leaves and chop them into small pieces.
-
Soak them in water for 2-3 days.
-
Strain the liquid and dilute it before using it for watering or spraying on plant leaves.
Benefits:
✅ Protects plants from pests and fungal infections
✅ Provides essential nutrients
✅ Works as an organic alternative to chemical pesticides
READ HERE – How to Make & Use Neem Leaf Pesticide
5. Mustard Cake Fertilizer

Mustard cake (sarson ki khali) is an excellent organic fertilizer packed with nitrogen, phosphorus, and potassium. It promotes blooming and healthy plant growth.
How to Make It:
-
Take 50 grams of mustard cake and soak it in 1 liter of water.
-
Let it sit for 2 days to ferment.
-
After two days, dilute it by adding 10 liters of water.
-
Use this solution twice a month for best results.
Benefits:
✅ Encourages better flowering and fruiting
✅ Strengthens plant roots
✅ Improves soil health
READ HERE – How to Make Mustard Cake Liquid Fertilizers At Home
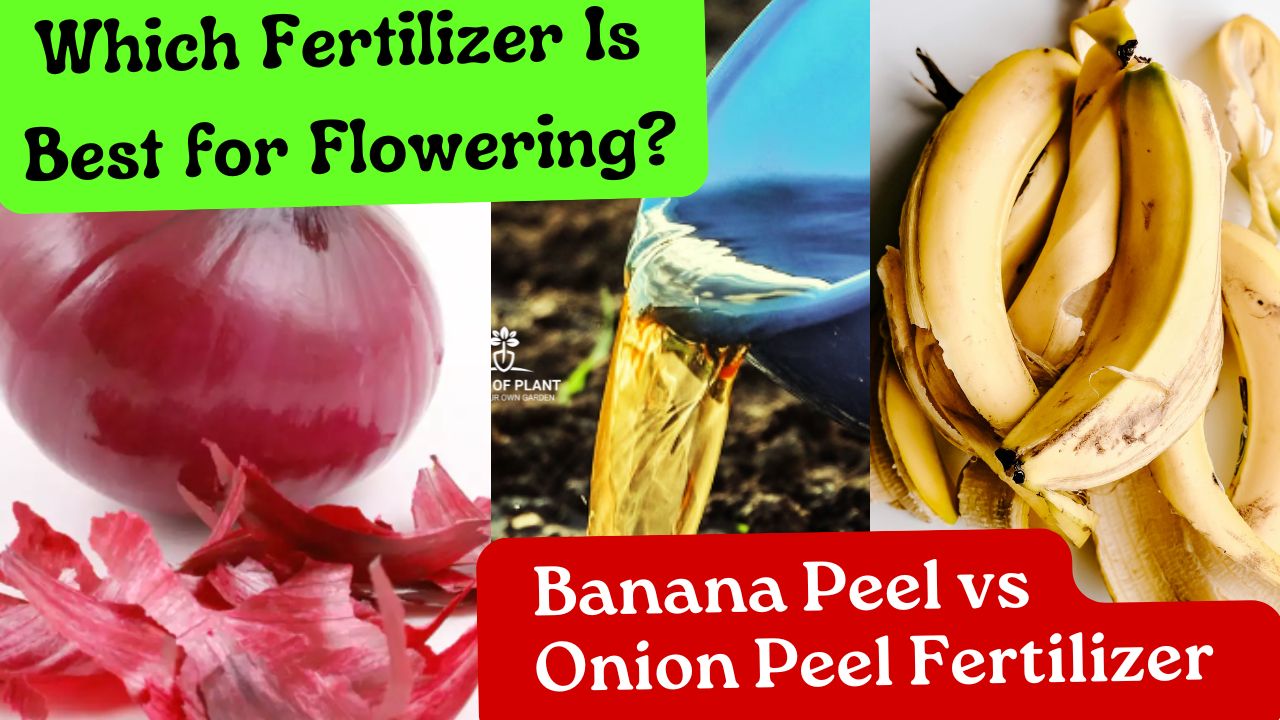
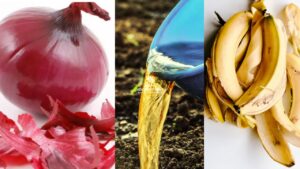
6. Onion Peel Fertilizer

Onion peels are rich in potassium, calcium, and iron, which help plants grow stronger.
How to Make It:
-
Take a handful of onion peels and soak them in a liter of water for 24 hours.
-
Strain the liquid and dilute it with another liter of water.
-
Use this water to irrigate your plants.
Benefits:
✅ Boosts plant immunity
✅ Encourages better flowering
✅ Prevents fungal infections
READ HERE – How To Make Onion Peel Liquid Fertilizer
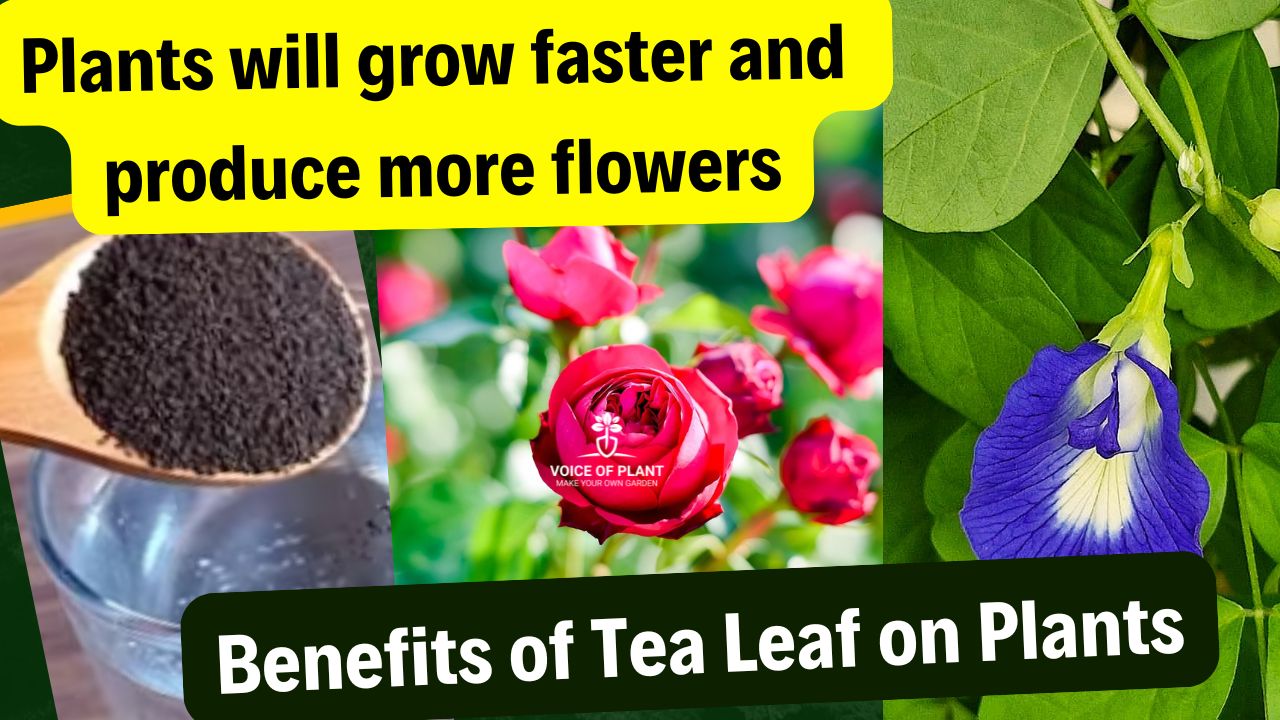
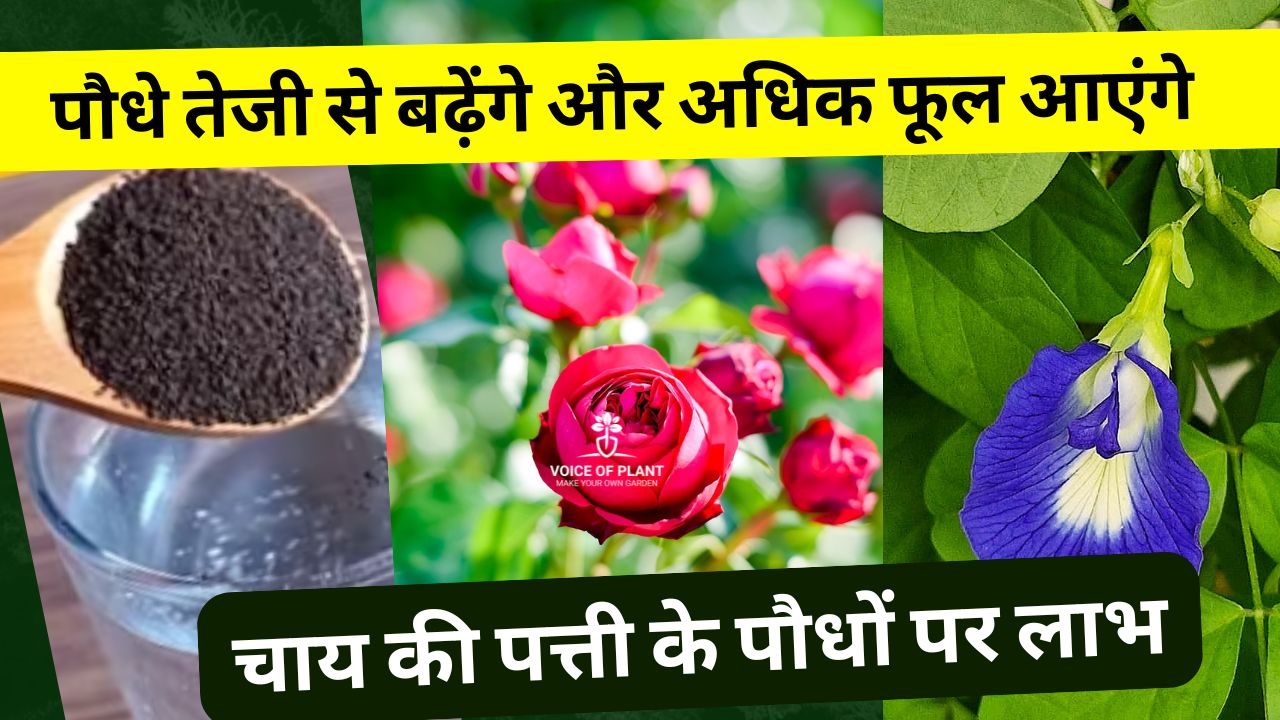
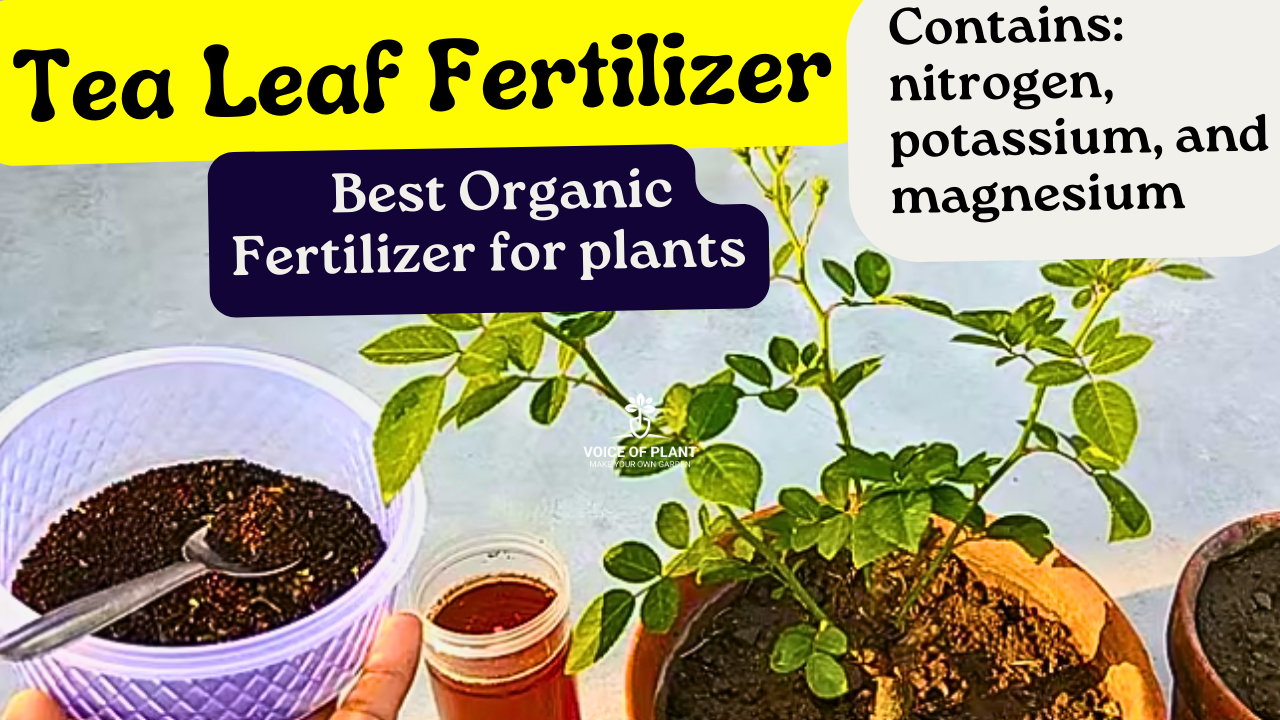
7. Used Tea Leaves Fertilizer

Used tea leaves contain nitrogen and tannic acid, which help enhance soil fertility.
How to Make It:
-
After making tea, let the used tea leaves dry completely.
-
Mix the dried leaves with garden soil before planting.
-
Alternatively, you can brew used tea leaves in water and use the liquid to water plants.
Benefits:
✅ Improves soil texture and water retention
✅ Provides nitrogen for healthy leaf growth
✅ Works as a mild natural pesticide
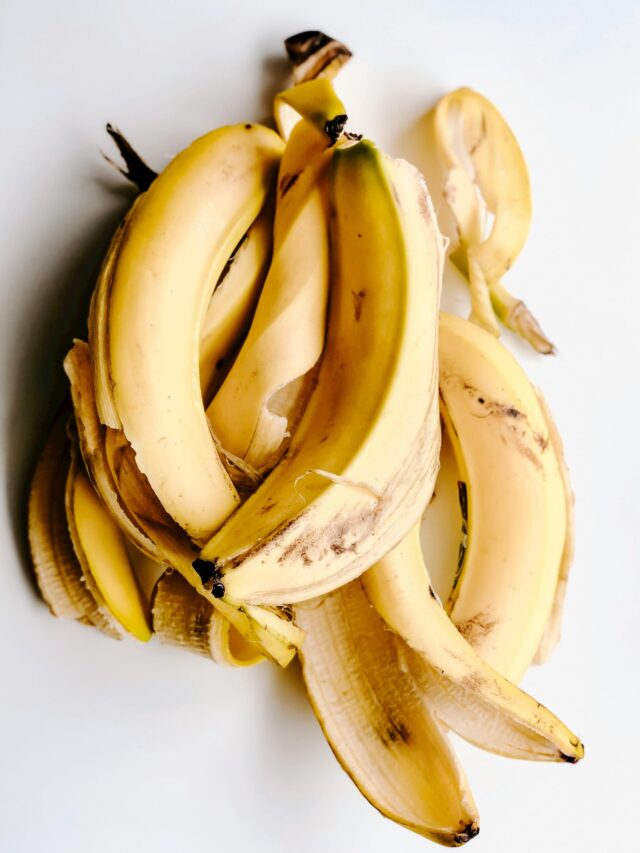
8. Banana Peel Fertilizer

Banana peels are an excellent source of potassium and phosphorus, which help with flowering and fruiting in plants.
How to Make It:
-
Chop banana peels into small pieces.
-
Bury them directly in the soil near plant roots.
-
Alternatively, soak banana peels in water for 2 days and use the liquid as fertilizer.
Benefits:
✅ Encourages flowering and fruit development
✅ Improves soil structure
✅ Provides essential minerals for plant health
READ HERE – How To Make Banana Peel Liquid Fertilizers
Final Thoughts
These are my budget-friendly, effective, and organic homemade fertilizers that keep my plants healthy and blooming. The best part? They’re completely safe for plants, eco-friendly, and made from household waste! 🌿
Try these DIY fertilizers and let me know your results! Happy gardening! 🌸✨
Follow our Social media channel:
1. Voice of Plant – YouTube Channel