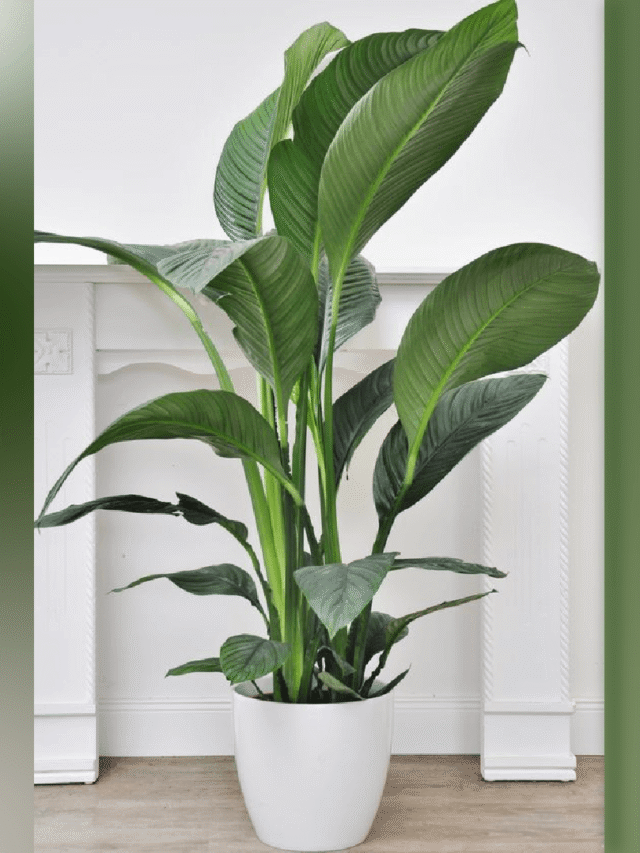


Where to Place Areca Palm for Healthy Growth
The Areca Palm is a beautiful indoor plant that adds a tropical feel to your home with its soft, feathery leaves. Many gardeners often feel confused about whether to keep the Areca Palm indoors or outdoors.

However, to keep your Areca Palm healthy and vibrant, proper placement is crucial. Let’s explore the best locations to position your Areca Palm indoors, so it thrives in its environment.


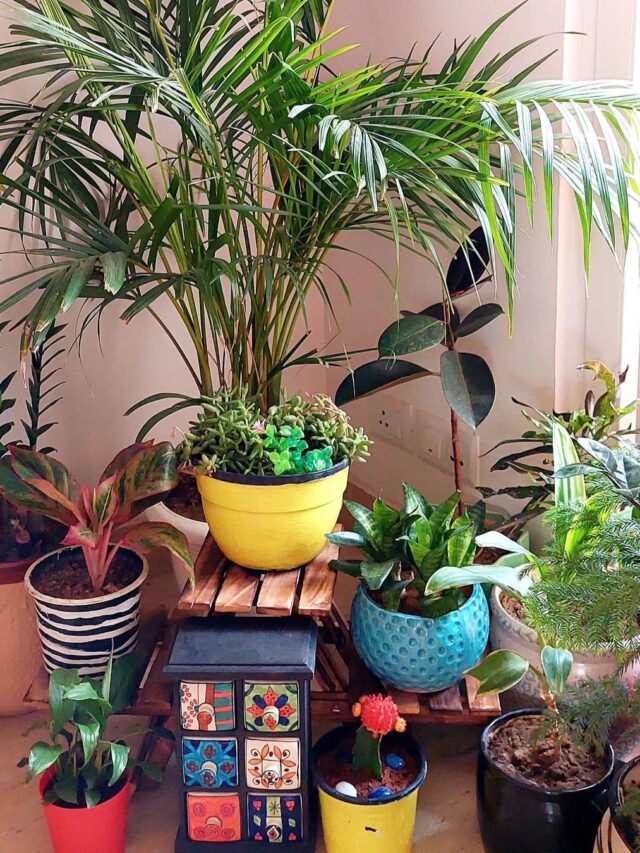
Where to Place Areca Palm for Healthy Growth
Areca Palms Need Bright, Indirect Sunlight
The first rule for keeping your Areca Palm healthy is ensuring it gets the right kind of sunlight.
Areca Palm thrive in bright indirect light.
- They need several hours of filtered sunlight each day to promote healthy growth and ensure that their leaves remain vibrant and green.
1. Avoid Direct Sunlight
One common mistake is placing the Areca Palm in direct sunlight.
- The intense rays can scorch the delicate fronds, causing them to turn yellow or brown.
- Over time, direct sun exposure may even kill parts of the plant.
- If you notice any of these signs, consider moving your palm to a more suitable location.
2. Do Not Keep in Low-Light Conditions
On the flip side, keeping the Areca Palm in low light will not do it any favors either.
Low light slows down the plant’s growth and results in weaker, less vibrant fronds.
- While the plant can survive in low light for a short period, it won’t thrive.
- For the best results, choose a spot with plenty of indirect sunlight.
Must read:
Tips to treat White Patches on Areca Palm Leaves
Where to Place Areca Palm for Healthy Growth
Areca Palm Placement in the Living Room
A living room is often the ideal location for an Areca Palm.
- Place it near a window where it will get ample indirect light, such as a north or east-facing window.
- These windows provide the right amount of sunlight without the risk of direct exposure.
Additionally, placing your Areca Palm near doors or windows where it can receive fresh air, along with indirect sunlight, can create an even healthier environment for the plant.
Fresh air circulation helps to keep the palm vibrant and free from pests.
With the right placement and care, your Areca Palm can flourish indoors, adding beauty and freshness to your home.
Must read:
Areca Palm Care: Fertilizer and Pruning
Some frequently asked questions (FAQs) on Areca Palm
1. Can Areca Palms survive in low-light rooms?
Ans: While they can tolerate low light for short periods, Areca Palms need bright, indirect sunlight to truly thrive.
2. How often should I water my Areca Palm?
Ans: Water the Areca Palm when the top inch of soil feels dry.
- Overwatering can lead to root rot, so ensure proper drainage.
3. Can I place my Areca Palm outside?
Ans: Areca Palms prefer warm, indoor environments.
- If placed outside, ensure it’s in a shaded area without direct sunlight.
4. What should I do if my Areca Palm leaves turn brown?
Ans: Brown leaves often indicate too much direct sunlight or dry air.
- Move the plant to an area with filtered sunlight and increase humidity.
5. How big do Areca Palms grow indoors?
Ans: Areca Palms can grow up to 6-7 feet indoors, provided they receive proper light, water, and care.
Follow our Social media channel:
1. Voice of Plant – YouTube Channel
2. Voice of Plant Facebook Page
3. Instagram Voice of Plant Channel
Happy Gardening!