


In the vast and diverse landscapes around the world, where sunlight varies across regions and seasons, the use of artificial grow lights has become a game-changer for plant enthusiasts.
Whether you are a seasoned gardener or a beginner, understanding the dynamics of artificial grow lights is crucial for nurturing plants indoors. Let’s explore the concept of artificial grow lights and their relevance in gardening.

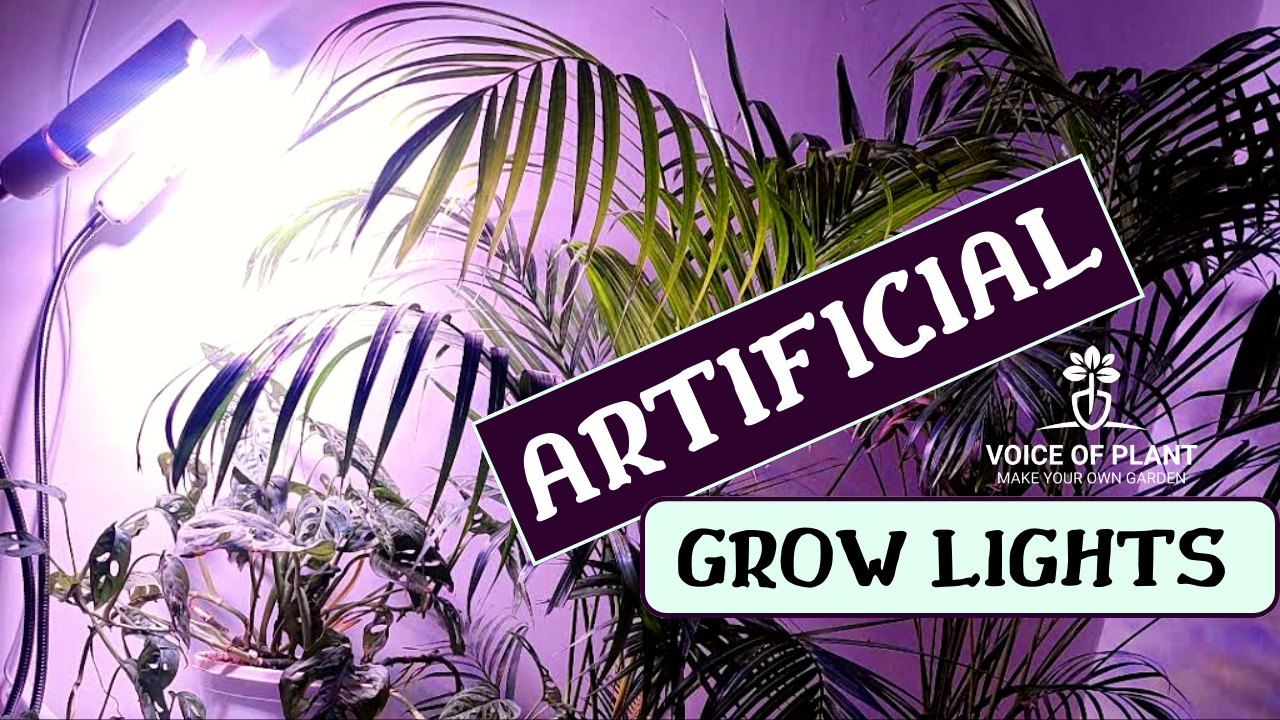
What is Artificial Grow Lights for Plants?
Artificial grow lights are electric lamps designed to stimulate plant growth by emitting light that mimics the natural sunlight spectrum.
- While sunlight remains the best source of energy for plants, artificial lights become essential in situations where natural sunlight is insufficient, especially in indoor gardening setups.
Types of Artificial Grow Lights:
There are different types of Artificial Grow Lights, as listed below:
1. Fluorescent Lights:
- Cost-effective and energy-efficient.
- Suitable for seedlings and low-light plants.
- Available in two main types: compact fluorescent lights (CFL) and tube fluorescent lights (TFL).
2. LED Lights:
- Energy-efficient and long-lasting.
- Provide the spectrum of light appropriate for different growth stages.
- Release less heat, making them appropriate for indoor gardening.
3. High-Intensity Discharge (HID) Lights:
- Produce intense light, suitable for all growth stages.
- Produce more heat and may need added ventilation.
Why one should use artificial lights for Plants

There are many reasons why one should use artificial lights. Some of them are listed below:
1. Inadequate Sunlight:
- In limited sunlight or during certain seasons, artificial lights ensure a consistent light source for plant growth.
2. Indoor Gardening:
- For those without access to outdoor spaces, artificial grow lights enable indoor gardening, allowing enthusiasts to grow plants throughout the year.
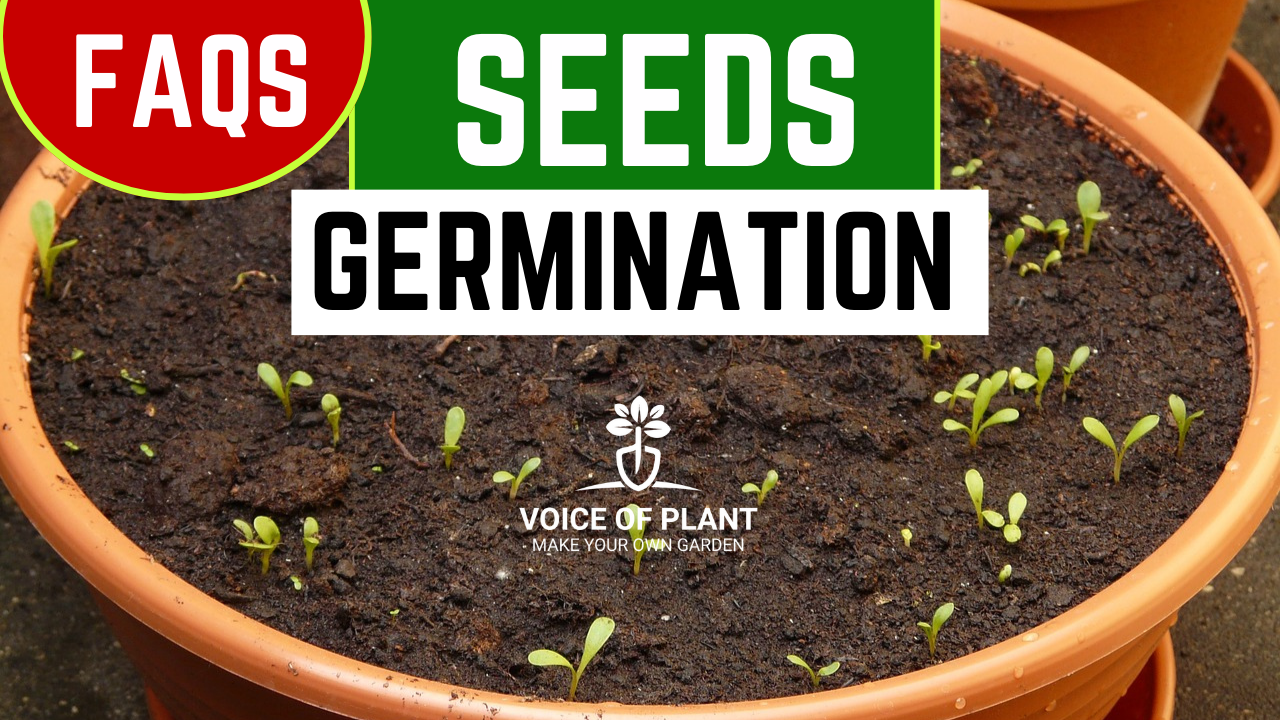
3. Seed Starting:
- Artificial lights aid in seed germination and early seedling growth, providing the necessary light for healthy development.
4. Extended Growing Seasons:
- With artificial lights, you can extend the growing season beyond typical sunlight hours, ensuring a continuous harvest.
How to Chose Right Artificial Grow Lights for Plants
One must be careful of the following factors while choosing the Right Artificial Grow Lights:
1. Light Spectrum:
- Different plants need different light spectrums for maximum growth.
- Full-spectrum lights that mimic natural sunlight are suitable for most plants.
2. Intensity and Duration:
- Regulate the intensity of the light based on the specific needs of your plants.
- Some may require more light during growth, while others need less during flowering.
3. Energy Efficiency:
- LED lights are the most energy-efficient option, consuming less electricity and emitting less heat.
4. Cost Considerations:
- Consider the initial cost, operational costs, and lifespan of the lights.
- While LED lights might be pricier upfront, their long lifespan and energy efficiency can result in cost savings over time.
Tips for using Artificial Grow Lights for Plants
One can keep the following tips handy for using Artificial Grow Lights:
1. Maintain the Right Distance:
- Adjust the height of the lights to maintain the optimal distance from the plants, preventing them from getting too much or too little light.
2. Follow the Light Cycle:
- Mimic natural light cycles by providing around 12-16 hours of light for most plants during the growth stage and 8-12 hours during the flowering stage.
3. Rotate Plants:
- If using stationary lights, rotate plants regularly to ensure all parts receive adequate light.
Conclusion:
Artificial grow lights are must-have tools for plant lovers. They help you grow plants indoors, even if you don’t have enough sunlight. Whether you are sowing seeds, growing herbs on a balcony, or keeping an indoor garden, knowing about different types of artificial lights and how to use them is essential for successful plant growth. So, light up your plants, let them flourish, and enjoy the beauty of gardening!
Happy Gardening!!