


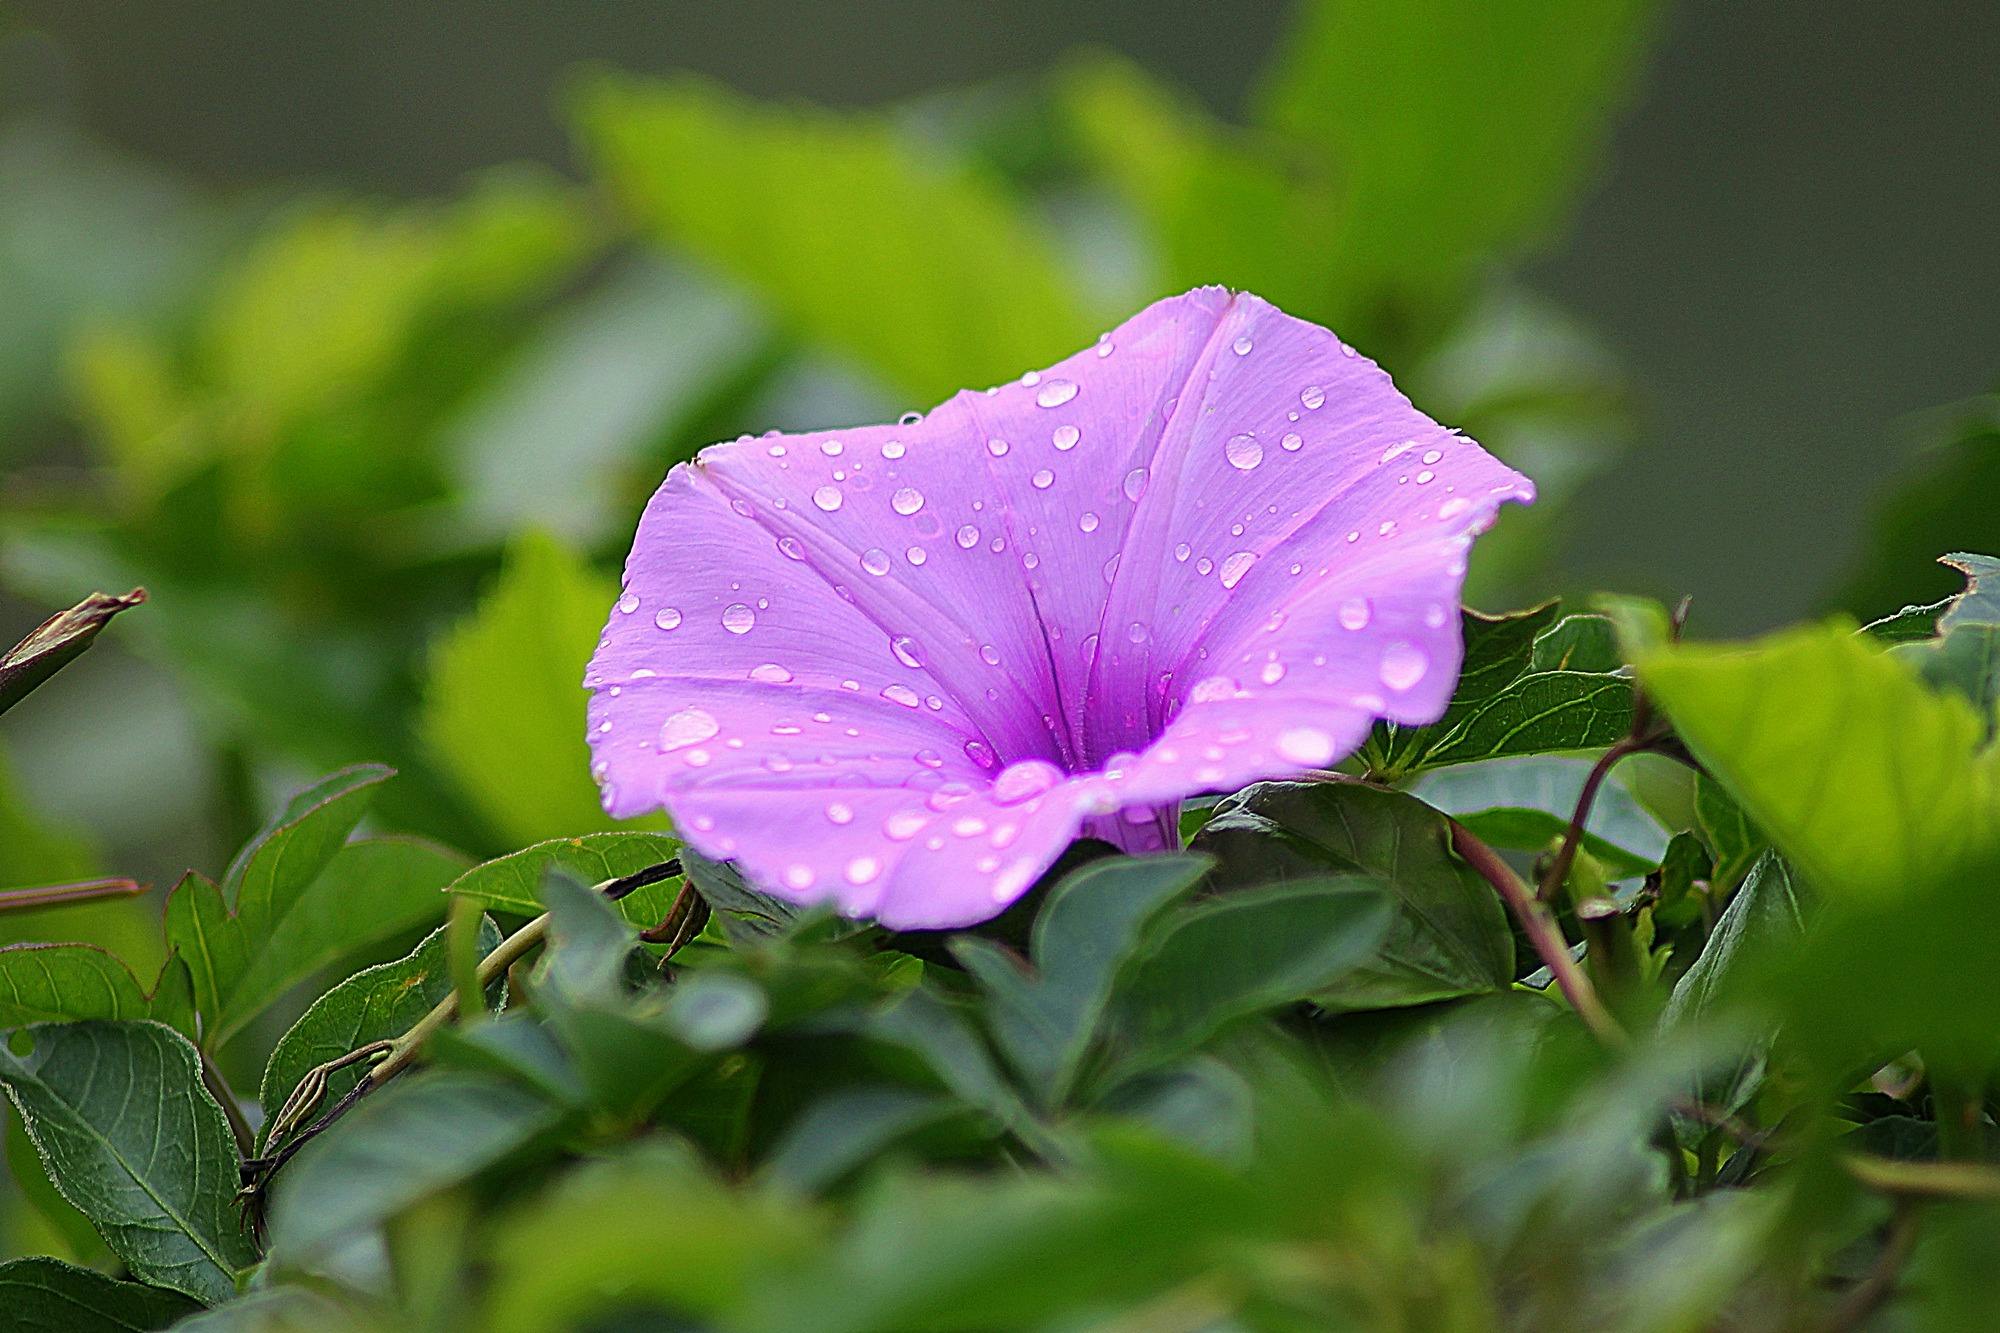
How to Grow and Care Morning Glory
Morning glories are stunning, fast-growing vines that produce an abundance of vibrant flowers throughout the summer. These plants are loved for their beauty and ability to attract pollinators like butterflies and hummingbirds. However, they can spread rapidly and sometimes become invasive, so it’s important to understand their growth habits before planting them in your garden.
In this guide, you’ll learn how to care for morning glories, plant them successfully, and keep them thriving all season long.

Quick Morning Glory Facts
-
Fast-growing climbing vine
-
Produces flowers in shades of blue, purple, pink, and white
-
Blooms open in the morning and close by afternoon
-
Attracts pollinators like bees and butterflies
-
Can become invasive in some regions
-
Prefers warm temperatures and full sunlight
How to Grow and Care Morning Glory
1. Temperature & Humidity
Morning glories prefer warm temperatures (21°C– 35°C) and grow best in areas where summers are hot.
- They can tolerate humidity and adapt well to different climate conditions. However, in cooler weather, their growth may slow down.
2. Light Requirements

Morning glories thrive in full sun and need at least 6-8 hours of direct sunlight daily.
- While they can tolerate brief periods of shade, too much shade will result in fewer blooms and weak, leggy vines.
3. Watering Needs
Water Deeply, But Not Too Often – Give morning glories a good soak once or twice a week instead of small daily watering. This helps their roots grow deep and strong.
- Water in the Morning – Water early in the day so the plant can soak it up before the sun gets too hot. This also prevents fungal diseases.
- Check the Soil First – Stick your finger 1 inch into the soil. If it feels dry, it’s time to water. If it’s still moist, wait a bit longer.
- Don’t Overwater – Too much water can turn the leaves yellow and weaken the plant. Let the soil dry slightly between watering sessions.
4. Fertilizer for Best Blooms
To get beautiful, healthy blooms, morning glories need the right organic nutrients. Here’s how to feed them naturally:
🌿 Use Compost or Kitchen waste compost – Mixing compost or Kitchen waste compost into the soil provides slow, steady nutrients without chemicals.
🍌 Banana Peel Fertilizer – Banana peels are a natural source of potassium and phosphorus, essential for flowering. Chop them up and bury them in the soil near the plant.
🌱 Liquid Seaweed fertilizer– A diluted seaweed feed every 4-6 weeks boosts growth and flowering naturally.
5. Best Soil for Morning Glory
-
Morning glories grow well in well-draining soil.
-
Avoid overly rich or fertile soil, as it can cause excessive foliage growth with fewer flowers.
-
Adding a small amount of compost can improve soil health, but don’t overdo it.
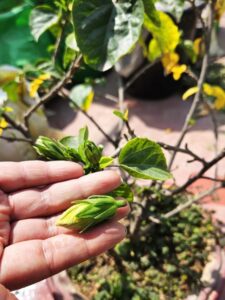
Common Problems, Pests & Diseases
Morning glories are relatively easy to grow and mostly free from serious diseases. However, some common issues include:
1. Fungal Diseases
-
Rust and powdery mildew can occur if plants are crowded or watered from above.
-
To prevent this, ensure good air circulation and water at the base of the plant.
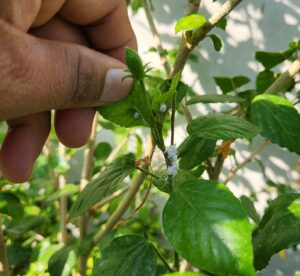
2. Pests
-
Leaf miners and Japanese beetles can sometimes attack morning glories.
-
If infestations are severe, use natural insecticidal soap or neem oil to manage pests.
When and How to Plant Morning Glories
1. Growing from Seeds
Morning glories are best grown from seeds. For an early start:
-
Indoors: Start seeds 2-3 weeks before the last frost.
-
Outdoors: Sow seeds directly in the ground after the last frost when the soil has warmed up.
-
Speed up germination by soaking seeds overnight or nicking the outer shell before planting.
2. Spacing & Depth
-
Plant seeds ½ inch (1 cm) deep.
-
Space them 6-12 inches apart to give vines room to spread.
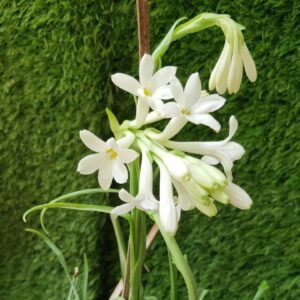
Also, read:
How To Care & Grow Tuberose (Rajnigandha) at home
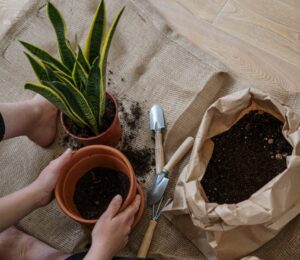
How to Grow Morning Glories in Pots
Morning glories can be grown in containers if given proper support.
Choosing the Right Pot
-
Use a large pot (at least 12 inches wide and deep).
-
Ensure it has good drainage to prevent root rot.
Providing Support
-
Use a sturdy trellis, fence, or stakes to support the vines.
-
Position the trellis in the pot before planting to avoid damaging the roots later.
Supporting & Training Morning Glories
Morning glories naturally climb by wrapping around supports. To encourage strong growth:
-
Provide trellises, fences, or arches for them to climb.
-
Position the support early in the season so vines can start climbing immediately.
-
You may need to gently guide young vines onto the support until they start twining naturally.
Deadheading & Pruning Morning Glories
1. Deadheading for Continuous Blooms
-
Morning glory flowers last only one day, but new buds keep forming.
-
Removing spent flowers (deadheading) encourages more blooms and prevents excessive seed production.
2. Pruning for Control
-
If vines become too long or tangled, trim them lightly to maintain shape.
-
Pruning isn’t necessary but helps control the plant’s size in smaller gardens.
Propagating Morning Glories
Morning glories can be propagated through:
1. Seeds (Best Method)
-
Allow some flowers to go to seed at the end of the season.
-
Collect and store seeds in a cool, dry place for next year.
2. Cuttings
-
Take 6-inch stem cuttings and place them in water or soil.
-
Keep the soil moist but not soggy until roots form.
3. Layering
-
Bend a vine and bury a section under soil while keeping the tip exposed.
-
Once roots form, cut and transplant the new plant.
Bonus Tips for Growing Morning Glories
✅ Encourage More Blooms: Avoid over-fertilizing and make sure your plant gets plenty of sun.
✅ Prevent Invasive Growth: Remove unwanted seedlings and deadhead flowers to prevent self-seeding.
✅ Grow with Companion Plants: Pair morning glories with roses, clematis, or sunflowers for a gorgeous garden display.
Morning glories are a fantastic choice for gardeners who want a fast-growing, colorful vine. With proper care, they will provide months of blooms and a beautiful garden display. Just remember to control their spread and give them plenty of sunshine, and they’ll reward you with a stunning floral show!
Follow our Social media channel:
1. Voice of Plant – YouTube Channel
2. Voice of Plant Facebook Page
3. Instagram Voice of Plant Channel
Happy Gardening !!