


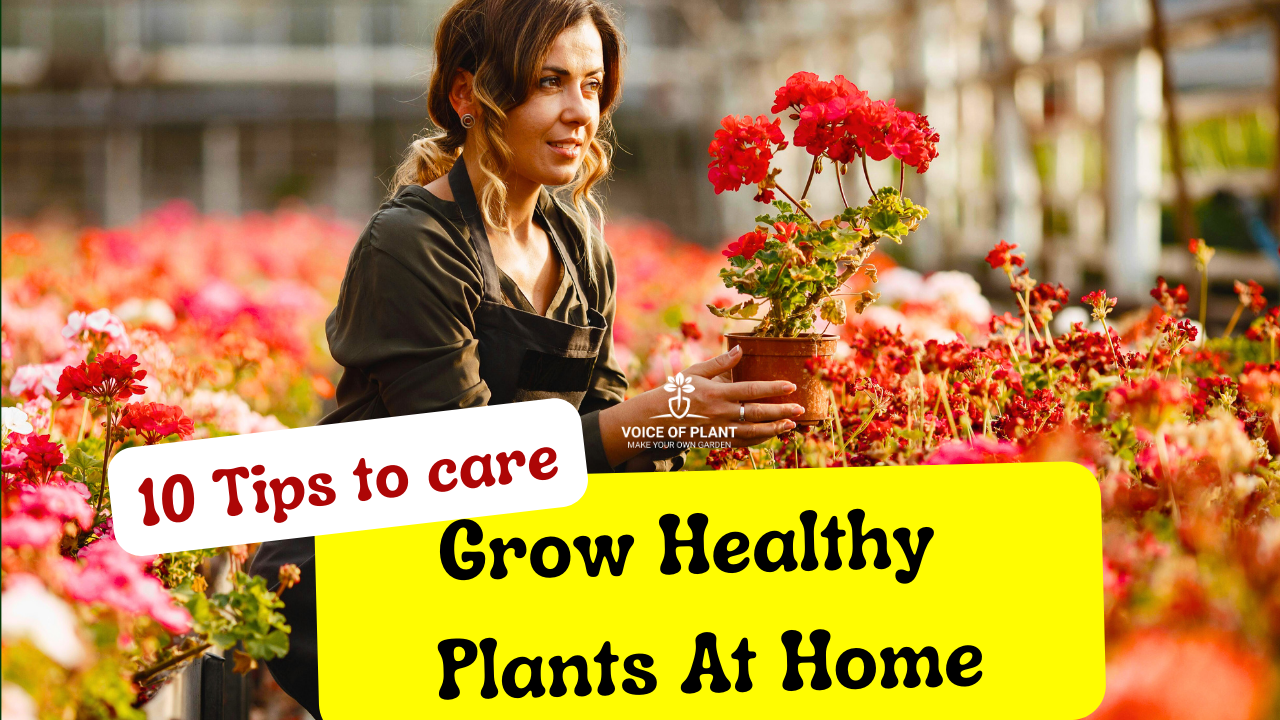
How to Grow Healthy Plants at Home
Whether you’re a beginner or an experienced gardener, growing healthy plants requires consistent care and attention. Growing healthy plants at home is not a difficult task. Just you need to follow these 10 simple tips to make your plant healthy throughout the season.

Here are some practical tips on “How to Grow Healthy Plants at Home”
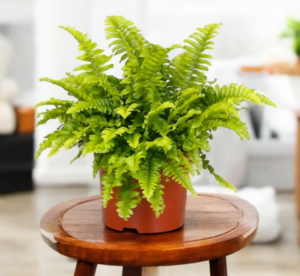
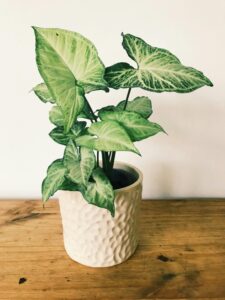
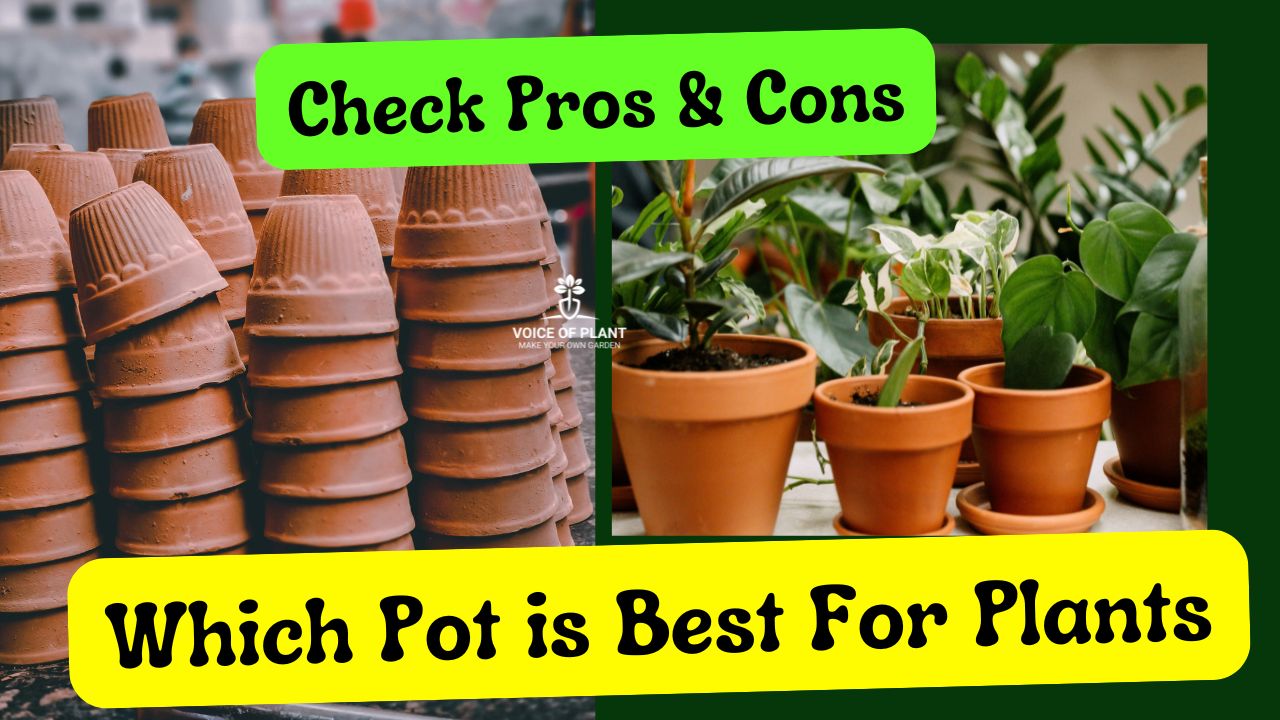
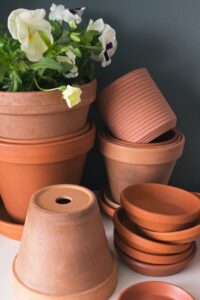
1. Use Clay Pots for Best Results
Clay pots are an excellent choice for gardening.
- They are porous, allowing air circulation to the roots and preventing overwatering.
- They also help keep the soil cooler, which is beneficial for most plants.
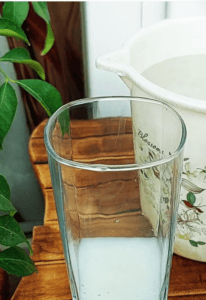
2. Balance Watering

Watering is crucial, but it’s a balance:
- Overwatering: Can lead to root rot.
- Underwatering: Can cause plants to dry out and weaken.
- Check the soil before watering.
- The top layer should feel dry but not cracked.
- Maintain a consistent watering schedule tailored to your plant’s needs.
Click here to read: How to Water Plants Correctly
3. Fertilize Regularly
Fertilizers supply essential nutrients that soil alone may lack:
For Outdoor Plants: Apply organic fertilizers like cow dung compost, vermicompost or any other liquid fertilizer every 15–20 days.
For Indoor Plants: Feed them less frequently, about once every 45 days.
- Using organic options ensures sustainable growth without harming the environment.
Click here to read: Best Organic Fertilizers for Plants
4. Pruning and Deadheading

Pruning: Remove dead or yellowing leaves to promote airflow and prevent disease.
Deadheading: Regularly remove spent flowers to encourage new blooms and improve the plant’s appearance.
Click here to read: Pruning of Plants Complete Guide
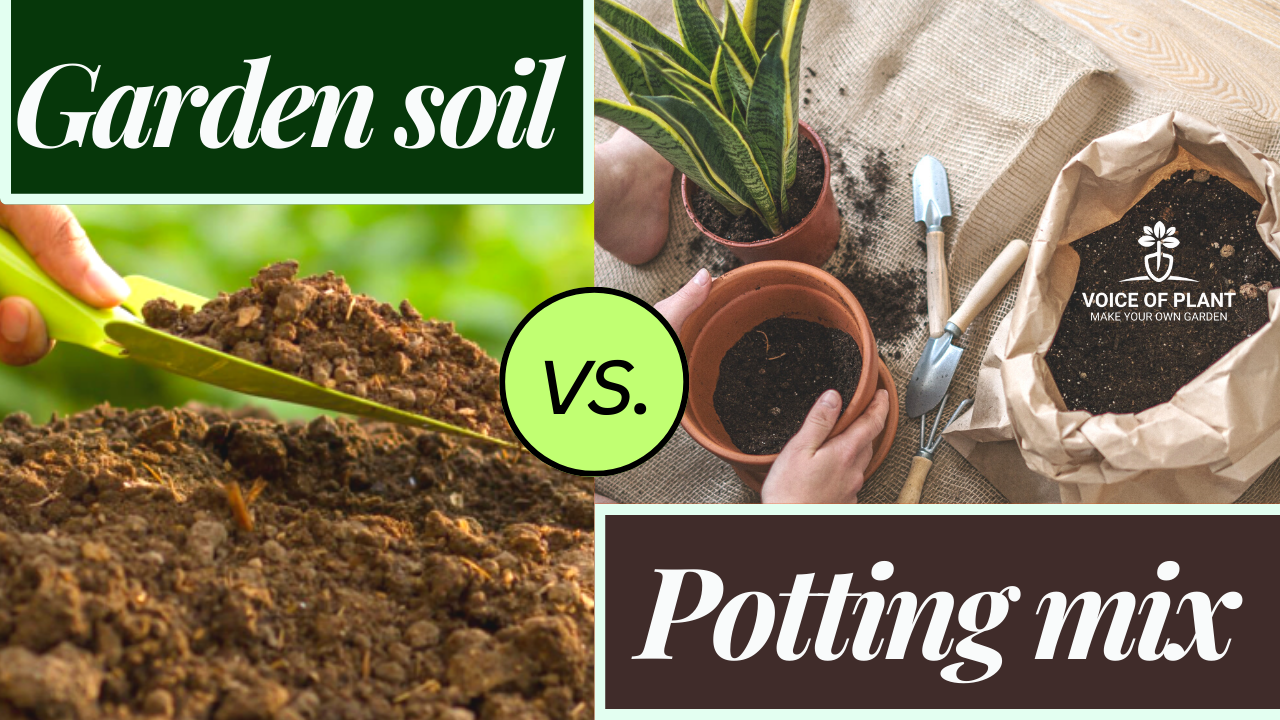
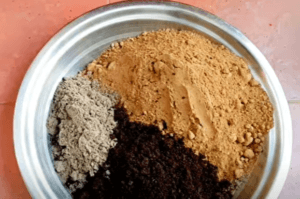
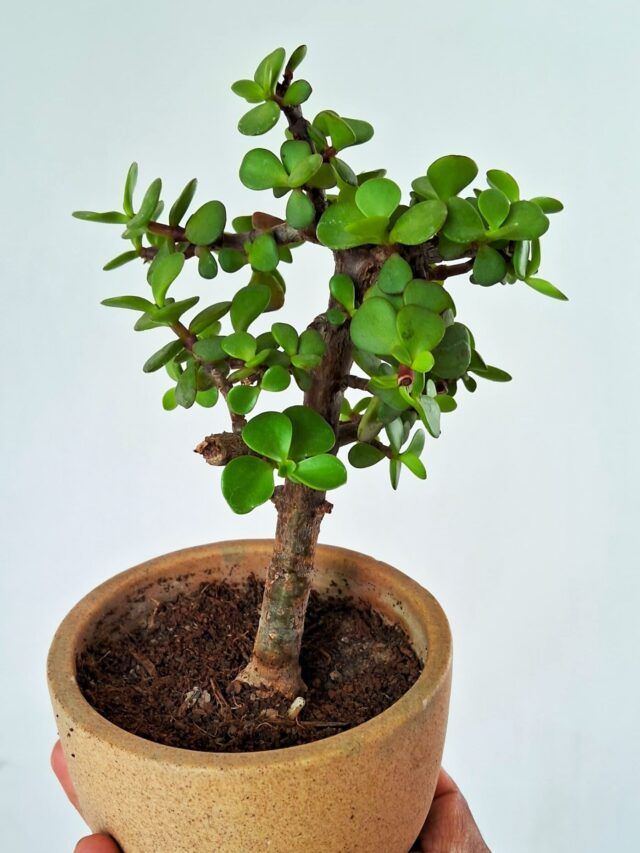
5. Use a Rich Soil Mix
Healthy plants start with healthy soil. A good mix should include:
- Garden soil for structure.
- Compost for nutrients.
- Sand or cocopeat to ensure the soil is porous and drains well.
A well-draining soil mix prevents water stagnation while retaining adequate moisture for roots.
Click here to read: Best Soil Mix for Plants
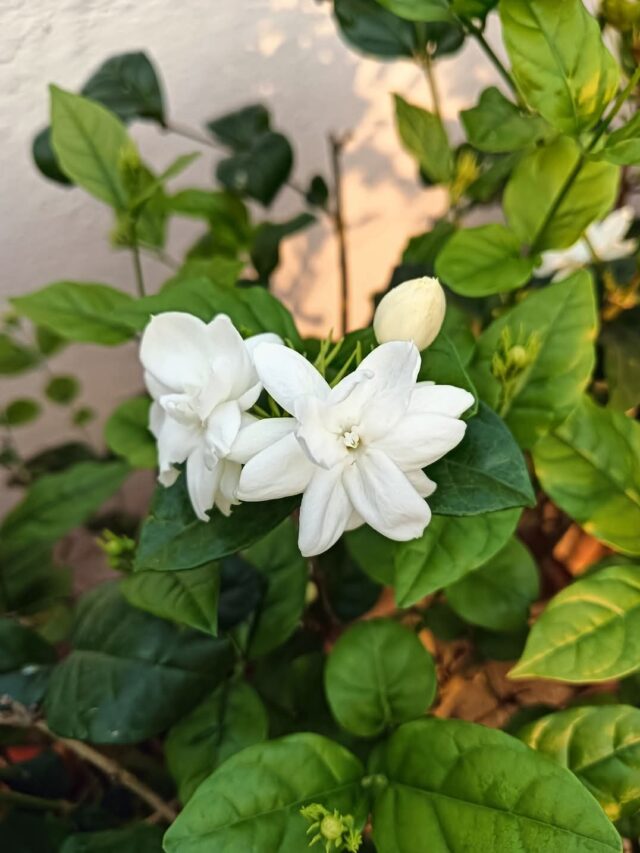
6. Provide Adequate Sunlight
Sunlight is essential for photosynthesis. Ensure your plants receive the appropriate amount:
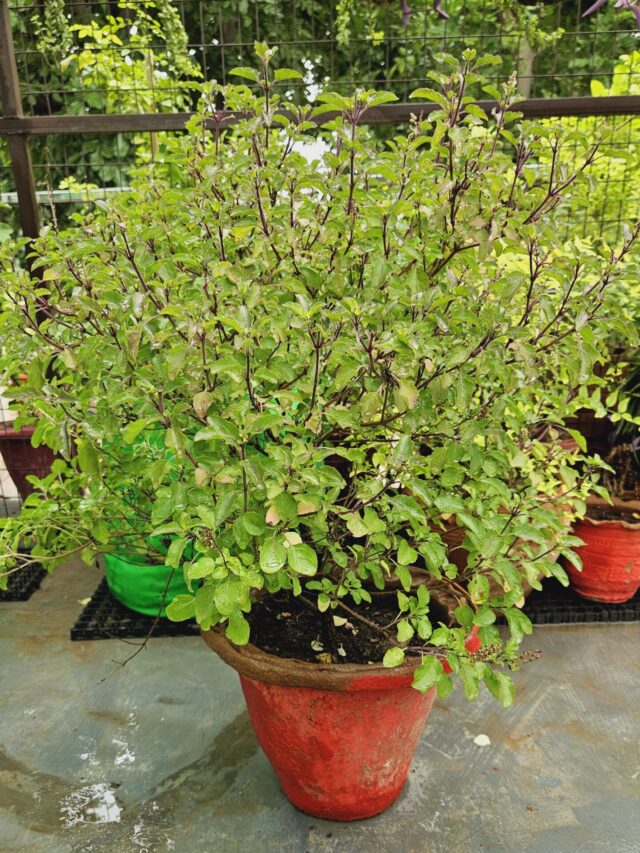
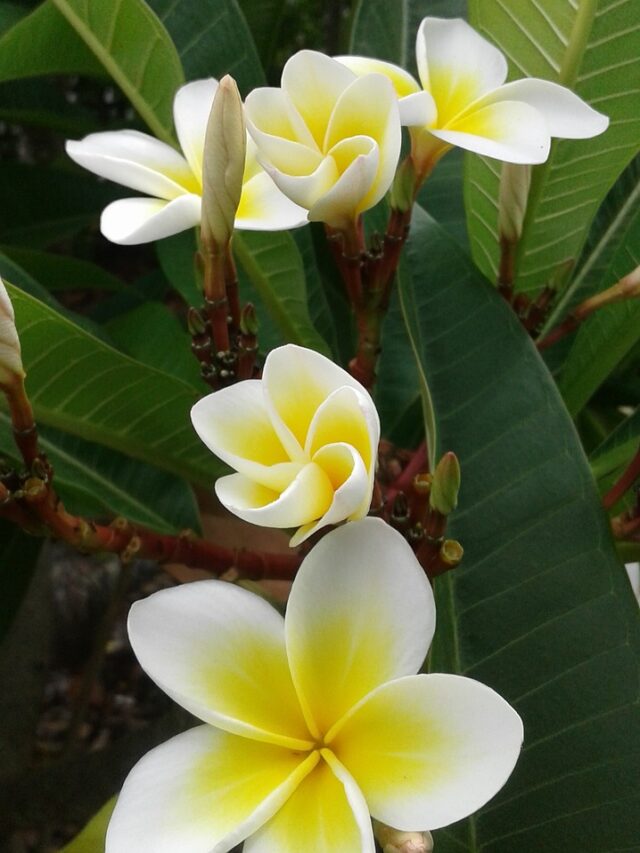
Full Sun Plants: Require 6–8 hours of sunlight daily (e.g., Tulsi, Curry leaf, Hibiscus, Roses, Marigolds, etc).
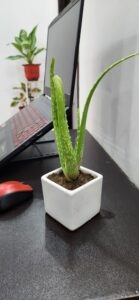
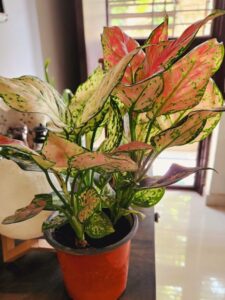
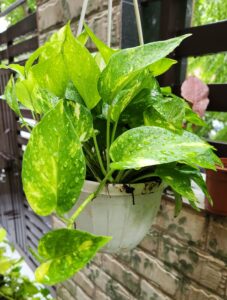
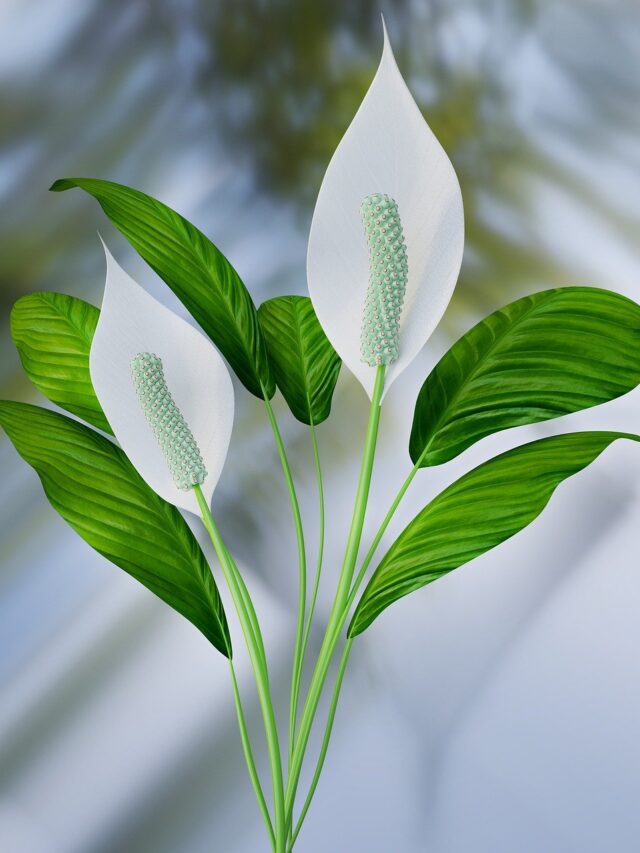
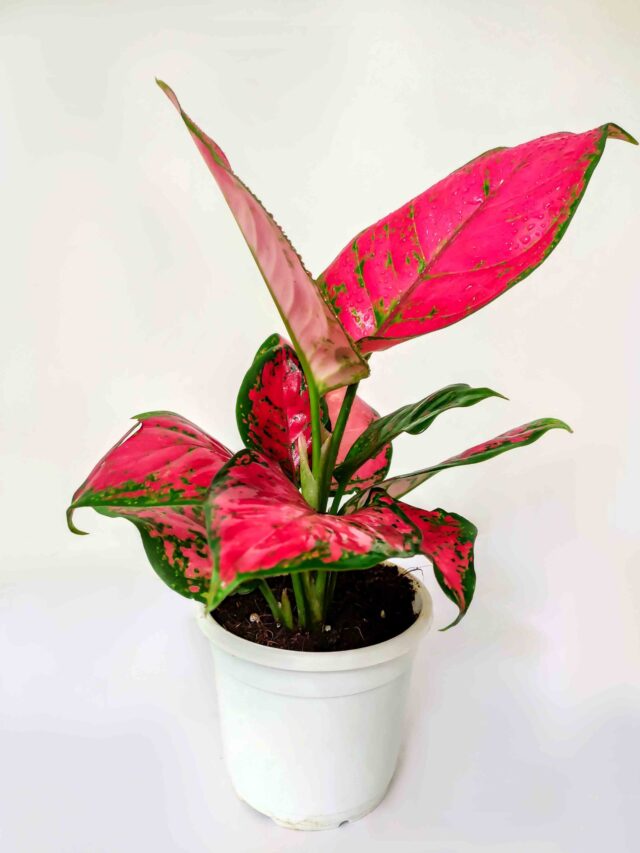
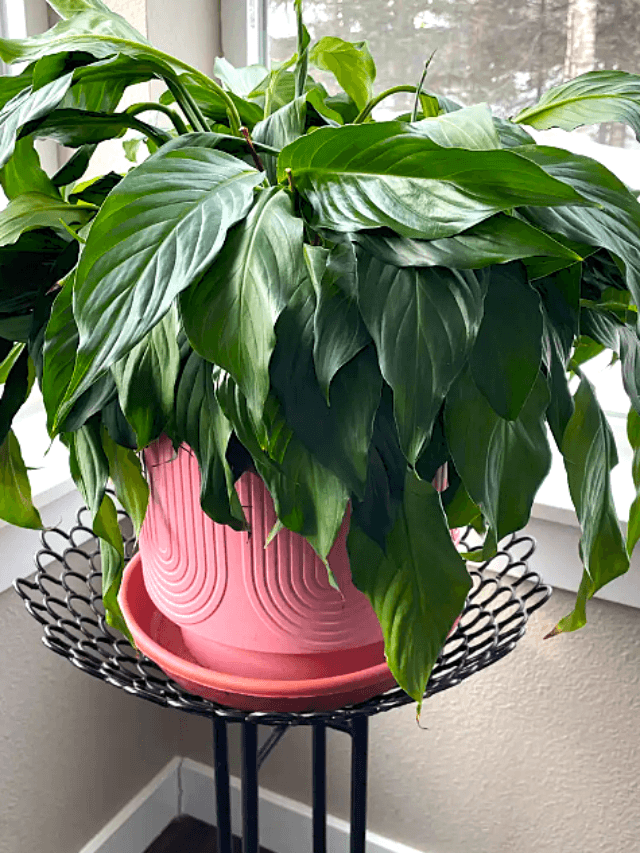
Partial Shade Plants: Thrive in bright and indirect light or 4–6 hours of morning sunlight (e.g., Peace Lily, Money plant (pothos), ferns, Aglaonema, etc.).
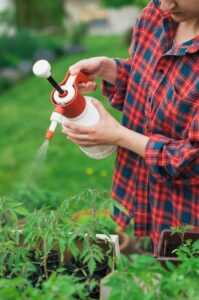
7. Pest Treatment
Pests can damage even the healthiest plants. Inspect leaves and stems regularly for signs of trouble.
- For mild infestations, wash the leaves with water.
- For persistent pests, use a neem oil spray (1 tablespoon neem oil + 1 liter water).
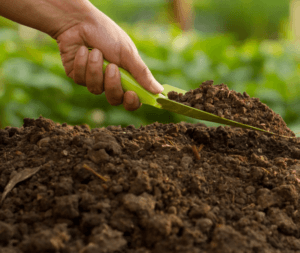
8. Tilling the Soil Every 15 Days
Loosening the soil every 15 days aerates the roots and ensures better water and nutrient absorption. This practice also helps in breaking up compacted soil, which can restrict root growth.
9. Do Not Move Plants Unnecessarily
Plants acclimate to their environment over time. Constantly moving them can cause stress and disrupt their growth.
- Position your plants carefully and allow them to thrive in their chosen spot unless there’s a compelling reason to relocate them.
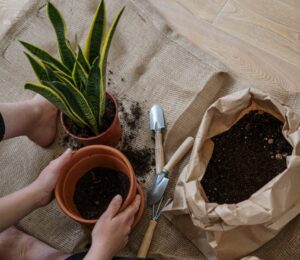
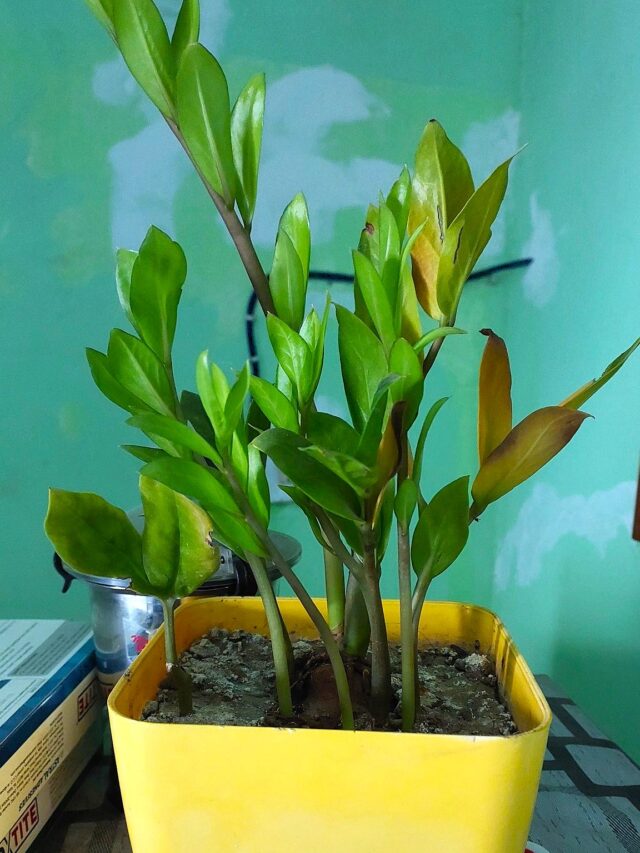
10. Repot When Necessary
As plants grow, their roots may outgrow the pot. Repot them into a slightly larger container every 1-2 years to ensure they have enough room to thrive.
Learn and Experiment
Gardening is about learning through experience.
- Observe how your plants respond to light, water, and fertilizers, and adjust accordingly.
- Don’t hesitate to try new plant varieties or techniques.
Be Patient and Enjoy the Process
Plants take time to grow and flourish. Be patient and enjoy the journey of caring for them. Each new leaf or bloom will be a reward for your efforts.
Gardening is both an art and a science. By following these tips, you’ll create a thriving garden filled with vibrant, healthy plants. Remember, plants are living beings that respond to care and patience, so enjoy the journey and learn from every experience!
Happy Gardening!
Follow our Social media channel:
1. Voice of Plant – YouTube Channel