


Understanding Fertilisers: The Basics of Plant Nutrition: We often hear that plants need regular fertilization to stay healthy and grow well.
But have we ever stopped to understand what fertilisers actually are? What are they made of? How do they support plant growth, and how do they actually nourish our plants?
What is the basic nature and function of fertilisers? Why are they considered so important?
When we understand the scientific reasons behind the things we use – such as why we are applying a particular fertiliser – it becomes much easier and more meaningful to use them correctly and effectively.
So, let’s take a moment to explore the fundamentals of fertilisers and understand their real importance.
Understanding Fertilisers
What are Fertilisers?
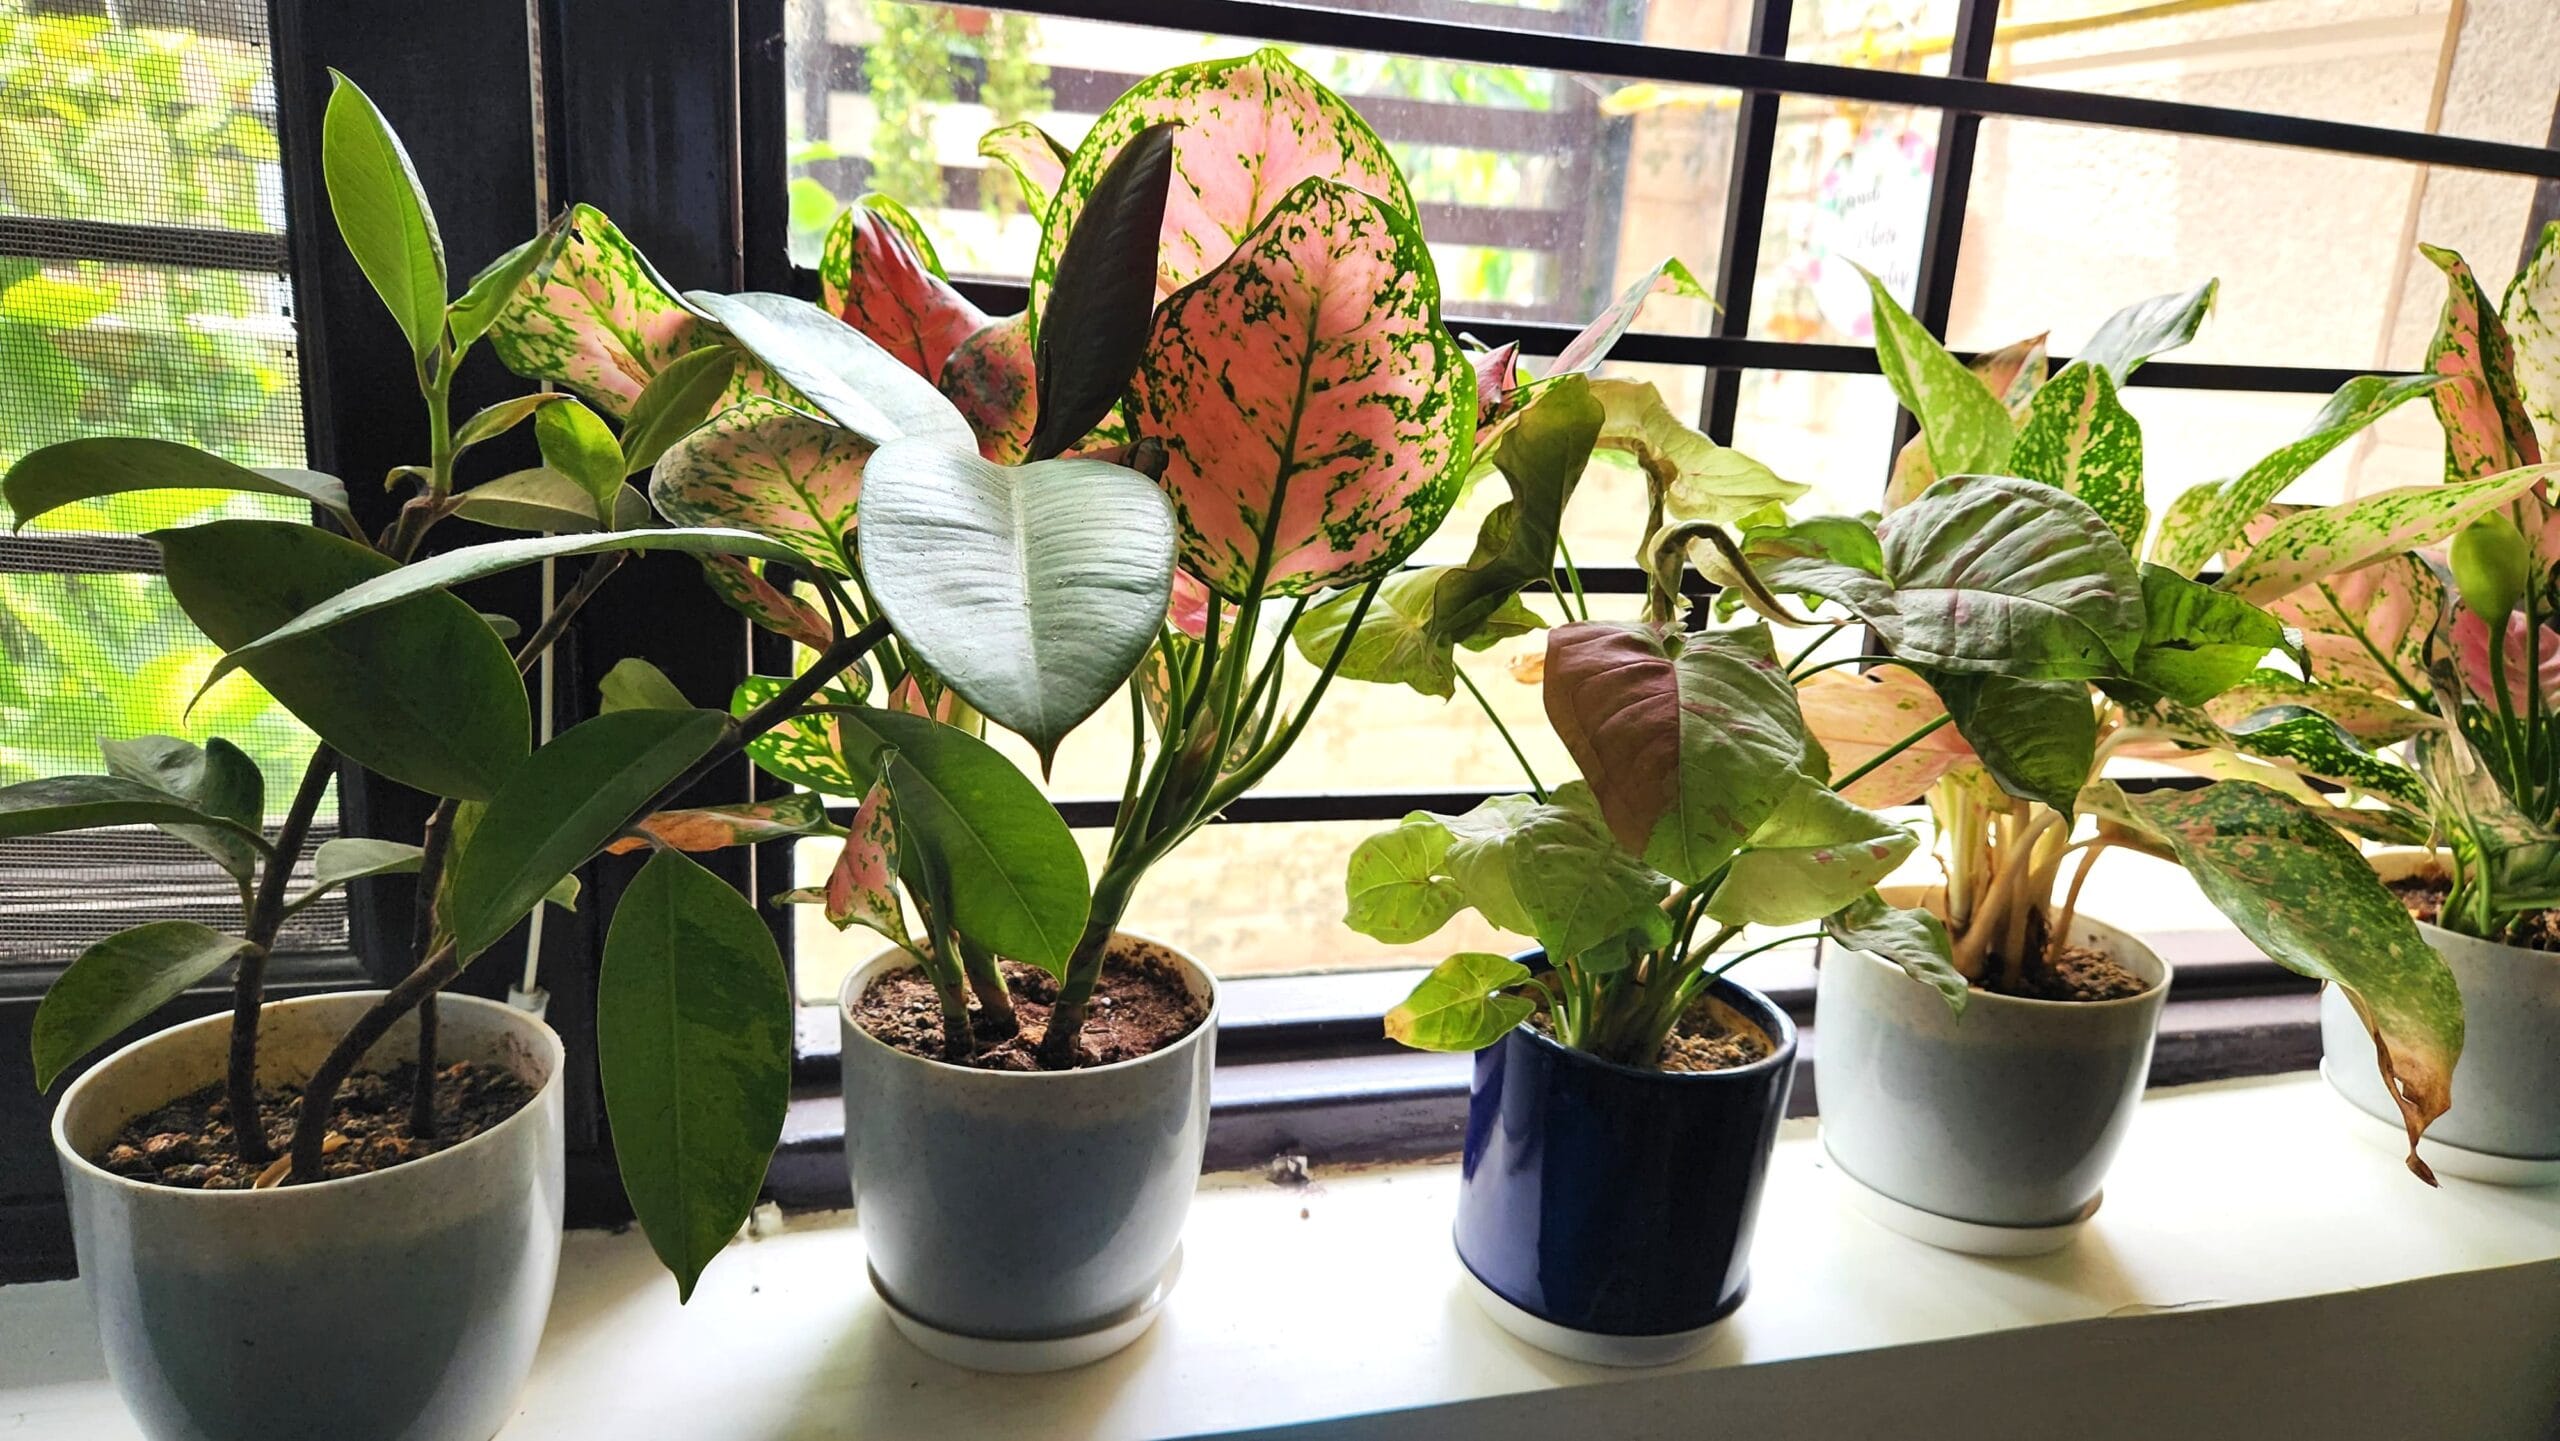
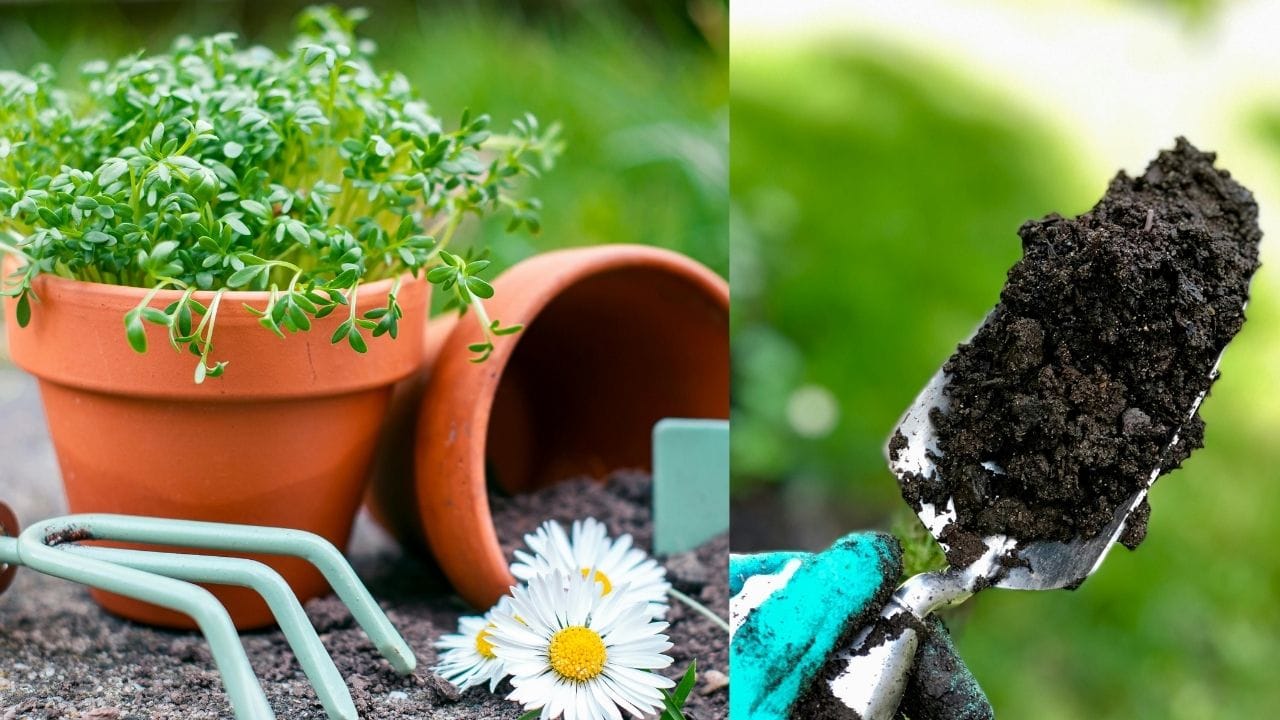
Fertilisers are organic, natural, or chemical substances added or sprayed onto the soil to enhance its fertility. They supply essential nutrients that help plants grow properly, promote flowering and boost the yield of fruits plus vegetables.
Fertilisers mainly consist of chemical elements from the periodic table, such as nitrogen, phosphorus, potassium, magnesium, boron and others. These elements play a crucial role in supporting plant health and are vital for their optimal growth and overall well-being.
How Do Fertilisers Help Plants?
In simple terms, fertilisers act as food for plants—just as humans need food to survive, plants rely on fertilisers for nourishment.
While sunlight is the main source of energy for plants and carbon dioxide is their main source of matter, fertilisers play a different but crucial role. Let’s understand it in detail.
The primary function of fertilisers
- To help plants absorb energy effectively and build tissues. This tissue formation is what we see as visible plant growth—such as the emergence of new leaves, flowers, fruits, and vegetables.
- Each essential nutrient in fertilisers plays a specific role in this process.
Nitrogen: This is a key nutrient responsible for providing chlorophyll—the pigment that allows plants to make food through photosynthesis in the presence of sunlight. We’ve been learning since school that chlorophyll is essential for this process.
Fertilisers boost plants immune system
Fertilisers also strengthen the plant’s immune system. A well-nourished plant is more resistant to pest attacks and diseases, making it healthier and more resilient.
- In fact, research shows that fertilisers can increase the yield of fruits, flowers and vegetables by 20–80%.
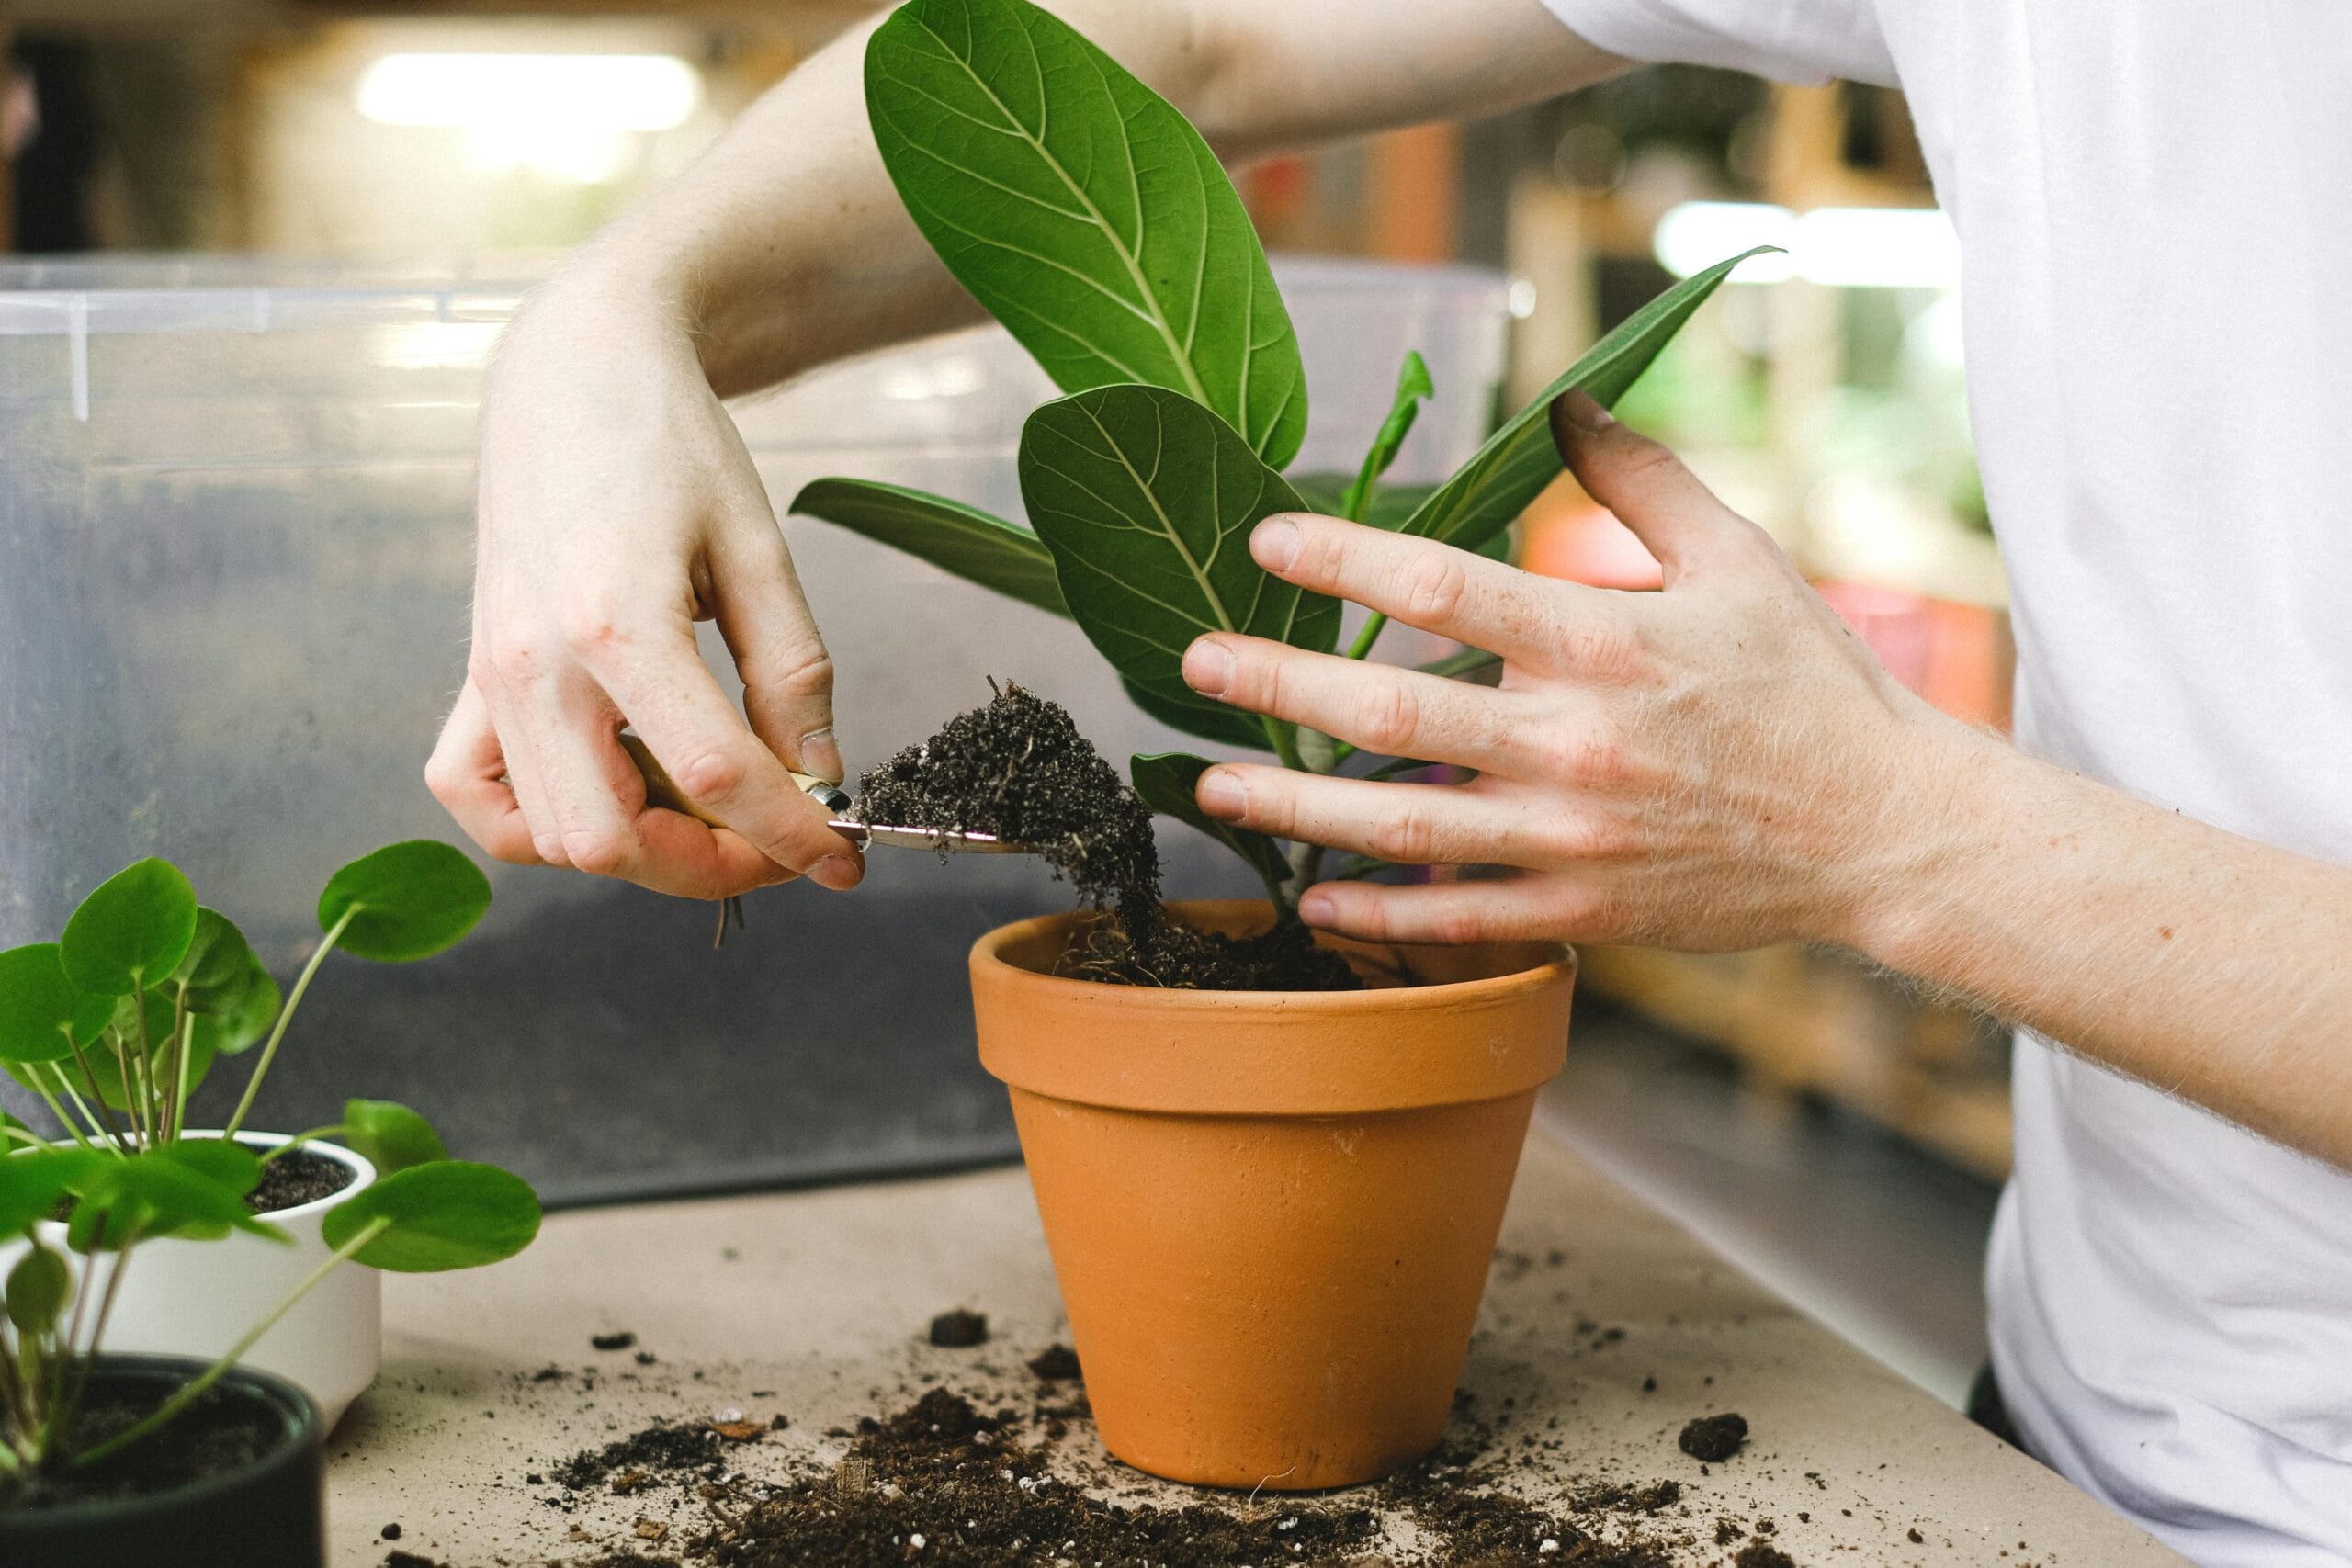
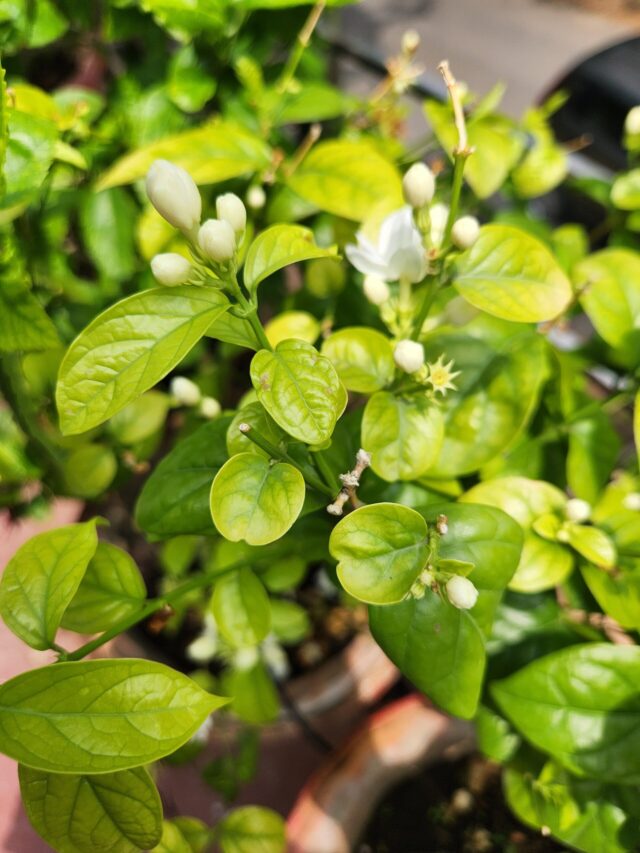
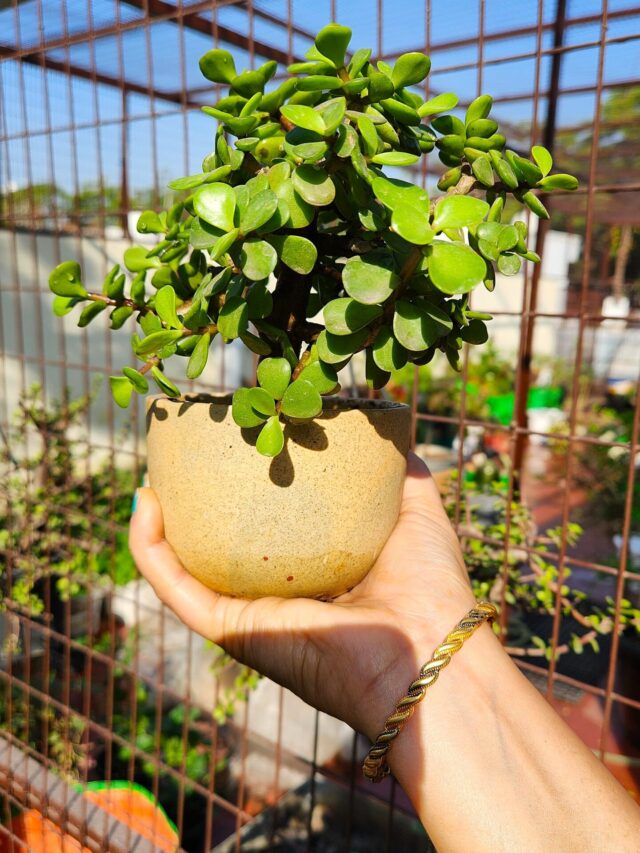
In short, fertilisers are vital for healthy plant growth. Houseplants or container-grown plants need fertilisers more frequently than those grown in open soil. This is because, over time, the limited soil in containers loses its nutrients and must be replenished.
Without proper fertilisation, plants may show stunted growth, nutrient deficiencies and reduced yields—producing fewer flowers, fruits or vegetables than healthy, well-fed plants.
| Also, read these articles |
What is NPK? It’s Role in Plant Growth
Understanding NPK – The Three Essential Nutrients for Plants
NPK stands for the three most vital and foundational nutrients required for plant growth:
-N for Nitrogen,
-P for Phosphorus, and
-K for Potassium.
Let’s take a closer look at the specific roles each of these elements plays in plant health:
1. Nitrogen (N):
Nitrogen plays a vital role in promoting lush, green foliage and overall vegetative growth in plants. It also helps regulate the uptake of other nutrients, ensuring balanced and effective nourishment.
2. Phosphorus (P):
Phosphorus is particularly important during the early stages of a plant’s life, as it promotes strong root development. Healthy roots lead to better absorption of water and nutrients from the soil.
- Phosphorus also boosts the plant’s strength and resilience, encourages blooming and seed formation.
- It plays a key role in converting sugars into energy, hormones and proteins.
- It is crucial for both photosynthesis and cell division.
3. Potassium (K):
Potassium contributes to the overall development of stems and leaves.
- It enhances the plant’s resistance to diseases and improves its hardiness.
- Potassium also influences water regulation within the plant—plants lacking potassium may only survive if moisture is constantly available.
- Additionally, it aids in the uptake of iron and is involved in the formation and movement of proteins, starches, sugars, and oils, ultimately improving the size and quality of fruits.
In summary, NPK forms the core foundation of plant nutrition, each element playing a distinct yet complementary role in supporting healthy growth, development, and productivity.
| About the Author
Mrs. Sudeepti Bajpai is a passionate gardener and plant lover with over 15 years of experience. She helps people grow thriving gardens through container, balcony, and terrace gardening, and has successfully grown many vegetables in pots and limited spaces. On her YouTube channel “Voice of Plant,” she teaches people the science and logic behind gardening in a simple, practical way — from composting and repotting to pruning and plant care routines. Follow us: |
Happy Gardening!