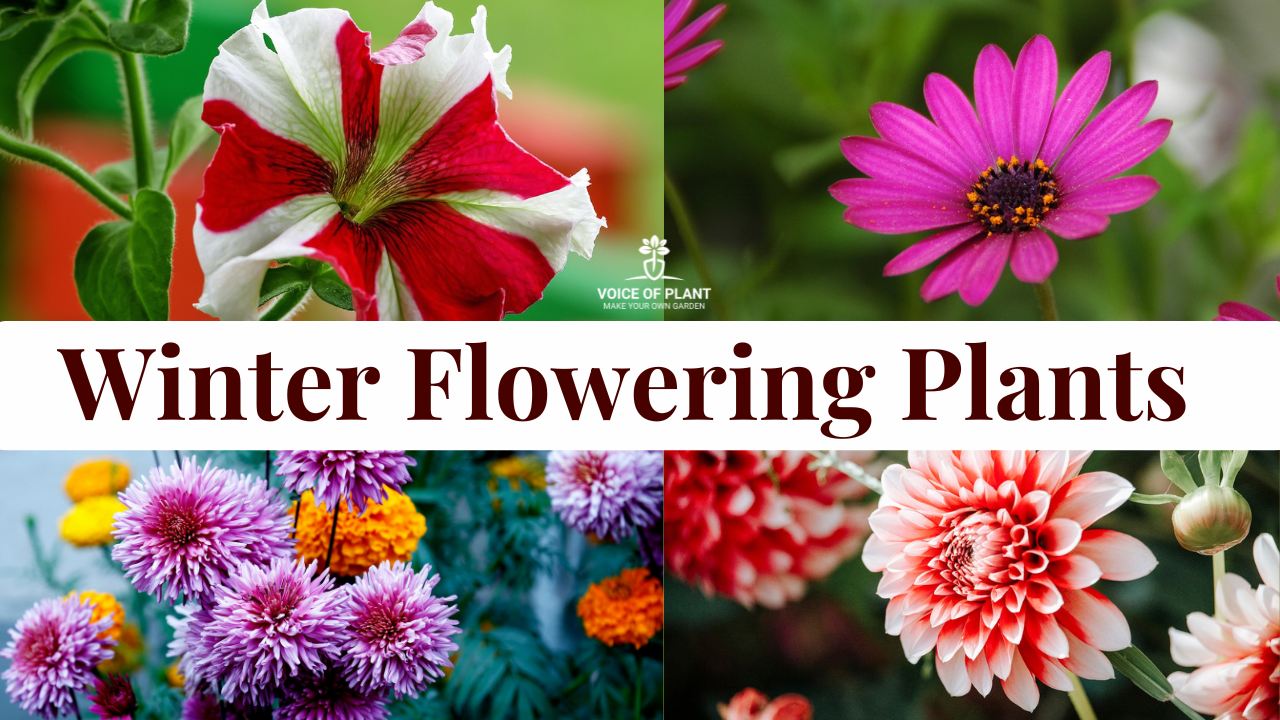


Chrysanthemum Plant Care Tips, Soil, Watering, Sunlight
The chrysanthemum plant is indeed hardy and resilient, capable of surviving with minimal care, although optimal care leads to better flowering and overall health. While beginners may encounter challenges in nurturing these plants, they generally thrive well even with basic attention.


In this article, we will cover all aspects including pruning, fertilizer requirements, ideal season, pot size, and other essential needs.
- How to care Chrysanthemum plant?
- How to encourage flowering in Chrysanthemum plant?
- What to do to troubleshoot bud blooming issues in Chrysanthemum plant?
- How to promote denser and bushier growth in Chrysanthemum plant?
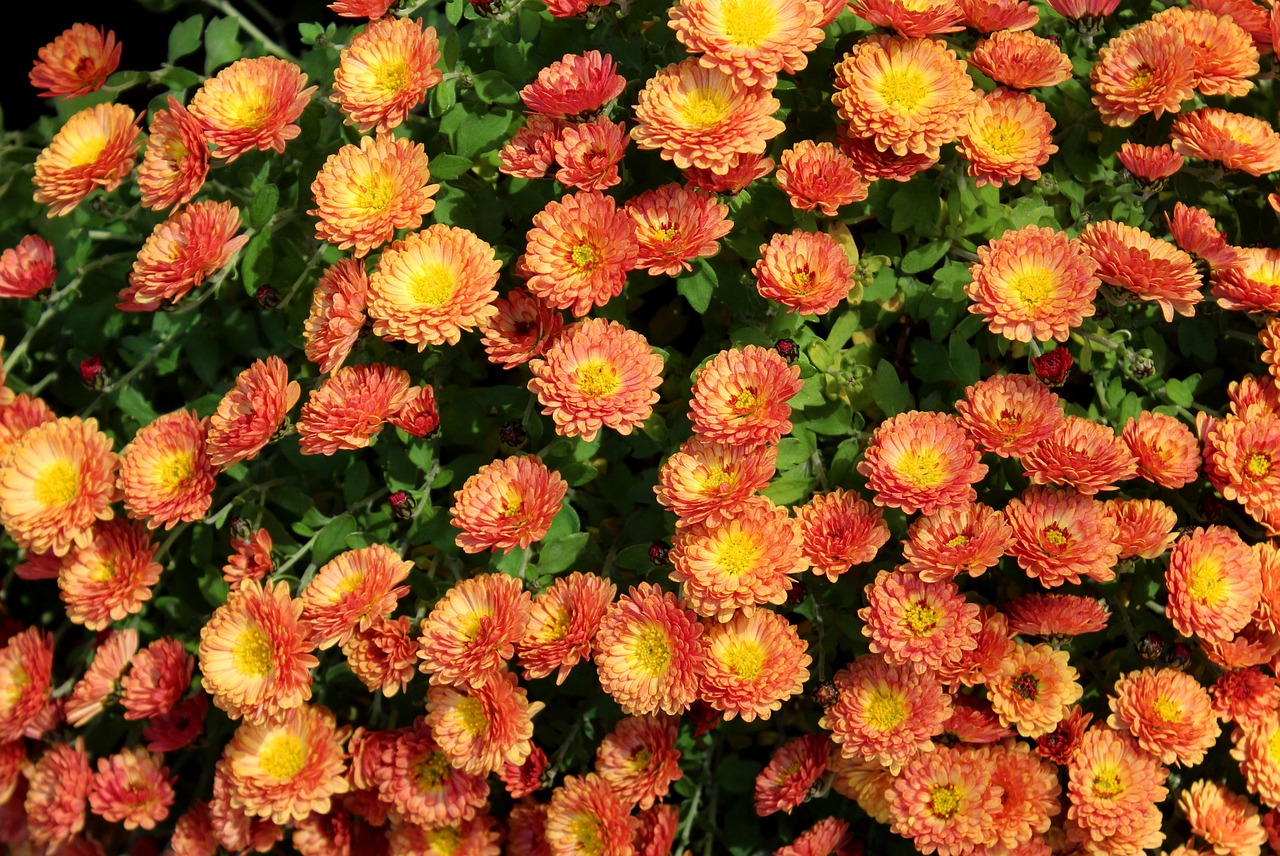
Let’s understand Chrysanthemum plant basic nature
Chrysanthemums are perennial plants, meaning they can live for several years with proper care. With consistent attention, they can maintain their green foliage year-round.
- However, Chrysanthemum plant typically bloom in the fall, starting around October, although the exact timing may vary depending on the specific variety and growing conditions.
- Flowering during the summer and monsoon seasons is less common but not impossible, especially with certain cultivars or in controlled environments.
How to Grow Chrysanthemum plant


To grow chrysanthemum plants, there are several methods you can employ:
1. From Cuttings:
- Remove the lower leaves from the branch and insert it into the soil, ensuring that at least one node is buried beneath the surface.
2. Dividing Roots:
Chrysanthemum plants (Guldavari) can produce new plants from their roots also.
- To propagate in this manner, separate a portion of the plant from the roots and bury it under the soil to obtain multiple plants from a single root. This method is straightforward and offers an easy way to propagate chrysanthemums.
3. From Seeds:
Chrysanthemum plants can also be grown from seeds.
- Seeds are available from nurseries, seed markets, or online retailers.
However, if purchasing from a nursery, the best time to buy chrysanthemum plants is during autumn, from the end of October to November.
Chrysanthemum Plant Growth Cycle:


- If the plant is purchased in October with abundant flowers and buds, perform light pruning at this time.
- In February, consider hard pruning as plants grow vigorously; follow regular care thereafter.
- During extreme summer (May/June), relocate to a shaded area to protect from heat.
In August, the Chrysanthemum plant undergoes a significant transition. It is advisable to repot the plant or refresh the soil during this month.
- Check the roots by carefully removing the plant from its pot, apply fertilizers, and begin lightly pinching the plant. Typically, growth occurs from August to October, with new branches emerging and flowers blooming towards the end of October.
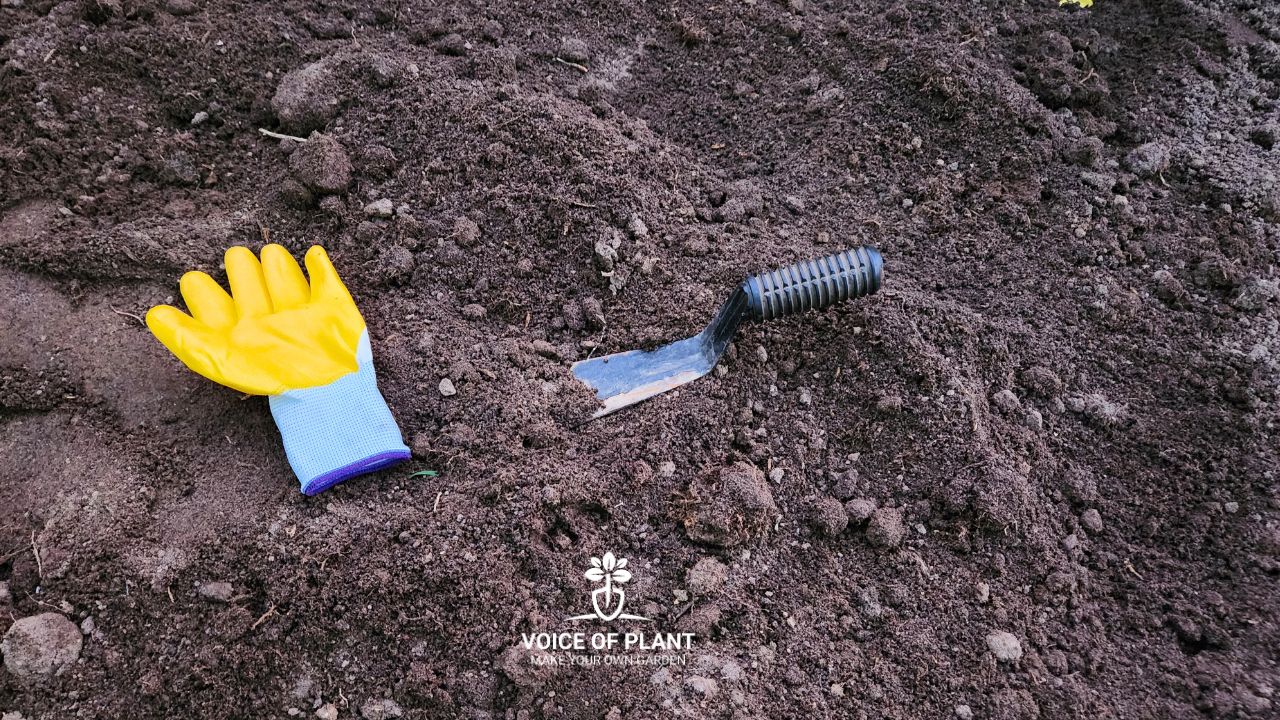
Soil Mixture for Chrysanthemum Plant
The soil mixture for this plant must be of exceptional good because once it starts growing, it becomes so dense that there will be no room left to add anything later on.
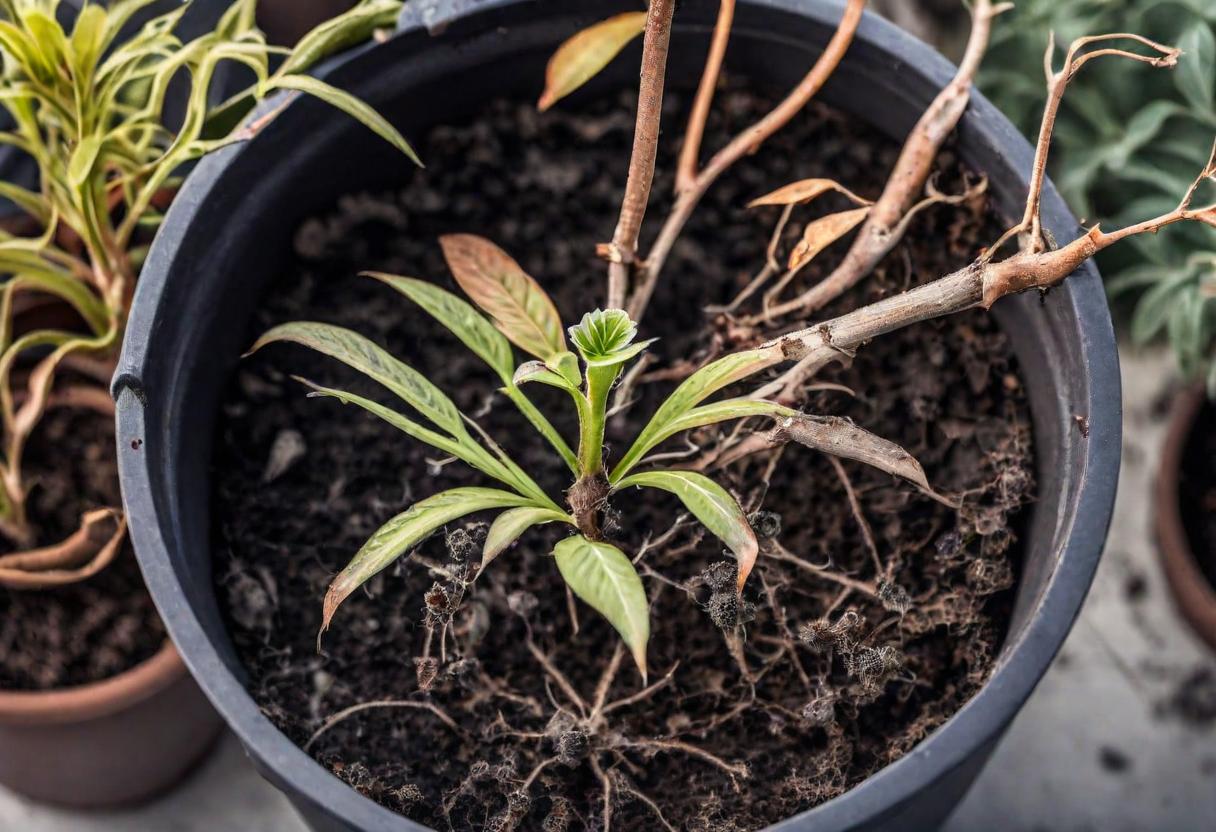
- Additionally, this plant is susceptible to fungus and insect infestations, which can quickly proliferate in the soil.
- If the soil becomes compacted and water cannot pass through, the plant will not survive.
- Furthermore, during the peak flowering period, the soil requires ample nutrition to support the plant’s needs, so it should be enriched with nutrients.
The soil should be well-balanced with all the necessary nutrients and have proper drainage characteristics.
Note:
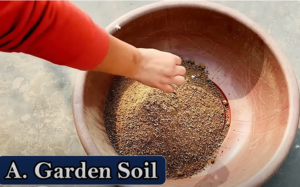
- Mix local soil, compost, sand, cocopeat, fungicide, and fertilizers for optimal soil quality.
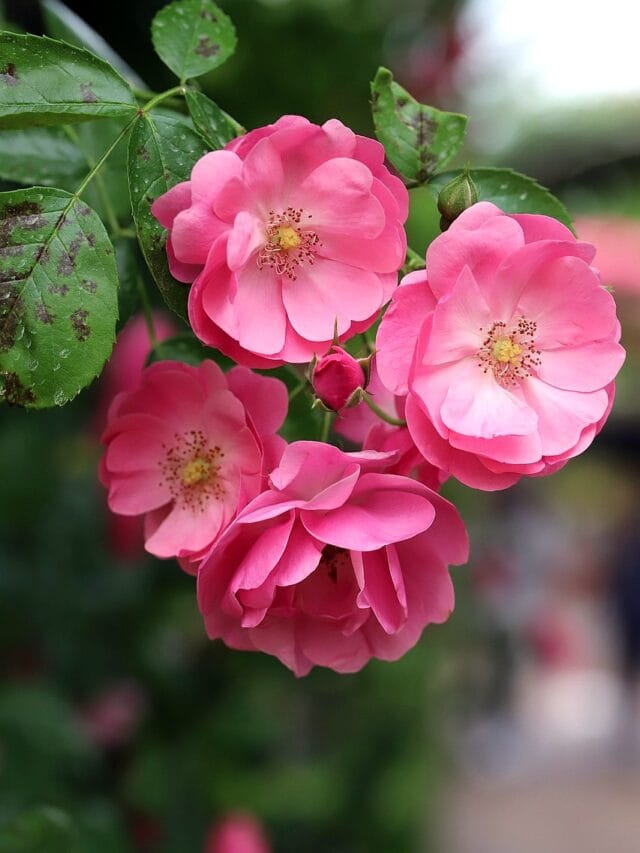
Also, read: Rose Plant Complete Care Guide
Sunlight Requirement for Chrysanthemum Plant


Chrysanthemum plant prefers maximum sunlight exposure.
- At least 4 hours of sunlight daily needed for proper growth. However, keep plant in shaded are during extreme summer.
- During rainy season, allow some rainfall but otherwise keep shaded. Excessive water may lead to a fungus attack.
Watering Tips for Chrysanthemum Plant


Give water whenever the soil appears dry, but avoid overwatering.
- However, during the peak flowering period from October to January, the soil tends to dry out rapidly, requiring more frequent watering.
Follow our Social media channel:
1. Voice of Plant – YouTube Channel
2. Voice of Plant Facebook Page
3. Instagram Voice of Plant Channel
Happy Gardening!
Make Your Own Garden!