


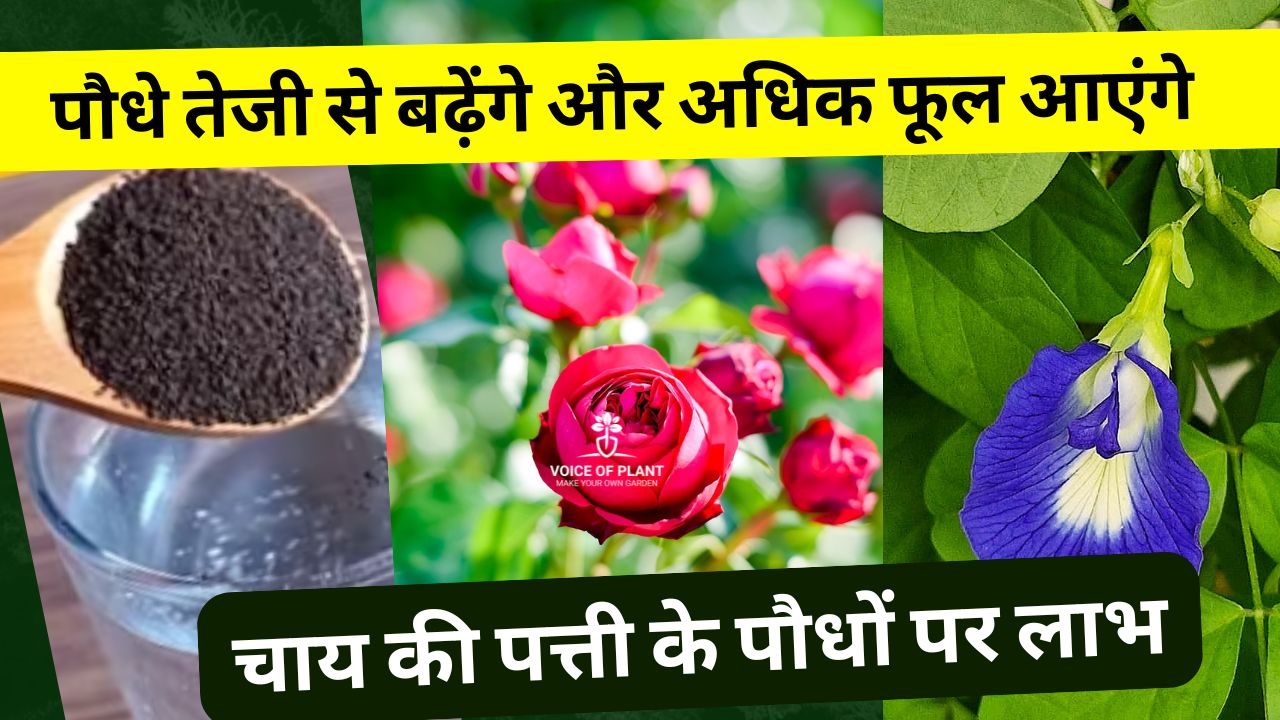
क्या चाय की पत्ती डालने से पौधों में अधिक फूल आते हैं?
अगर आप अपने बगीचे में लगे गुलाब, अपराजिता या अन्य फूलों के पौधों में अधिक फूलों की चाह रखते हैं, तो चाय की पत्ती आपके लिए एक शानदार प्राकृतिक उपाय हो सकता है। चाय की पत्तियों में मौजूद नाइट्रोजन, पोटैशियम और अन्य पोषक तत्व मिट्टी को समृद्ध बनाते हैं, जिससे पौधे ज्यादा स्वस्थ होते हैं और फूल अधिक खिलते हैं। यह एक प्राकृतिक उर्वरक की तरह काम करता है, जो न केवल पौधों की वृद्धि को बढ़ाता है, बल्कि मिट्टी की गुणवत्ता को भी सुधारता है।
Benefits of Adding Tea Leaves in Plants Boost Flowering in Plants
चाय की पत्ती के पौधों पर लाभ
चाय की पत्ती को खाद के रूप में इस्तेमाल करने से पौधों को कई फायदे मिलते हैं:
✅ मिट्टी की उर्वरता बढ़ती है – चाय की पत्तियों में मौजूद पोषक तत्व मिट्टी को अधिक उपजाऊ बनाते हैं।
✅ पौधों की वृद्धि को बढ़ावा मिलता है – नाइट्रोजन की अधिकता के कारण पौधे घने और स्वस्थ होते हैं।
✅ फूलों की संख्या और गुणवत्ता बढ़ती है – पौधों में अधिक फूल खिलते हैं और उनके रंग भी अधिक जीवंत होते हैं।
✅ मिट्टी की नमी बनी रहती है – चाय की पत्तियां मिट्टी की नमी को बनाए रखने में मदद करती हैं।
Benefits of Adding Tea Leaves in Plants Boost Flowering in Plants
चाय की पत्तियों को पौधों में कैसे करें उपयोग?
अगर आप अपने पौधों में चाय की पत्तियों का सही तरीके से इस्तेमाल करना चाहते हैं, तो इन सरल स्टेप्स को अपनाएं:
1. चाय की पत्तियों को इकट्ठा करें
जब भी आप चाय बनाते हैं, तो बची हुई पत्तियों को फेंकने के बजाय इकट्ठा कर लें। ध्यान रखें कि पत्तियों में दूध या चीनी न मिली हो, क्योंकि यह पौधों के लिए नुकसानदायक हो सकता है।
2. पत्तियों को अच्छी तरह से धो लें
चाय की पत्तियों में बची हुई चीनी या अन्य अशुद्धियों को हटाने के लिए उन्हें ठंडे पानी से अच्छे से धो लें। इसे दो-तीन बार अच्छी तरह धोना जरूरी है ताकि कोई भी अवांछित तत्व न रह जाए।
3. चाय की पत्तियों को सुखाएं
धुली हुई चाय की पत्तियों को धूप में अच्छे से सुखा लें ताकि वे अधिक समय तक सुरक्षित रह सकें और जल्दी खराब न हों।
4. पौधों में चाय की पत्तियां डालें
अब इन सूखी पत्तियों को सीधे पौधों की जड़ों के आसपास मिट्टी में मिला दें। प्रति पौधा 1-2 चम्मच चाय की पत्ती पर्याप्त होती है। यह धीरे-धीरे मिट्टी में घुलकर पौधों को पोषण देती है।
5. खाद में मिलाकर भी कर सकते हैं उपयोग
अगर आप कम्पोस्ट (खाद) तैयार कर रहे हैं, तो उसमें भी चाय की पत्तियों को मिला सकते हैं। इससे खाद की गुणवत्ता बढ़ती है और पौधों को अधिक पोषक तत्व मिलते हैं।
महत्वपूर्ण सावधानियां
चाय की पत्तियों का उपयोग करने से पहले कुछ बातों का ध्यान रखना जरूरी है:
⚠ अत्यधिक मात्रा में न डालें – बहुत ज्यादा चाय की पत्तियां मिट्टी की अम्लता (Acidity) बढ़ा सकती हैं, जो कुछ पौधों के लिए हानिकारक हो सकता है।
⚠ चीनी या दूध मिली हुई चाय की पत्तियां न डालें – इससे मिट्टी में फंगस या चींटियां लग सकती हैं।
⚠ अगर कीड़े या चींटियां नजर आएं, तो मात्रा कम करें – अधिक मात्रा में चाय की पत्तियां डालने से कभी-कभी कीट समस्या हो सकती है।
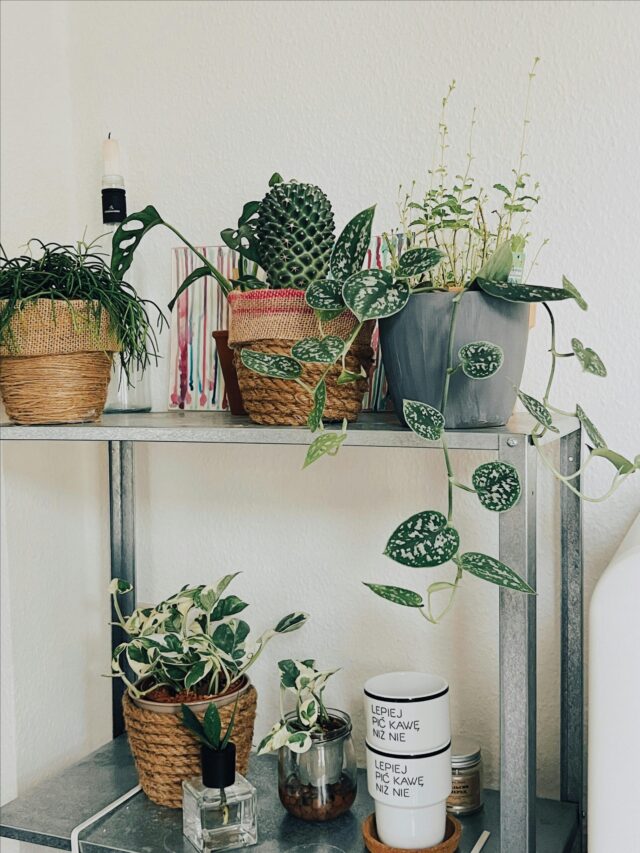
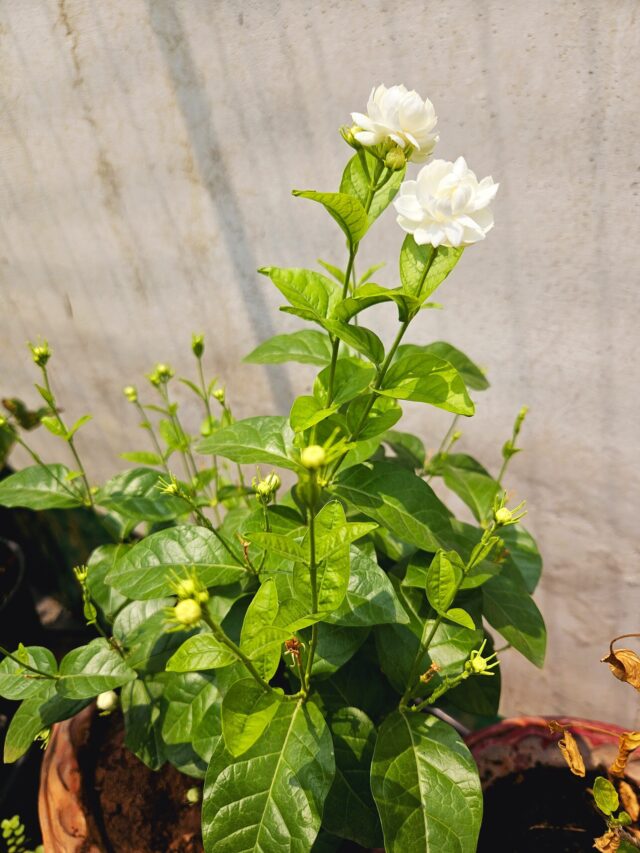
चाय की पत्तियां किन पौधों के लिए सबसे अच्छी होती हैं?
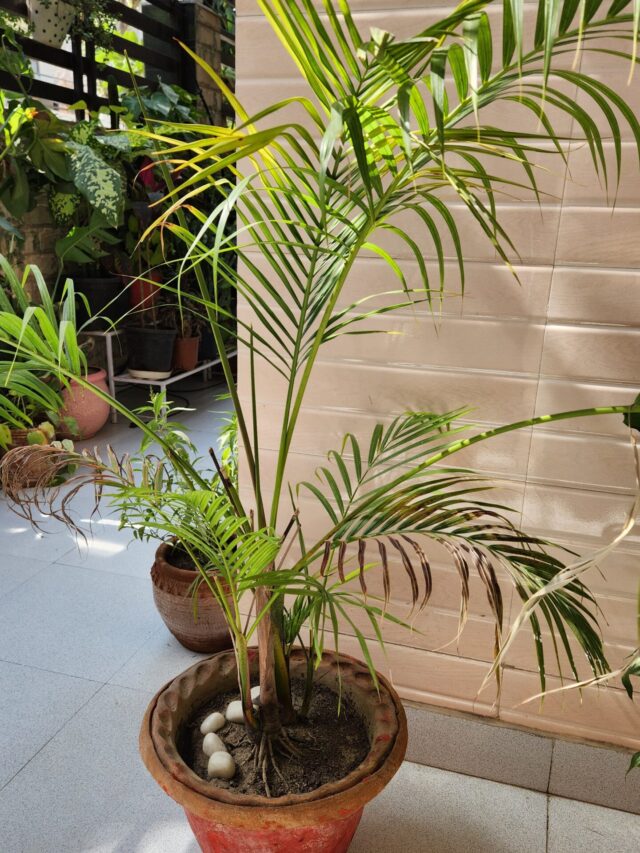
चाय की पत्तियां उन पौधों के लिए सबसे अधिक फायदेमंद होती हैं, जो थोड़ी अम्लीय मिट्टी में बढ़ते हैं। इनमें शामिल हैं:
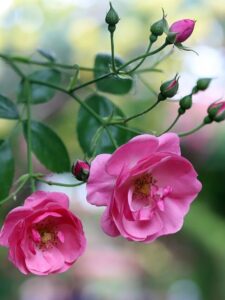
🌿 गुलाब (Rose)
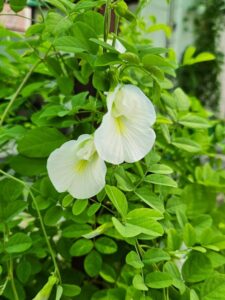
🌿 अपराजिता (Butterfly Pea)
🌿 हाईबिस्कस (गुड़हल)
🌿 गेंदा (Marigold)
🌿 लेमन ग्रास
🌿 टमाटर और मिर्च के पौधे
निष्कर्ष
चाय की पत्तियों का सही उपयोग करके आप अपने पौधों को प्राकृतिक और प्रभावी उर्वरक दे सकते हैं, जिससे वे तेजी से बढ़ें और अधिक फूल खिलें। यह न केवल एक सस्ता और आसान उपाय है, बल्कि आपके बगीचे को हरा-भरा और खूबसूरत बनाने का एक सतत (Sustainable) और पर्यावरण-अनुकूल तरीका भी है। तो अगली बार जब आप चाय पिएं, तो उसकी पत्तियों को फेंकने की बजाय अपने पौधों को पोषण देने के लिए इस्तेमाल करें! 🌱🌸
अक्सर पूछे जाने वाले सवाल (FAQs)
1. क्या चाय की पत्तियां सभी प्रकार के पौधों के लिए उपयुक्त हैं?
👉 नहीं, चाय की पत्तियां केवल उन पौधों के लिए अच्छी होती हैं जो अम्लीय मिट्टी पसंद करते हैं, जैसे गुलाब, अपराजिता, गुड़हल, और टमाटर।
2. क्या मैं गीली चाय की पत्तियां सीधे मिट्टी में डाल सकता हूँ?
👉 हां, लेकिन बेहतर होगा कि उन्हें पहले धूप में सुखा लें ताकि वे जल्दी सड़ें और पौधों को पोषण दें।
3. चाय की पत्तियां कितनी बार डालनी चाहिए?
👉 सप्ताह में एक बार 1-2 चम्मच चाय की पत्ती प्रति पौधा पर्याप्त होती है।
4. क्या चाय की पत्तियों से मिट्टी की अम्लता बढ़ सकती है?
👉 हां, अगर बहुत अधिक मात्रा में इस्तेमाल की जाए तो मिट्टी का pH स्तर गिर सकता है, जिससे कुछ पौधों की वृद्धि प्रभावित हो सकती है।
5. क्या चाय की पत्तियां सब्जियों के पौधों के लिए भी फायदेमंद हैं?
👉 हां, खासकर टमाटर, मिर्च और पालक जैसी सब्जियों के लिए चाय की पत्तियां बहुत उपयोगी होती हैं।
यह लेख पढ़ें : How Tea Leaf is Used as Organic Fertilizer
🚀 और अधिक गार्डनिंग टिप्स के लिए हमें फॉलो करें! 🌱😊🌿🌸
1. Voice of Plant – YouTube Channel
2. Voice of Plant Facebook Page
3. Instagram Voice of Plant Channel
Happy Gardening !!