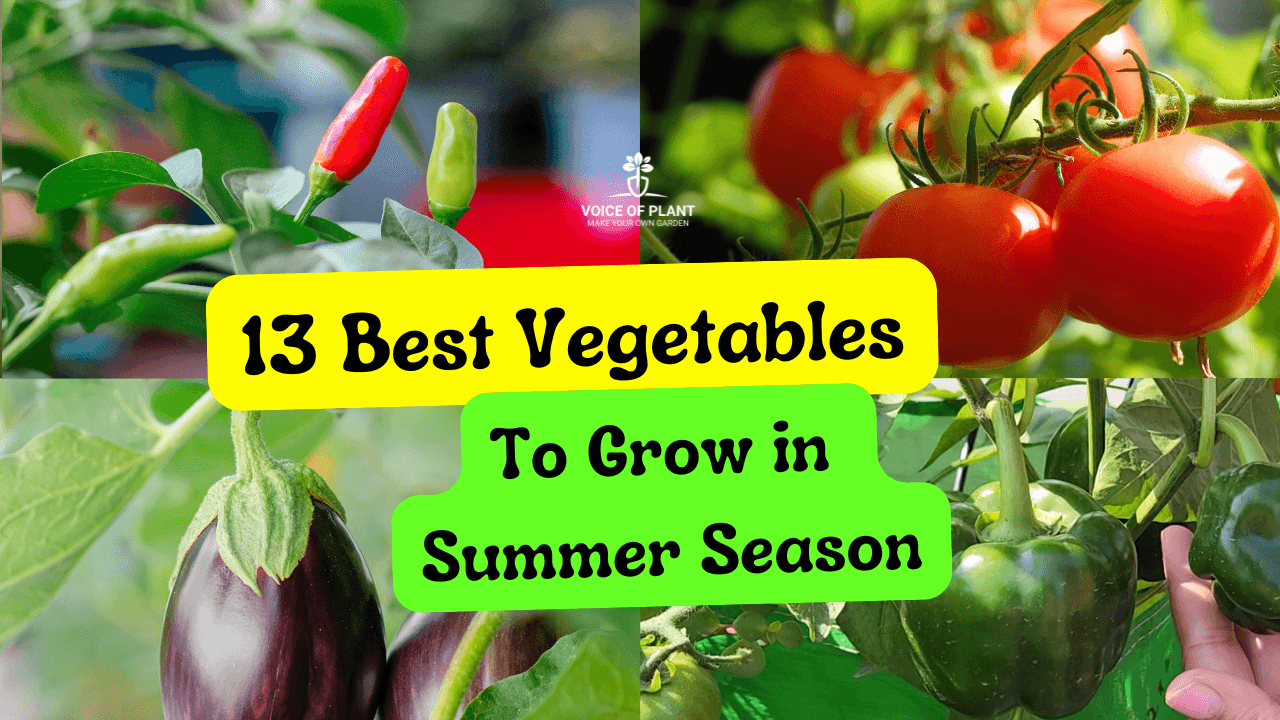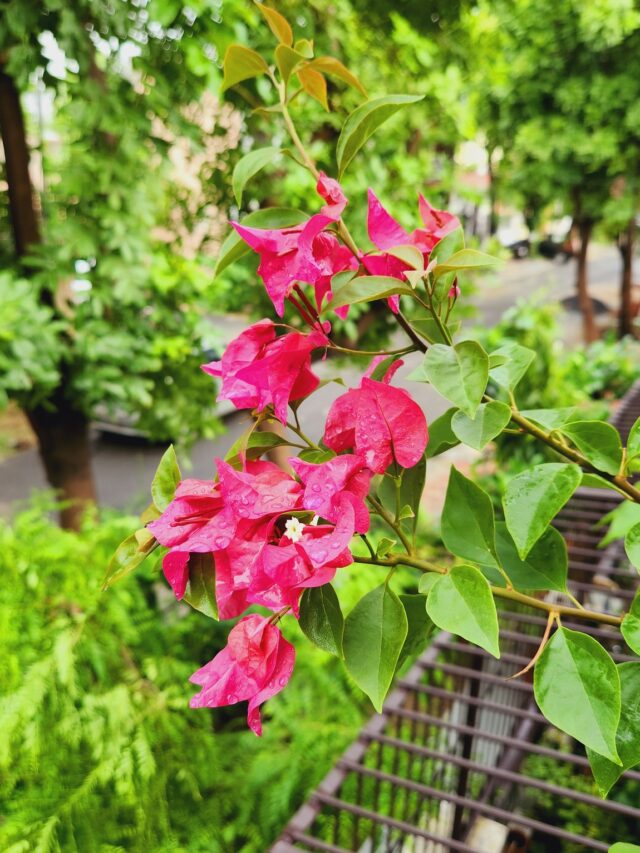
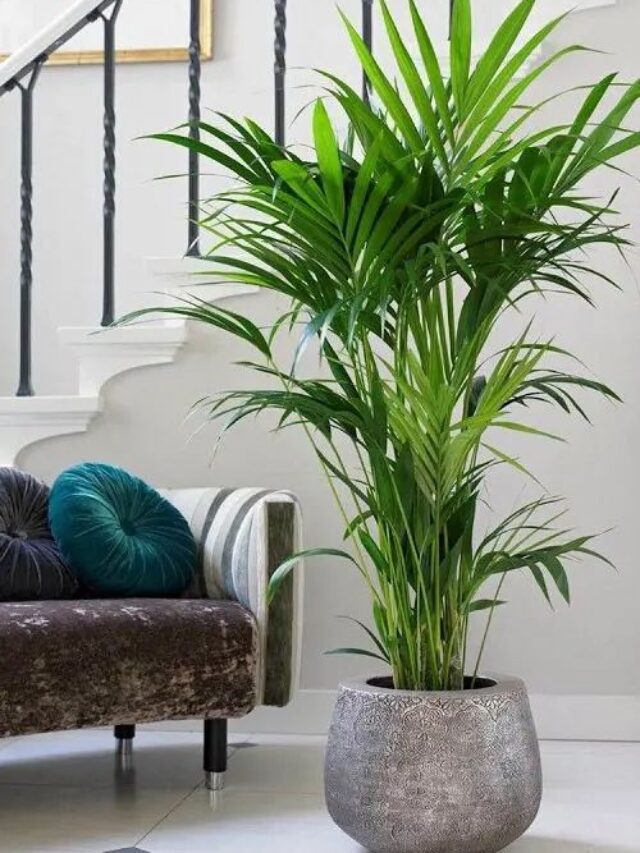
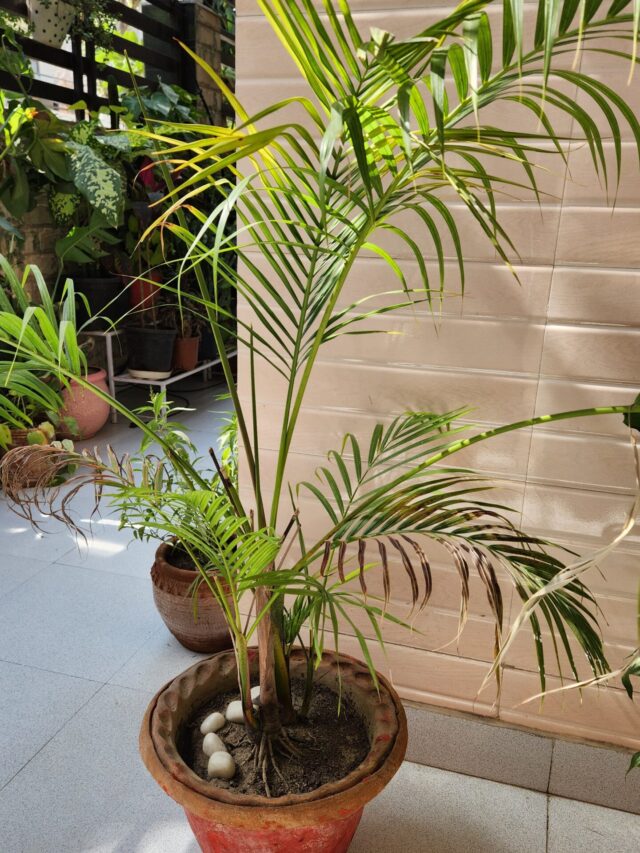
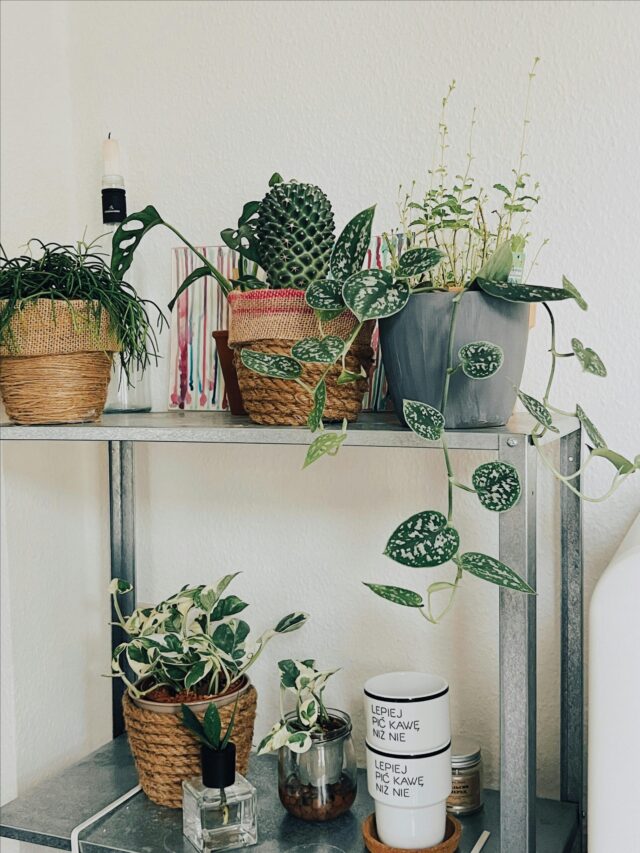


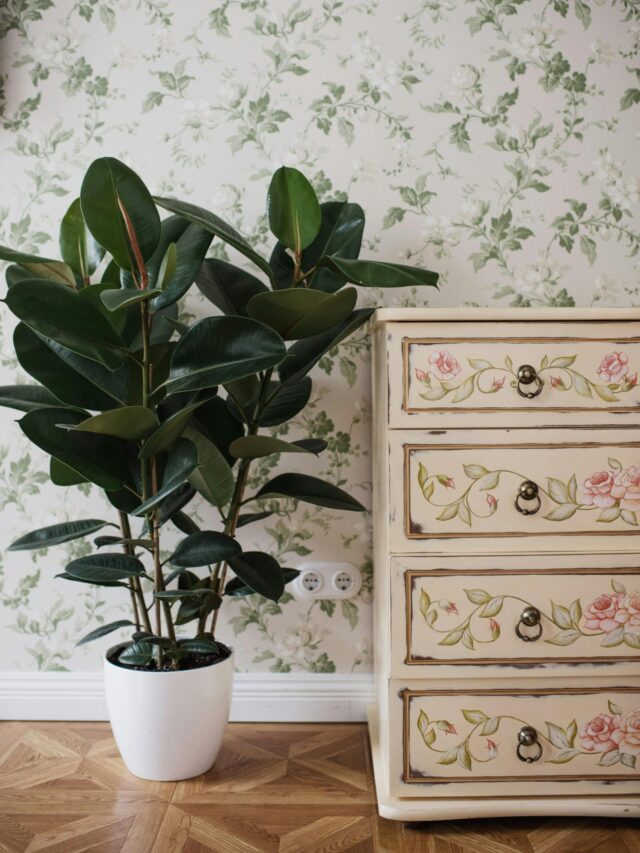


Top Easy-to-Care Small Plants to Grow At Home
If you are a beginner in gardening or simply too busy to take care plants, don’t worry! There are plenty of plants that thrive with minimal care. These plants are perfect for adding greenery to your home or office without demanding too much attention.
Below, we explore some of the best small plants that are easy to care for and perfect for beginners and busy individuals.

Top Easy-to-Care Small Plants to Grow At Home
1. Aloe Vera
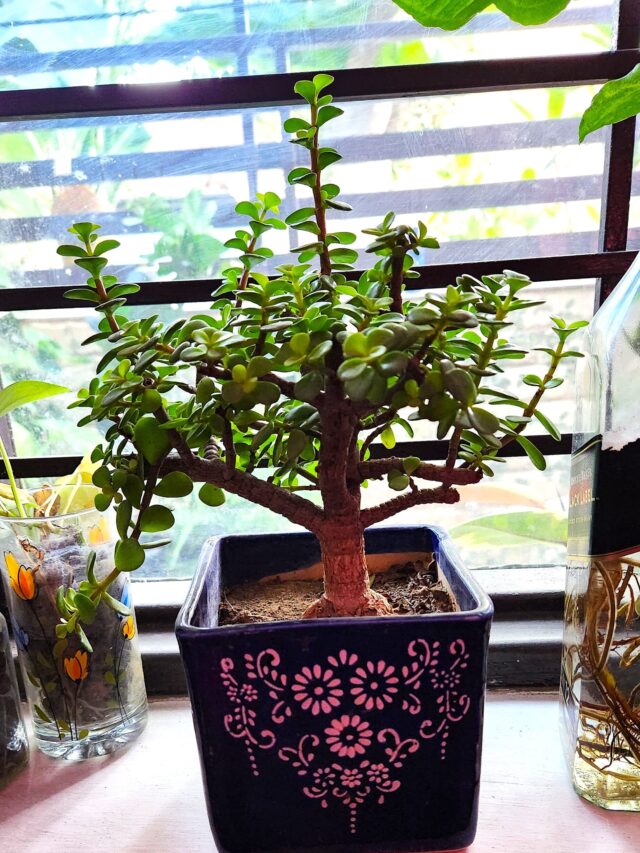
2. Jade plant
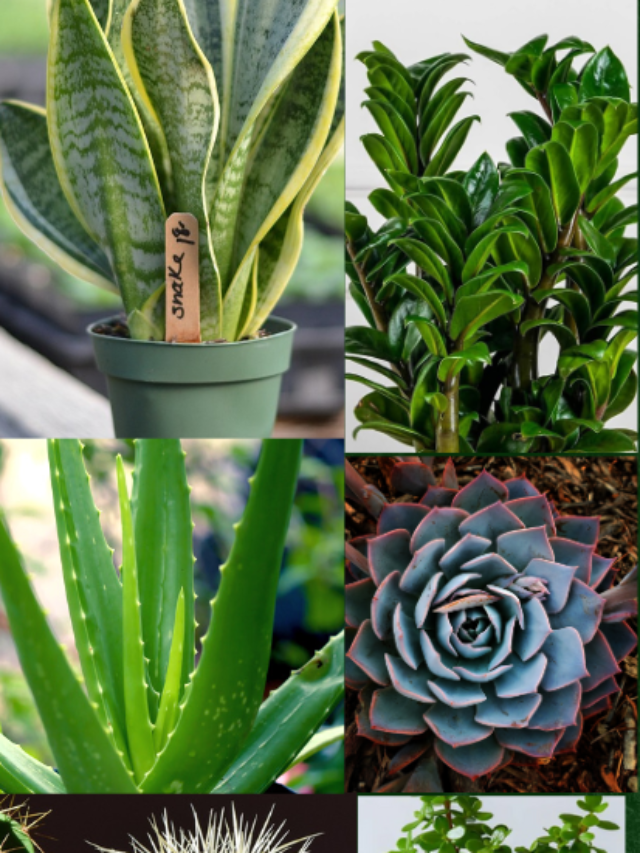
3. Snake plant
4. Aglaonema
5. Pothos (Money Plant)
6. Lucky Bamboo
7. Spider Plant
8. Cactus
9. Fern
10. Syngonium
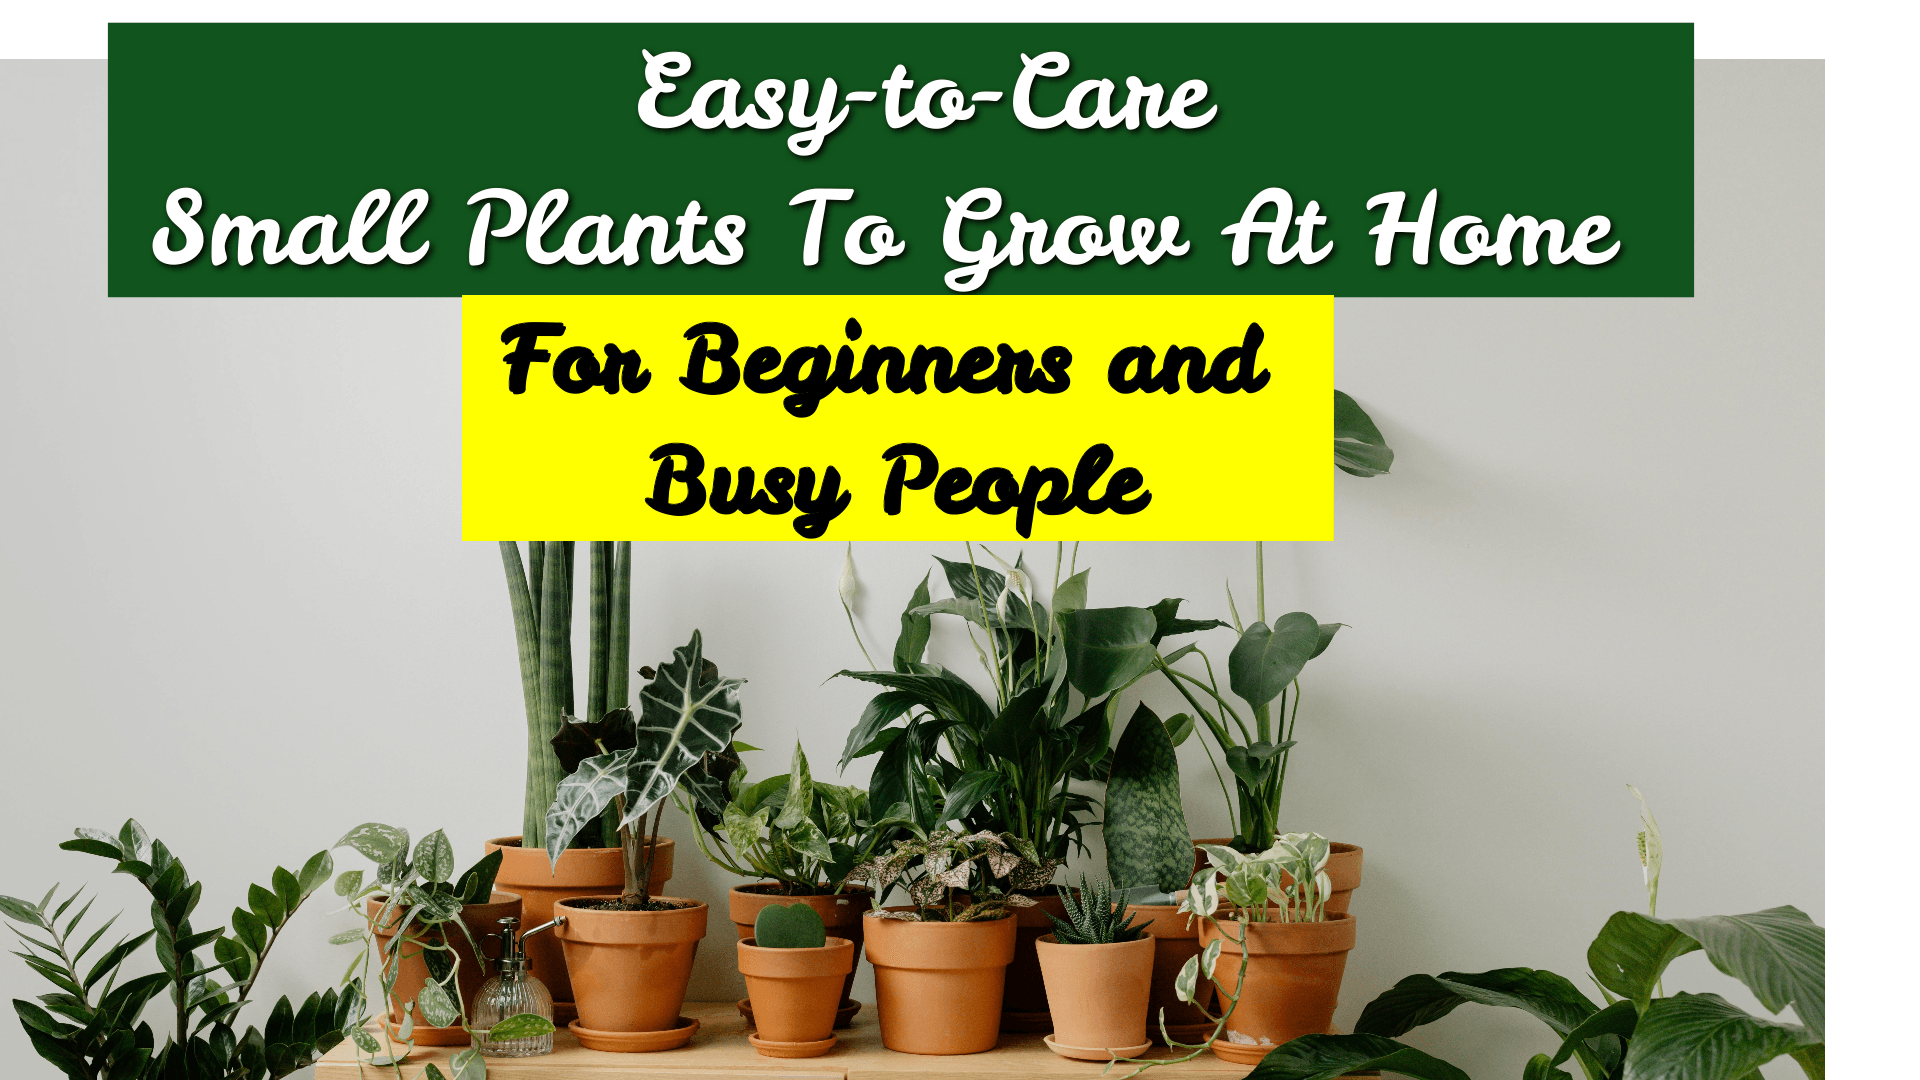
1. Aloe Vera – The Healing Plant
Aloe Vera is a hardy succulent with thick, fleshy leaves that store water. The plant is well-known for its medicinal properties and is commonly used for skin care and minor burns.
Care Tips
- Light: Prefers bright, indirect sunlight but can tolerate low light.
- Watering: Water once every two to three weeks; allow the soil to dry completely between watering.
- Soil: Well-draining soil, preferably a cactus or succulent mix.
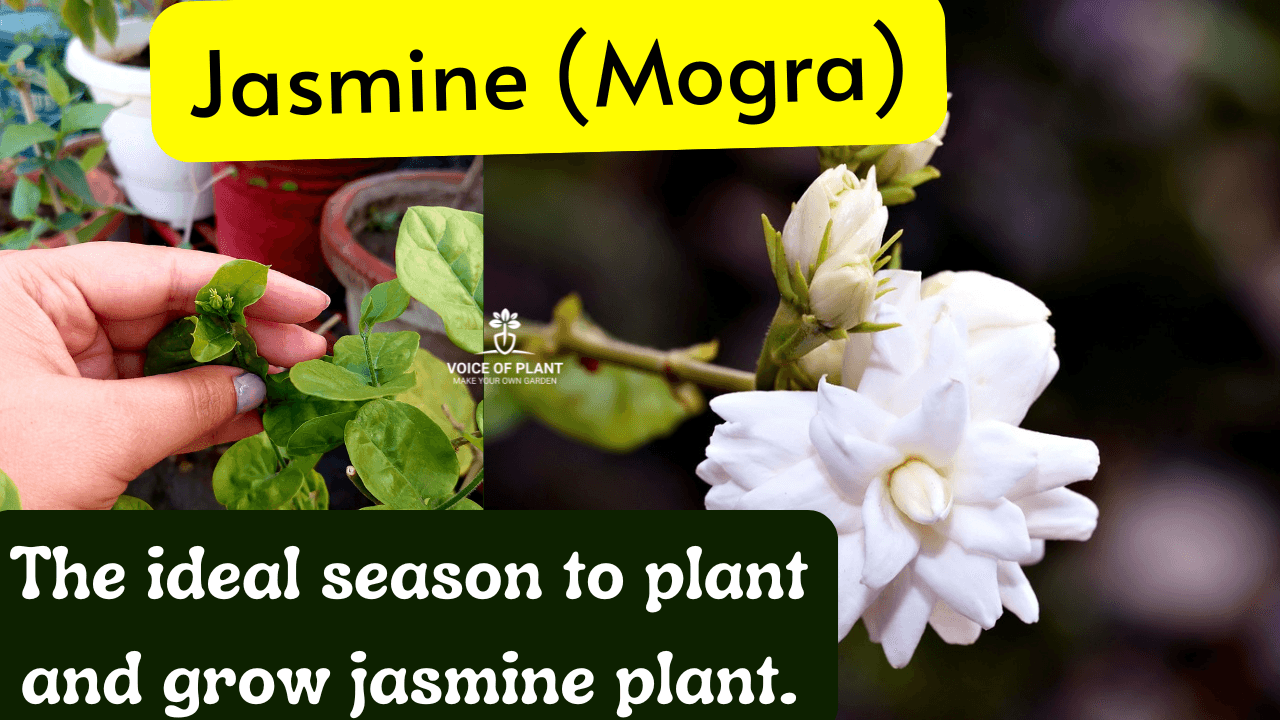
Must read: How to Care & Grow Aloe Vera at home
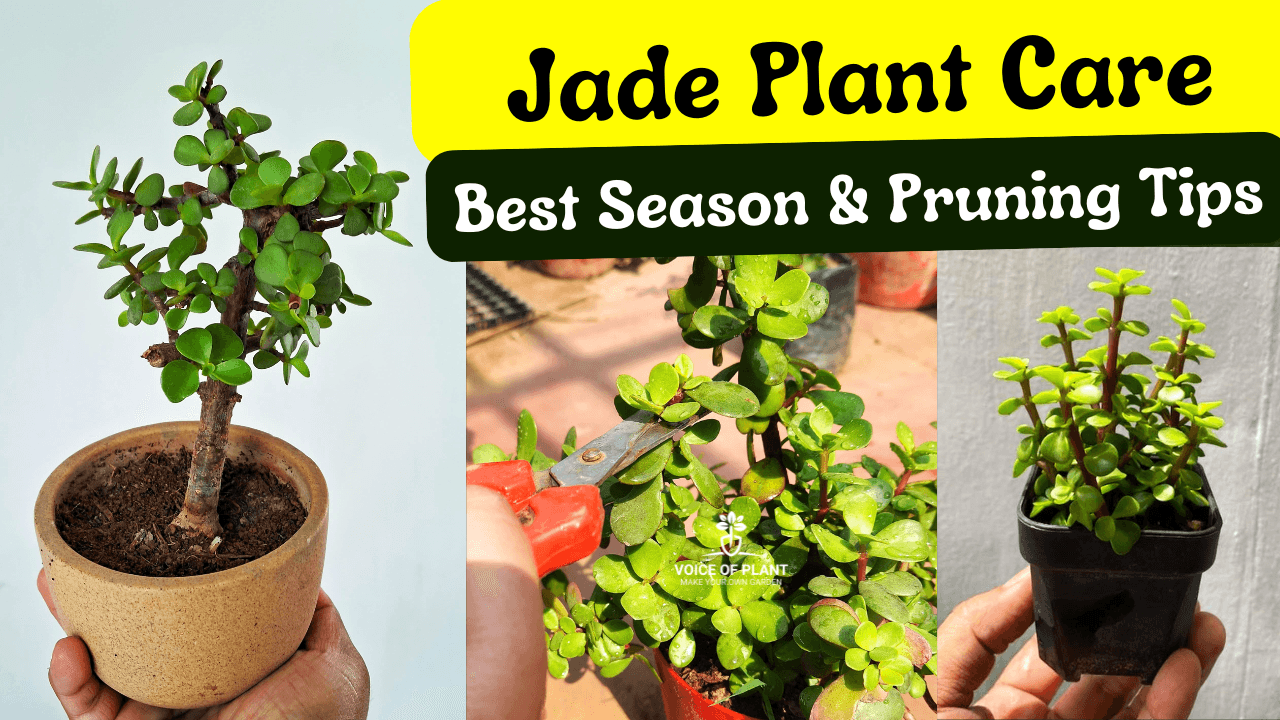
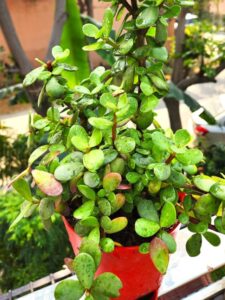
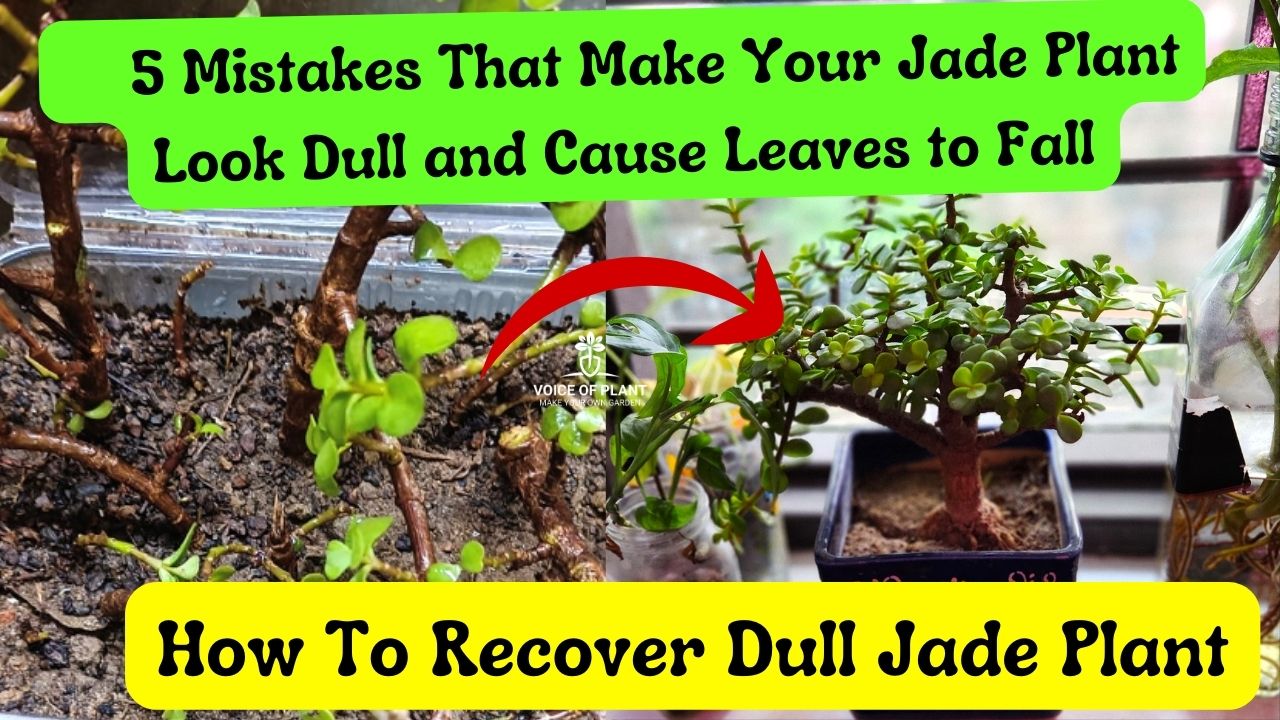
2. Jade Plant – The Symbol of Good Fortune

Jade plants have thick, glossy green leaves and a woody stem that gives them a miniature tree-like appearance. They are considered symbols of good luck and prosperity.
Watering and Light Needs
- Light: Thrives in bright, indirect sunlight.
- Watering: Water sparingly; overwatering can cause root rot.
- Soil: Needs well-draining soil to prevent excess moisture retention.
Must read: How to Care & Grow Jade plant at home
3. Snake Plant – The Indestructible Houseplant

The snake plant, also known as Sansevieria, is one of the toughest houseplants. It can survive neglect, low light, and irregular watering.
Best Care Practices
- Light: Adaptable to all light conditions, from bright indirect light to low light.
- Watering: Water only when the soil is completely dry.
- Soil: Prefers well-draining soil; cactus mix works best.
Must read: How to Care Snake plant at home
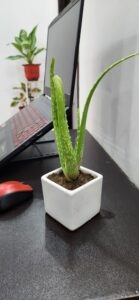
4. Aglaonema (Chinese Evergreen) – The Colorful Low-Maintenance Plant
Aglaonema is a stunning plant that comes in various colors, including green, red, and silver. It’s one of the easiest houseplants to grow.
How to Care for It
- Light: Tolerates low light but grows best in medium to bright indirect light.
- Watering: Water when the top inch of soil is dry.
- Soil: Prefers well-draining potting mix.
Must read: How to Care & Grow Aglaonema at home
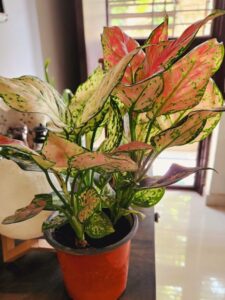
5. Pothos (Money Plant) – The Easiest Plant to Grow
Pothos is a trailing vine with heart-shaped leaves that grow quickly, even with little care. It’s an excellent plant for beginners.
Ideal Conditions for Growth
- Light: Tolerates low light but thrives in bright, indirect sunlight.
- Watering: Water when the top layer of soil feels dry.
- Soil: Regular potting mix with good drainage.
Must read: How to Care & Grow Money plant at home
6. Lucky Bamboo – The Plant of Good Fortune

Lucky Bamboo is often associated with Feng Shui and symbolizes luck, prosperity, and positive energy. It’s commonly gifted as a housewarming or office plant.
Water vs. Soil Growth
Lucky Bamboo can grow in both water and soil:
- In Water: Place in a container with pebbles and change the water weekly.
- In Soil: Use well-draining soil and keep it slightly moist.
Maintenance Requirements
- Light: Prefers indirect light; avoid direct sunlight.
- Watering: If grown in soil, keep it slightly damp but avoid overwatering.
- Fertilizing: Occasional feeding with liquid fertilizer keeps it healthy.
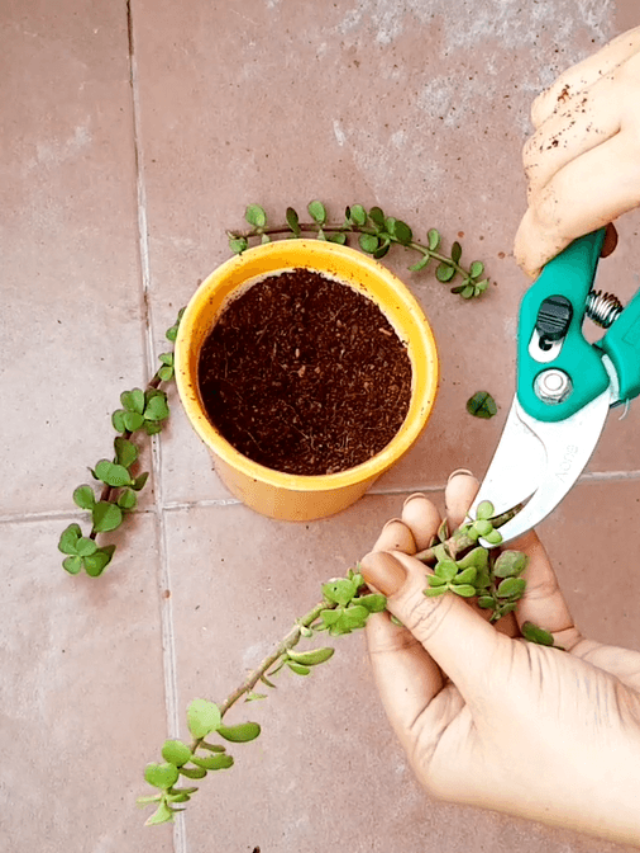
7. Spider Plant – The Best Natural Air Purifier
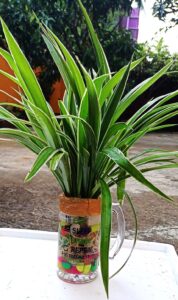
Spider plants have long, arching green leaves with white stripes, giving them a graceful and decorative look. They also produce small baby plants (spiderettes) that dangle from the mother plant.
How to Grow and Propagate
- Propagation: Simply cut off spiderettes and place them in soil or water until they root.
- Soil: Prefers light, well-draining soil.
- Watering: Water moderately, allowing the soil to dry between waterings.
8. Cactus – The Ultimate Low-Maintenance Plant
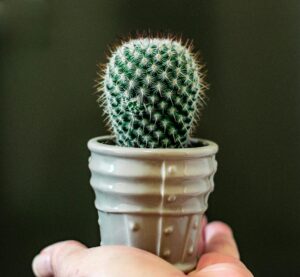
Cacti come in various shapes and sizes, from round and spiky to long and columnar. Popular types include:
Minimal Care Needs
- Light: Loves bright, direct sunlight.
- Watering: Water sparingly; only when the soil is completely dry.
- Soil: Use a cactus potting mix with good drainage.
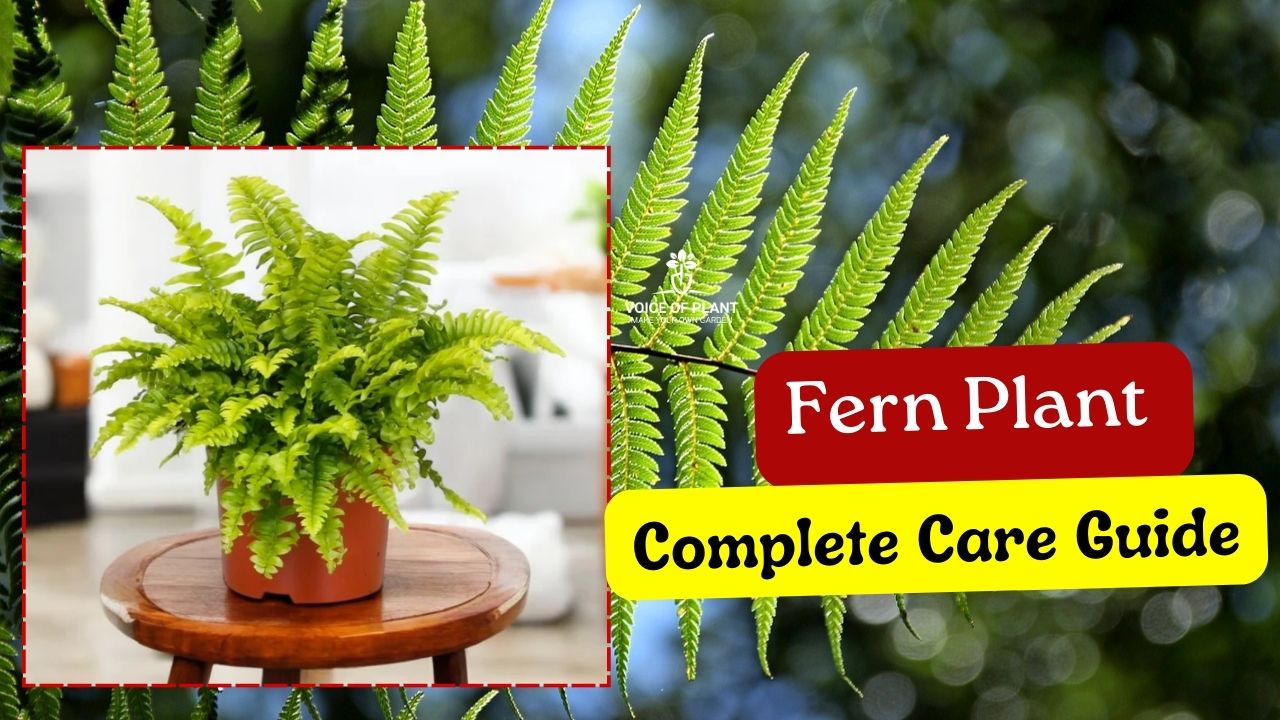
9. Fern – A Beautiful, Lush Green Addition
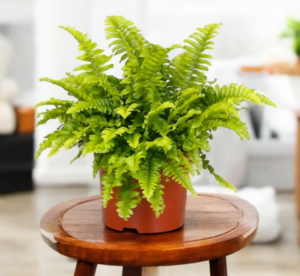
Fern with its delicate, curled leaves and unique shape, it adds a beautiful touch to any space. This lush green plant is a favorite for indoor gardening.
Ferns look great in hanging pots, bookshelves, or as a centerpiece on tables.
Ferns love moisture, so:
- Mist them regularly.
- Place a tray with pebbles and water beneath the pot.
- Keep them at the spot where humidity is naturally higher.
Must read: How to Care & Grow Fern plant at home
10. Syngonium – A Low-Maintenance Decorative Vine
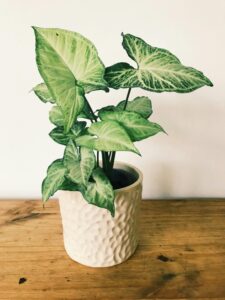
Syngonium, also known as Arrowhead plant, is a fast-growing, trailing vine that adapts well to indoor conditions.
Light and Watering Needs
- Light: Prefers bright, indirect light but tolerates low light.
- Watering: Keep the soil slightly moist but not soggy.
- Soil: Well-draining, rich potting mix.
Common Mistakes to Avoid
- Placing plants in direct sunlight if they prefer shade.
- Overwatering, which can lead to fungus and root rot.
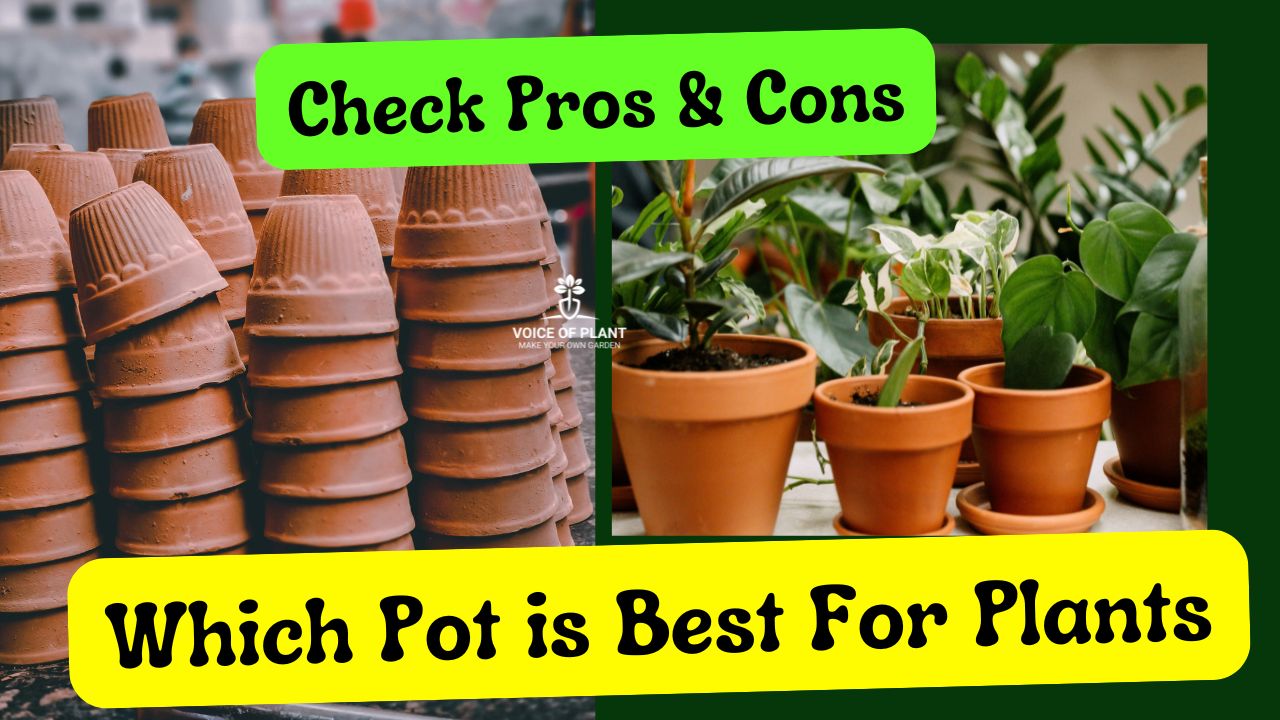
- Using the wrong pot size; always choose a pot with drainage holes.
Conclusion
Starting with easy-to-care plants is the best way to bring greenery into your home or office without stress. These plants not only enhance indoor spaces but also provide health benefits like air purification.
Follow our Social media channel:
1. Voice of Plant – YouTube Channel
2. Voice of Plant Facebook Page
3. Instagram Voice of Plant Channel
Happy Gardening !!