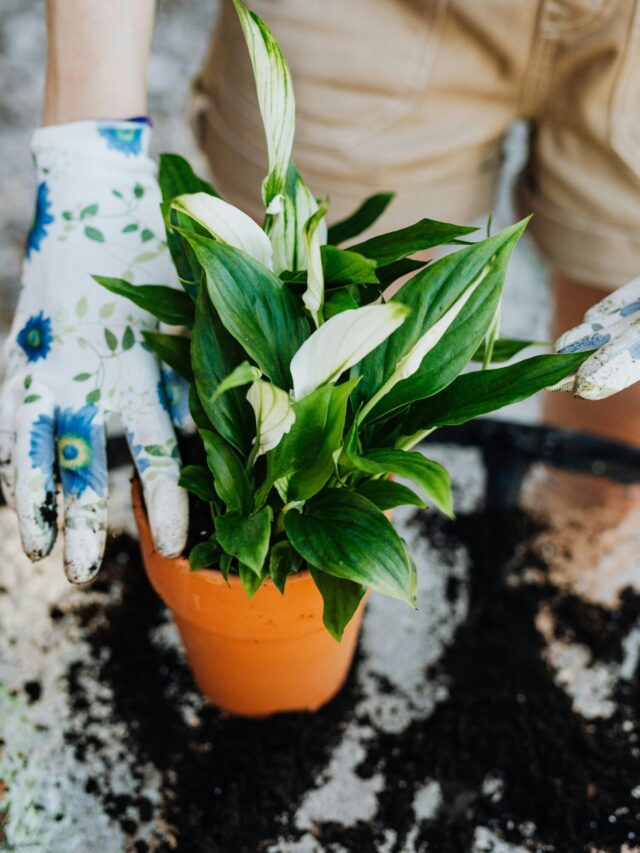
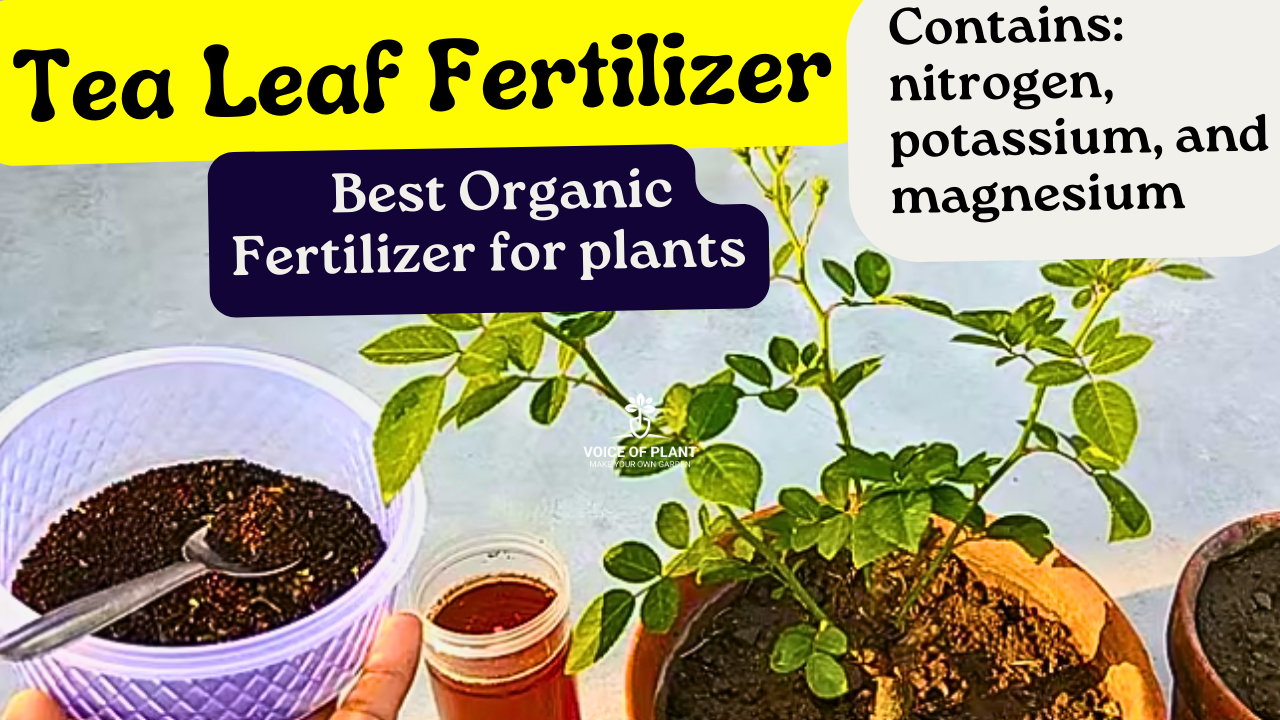
Gardening is a labor of love, and if you are passionate about nurturing your plants, you probably know the value of organic fertilizers. In recent years, tea leaves have gained popularity as a natural, sustainable alternative to chemical fertilizers.
Whether you are a seasoned gardener or just starting, using tea leaves can enrich your soil, boost plant growth, and reduce your household waste.
Why are tea leaves so special for gardening?
For starters, they are packed with nutrients that plants adore. Plus, they are an eco-friendly option for repurposing something many of us use daily. Ready to learn how tea leaves can transform your garden? Let’s dig in!
Tea leaves contain organic matter, tannins, and minerals like nitrogen, potassium, and magnesium.
These elements are essential for healthy plant development.
By using leftover tea leaves, you’re not just feeding your plants—you’re also reducing landfill waste.
How Tea Leaf is Used as Organic Fertilizer
Why Use Tea Leaves as Fertilizer?
Environmental Benefits
Using tea leaves as fertilizer is an eco-friendly practice.
It reduces waste and cuts down on the need for synthetic fertilizers, which can harm the environment.
Cost-Effective Solution
Why spend money on expensive fertilizers when you can recycle tea leaves from your kitchen? It’s a win-win for your wallet and your garden.
Improved Soil Structure
Tea leaves act as a natural soil conditioner, breaking down into humus that enhances soil aeration, water retention, and nutrient absorption.
Nutrients in Tea Leaves Beneficial for Plants
Tea leaves are a powerhouse of nutrients that plants crave:
Nitrogen: Promotes lush, green foliage.
Phosphorus: Aids in root development and flowering.
Potassium: Enhances disease resistance and overall plant vigor.
Trace Minerals: Elements like magnesium and calcium improve plant strength and health.
Tea leaves break down into organic matter, enriching the soil with nutrients. They also improve water retention and soil aeration, which is great for plant roots.
Natural Pest Repellent
Certain pests, like slugs and ants, are deterred by the tannins in tea leaves. This makes them a natural and chemical-free pest control option.
Compost Booster
Tea leaves accelerate the composting process, adding valuable nitrogen to the pile. This helps create nutrient-rich compost faster.
Practical Applications of Tea Leaves in Gardening
Direct Application
Sprinkle dried tea leaves directly on the soil around your plants. It’s quick, easy, and highly effective.
Mulching
Spread tea leaves as a mulch layer to retain soil moisture, regulate temperature, and suppress weeds.
Tea Leaf Fertilizer Tea
Brew leftover tea leaves in water, let it cool, and use it as a natural liquid fertilizer for your plants.
Conclusion
Tea leaves are more than just a morning pick-me-up—they’re a gardener’s secret weapon! Packed with nutrients, eco-friendly, and versatile, they can help improve soil quality, boost plant health, and even repel pests. Whether you’re using them fresh, brewed, or as part of compost, tea leaves offer an easy and affordable way to nurture your garden.
By repurposing tea leaves, you’re not only giving back to your plants but also contributing to a greener planet. So why not start saving those tea leaves today? Your garden (and the environment) will thank you!
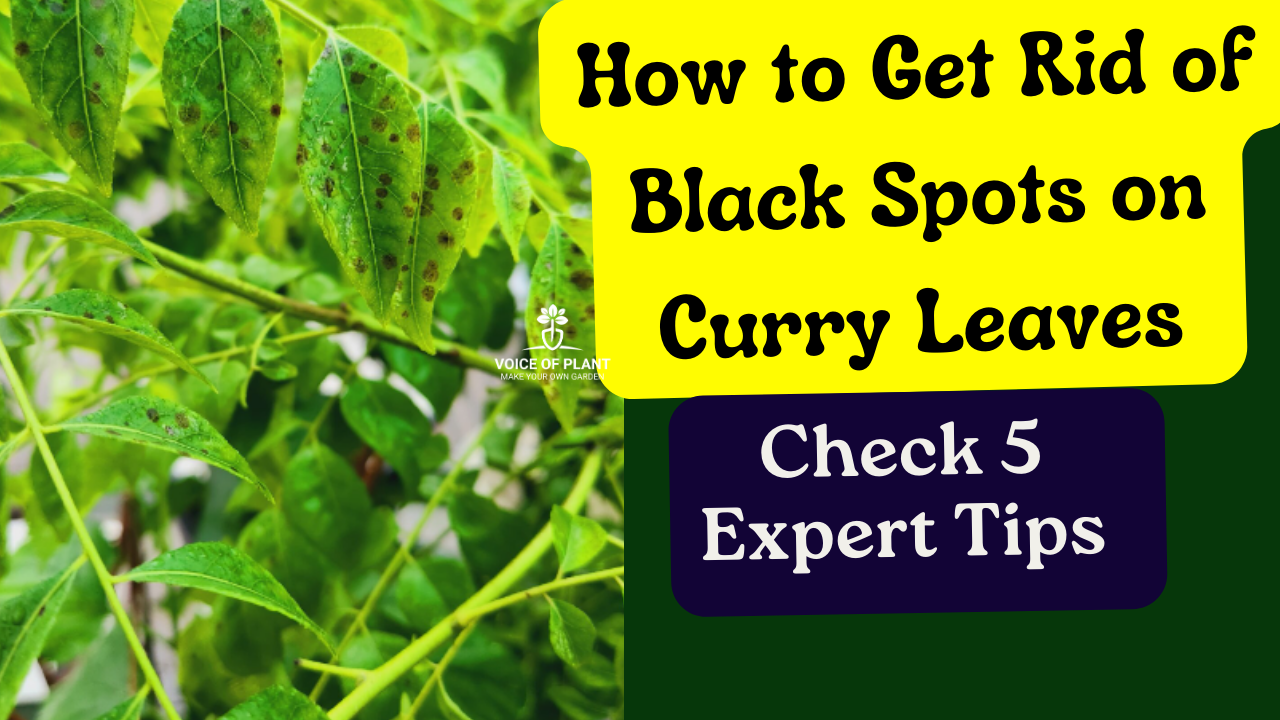
How to Get Rid of Black Spots on Curry Leaves: Expert Tips
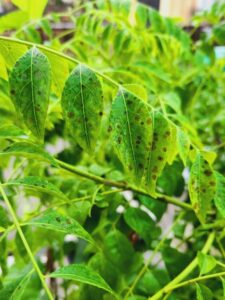
Black spots on curry leaves are a common issue that usually indicates stress on the plant. These spots can arise from various factors, including fungal infections, pest infestations, or environmental stress. By identifying the cause, you can address the issue effectively and prevent further damage.
Black Spots on Curry Leaves
Causes of Black Spots on Curry Leaves
1. Fungal Infections in the Roots
Fungal infections in the roots are a primary cause of black spots on curry leaves. These infections often occur due to overwatering or poor soil drainage.
2. Excessive Moisture
Water sitting on the leaves for extended periods encourages fungal growth, which manifests as black spots.
3. Leaf Spot Disease
Leaf spot disease is a fungal infection that leads to small black or brown spots on the leaves.
4. Overwatering
Overwatering can cause root rot, a condition that weakens the plant and often results in black spots on the leaves.
How to Get Rid of Black Spots on Curry Leaves
Preventing Black Spots on Curry Leaves
1. Ensure Proper Ventilation
Place the curry leaf plant in a well-ventilated area. This reduces humidity around the plant, cutting down the chances of fungal growth.
2. Water at the Base
Always water the base of the plant, not the leaves. This prevents the leaves from staying wet and creating a favorable environment for fungus.
3. Avoid Overwatering
Water only when the topsoil feels dry. This helps to maintain proper soil moisture levels and prevents root rot.
Solutions to Treat Black Spots on Curry Leaves
1. Neem Oil Spray
Neem oil is a natural fungicide. Spray it on affected plants to eliminate fungal infections.
2. Baking Soda Solution
Mix 1 teaspoon of baking soda, 1 liter of water, and a few drops of dish soap. Spray this solution on the leaves to prevent and treat fungal growth.
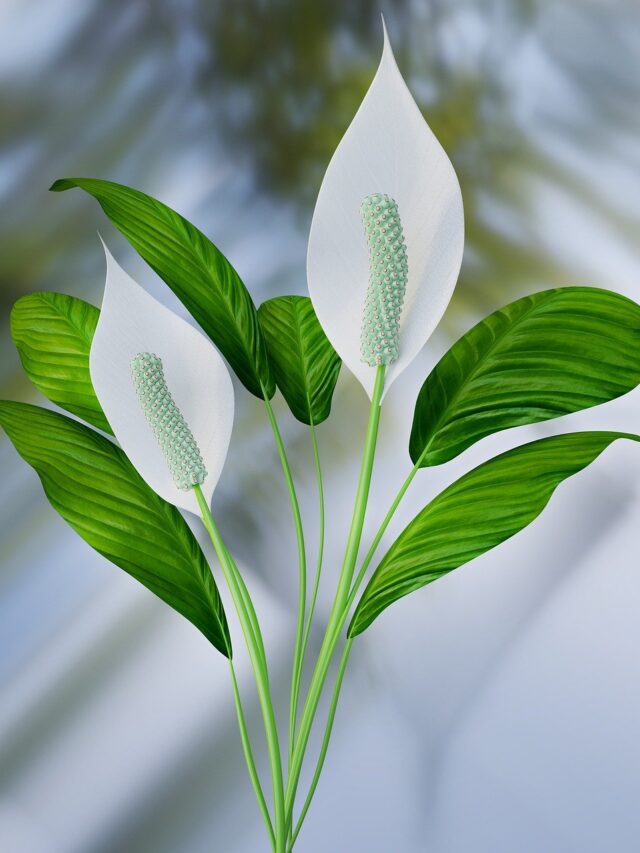
Peace Lily vs Aglaonema: Which Plant Is Best for Beginners?
The Peace Lily and Aglaonema are two of the most popular indoor plants, loved for their beauty and air-purifying qualities. However, if you’re a beginner in gardening, it’s important to understand their differences before choosing the right plant for your space.
Let’s explore the key differences between the two to help you decide!
Peace Lily vs Aglaonema: Which Plant Is Best for Beginners?
1. Sensitivity
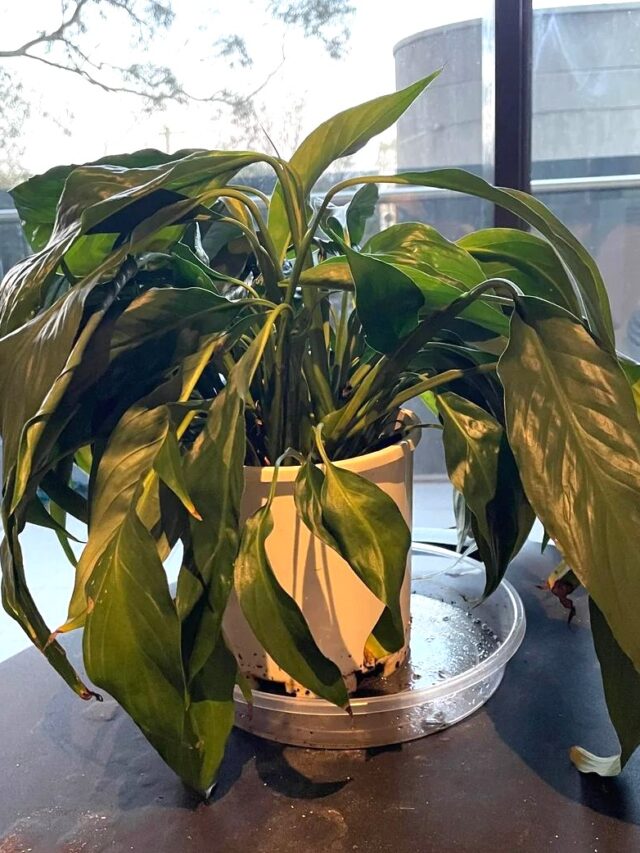
Peace Lily: Peace Lilies are highly sensitive and quick to show signs of stress if their care needs aren’t met. They droop dramatically when under-watered and may develop yellow leaves if over-watered.
Peace Lily vs Aglaonema
Aglaonema: Aglaonemas are much hardier and more forgiving. They can handle irregular watering and adapt to a variety of environments, making them ideal for beginners.
2. Light Requirements
Peace Lily: Prefers bright, indirect light but can tolerate low-light conditions. However, too much direct sunlight can scorch its leaves.
Aglaonema: Thrives in low, medium, or indirect light and can even tolerate occasional exposure to direct sunlight better than the Peace Lily.
Peace Lily: Needs well-draining soil and struggles in poorly drained conditions. A loose, aerated soil mix is essential.
Aglaonema: Less fussy about soil as long as it drains well, making it easier to manage for beginners.
5. Sensitivity to Environment
Peace Lily: Highly sensitive to environmental changes, including humidity levels, temperature fluctuations, and light. Regular monitoring is required to keep it healthy.
Aglaonema: A much tougher plant that can tolerate a wide range of conditions, including lower humidity and moderate temperature variations.
Which Plant Is Best for Beginners?
If you’re a beginner looking for a low-maintenance plant, Aglaonema is the better choice.
Its hardiness, adaptability, and forgiving nature make it perfect for those still learning the ropes of indoor gardening.
On the other hand, if you’re up for a challenge and willing to monitor your plant closely, the Peace Lily offers stunning blooms and a rewarding care experience.
Final Tip: If you’re still undecided, why not try both? Place the Aglaonema in a low-light spot and the Peace Lily in a well-lit area to enjoy the beauty of both plants in your home!
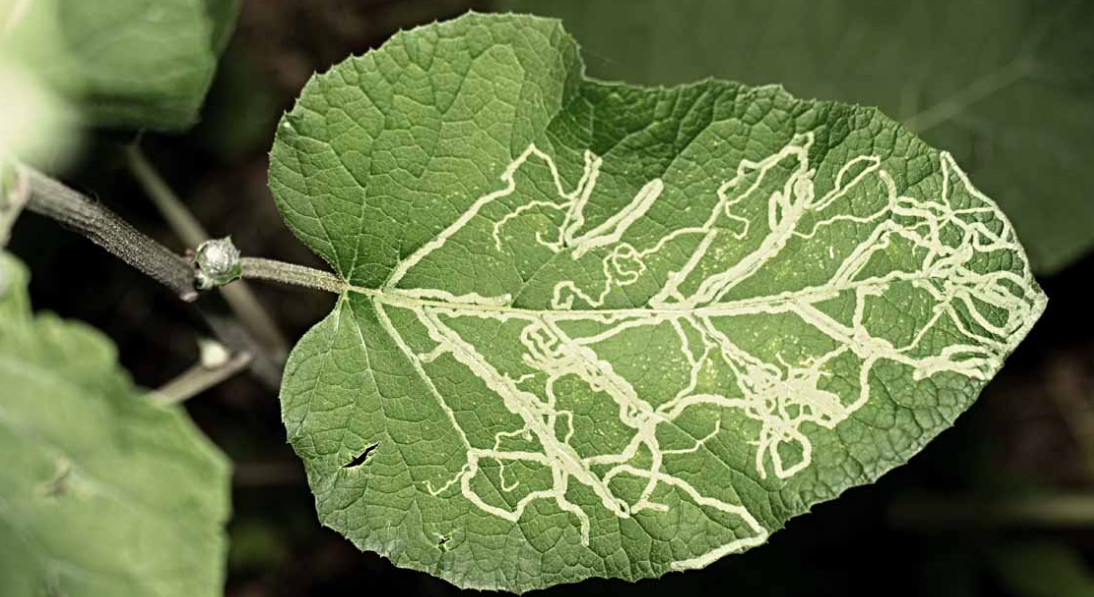
What is Leaf Miner How to control and treat Leaf Miner
Leaf miners, those tiny but troublesome pests, can wreak havoc in your garden if left unaddressed. In this comprehensive guide, we will delve into the world of leaf miners, exploring their life cycle, impact on plants, and effective strategies for prevention and removal. Let’s embark on a journey to safeguard your garden from these pesky intruders.
What is Leaf Miner How to control and treat Leaf Miner
Leaf miners are insects whose larvae feed on the internal tissues of plant leaves, creating distinctive patterns or mines. These pests encompass various species, each with its unique characteristics and preferences.
leaf miner on tomato leaves
Understanding the significance of leaf miners is crucial for gardeners. The damage inflicted by these pests can compromise the overall health of plants, leading to economic consequences and diminished aesthetic appeal in gardens.
Identification of Leaf Miner Infestation
Signs and Symptoms
Detecting leaf miner infestations early is essential. Look for telltale signs such as discolored or distorted leaves, and the presence of winding trails or blotches on foliage.
Affected Plants
Leaf miners are not picky eaters. They target a wide range of plants, from vegetables and ornamentals to fruit-bearing trees. Identifying the affected plants is key to implementing effective control measures.
Life Cycle of Leaf Miner
Eggs and Larvae
Leaf miners undergo a fascinating life cycle, starting with eggs laid on the undersides of leaves. The hatching larvae then burrow into the leaf tissue, feeding as they grow.
Pupae Stage
As the larvae complete their feeding phase, they enter the pupae stage within the leaf. This transformation prepares them for adulthood.
Adult Stage
The emergence of adult leaf miners signifies the completion of their life cycle. Understanding this process aids in devising timely control strategies.
Impact on Plants
Damage to Foliage
Leaf miners compromise plant health by tunneling through leaves, disrupting the normal functioning of chlorophyll and hindering photosynthesis.
Reduction in Plant Health
Repeated infestations can lead to weakened plants, making them more susceptible to other diseases and environmental stressors.
Economic Consequences
In agricultural settings, leaf miner damage can have severe economic implications, affecting crop yields and quality.
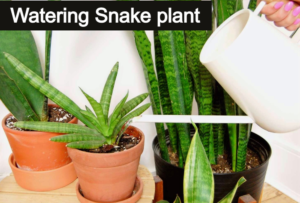
Snake plant requires very little care in maintenance. This is the reason why people easily plant it at home.
The snake plant is a flexible, hardy plant and can survive in relatively dry environments both indoors and outdoors.
If you plan to plant a snake plant in your home, then it is important for you to take care of some things.
Watering Snake plant
How & When to Water Snake Plant
Now, let’s discuss some important tips to care for the Snake plant:
Watering for Snake plant
Often people do not know when and how to water the snake plants. So, let’s discuss some of the important points on “how to water snake plants”.
The snake plant is a succulent and its requirements are a little different from any other plant. Its leaves already have moisture locked in so, it does not require much water.
The biggest reason for the failure of this plant is overwatering or underwatering.
Before watering to Snake plant, follow the below steps:
Give water only, when the soil is completely dries
Water the snake plant only when the soil is completely dry.
Dig the top layer of soil at least for 2-3 inches not only the topmost layer, if it is dry till 2-3 inches then only give water.
When giving water, give it properly because the next watering might be done after 10-15 or 20 days.
Always give water at regular intervals
It should not be like that in the first go, your plant was watered at the gap of 4 days, and in the next round break of 20 days was taken.
The plant would start decaying in that case.
Always maintain the frequency of a 7-8 days gap.
During winter, it would need less water.
Important note:
Clean the leaves twice a month with a wet wipe or tissue paper.
Water should not get stagnant on the leaves, leaves might rot out.
Too much water can rot the roots of this plant.
Rainwater is good for Snake plant
Rainwater is good for this plant but not rain showers.
Store the rainwater in a bucket and give it to them (it works as a tonic for this plant).
Whenever it rains, shift them to shaded areas where rainwater would not fall directly.
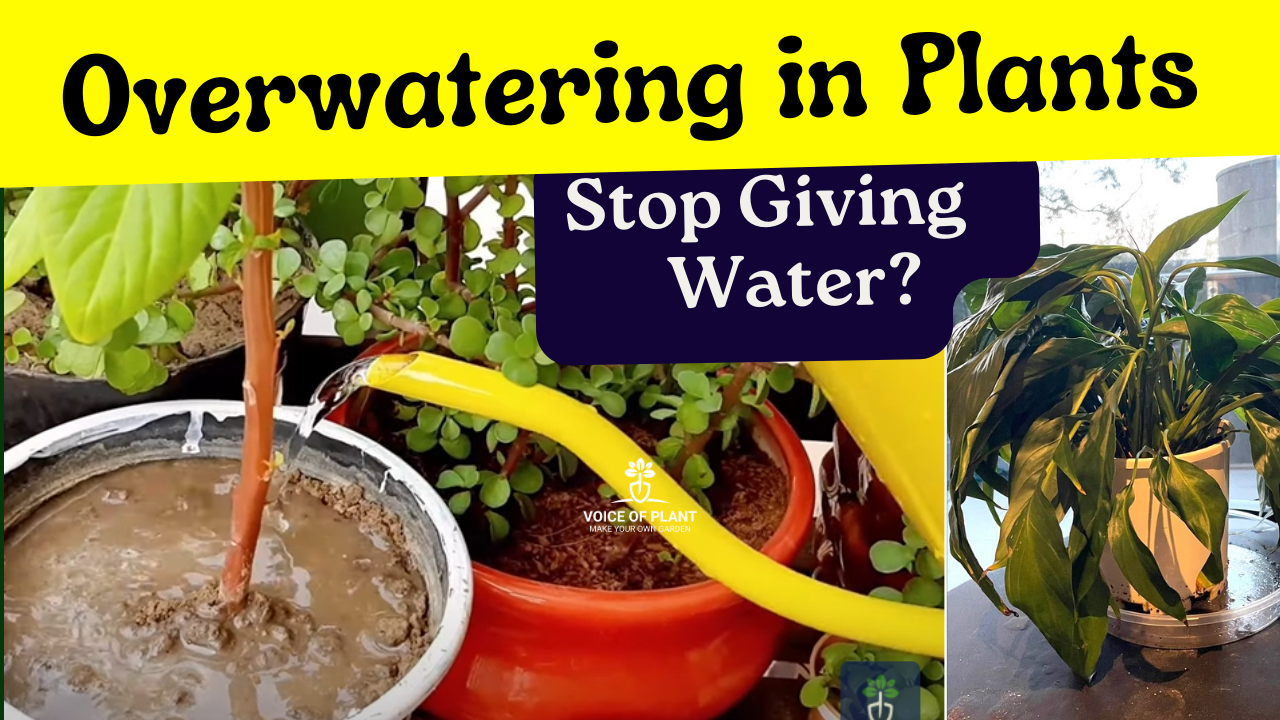
Taking care of plants is both an art and a science, and knowing how much water your plant needs is essential. While we often think more water is better, overwatering is one of the most common mistakes plant owners make.
It’s important to recognize the signs of overwatering before it’s too late. This article will help you identify the symptoms of overwatering and offer solutions to fix the problem.
What is Overwatering?
Overwatering in Portulaca plant
Overwatering occurs when plants receive more water than they can absorb.
This leads to waterlogged soil and deprives the roots of the oxygen they need to thrive.
Without proper oxygen, plants can suffocate, leading to serious health problems or even death.
Understanding how to avoid overwatering is key to maintaining healthy, vibrant plants.
How to Save Overwatering in Plants
Key Signs of Overwatering in Plants
Yellowing Leaves
One of the earliest signs of overwatering is yellowing leaves.
If your plant’s leaves start turning yellow, especially the lower ones, it may be an indication that it’s getting too much water.
Wilting, Even with Wet Soil
It’s counterintuitive, but a plant that wilts despite having moist soil is likely suffering from overwatering.
Overwatered roots struggle to function properly, causing the plant to droop.
Mushy or Soft Stems
Plants with soft or mushy stems are often experiencing root rot, a common consequence of overwatering.
This typically happens when excess water creates an environment conducive to fungal growth, which attacks the roots.
Root Rot
Root rot is one of the most severe signs of overwatering.
When roots remain submerged in water, they become blackened and mushy, eventually dying off. This condition is dangerous and difficult to reverse if not caught early.
Dropping Leaves
Another sign of overwatering is when a plant starts dropping its leaves, especially green or new ones.
This occurs because the plant is stressed and struggling to maintain its health.
Stunted Growth
Plants that are overwatered often show signs of stunted growth.
This happens because the roots aren’t able to absorb nutrients efficiently, causing the plant’s overall growth to slow down.
How to Check for Overwatering in Plants
To determine if your plant is overwatered, check the soil moisture by sticking your finger about an inch into the soil.
If the soil is still wet or soggy, overwatering is likely.
You can also examine the plant’s pot for drainage holes, as insufficient drainage exacerbates the issue.
Differences Between Overwatering and Underwatering
It’s easy to confuse overwatering with underwatering since both can cause wilting and yellowing leaves.
However, in underwatering, the soil will be dry, and the plant’s leaves may appear crispy or shriveled.
Overwatering, on the other hand, leads to soggy soil and soft, limp leaves.
How to Fix Overwatered Plants
Stop Watering Immediately
The first step to fix an overwatered plant is to stop watering it until the soil dries out.
Allow the plant to recover by withholding additional water.
Improve Drainage
Ensure that your plant’s pot has drainage holes to allow excess water to escape. If it doesn’t, consider transferring your plant to a container with better drainage.
Prune Damaged Roots
If root rot has set in, you’ll need to trim away the affected roots. Remove the plant from its pot, carefully cut away the mushy, discolored roots, and replant it in fresh soil.
Repotting the Plant
If your plant’s soil is severely waterlogged, repotting might be necessary. Gently remove the plant from its current pot, shake off the wet soil, and place it in a new pot with fresh, well-draining soil.
Prevention Tips for Overwatering
To avoid overwatering, make sure you’re using the correct watering techniques. Water your plants less frequently but deeply, ensuring the soil has time to dry out between waterings. Choose the right soil type and pot with good drainage, and monitor moisture levels using a moisture meter or the finger test.